Microsoft Entra Admin Portal provides a basic facility that allows you to enroll the pre-programmed OATH hardware tokens. As you will see, the enrollment process is manual. Therefore, it is only suitable for enrolling a small number of tokens.
If you have a large number of tokens, then check out the SafeID Token Service (STS). STS has a powerful management portal that allows administrators and the help desk team to enroll and manage tokens in a few clicks.
To enroll hardware tokens using the Entra Admin Portal, you will need to go through the steps below:
- Download the token secret file
- Assign tokens to users
- Upload tokens to Entra ID
- Activate tokens in Entra ID
Step 1: Download the Token Secret File
To make the request, click the link below.
https://services.deepnetsecurity.com/csp/SeedFileRequests
Follow the steps below:
Step 0 - Find Your Order
You can find your order by one of the following 3 numbers
- Your Purchase Order Number
- Our Invoice Number
- Our Shipment Number
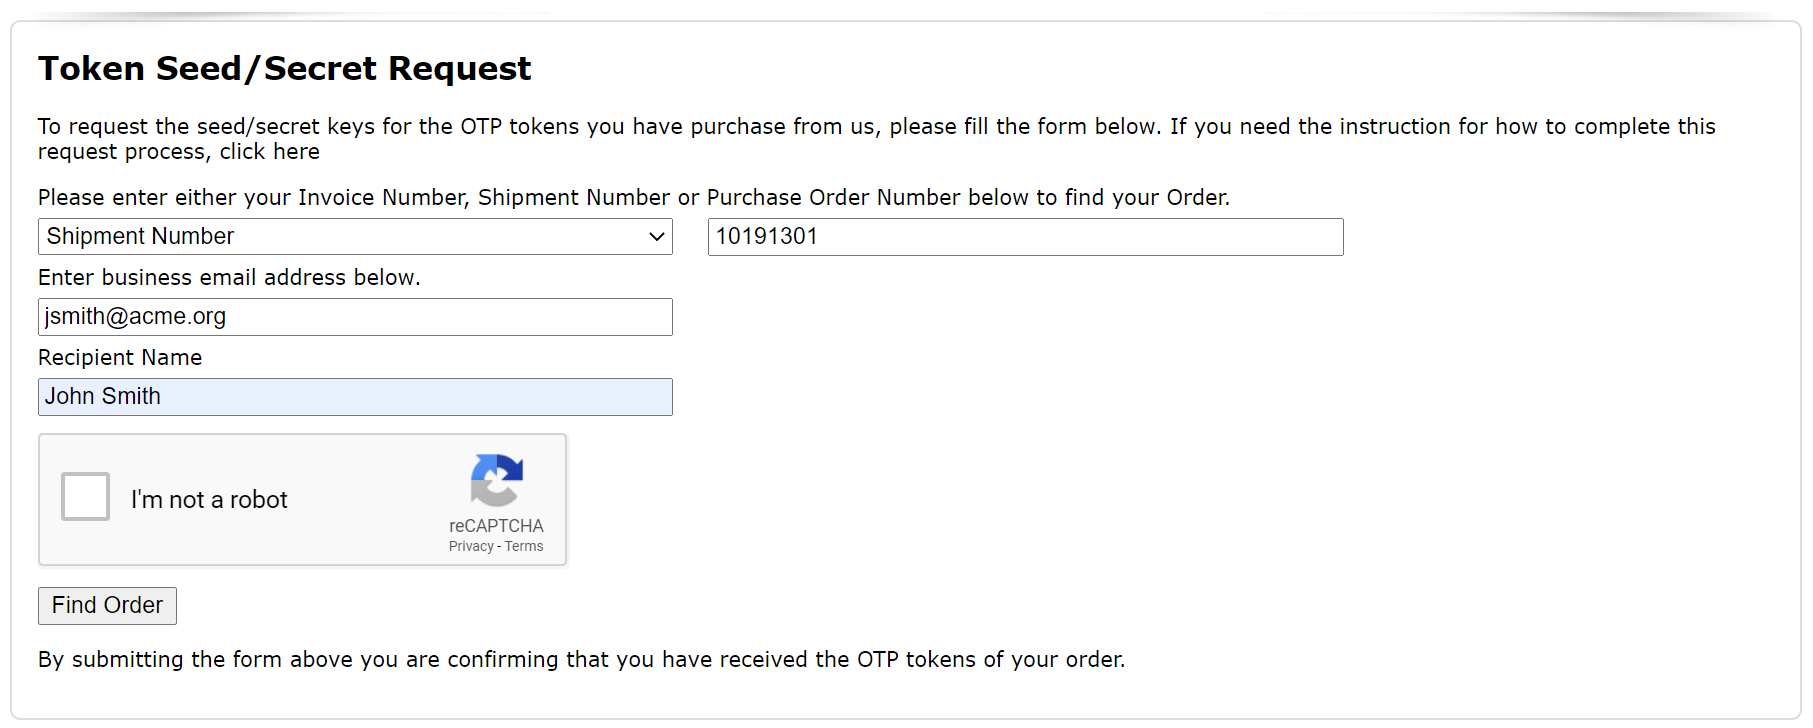
You also need to enter your business email address.
If your email address does not match your account in our system, then you will not be able to proceed. If that is the case, then you will need to contact your account manager to have your account updated, or send an email to our delivery team at "delivery@deepnetsecurity.com" with the shipment number, invoice number or your PO number.
Step 1 - Authorisation Code
If you are not the person who is authorised to download the token secret/seed file, then an authorisation code will be sent to the authorised person.

You must get the authorisation code from the authorised person and enter it to continue.
Step 2 - Verify Shipments
Once your order has been found, all of the shipments in the order will be listed for your selection.
If there is more than one shipment in the order, you have the option to receive the seed/secret keys of all shipments or some of the shipments.
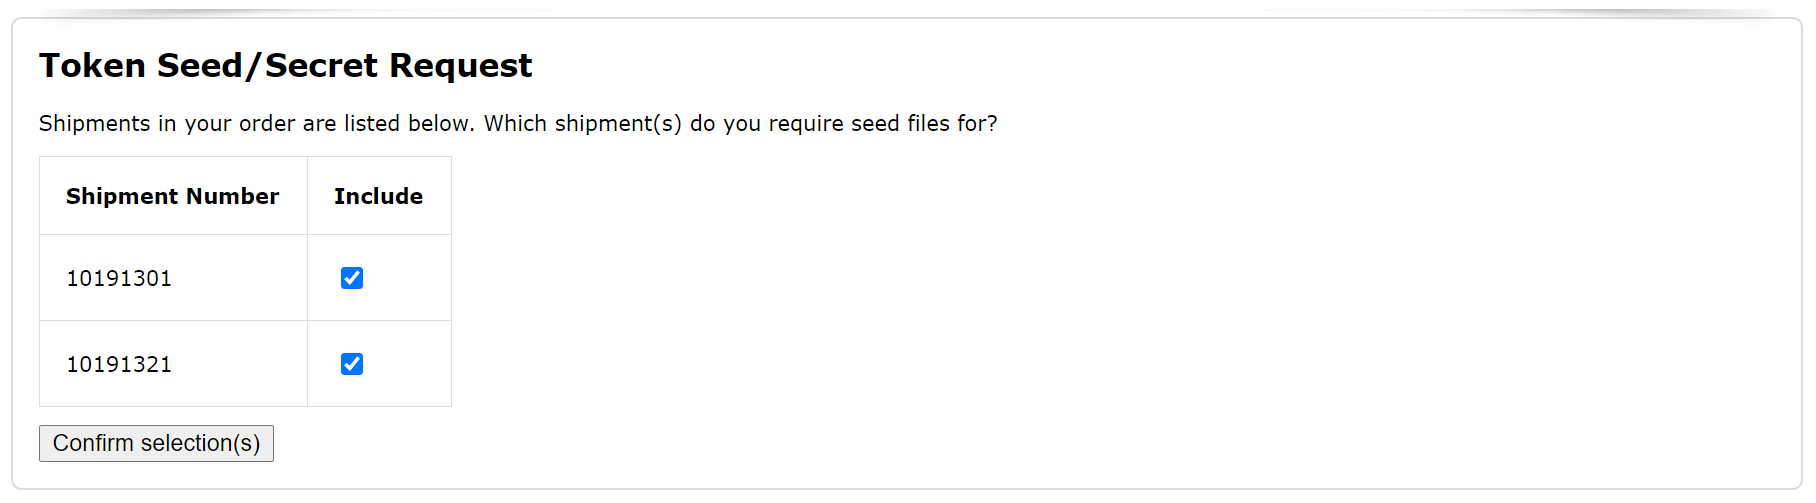
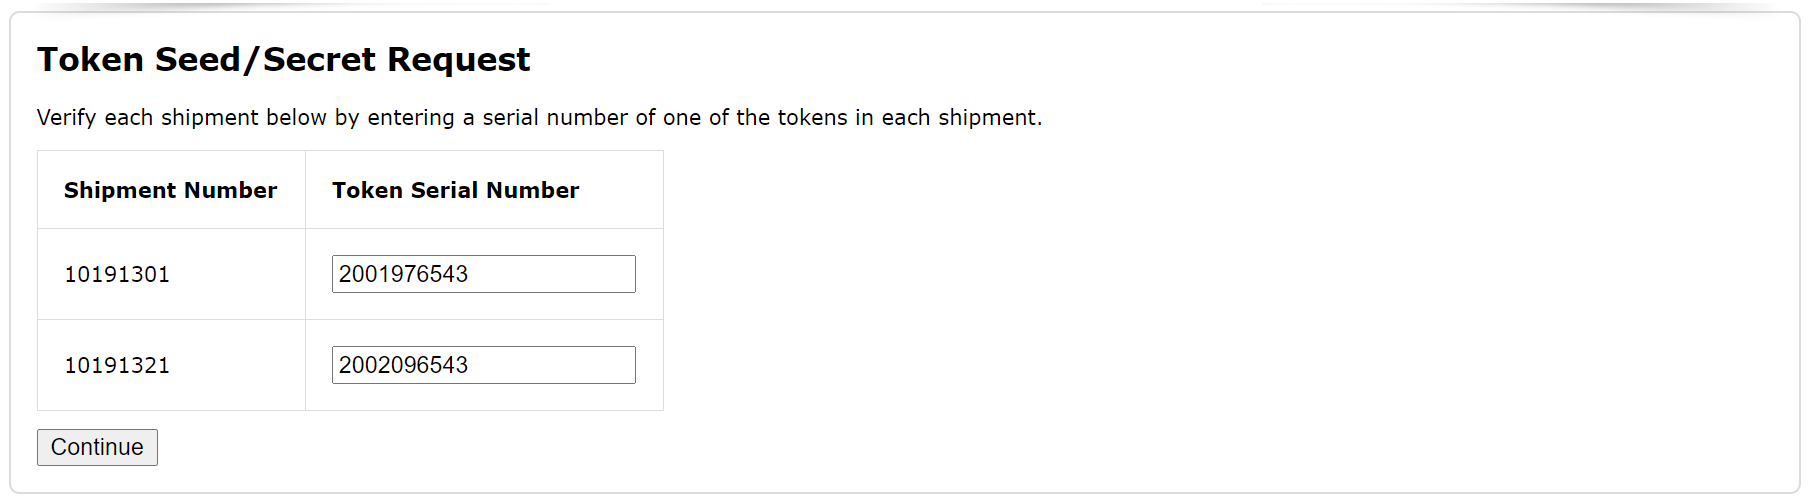
Once you have specified the shipments, you will be asked to verify each shipment by providing the serial number of one of the tokens in the shipment.
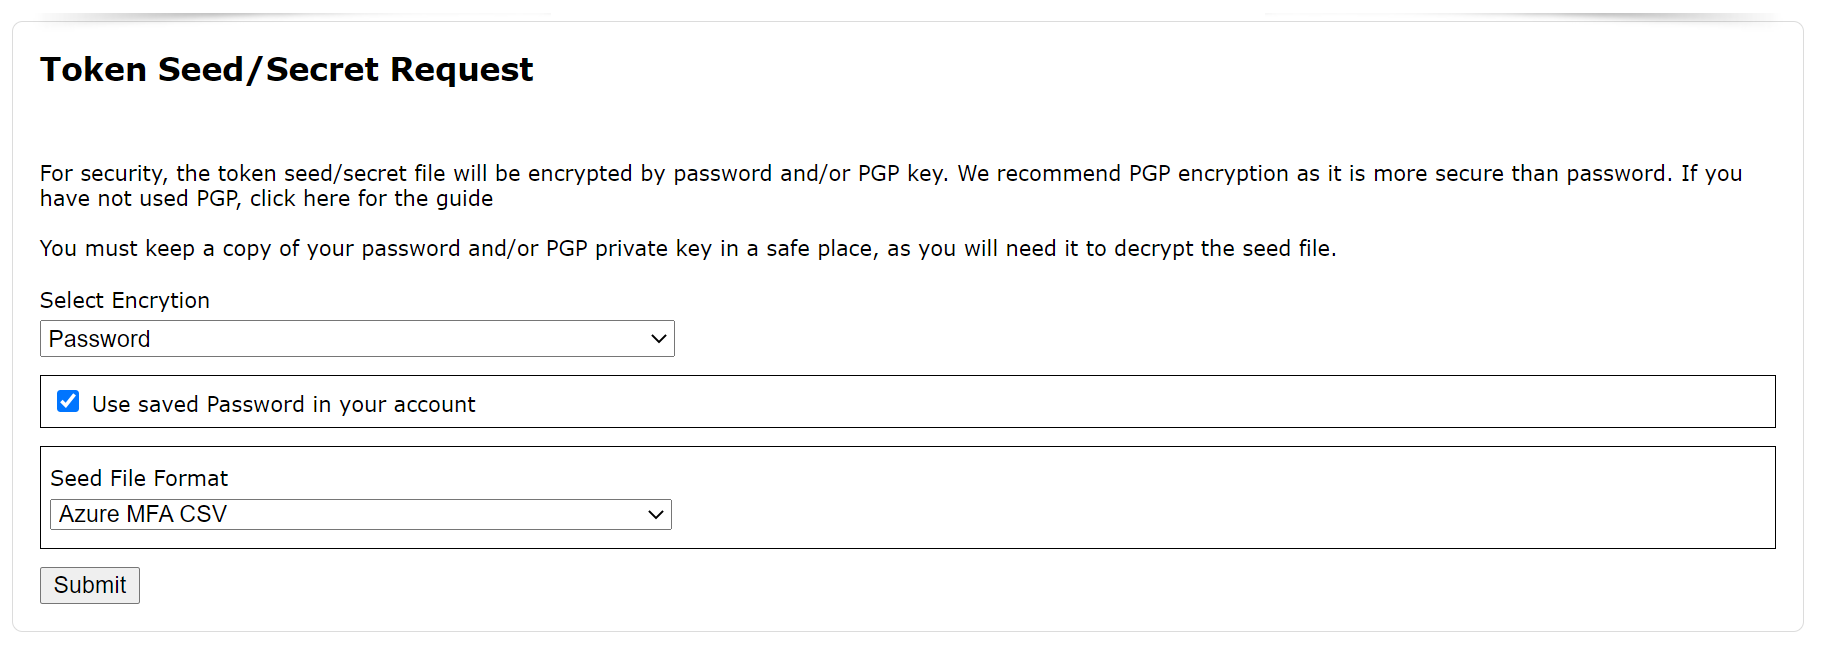
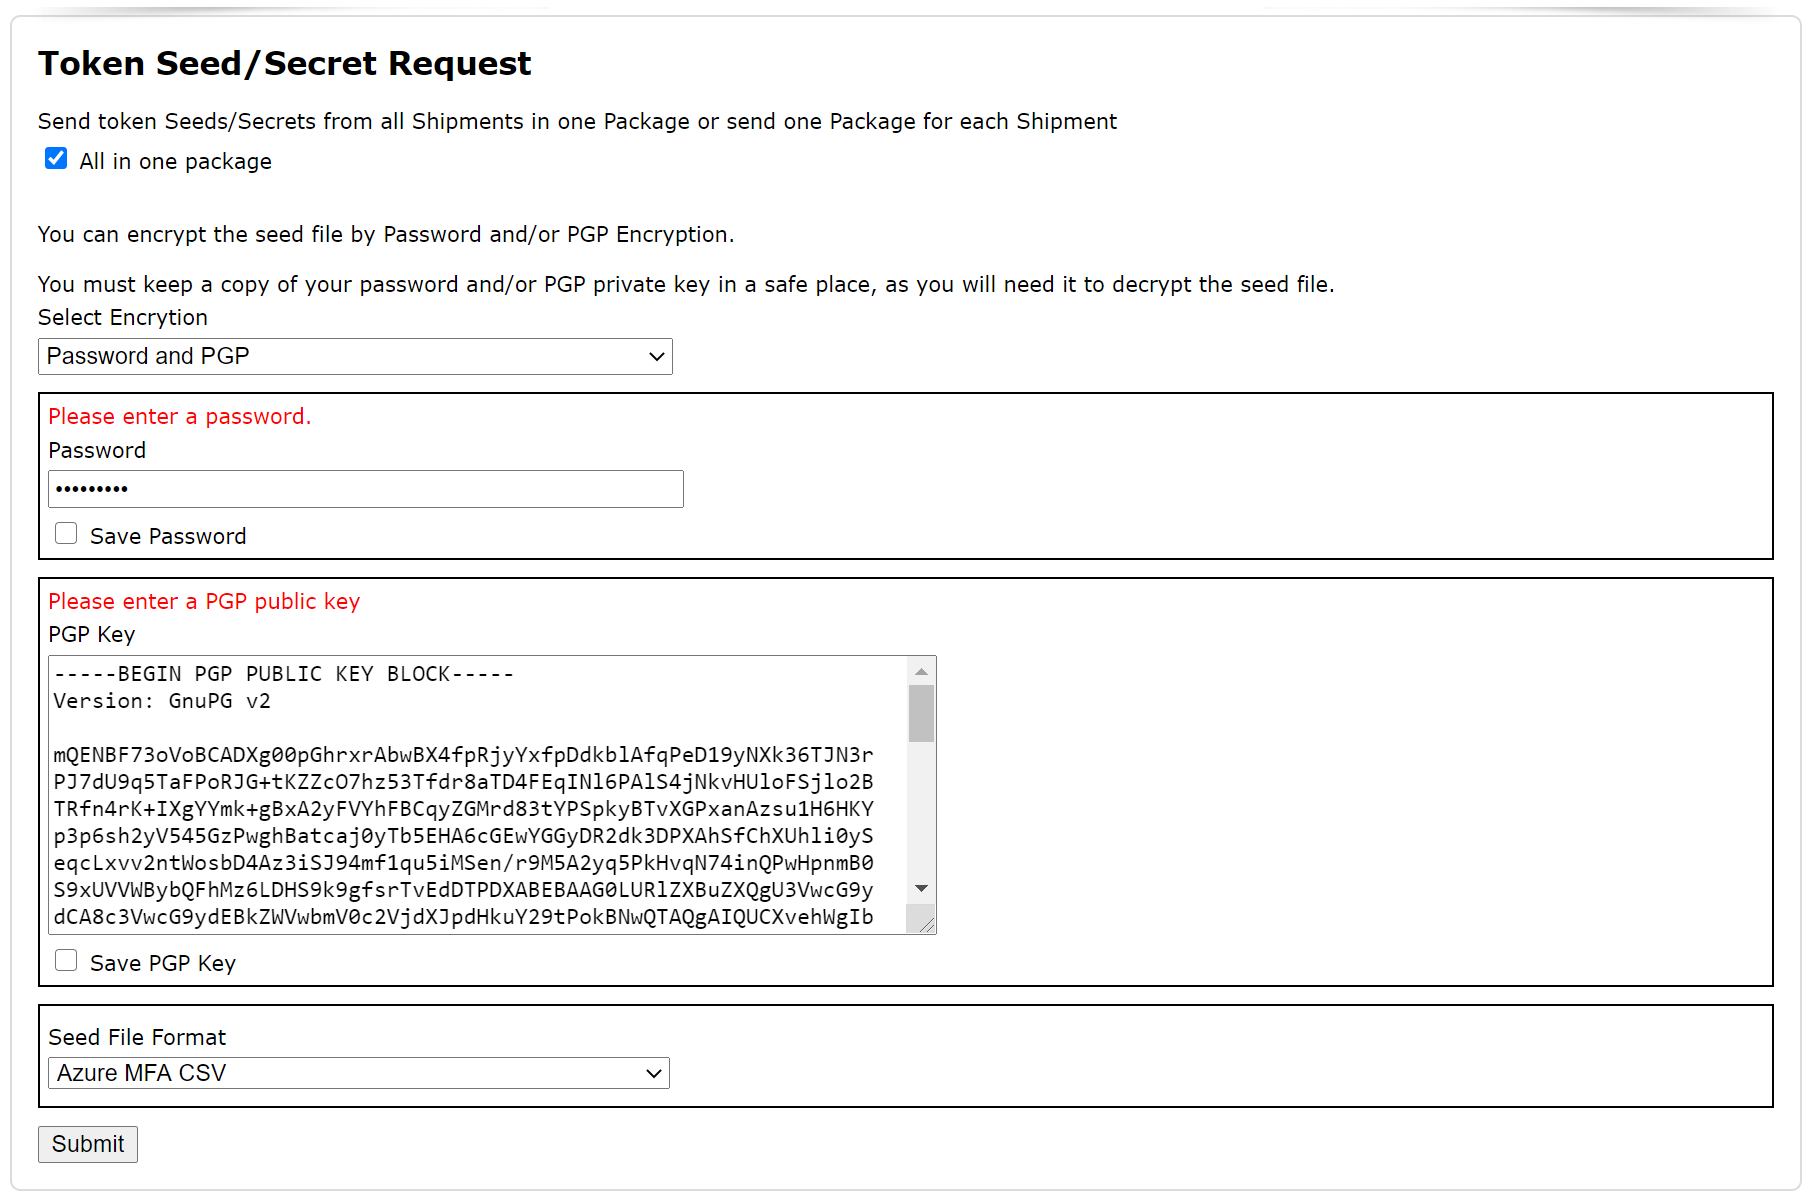
Step 3 - Select Token File Encryption
For security, the token seed/secret file will be encrypted by a password and/or PGP key.

First, you have to decide if you want to receive the seed/secret keys of all tokens in one file, or in separate files by shipments.

Then, you have to decide how you want the token file to be encrypted. You have 3 options:
- Password only
- PGP only
- Password and PGP
For simplicity, select the password option. For better security, select the PGP encryption option. If you have not used PGP, then please refer to the guide below
How to encrypt or decrypt files using PGP
For the best security, you can encrypt the token file by both password and PGP key.
If you select to use the password option, you must create a new password and save a copy of the password in a safe place, as you will need it to decrypt the seed/secret files when you have received them.
If you select to use the PGP option, you must create a new PGP key and save a copy of the PGP private key in a safe place, as you will need it to decrypt the seed/secret files when you have received them. (If you are using the WinGPG software, then your PGP private key is automatically saved by the software itself).
Step 4 - Select Token File Format
Next, you need to specify the format of the seed/secret file that you wish to receive.

Select one of the following options:
- Entra MFA CSV
- Entra MFA JSON
- DualShield
- Duo CSV
- OKTA CSV
- PSKC - Passphrase-Based Key
- PSKC - Plain text
- PSKC - Pre-Shared Key
- SafeID Token Service CSV
- Sales Force CSV
- Custom CSV
All options are self-explanatory except the "Custom CSV" option.
The "Custom CSV" option allows you to specify your own CSV data content.
A custom CSV file consists of a list of fields, and each field has a name and value.
Click on "Add Field" button to add a new field.
Enter the name of the filed, then specify the value of the field. You can either specify a fixed value or select one of the token's properties.
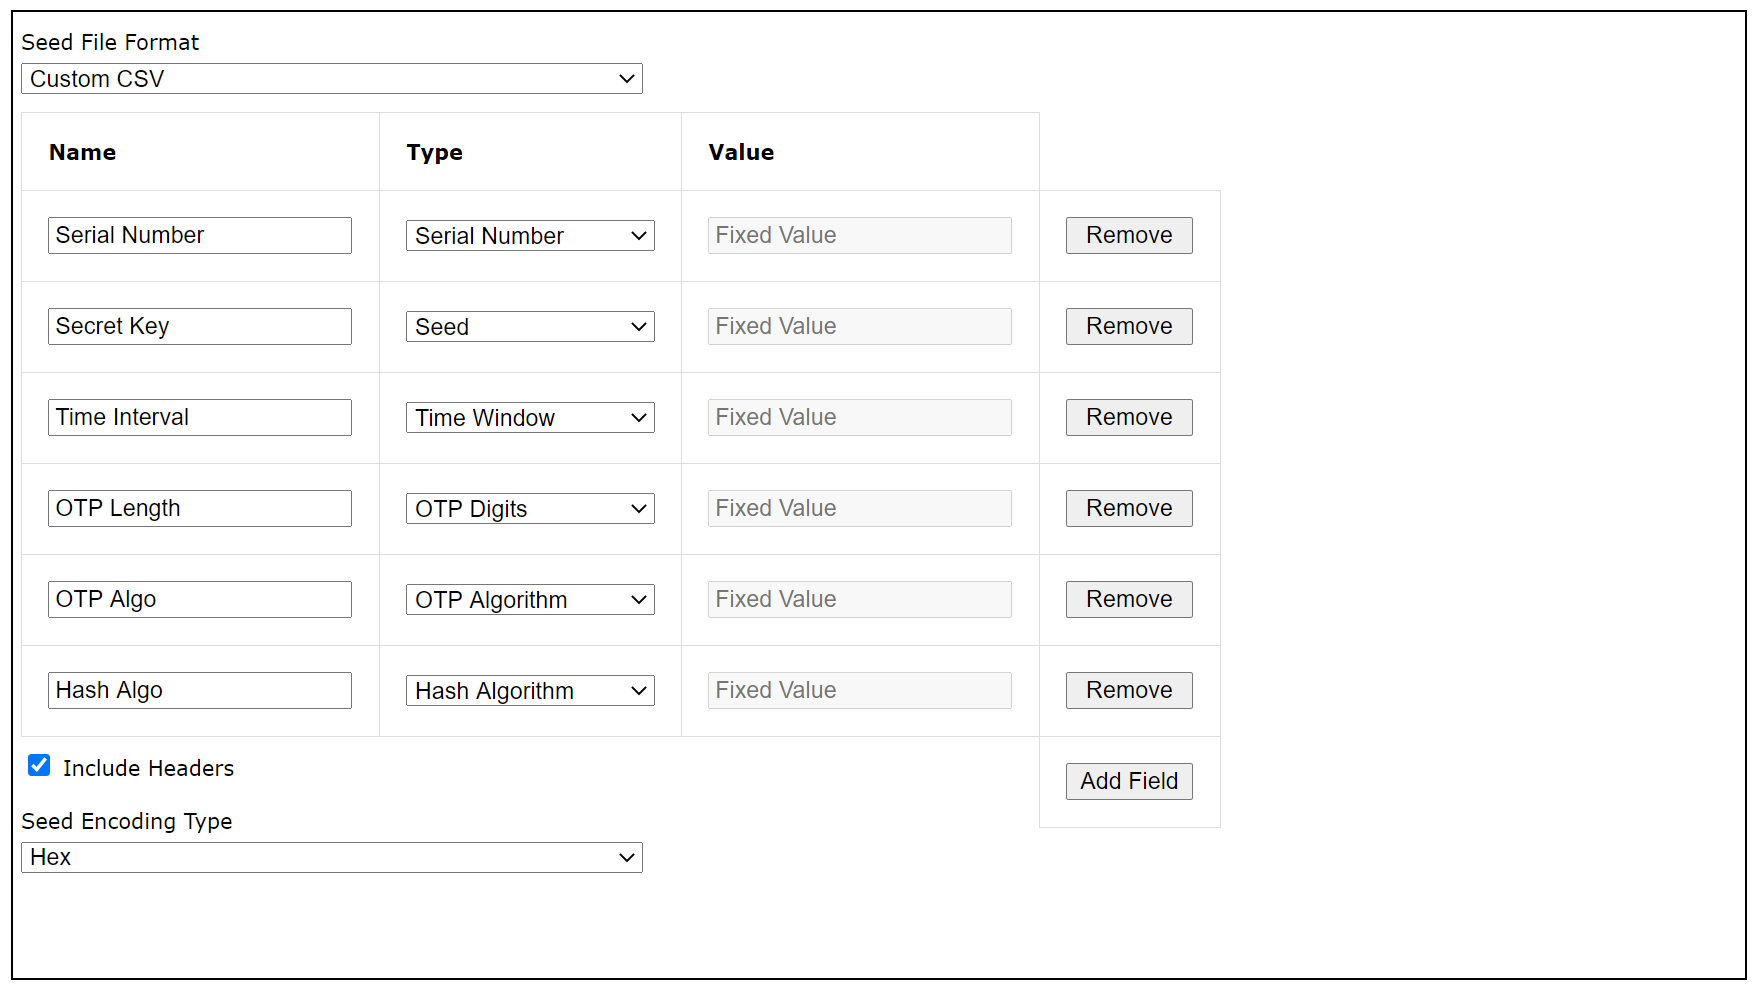
Also, you need to specify whether or not you want the list of field names to be included CSV file as the first row - the header row.
Finally, you need to specify how the seed/secret key should be encoded. There are 3 options:
- Hex
- Base32
- Base64
Finally, click on the "Submit" button to submit your request.
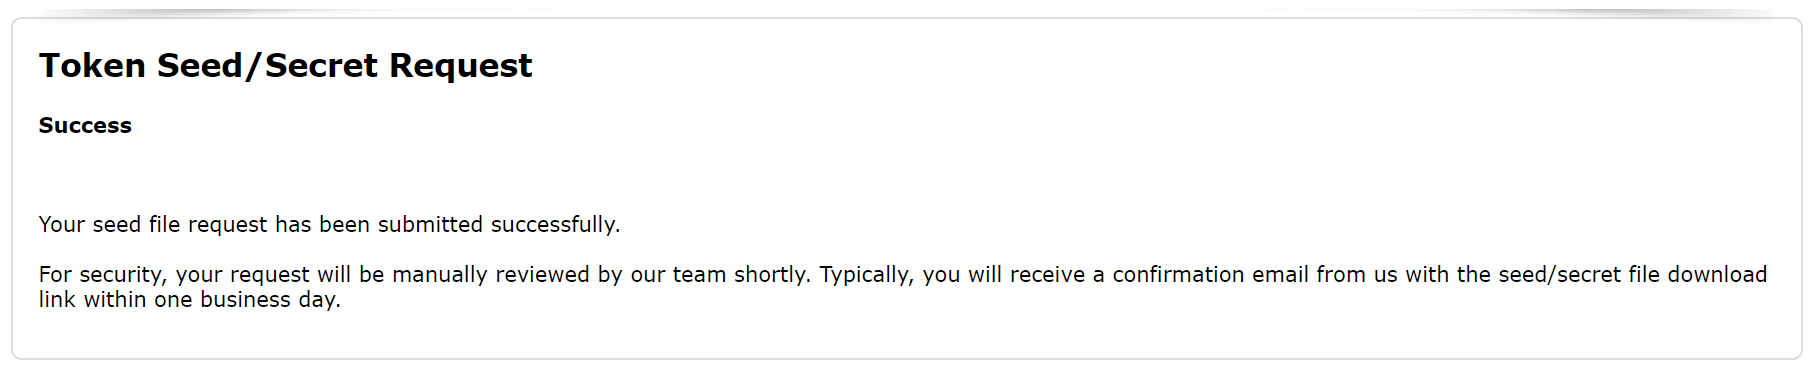
For extra security, your request will be reviewed by our delivery team to ensure that all details are correct.
Step 5 - Receive Token Download Email
If all of the details that you submitted are correct, then shortly you will receive an email from delivery@deepnetsecurity.com, like below:
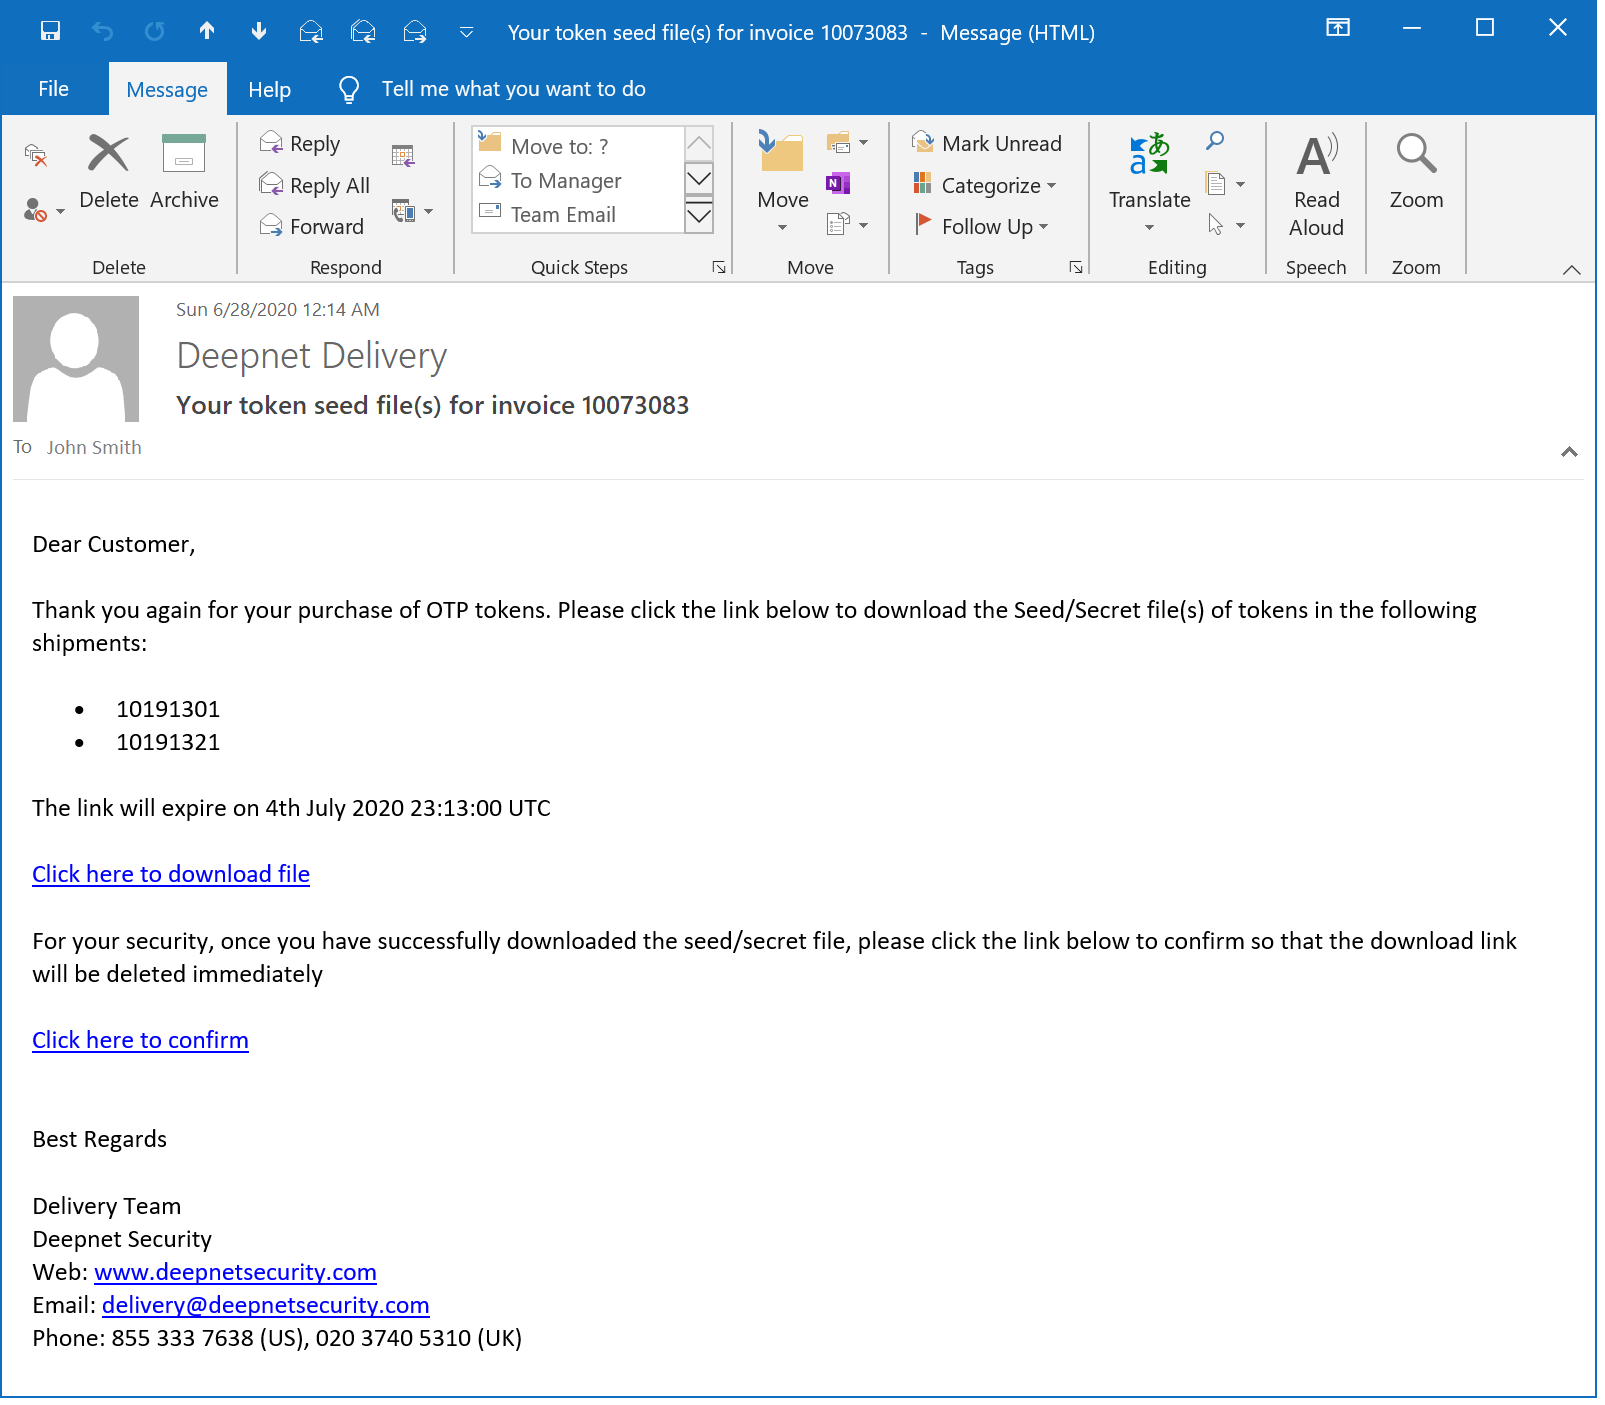
If you have several shipments and decided to receive seed/secret files separately, then you will receive several emails.
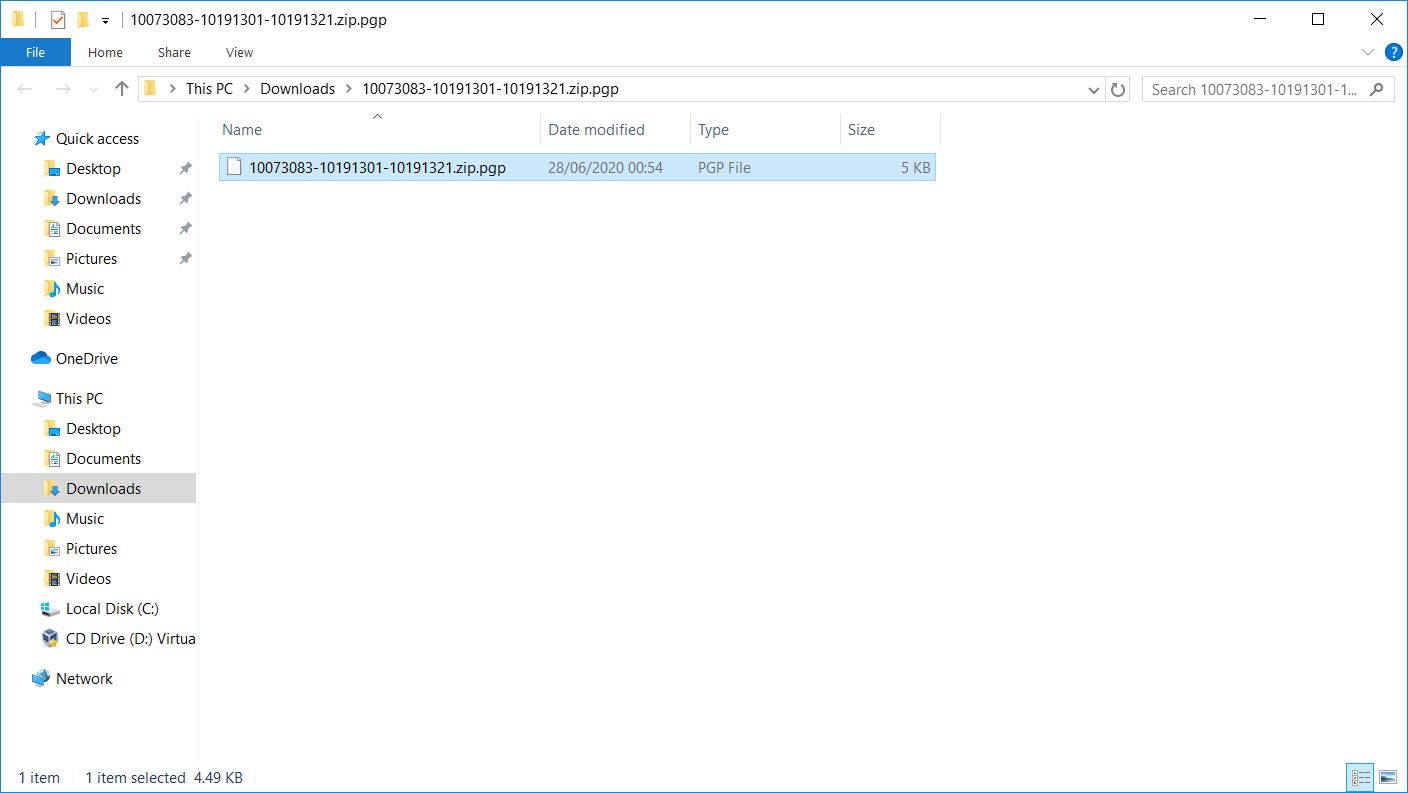
Step 6 - Download Token File
To download the seed file., click the download link.
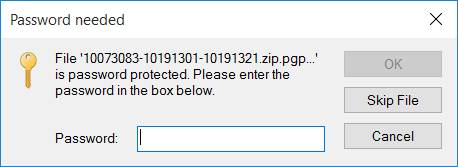
You will be prompted to enter your password if you decided to secure the seed file by password at the request
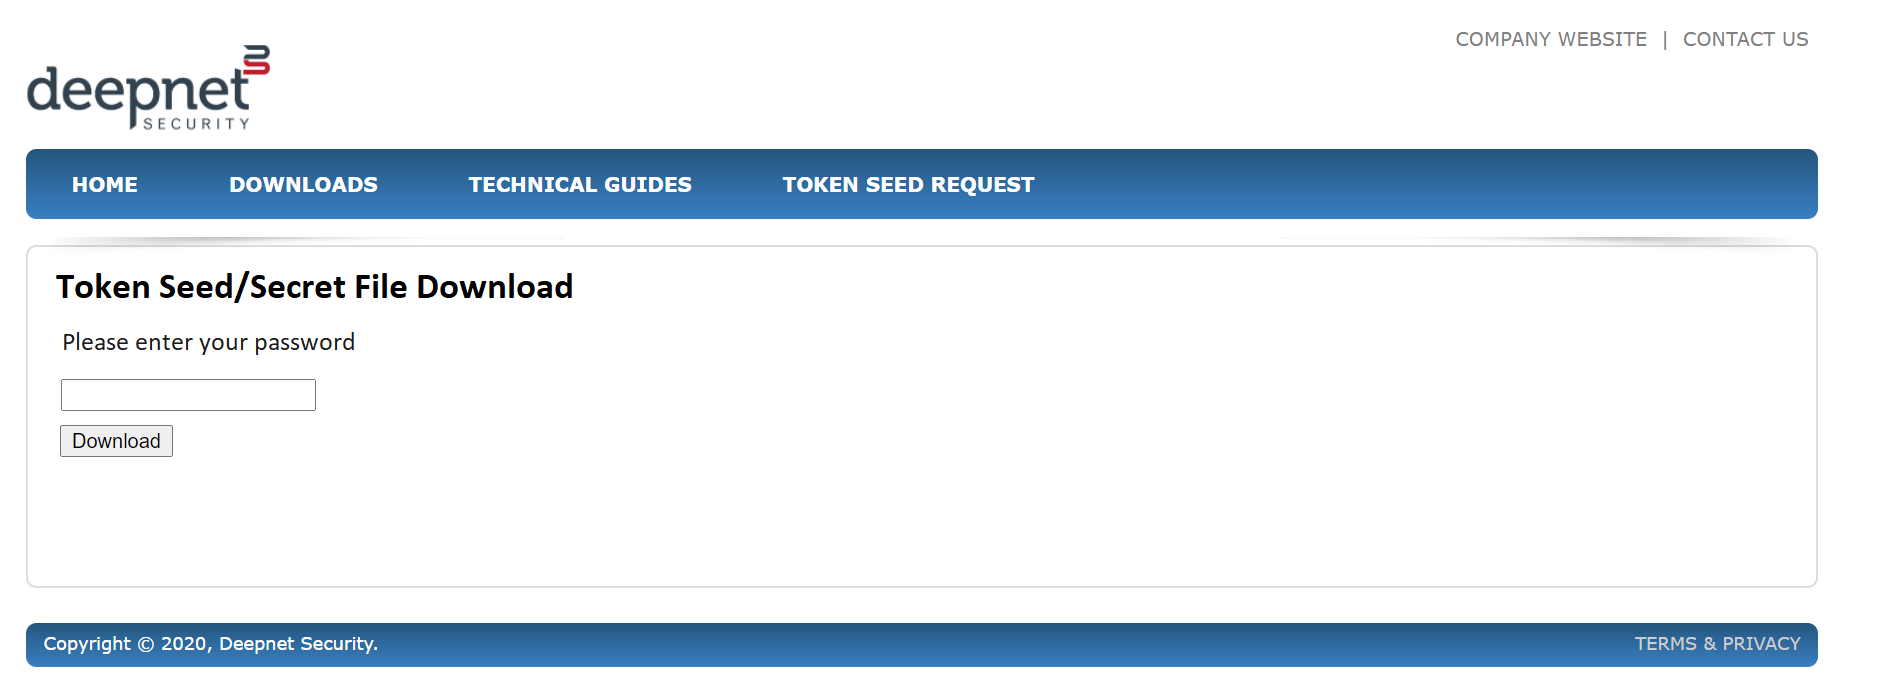
Once the correct password is entered, then the file will be downloaded automatically
Step 7 - Decrypt Token File
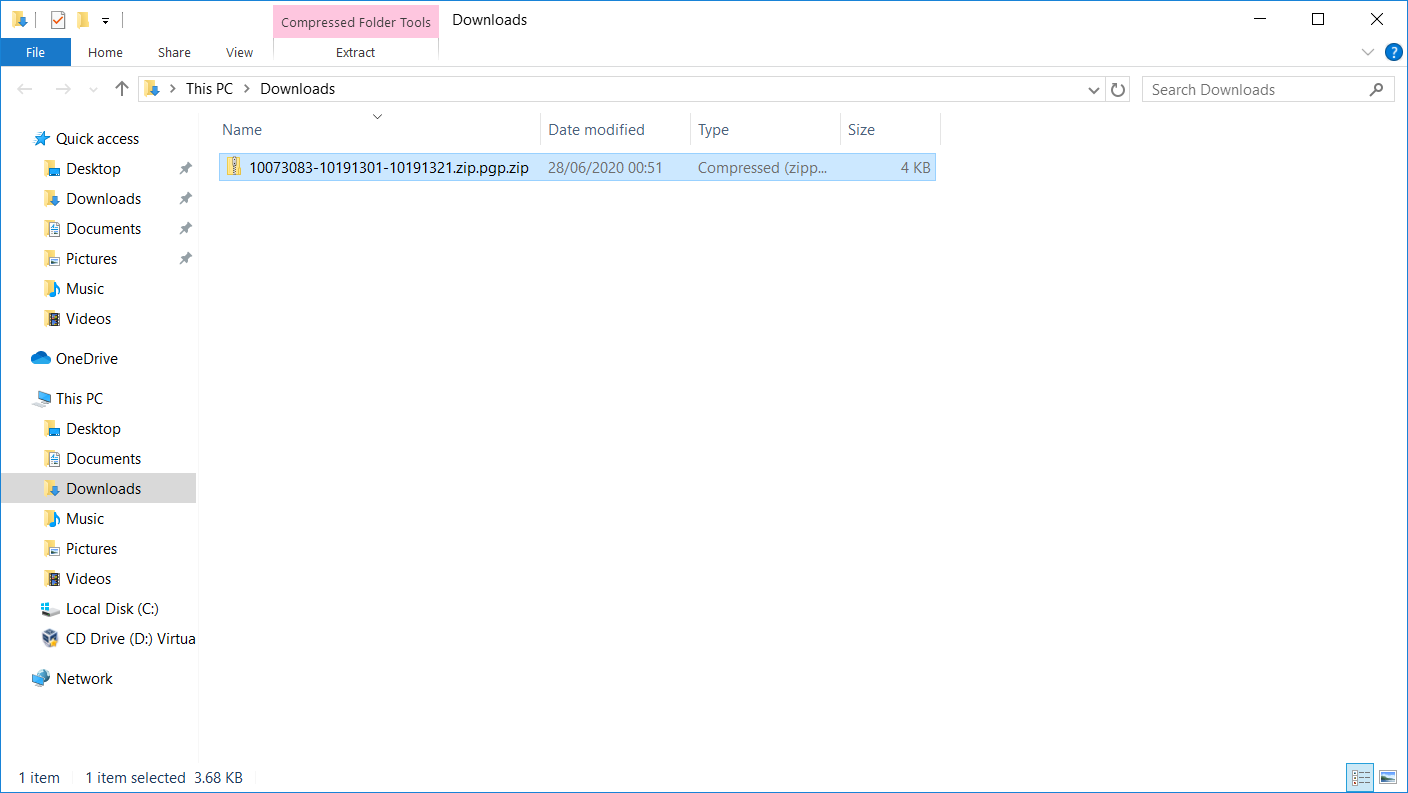
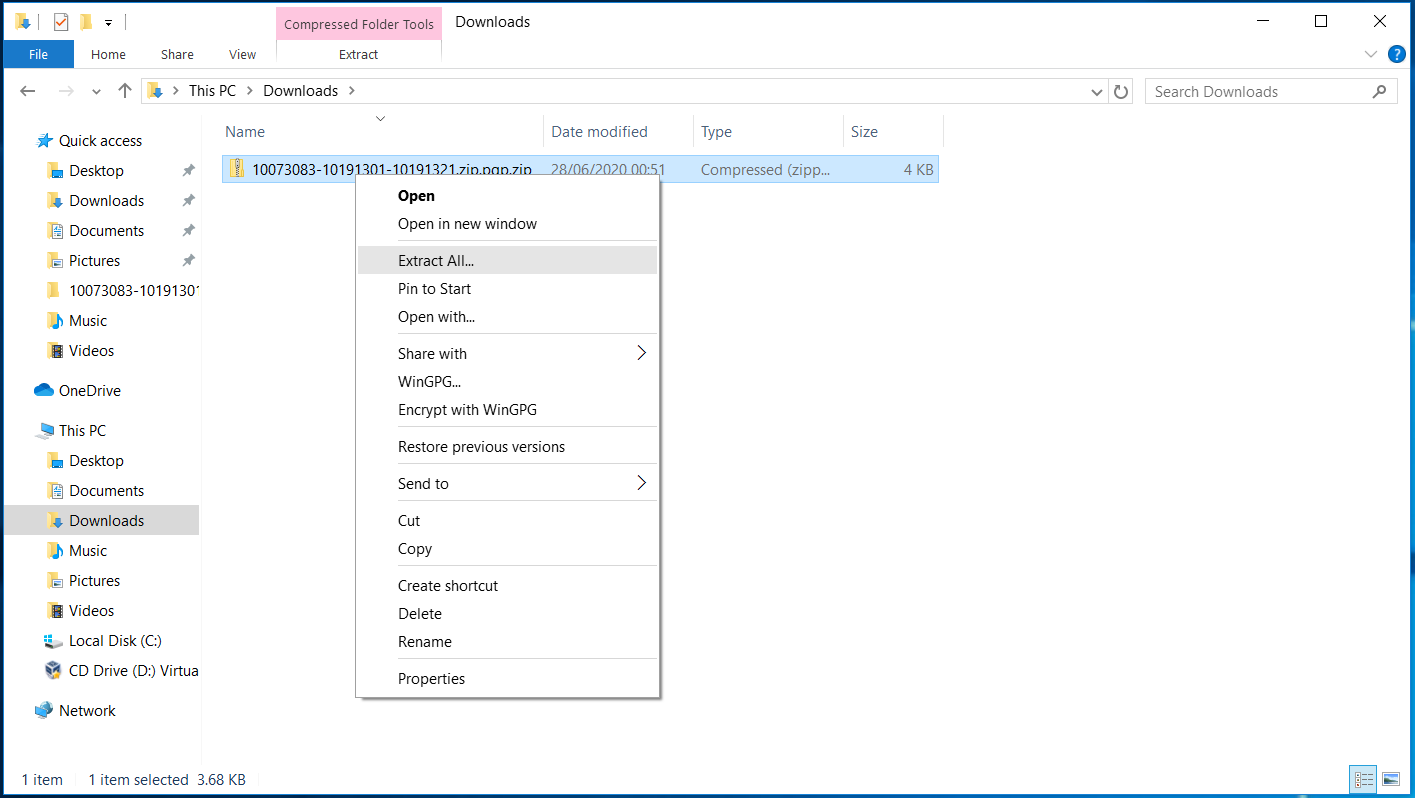
The seed file is delivered as a zip file. You need to unzip it
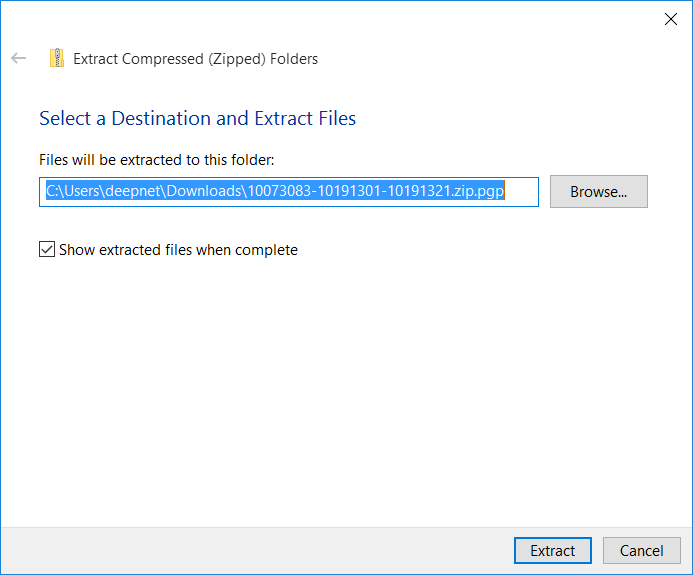
If the seed is password encrypted then you will be asked to enter the password to unzip the file
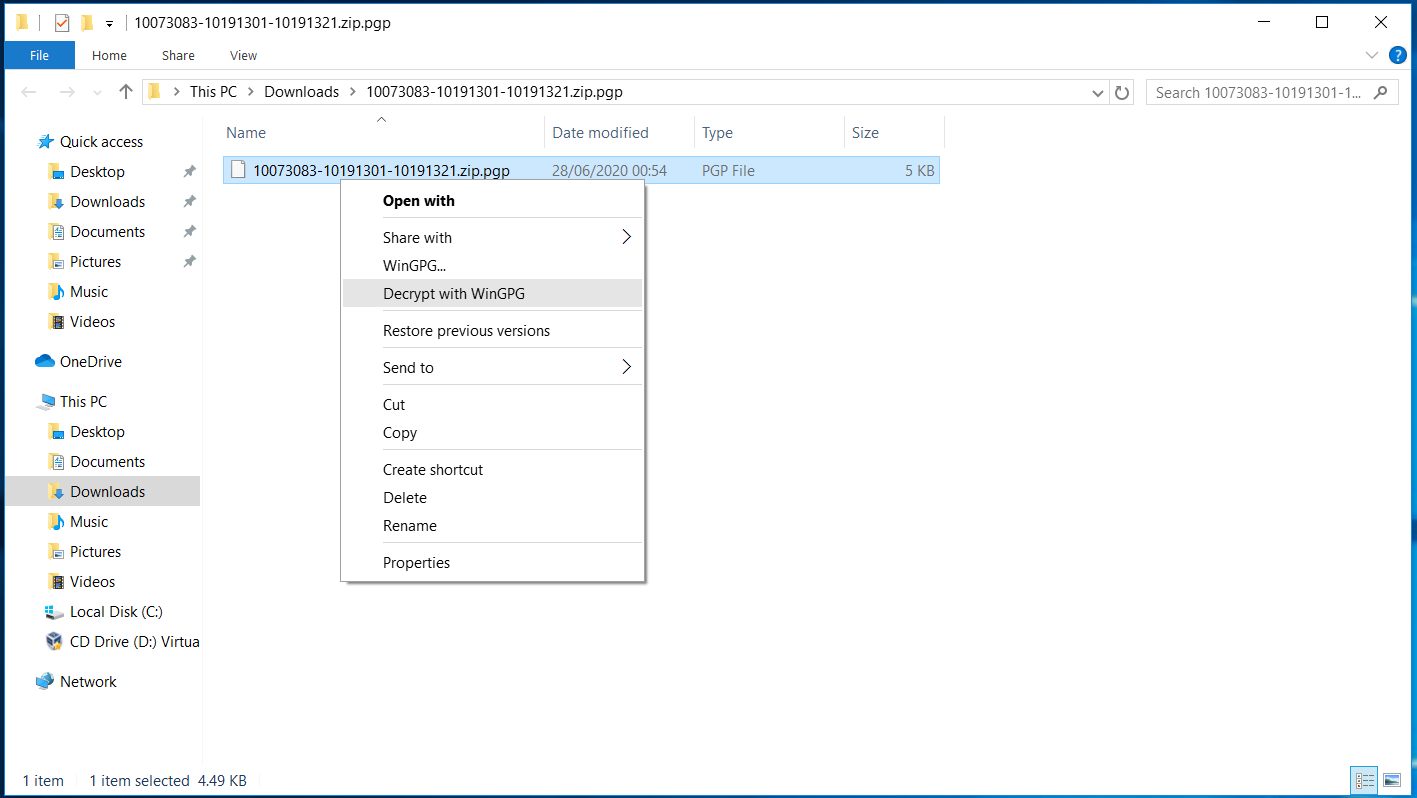
If the seed file is PGP encrypted, then you will need to decypt it by using the WinGPG tool
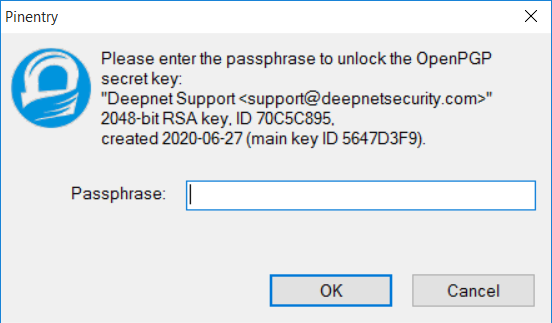
You will be prompted to entre the passphrase of your PGP key
(Please note that this passphase is the password of your PGP key, not the password of the seed file)
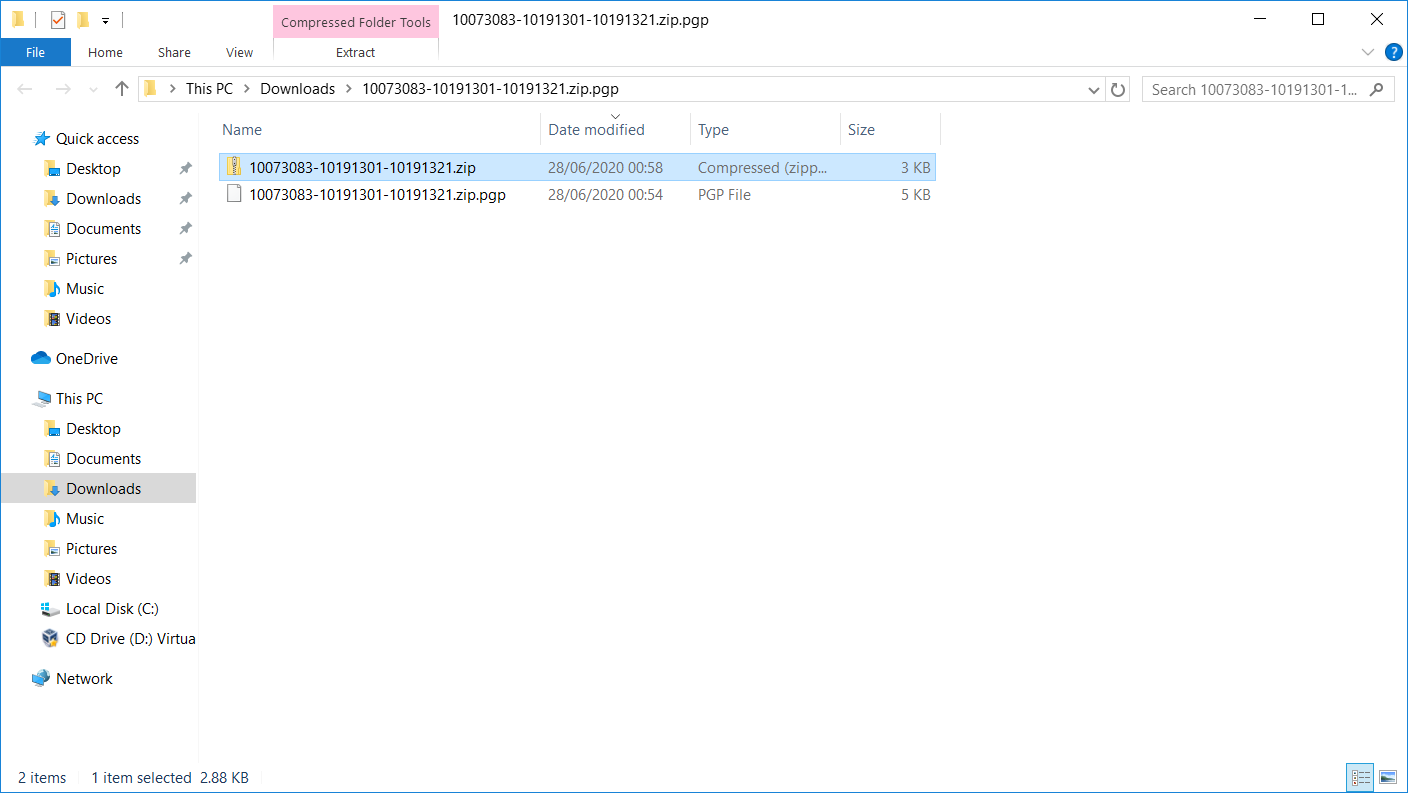
The seed file is delivered as a zip file. You need to unzip it after PGP decryption
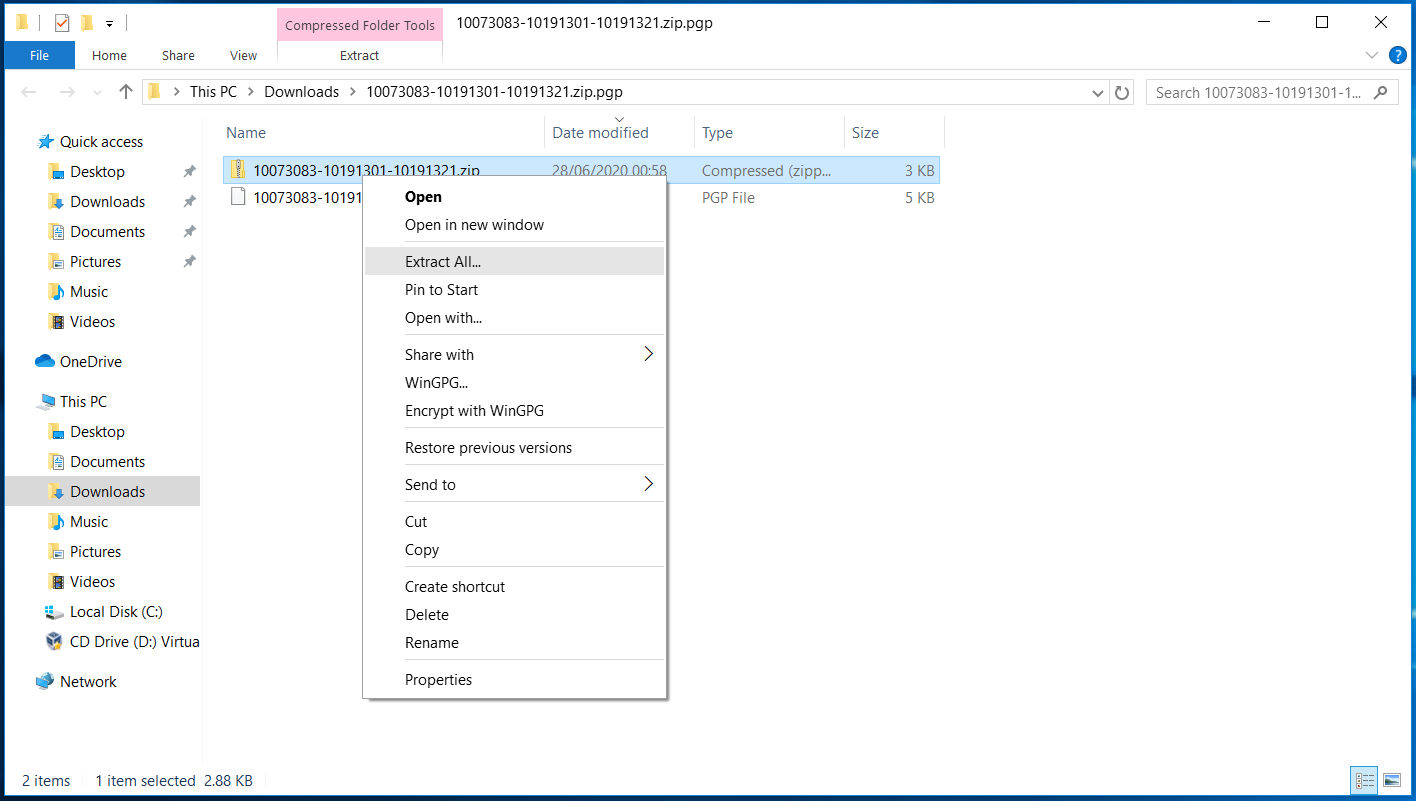
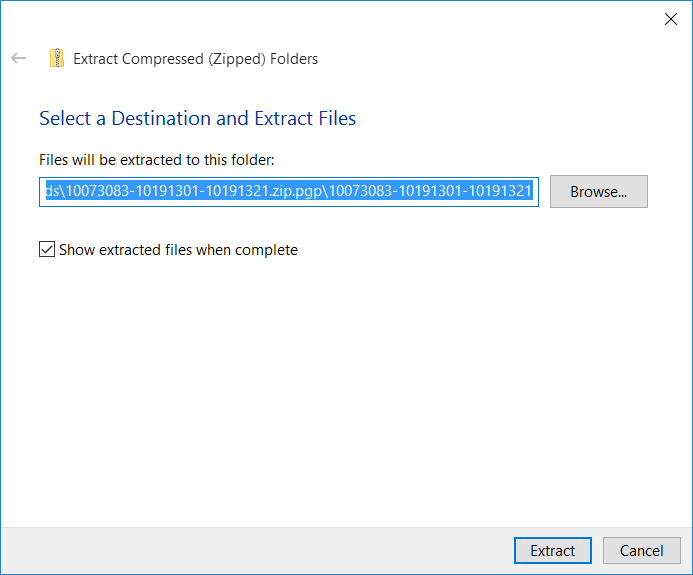
If the seed is password encrypted then you will be asked to enter the seed file password to unzip the file.

Step 8 - Confirm Download
Now that you have received your token seed/secret file, and you have sucessfuly decrypted it, we suggest that you should click the confirmation link in the email. By confirming it, the download link will be deleted immediately. This is an additional measurement for security.

Related Articles
Step 2: Assign tokens to users
Once you have downloaded the secret file of your tokens, you need to assign tokens to your Entra ID users.
There are 2 ways you can assign tokens to users
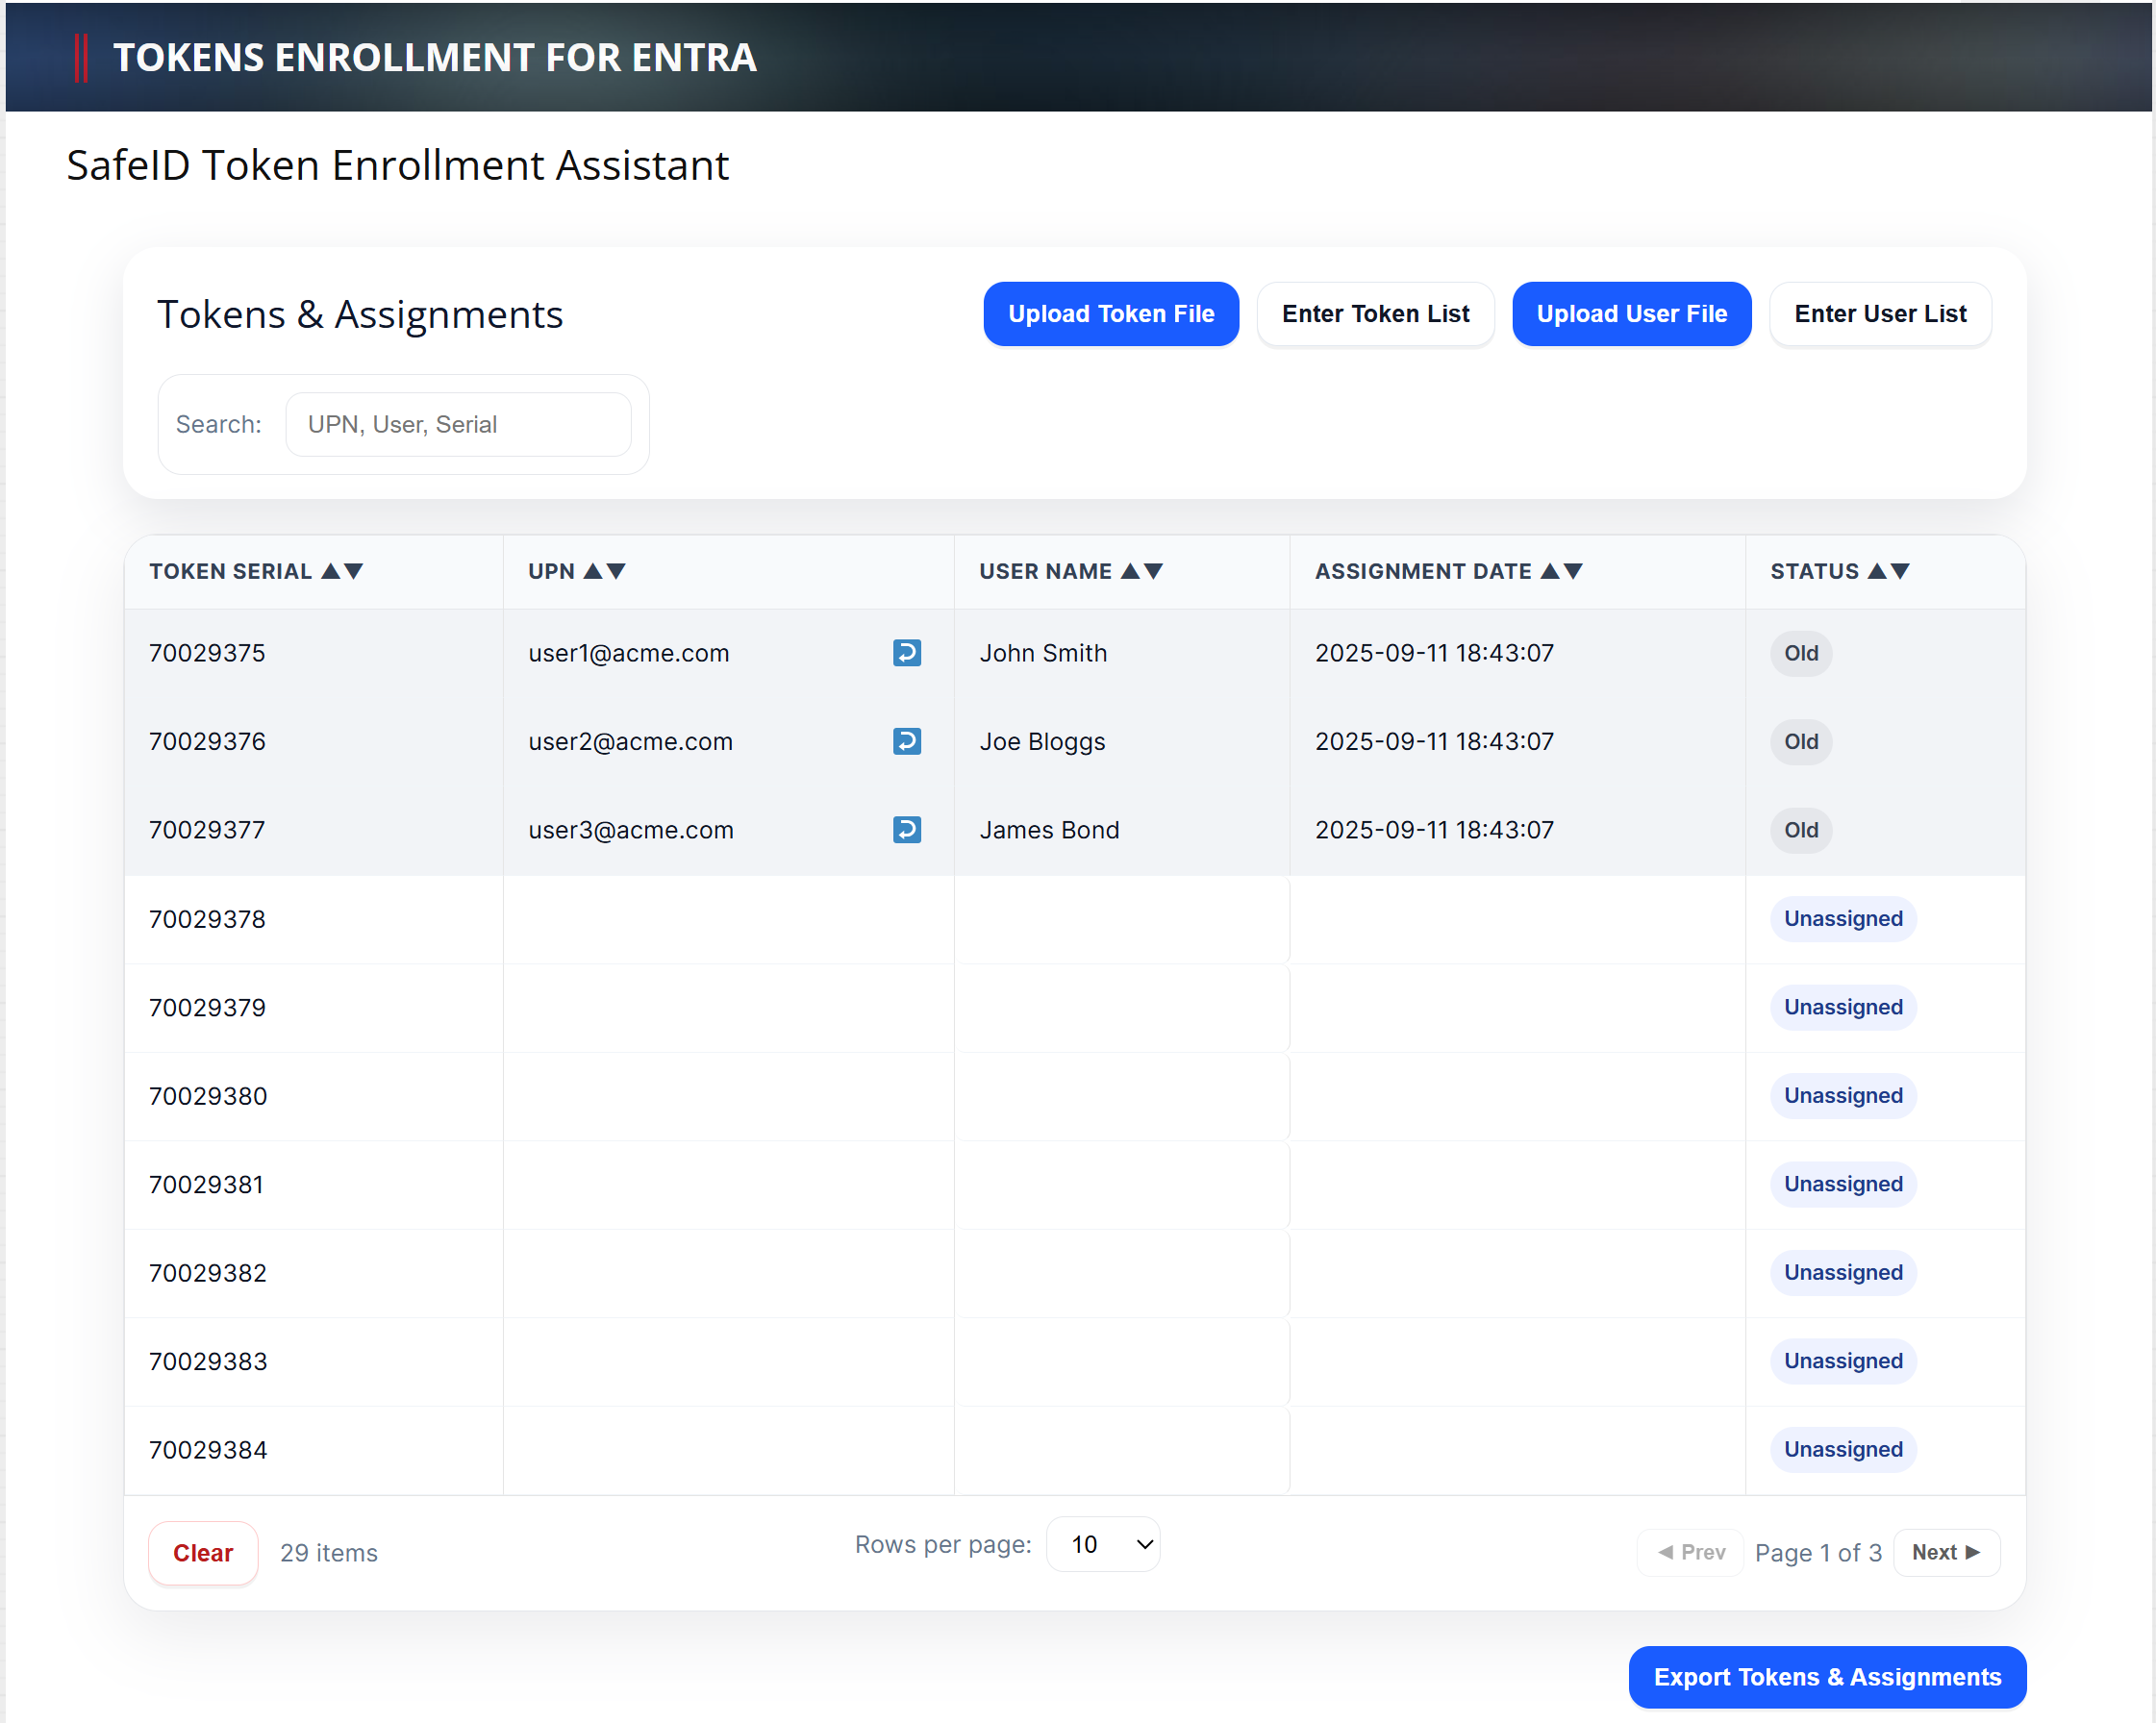
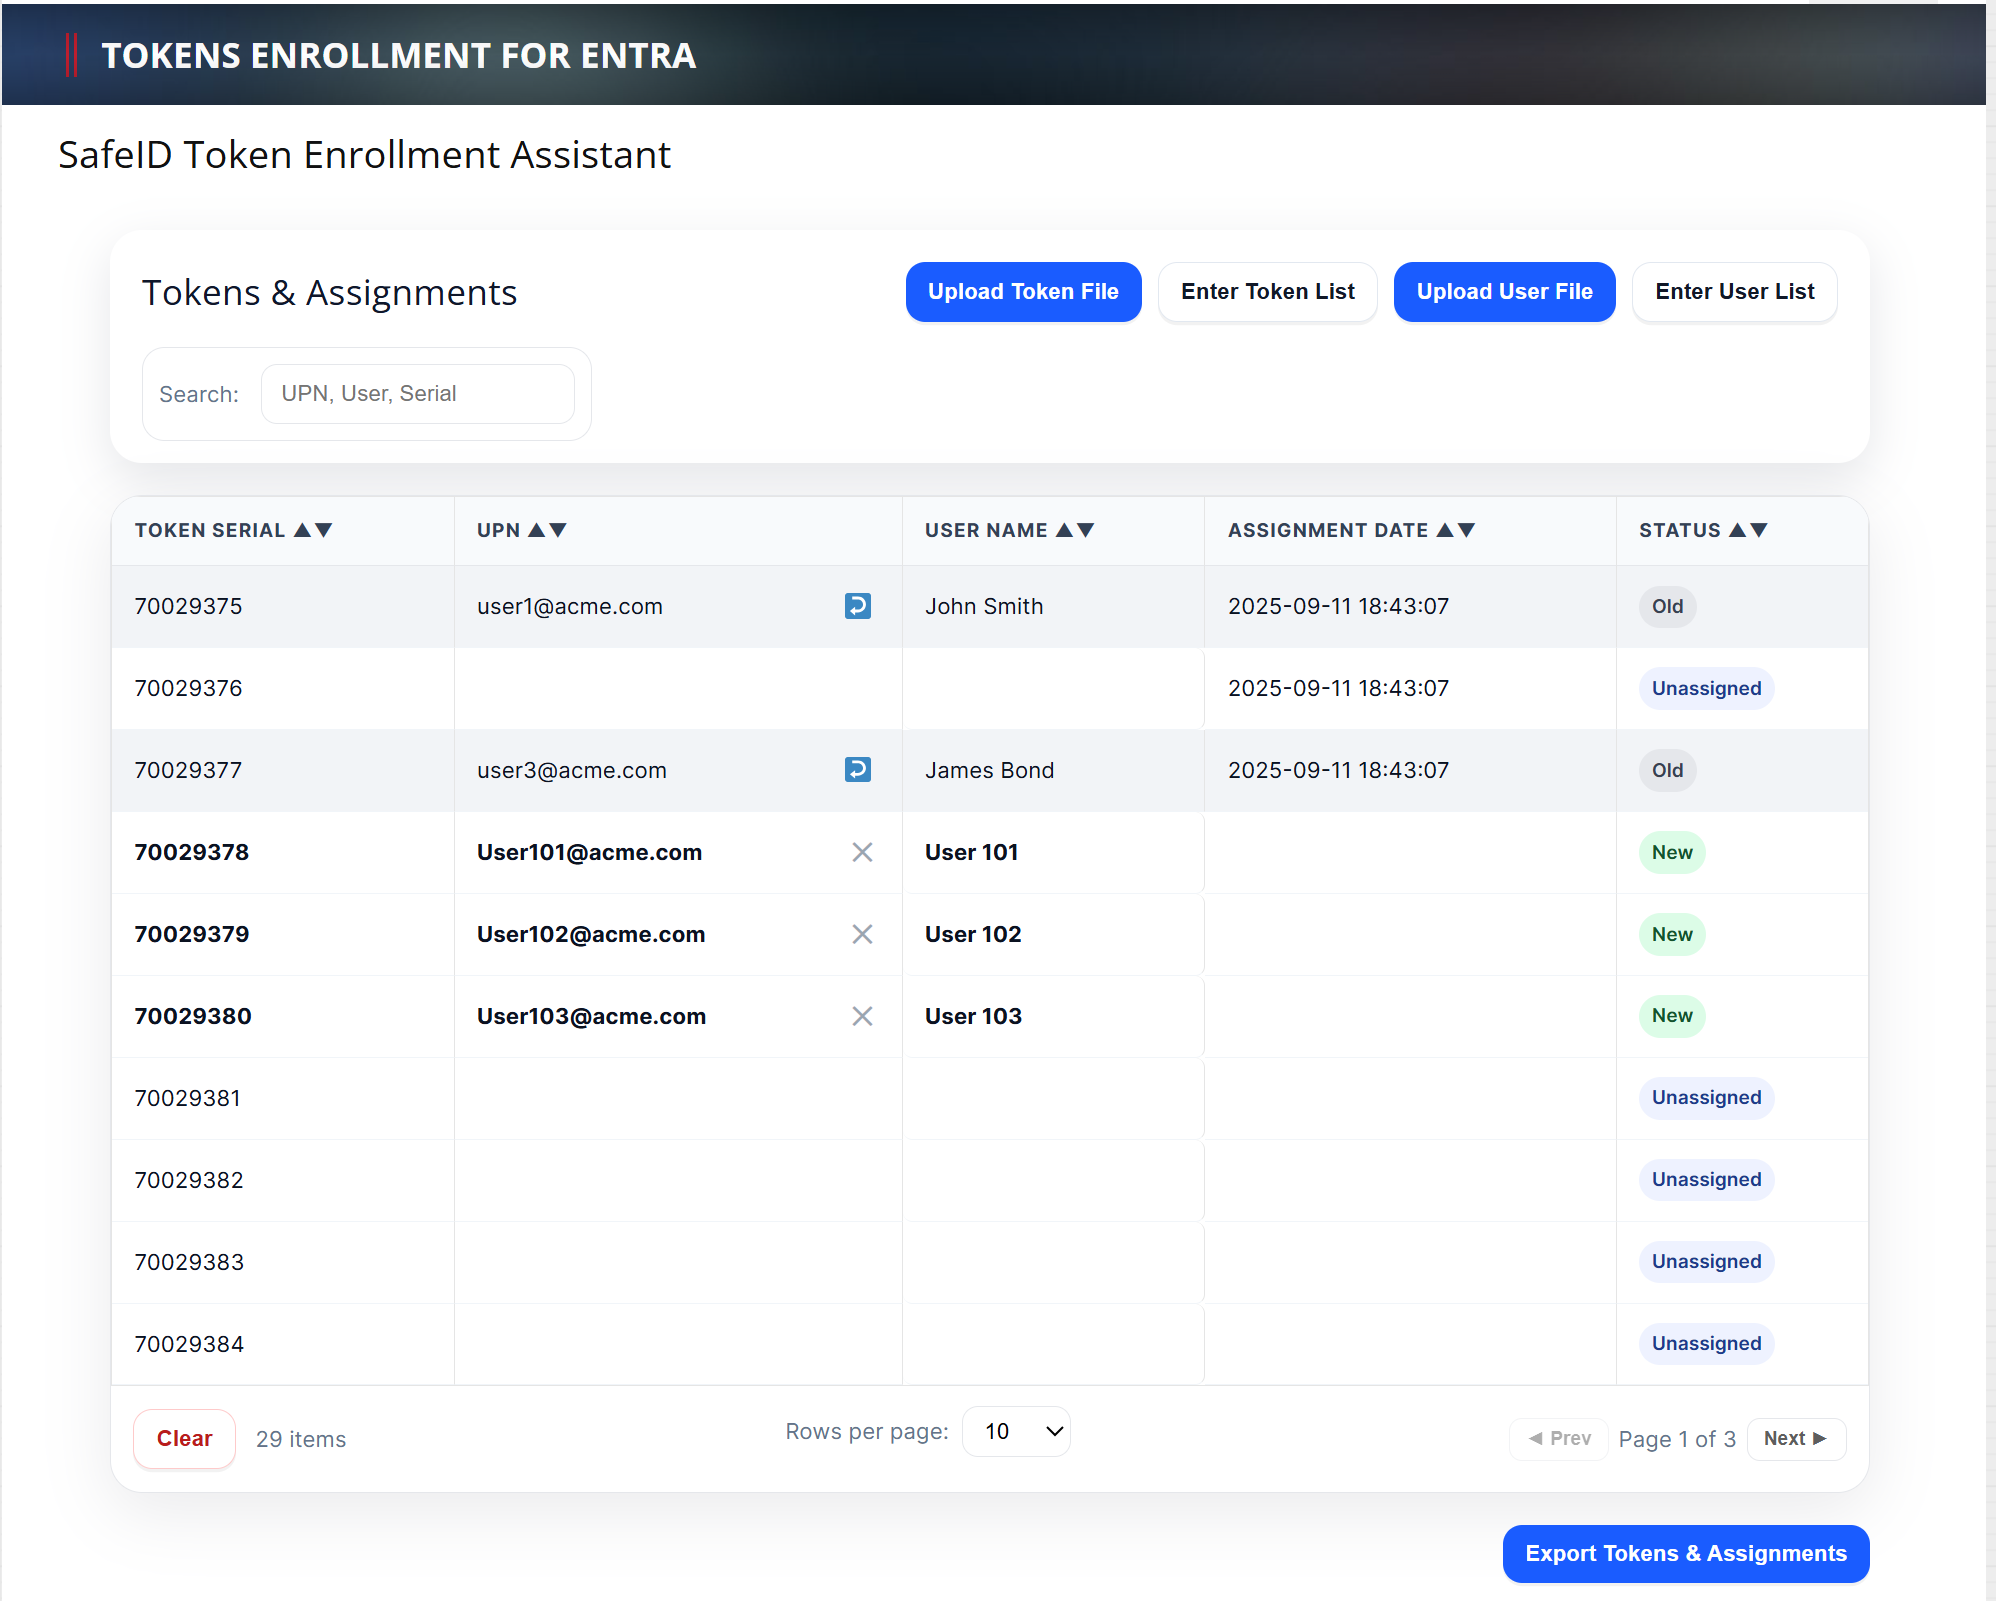
To use the tool, visit https://www.deepnetsecurity.com/tools/tokens-enrolment-for-entra/
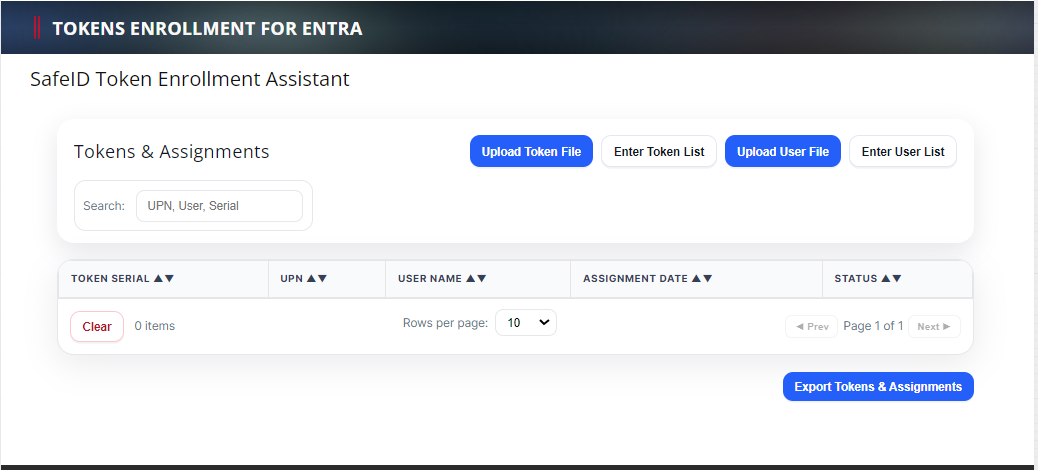
Follow the steps below:
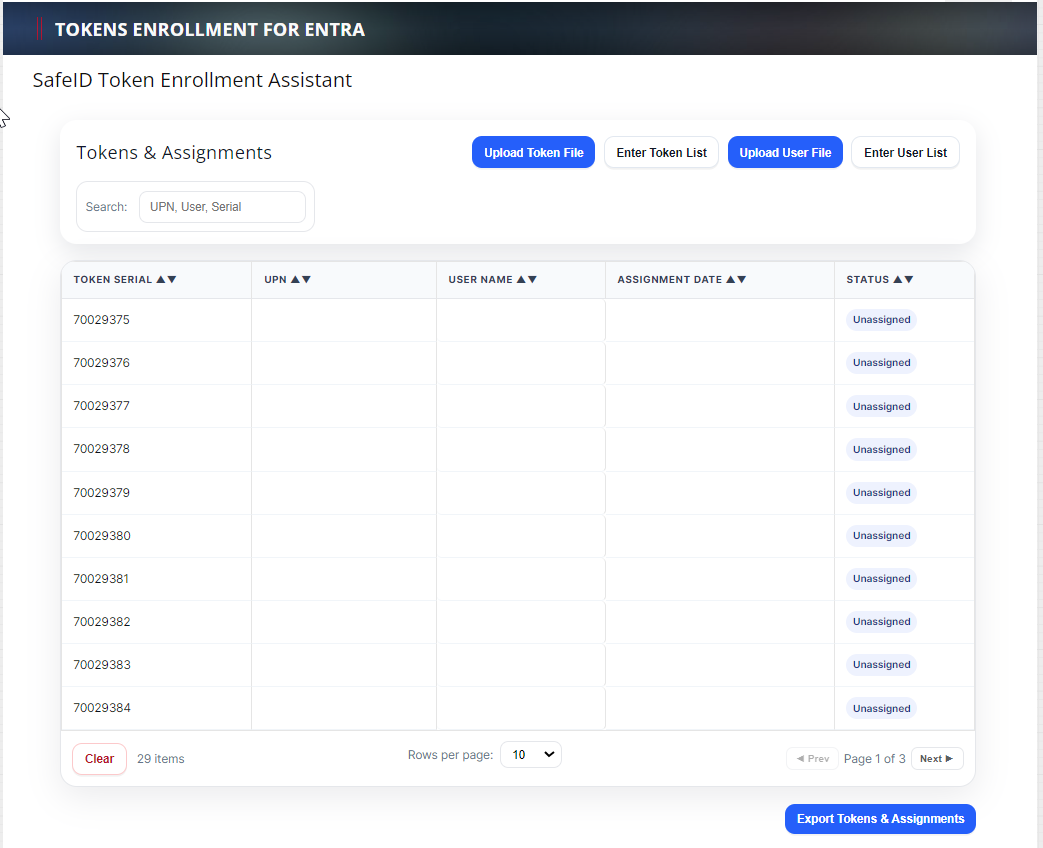
1 - Upload Token File
Click the "Upload Token File" to upload the token secret file that you have received. (If you have not received the seed file of your tokens then click here to make a request, or contacting your reseller or Deepnet Security).
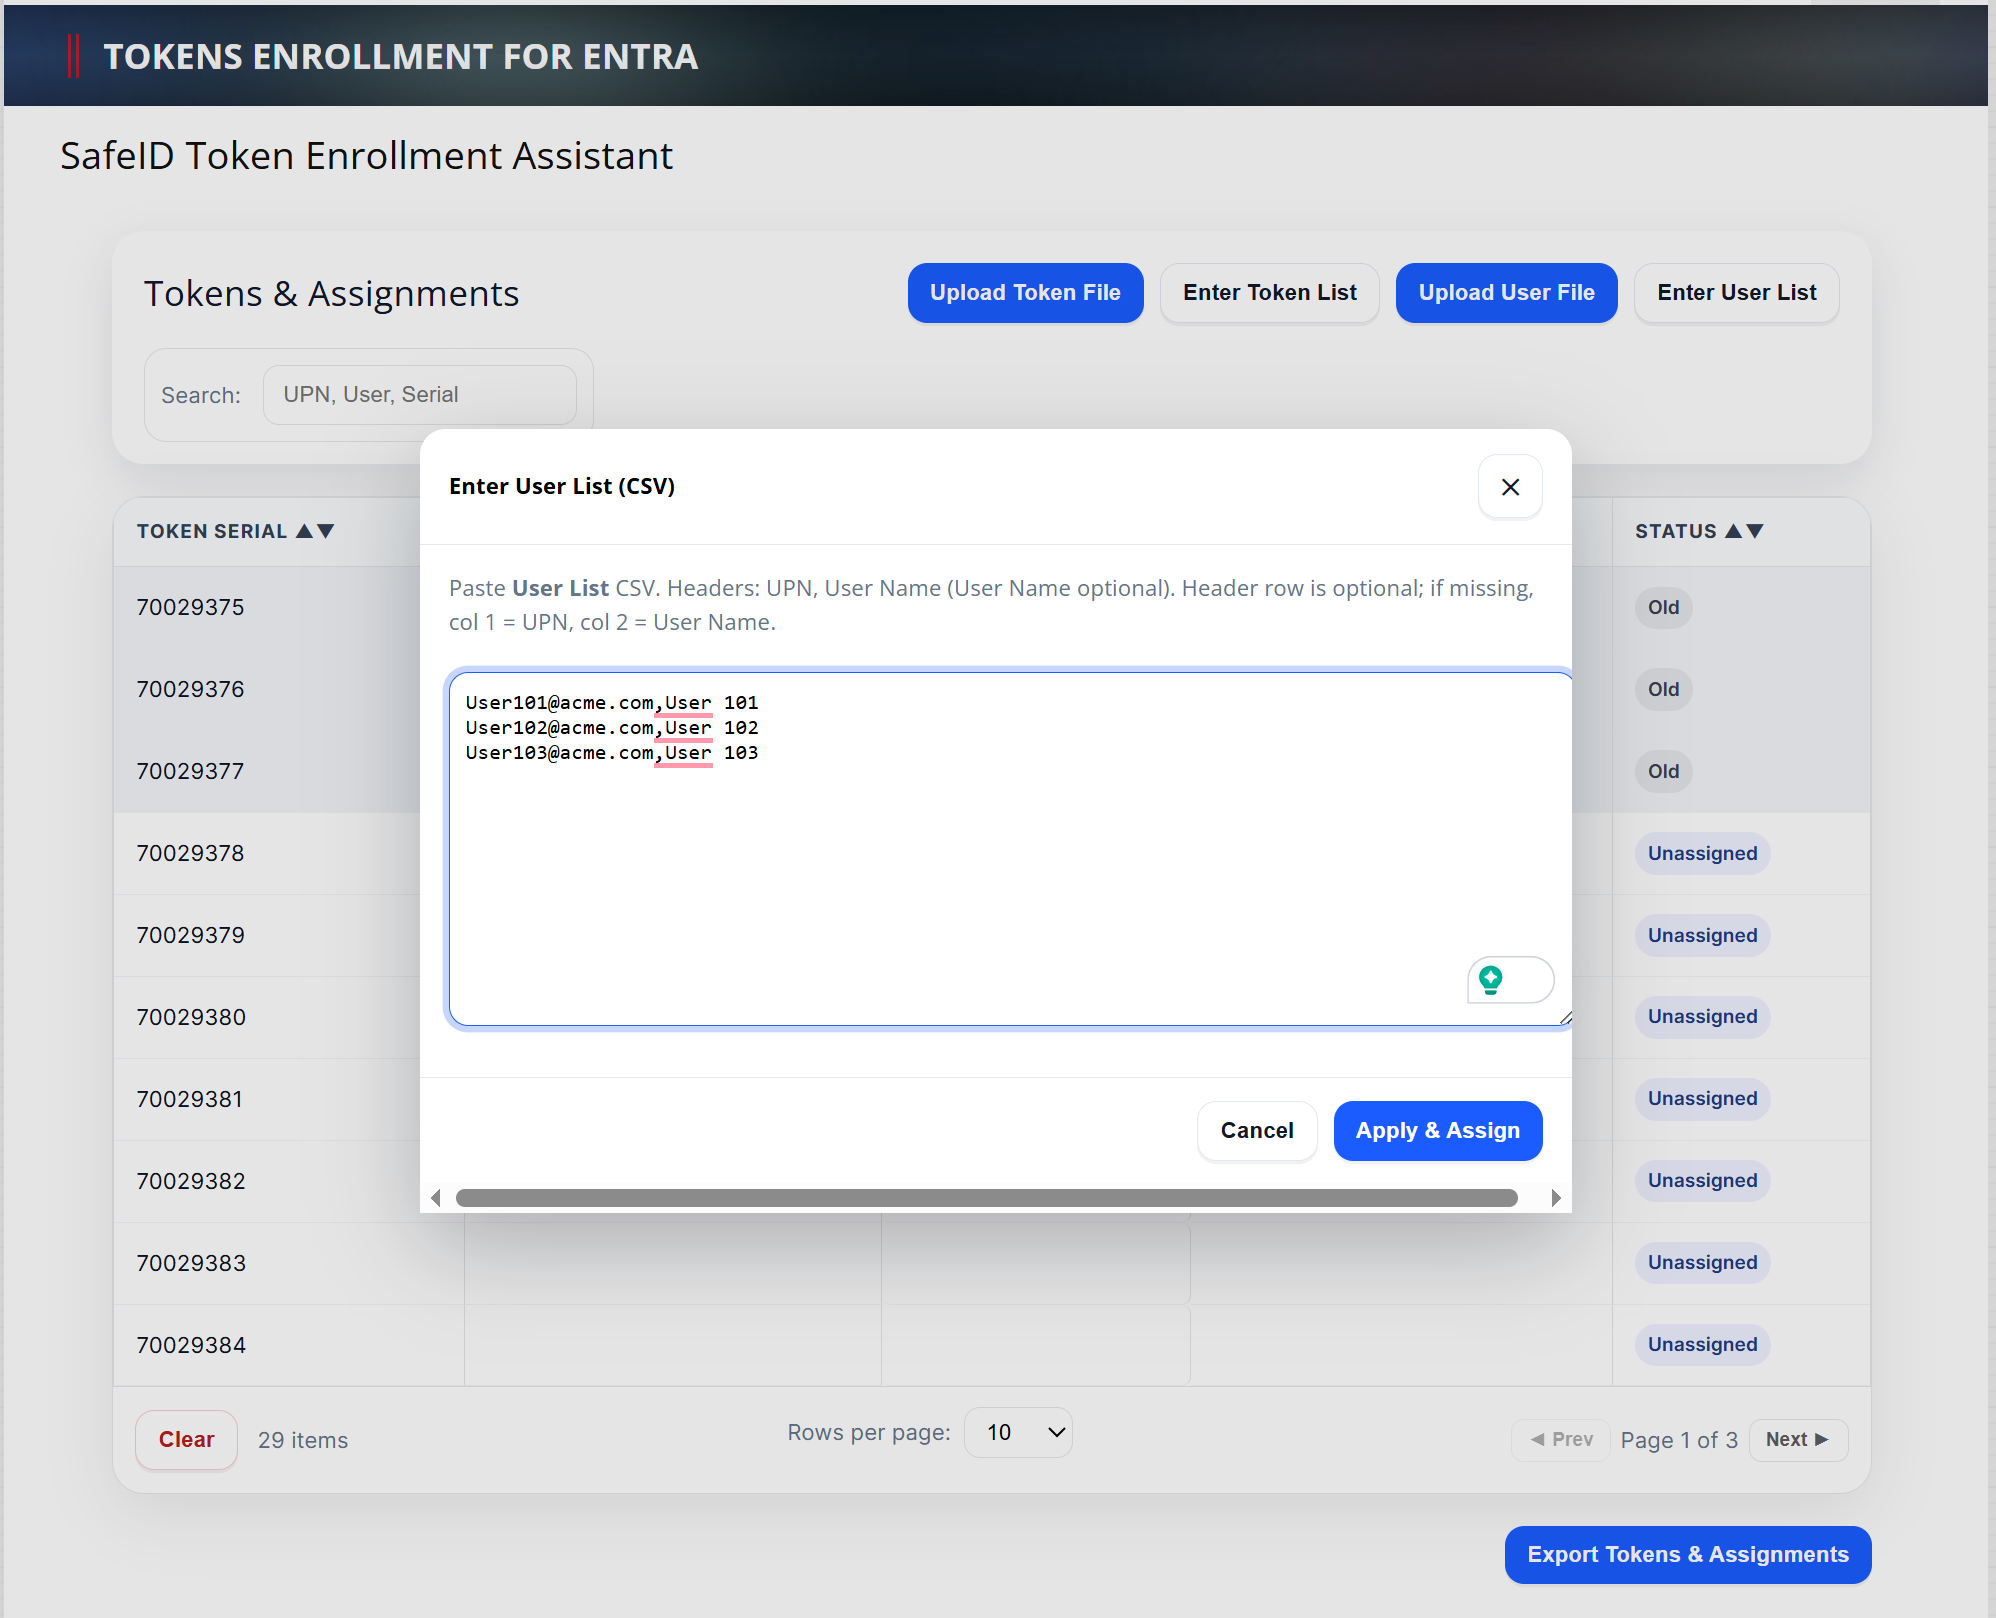
2 - Upload User File
A user file is a simple text file that includes a list of UPNs (one UPN per line). Below is an example:
user1@acme.com
user2@acme.com
user3@acme.com
Optionally, you can also include user names in the file
user1@acme.com,John Smith
user2@acme.com,Joe Bloggs
user3@acme.com,James Bond
Click the "Upload User File" to upload your user file. Or, you can click "Enter User List" to enter the list of users
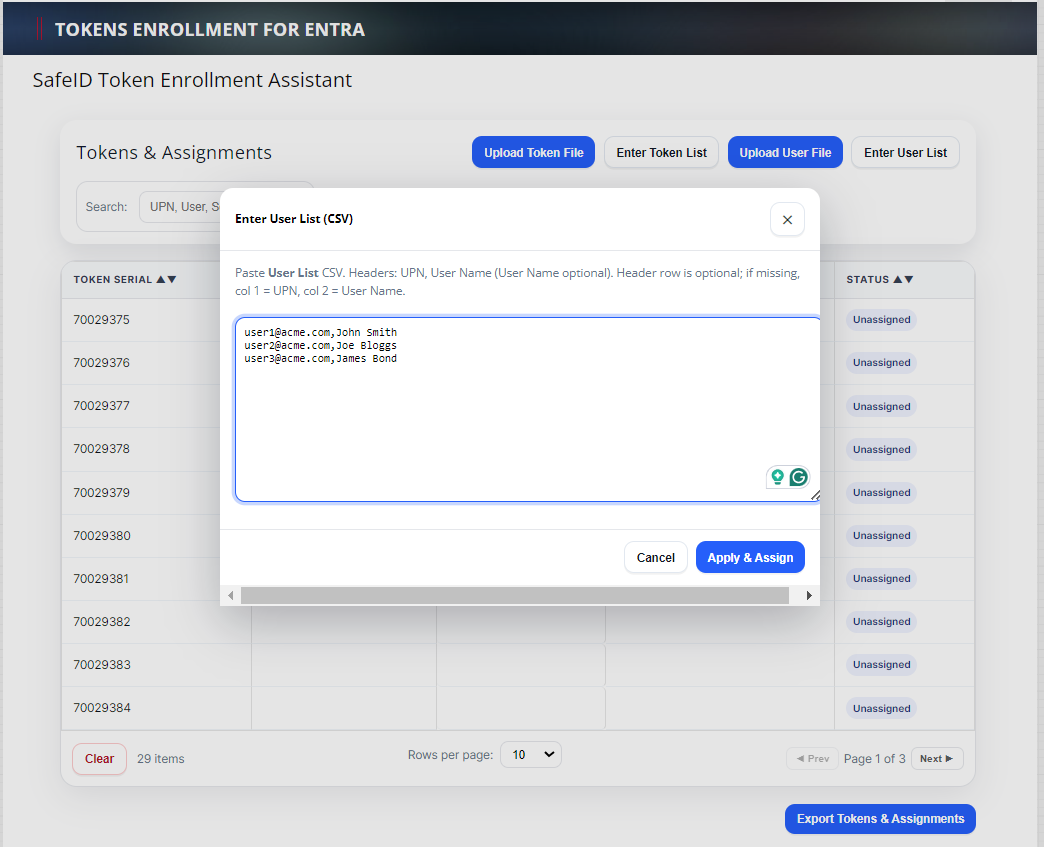
Click "Apply & Assign"
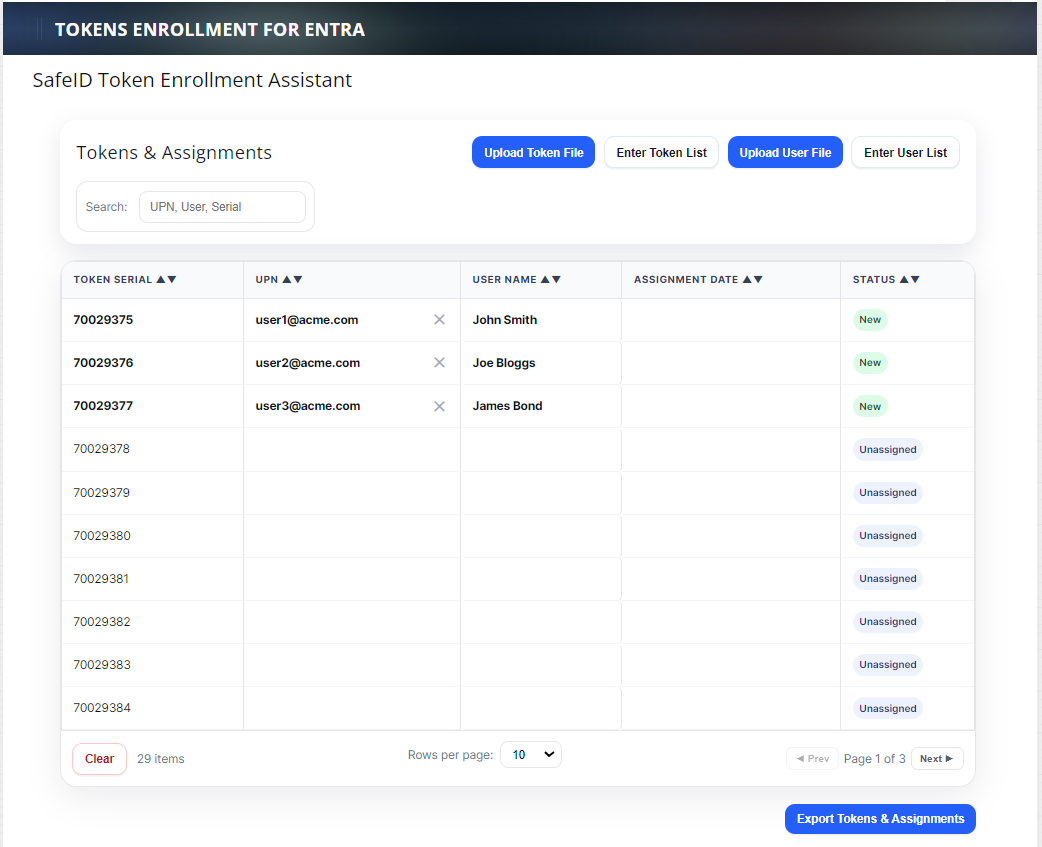
Tokens will then be automatically assigned to users.
You can re-assign a token to a different user by dragging the UPN and dropping it to a different UPN.
You can also delete a token assignment by clicking the delete icon (x) to the right of the UPN.
You can also edit the UPN and User Name if you need to change them.
3 - Export Token Assignment Files
Using this tool, you do not have to assign all tokens. In other words, you can leave some tokens unassigned.
Once you have completed token assignments, click "Export Tokens & Assignments" to export the token assignment file.
This tool will export only tokens that have been assigned. Two files will be exported and saved to your local PC.
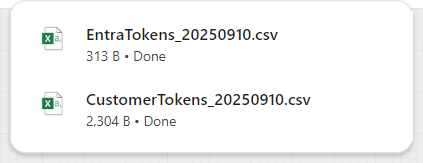
The "EntraTokens_YYYYMMDD.csv" is the token assignment file to be uploaded into Entra ID
The "CustomerTokens_YYYYMMDD.csv" is the token inventory file for you to keep and to use in the future if you need to add more assignments or make changes to the assignments.
4 - Add or Change Assignments
To add more assignments or change some existing assignments, upload your latest token inventory file (i.e, the "CustomerTokens_YYYYMMDD.csv" file)
You will see the list of current token assignments marked as "Old" in the Status column.
To add new assignments, simply upload a new user file or enter a new user list
Click "Apply & Assign"
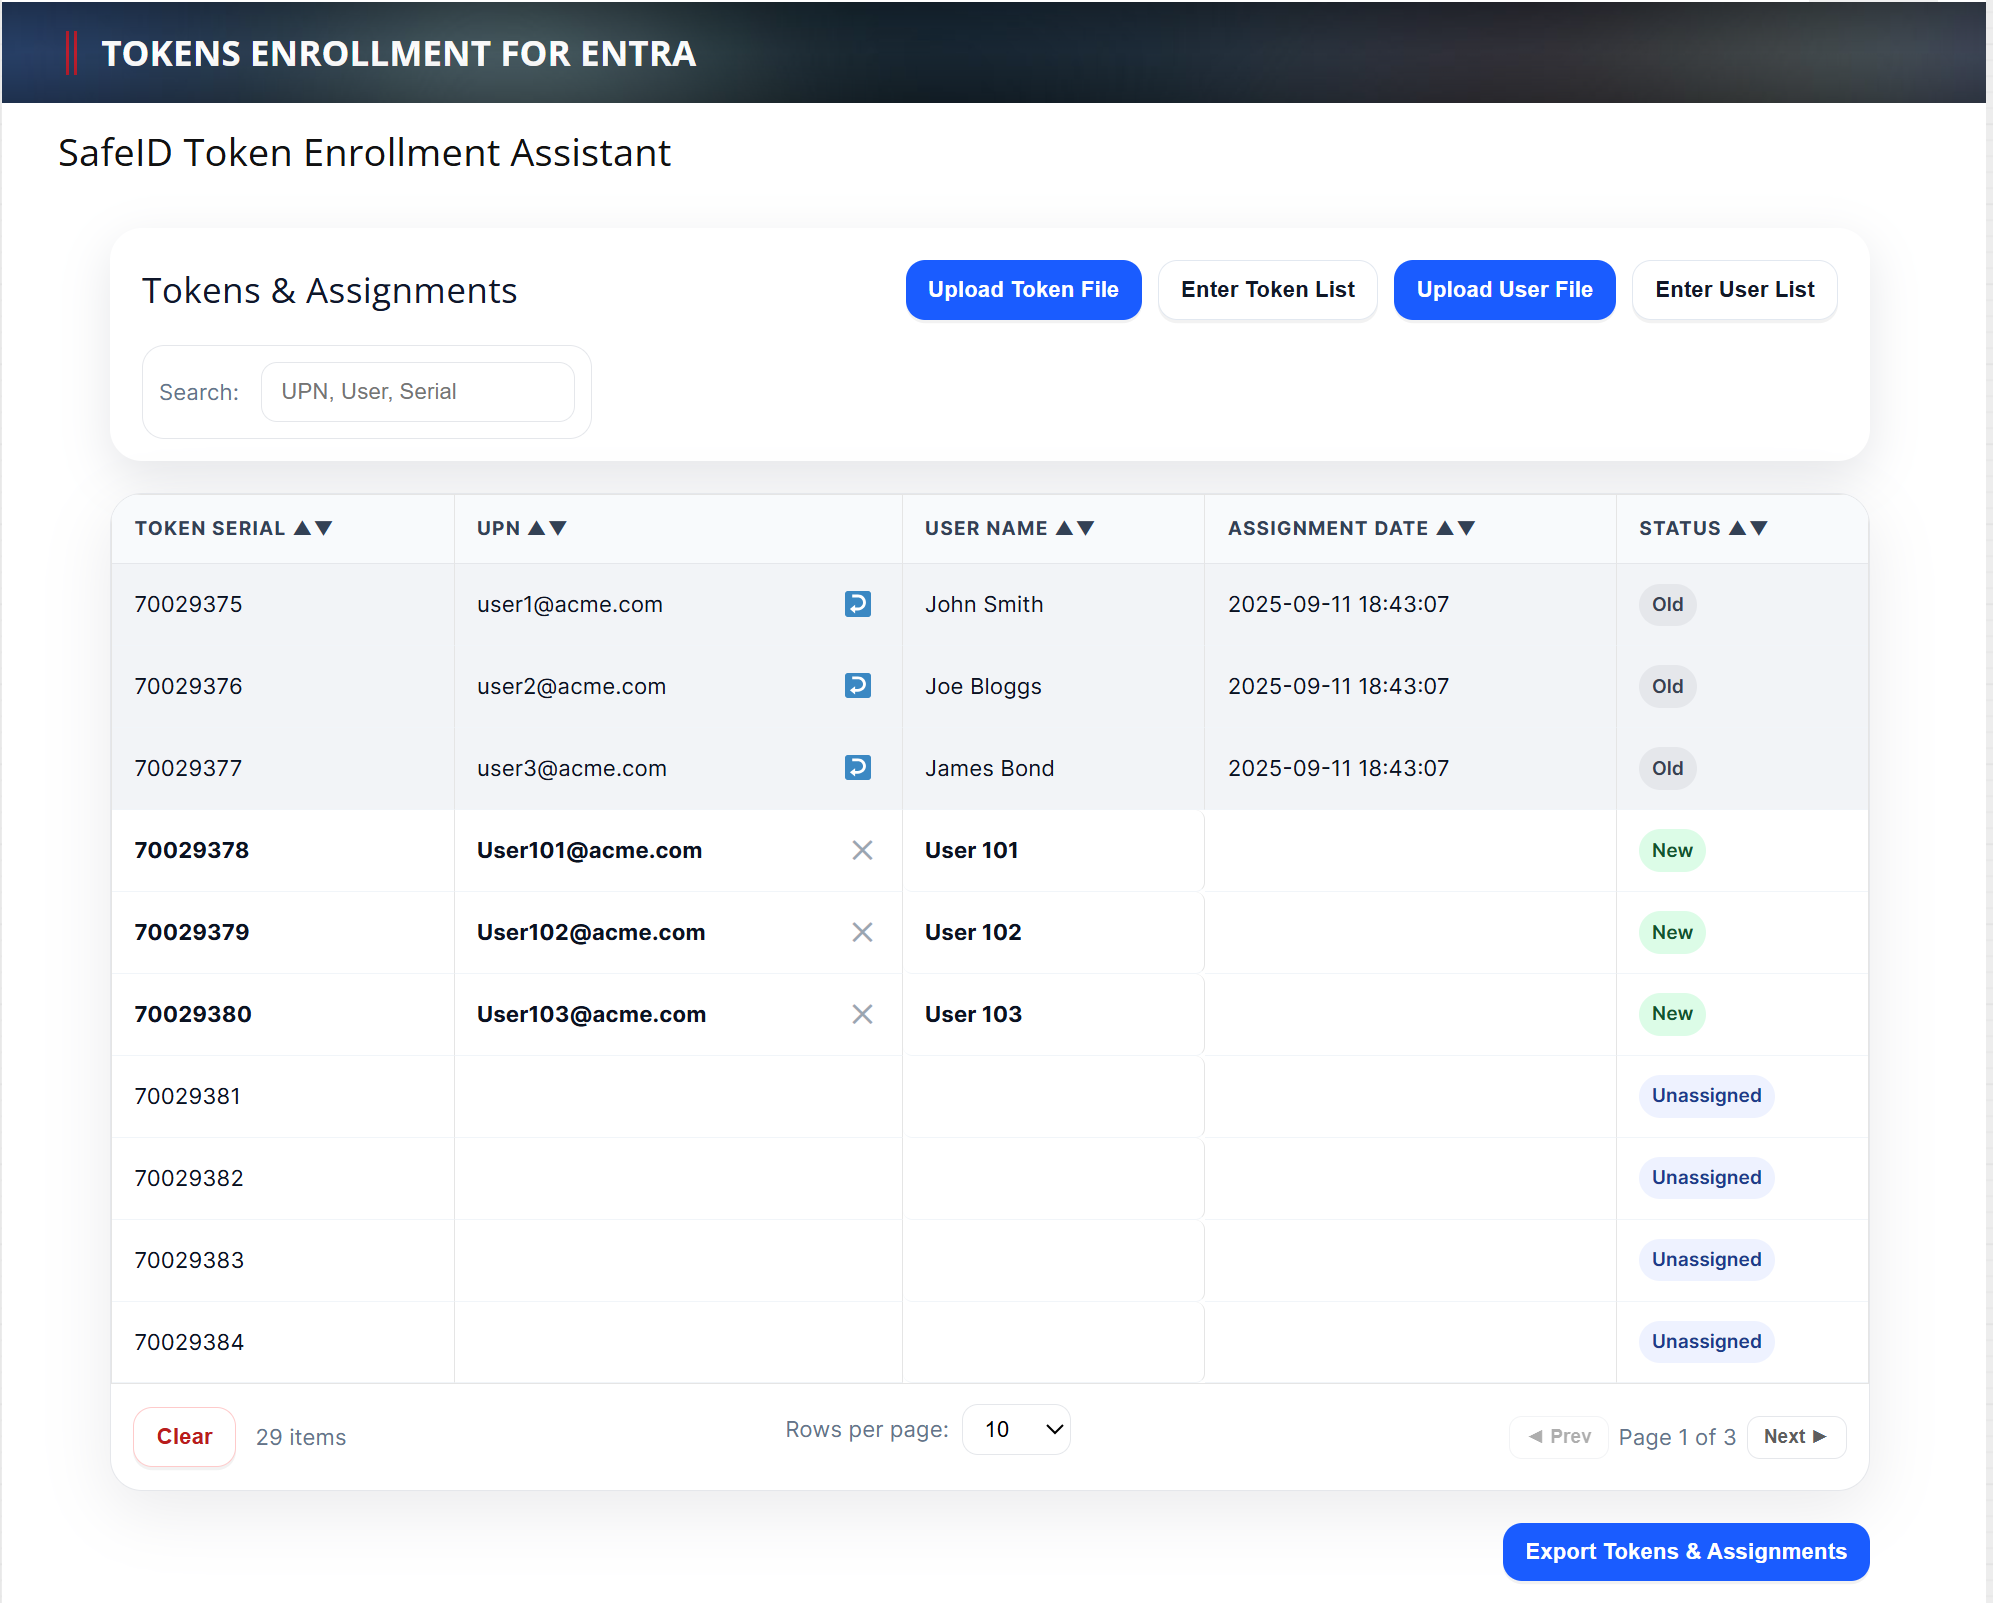
New token assignments are automatically carried out and marked as "New" in the Status column.
If you want to unassign an old token, then click the "Unassign" icon ![]() next to the UPN, e.g. user2@acme.com
next to the UPN, e.g. user2@acme.com
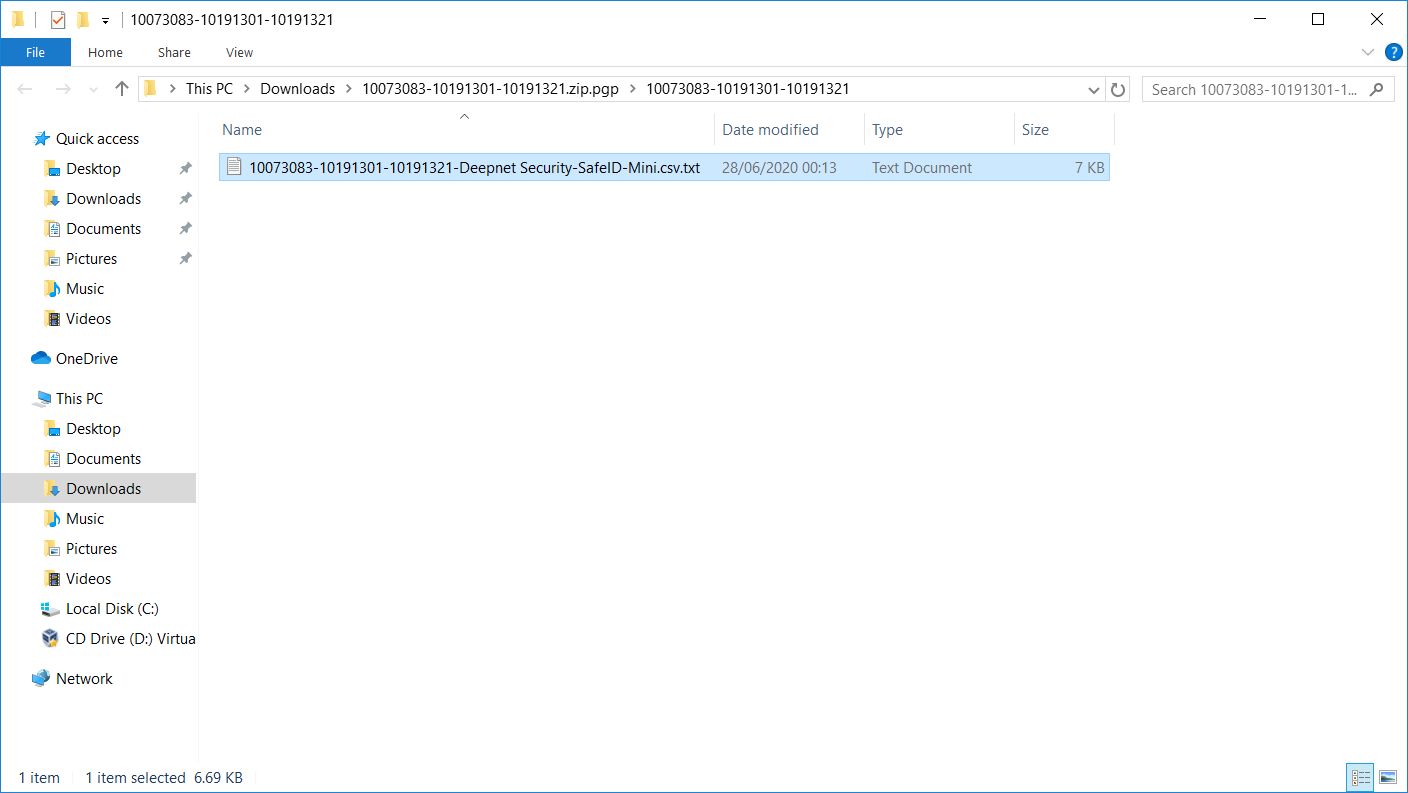
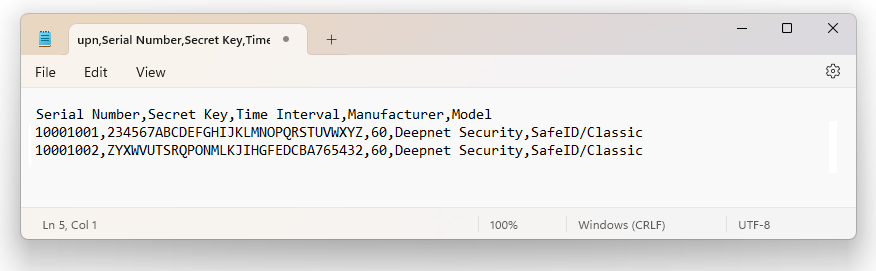
Deepnet SafeID or MobileID tokens are supplied with a token file in the CSV format. The token file includes serial number, secret key, time interval, manufacturer, and model as the example below shows.
Token Secret File
|
*Please note that the above token secret file is only an example. If you have not received the seed file of your tokens then click here to make a request, or contacting your reseller or Deepnet Security.
To assign tokens to users, you need to add User Principal Names (UPN) to the token file. Follow the steps below.
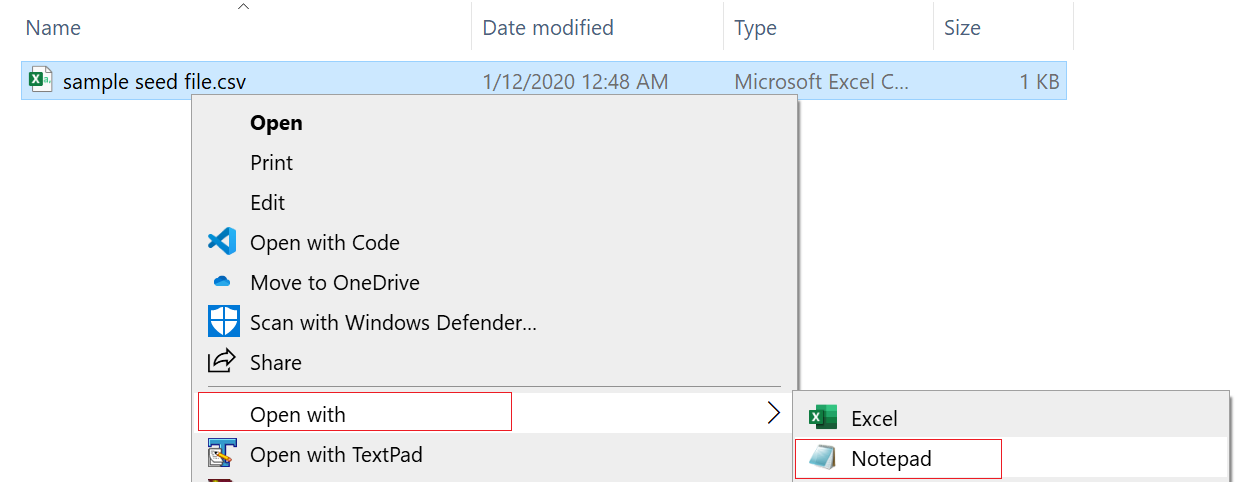
1 - Open the token file in a text editor, such as Notepad (Please do NOT edit the token CSV file using Excel).
Below is an example:.
2 - Add 'upn' to the header row, so that the header reads:
upn,serial number,secret key,timeinterval,manufacturer,model
3 - Add a UPN in every row, e.g.
user001@contoso.com,1234567,234567ABCDEFGHIJKLMNOPQRSTUVWXYZ,60,Deepnet Security,SafeID/Classic

The revised content looks like below:
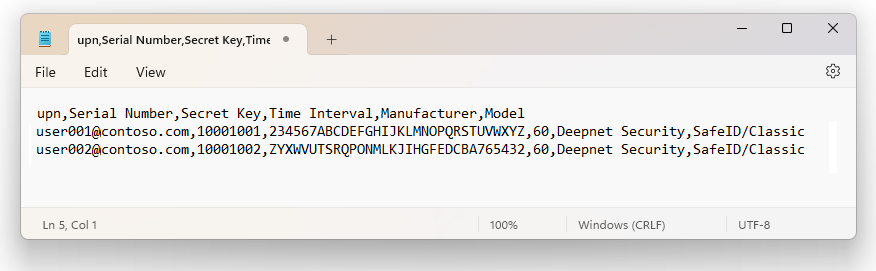
Save the file.
Step 3: Upload tokens to Entra ID
Once you have assigned tokens to users, you can upload the token assignment file onto Entra ID

Select "Multifactor authentication"

Select "OATH tokens (Preview)"

Click the “Upload” button.
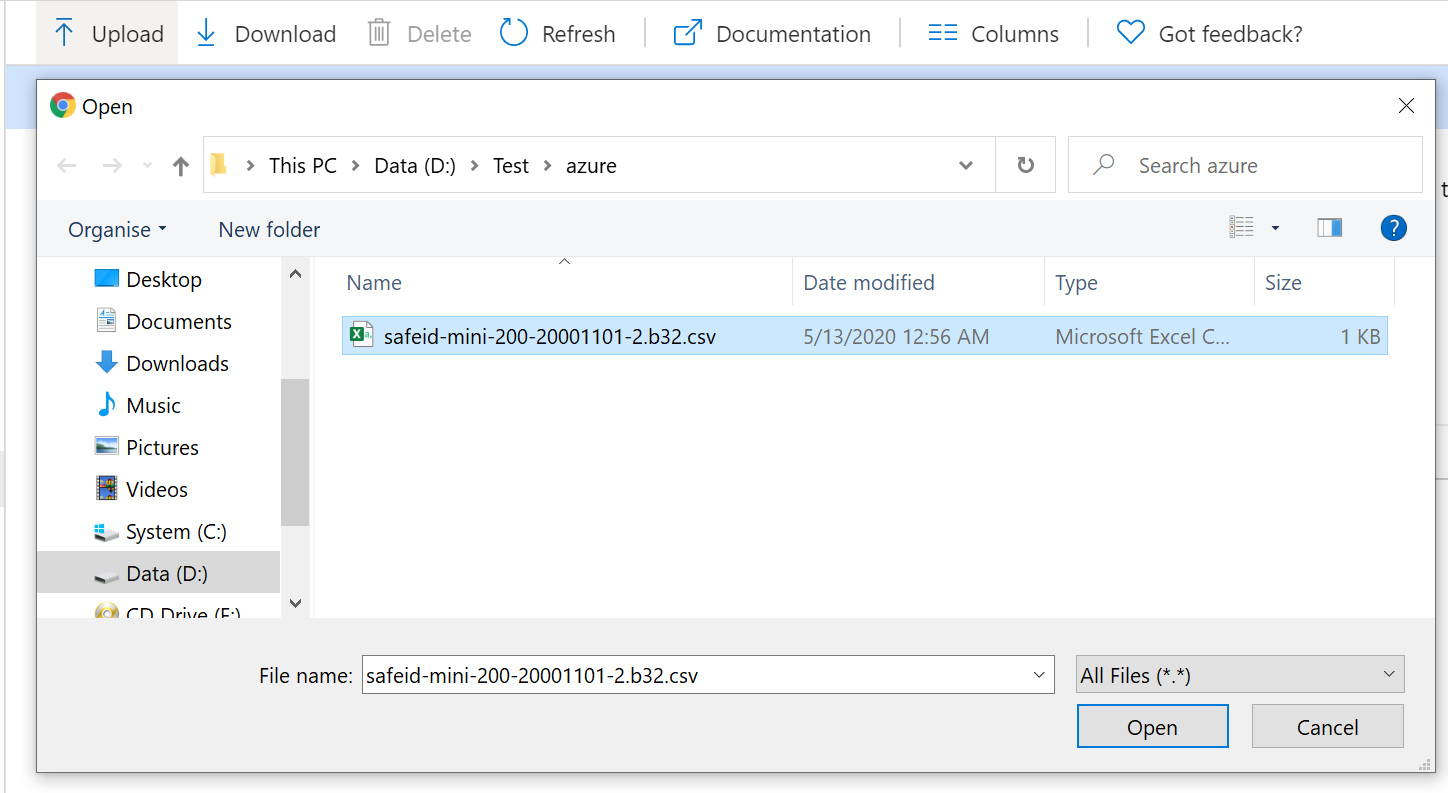
Select the CSV file to be uploaded, then click the Open button.
Depending on the size of the CSV file, it may take a few minutes to process.
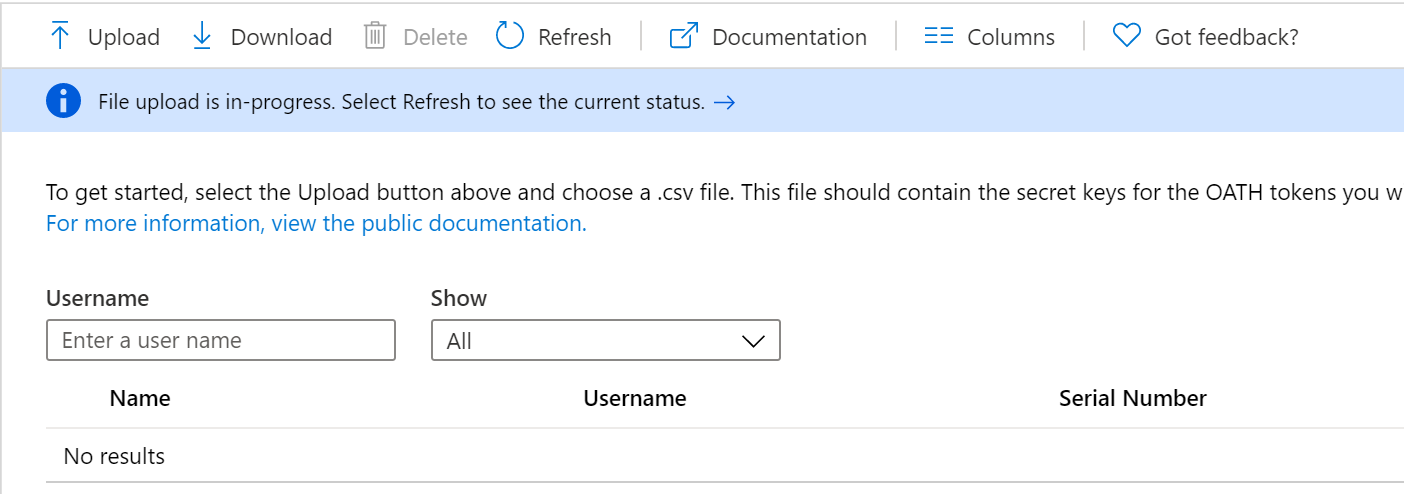
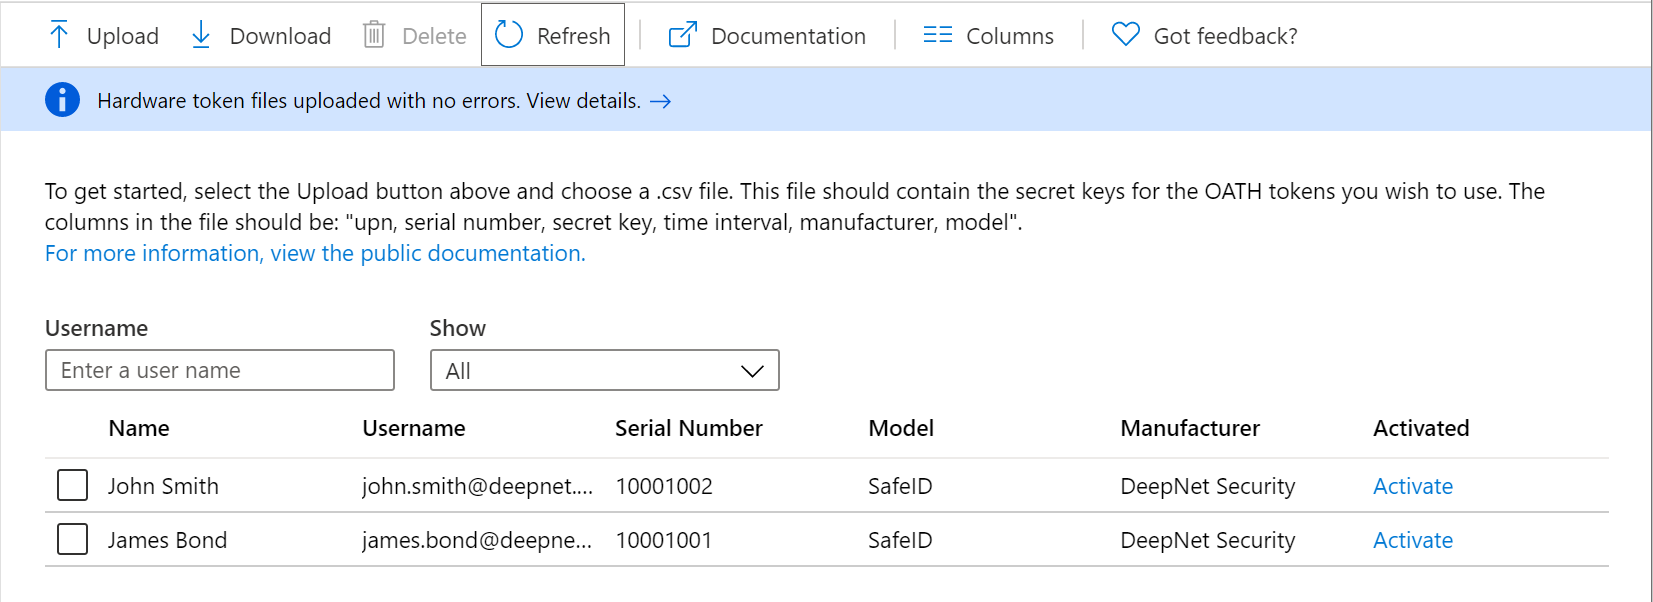
Click the Refresh button to get the current status. If there are any errors in the file, you will have the option to download a CSV file listing any errors for you to resolve.
Once the uploading process has been completed, the list of tokens will be displayed.
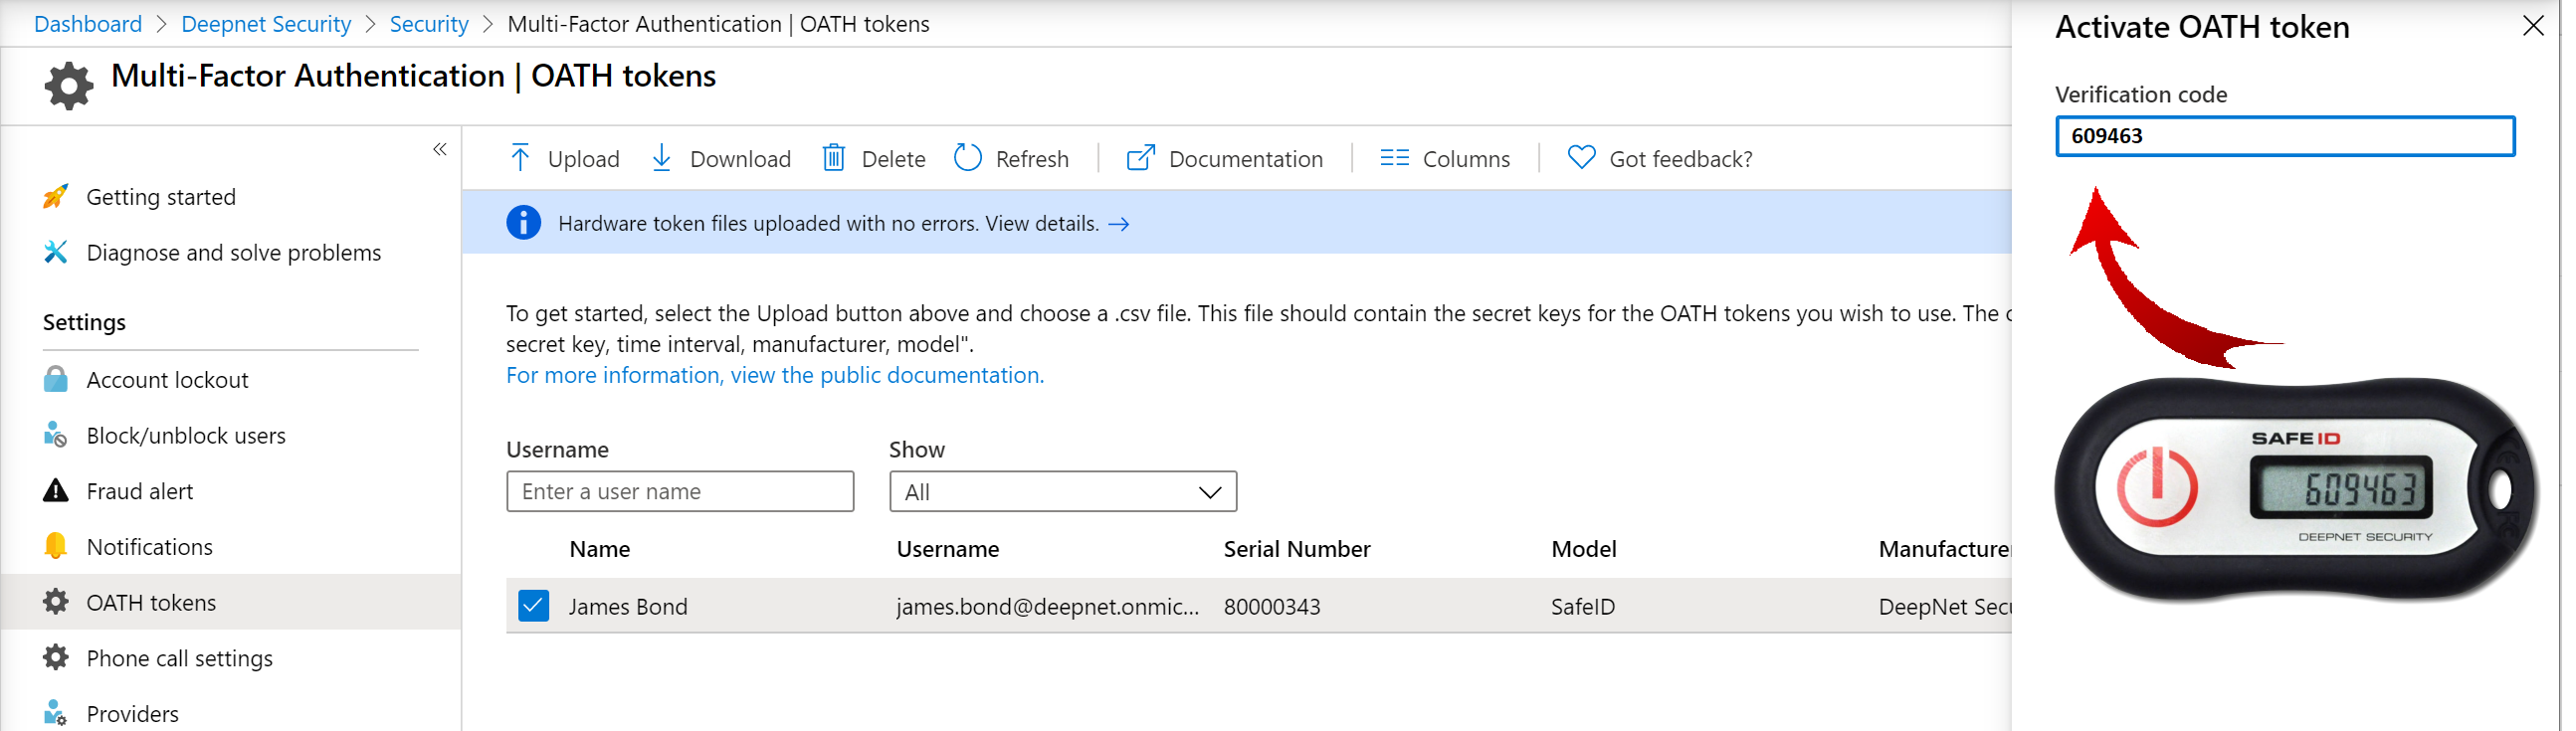
Step 4: Activate tokens in Entra ID
Finally, you will need to activate tokens by providing a verification code from the token, one by one.
The administrator needs to activate each token by clicking Activate on the token:
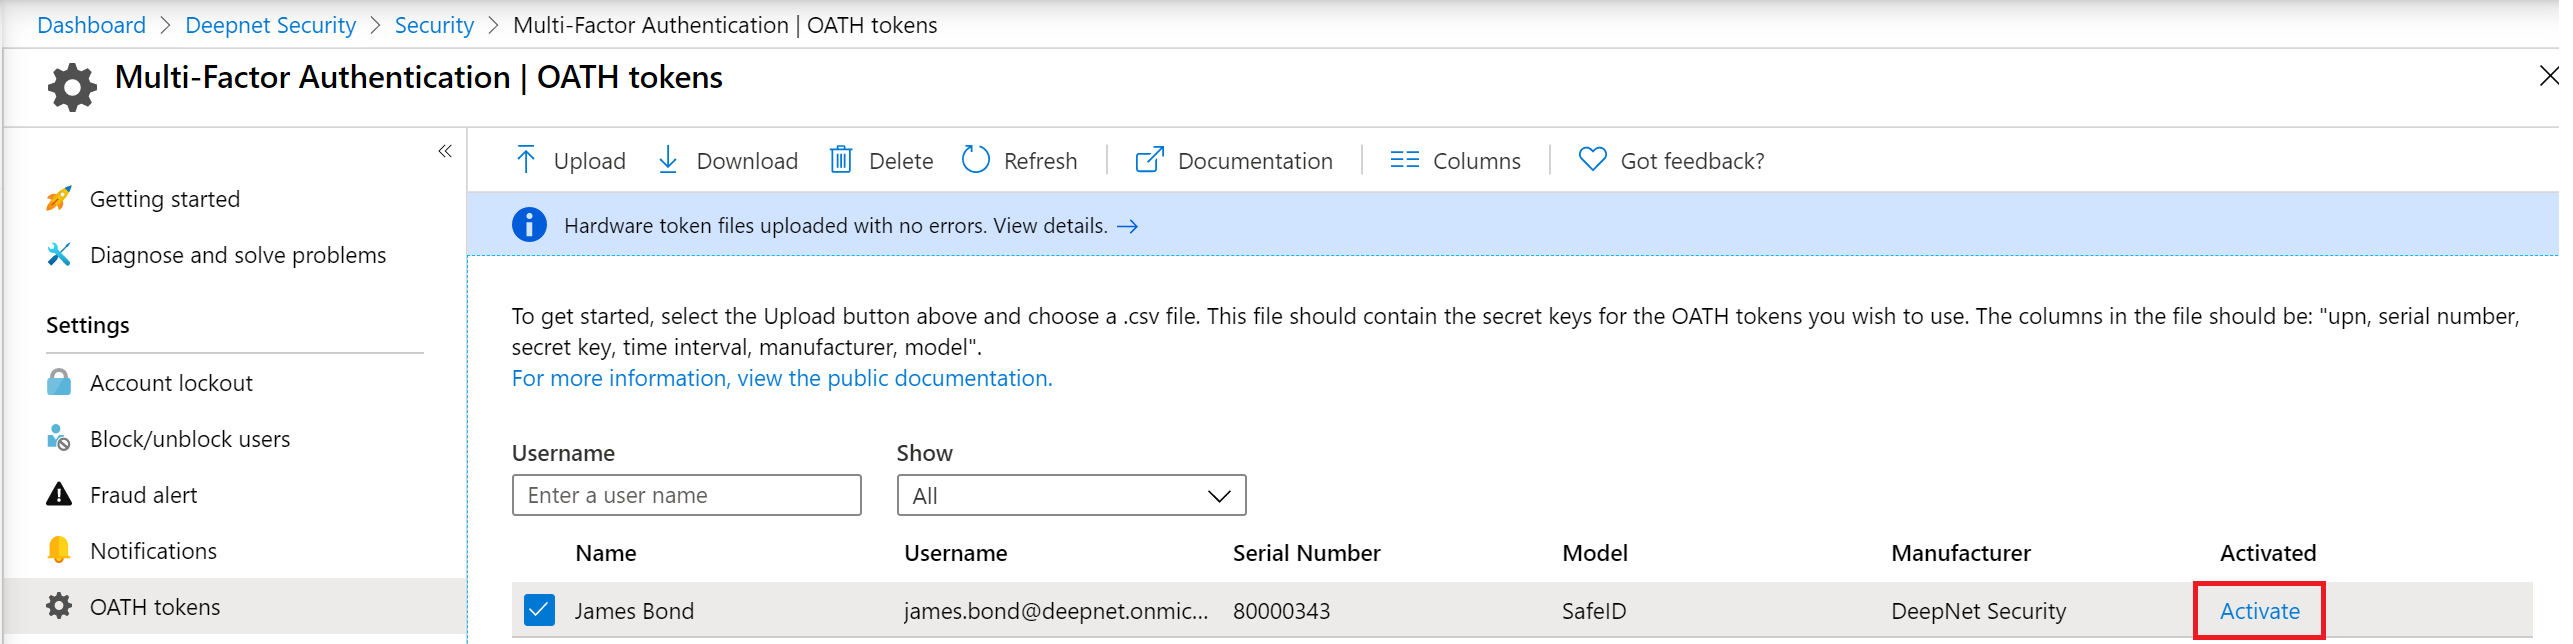
Then, enter the passcode displayed on the token to verify:
If you have a large number of tokens to be activated, then it is possible to activate all of them in bulk. Please refer to: Bulk activate SafeID hardware tokens in Entra ID