DualShield Authentication Server supports Windows Desktop single sign-on to web applications. In this article, we configured the DualShield Self Service Console with desktop single sign on. If you have not configured Desktop SSO, please follow the chapter Configure DualShield for Desktop to Web SSO.
Step 1: Log into DualShield Management Console, change the application name of "Self-Service Console" to "Self-Service-Console".

Step 2: Assign the application "Self-Service-Console" to agent "SSO server". It will be published on two agents: SSO Server & Self-Service Console.

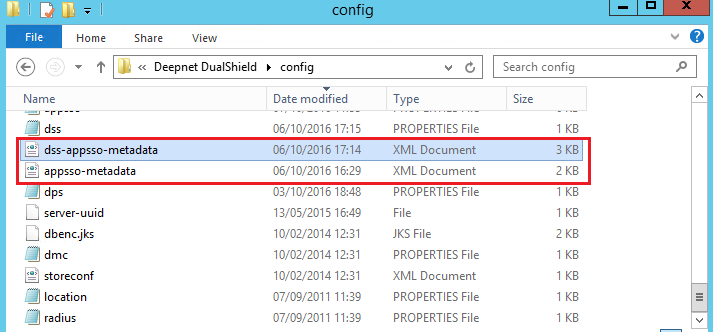
Step 3: Login to the DualShield server machine, copy the file "appsso-metadata.xml" located in the folder "\Program Files\Deepent DualShield\config" to a new file, and renamed it to "dss-appsso-metadata.xml".
Step 4: Modify the newly copied file "dss-appsso-metadata.xml", update the SingleSignOnService location URL accordingly. e.g. https://dualshield.qadomain.com:8074/appsso/winsso/login/kvps/DASApplicationName/Self-Service-Console.

Replace "dualshield.qadomain.com" with the FQDN of your DualShield server.
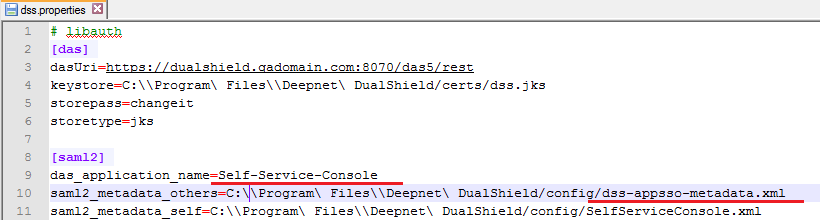
Step 5: Modify the dss.properties file, update the "das_application_name" value to "Self-Service-Console" and "saml2_metadata_others" value to "dss-appsso-metadata.xml".
Step 6: Restart the DualShield service.