First of all, to support Desktop SSO, your DualShield SSO server must be installed on a domain member machine in your corporate network.
Create a Web SSO Logon Procedure
The first step is to create a logon procedure for the external logon
- Login to the DualShield Management Console
- In the main menu, select "Authentication | Logon Procedure"
- Click the "Create" button on the toolbar
- Enter "Name" and select "Web SSO" as the type
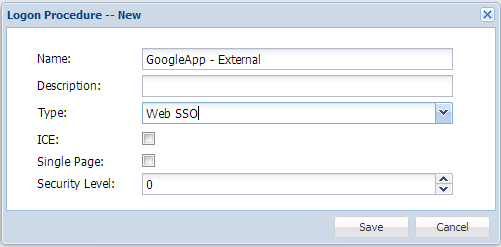
- Click "Save"
- Click the Context Menu icon of the newly create logon procedure, select "Logon Steps"
- In the popup windows, click "Create" button on the toolbar
- Select the authentication method, i.e. "Static Password", and "One-Time Password"
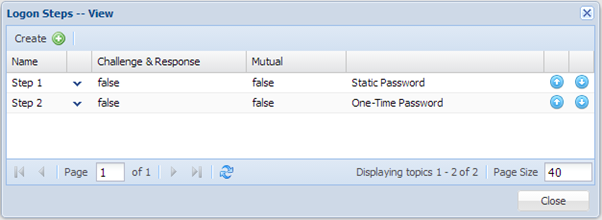
- Click "Save"
Create a Desktop SSO Logon Procedure
The next step is to create a logon procedure for the internal logon. This time, we need to select the "Desktop SSO" as the type.

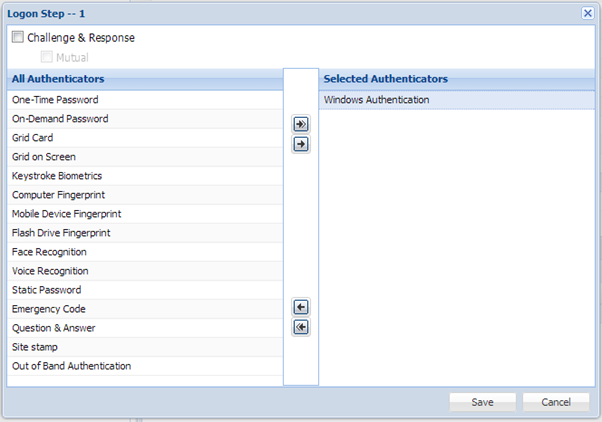
We'll need to create just one logon step for this logon procedure.
In the logon step, add "Windows Authentication"
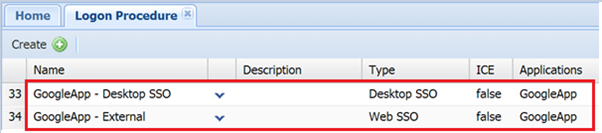
Now, your web application has two logon procedure: Web SSO & Desktop SSO.
Create a network for the corporate network
- In the main menu, select "Configuration | Networks"
- Click the "Create" button on the toolbar
- Enter "Name"
- Click the "Gear" button to add the IP range
- Add the IP arrange that covers your corporate network

- Select "Internal" as the "Type"
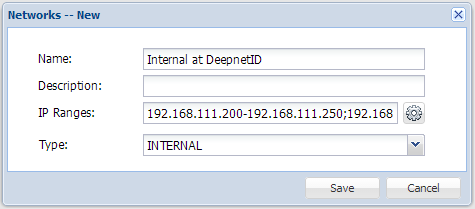
- Click "Save"
- Left click the context menu of the newly create network, i.e. (Internal at DeepnetID), and select the "Applications", such as "GoogleApp"
