Create a RADIUS logon procedure
- Login to the DualShield Administration Console
- In the main menu, navigate to “Authentication | Logon Procedures”
- Click the “+ CREATE” button on the toolbar
- Enter a friendly “Name” and select “RADIUS” as the Type

- Click “SAVE”
- Click the context "..." menu icon of the newly create Logon Procedure. Select “Logon Steps”
- In the popup windows, click the “+ ADD” button on the toolbar
- Select “Static Password” (AD Password) as the authenticator

- Click "SAVE" to confirm
Create a RADIUS application
- In the main menu, navigate to “Authentication | Applications”
- Click the “+ CREATE” button on the toolbar
- Enter a friendly “Name”
- Select the internal AD “Realm”
- Select the Logon Procedure created in the previous step

- Click “SAVE” to create the new Application
- Click the context "..." menu of the newly created application, then select "Agent”

- Select the DualShield Radius Server integrated Agent.
- Click “SAVE” to confirm.
- Click the context "..." menu of the newly created application, select “Self Test”

Register the Citrix NetScaler as a Radius Client in DualShield
- In the main menu, navigate to “RADIUS | Radius Clients”
- Click the “+ CREATE” button on the toolbar
- Enter a friendly relevant "Name"
- Select the integrated DualShield Radius Server.
- In the Application field, select the application that was created in the previous steps
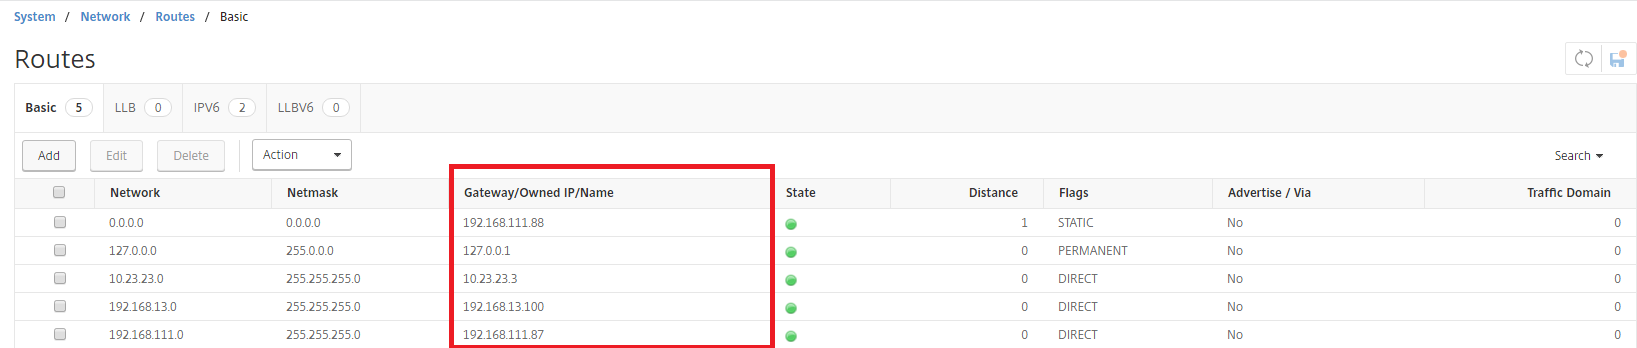
In the IP Address field, enter the gateway IP address of the subnet in which your Access Gateway resides.
- In the Shared Secret field, enter the Shared Secret which will be also set in Citrix NetScaler.
- Click “SAVE” to create the new Provider.

If your Access Gateway's IP is 192.168.111.10 then it is in the subnet of 192.168.111.0. In this case, you need to enter the gateway IP of the subnet, i.e. 192.168.111.87.