This guide explains how to create a custom installer package for manual installation.
- Step 1: Download the off-the-shelf installer package
- Step 2: Customise the configuration file
- Step 3: Customise the domain policy
- Step 4: Customise the license key file
- Step 5: Customise Offline Token Download Endpoint (Optional)
- Step 6: Customise Offline Logon Interface (Optional)
- Step 7: Customise Password Reset Shortcut (Optional)
Step 1: Download the off-the-shelf installer package

Download the Computer Logon MA Installer file:
computer-logon-modern-authentication-x.y.z.msi
(where x.y.z. is the version and build number, e.g. computer-logon-modern-authentication-1.2.3.20260305.msi)
Save it to a local folder, e.g. "D:\Software\CLO\Custom Package", and rename the file to "computer-logon-ma.msi"
If this is the first time you are setting up the solution, then you also need to download the Supporting Files package:
computer-logon-modern-authentication-supporting-files.zip
Unzip it to the same local folder on your PC, e.g. "D:\Software\CLO\Custom Package"
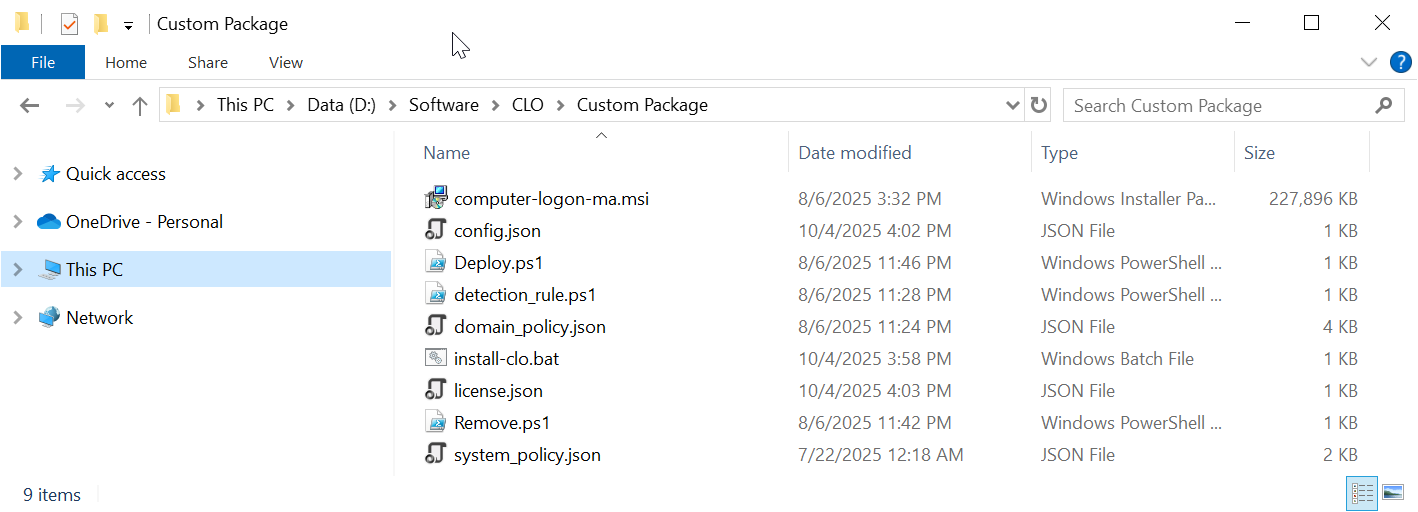
The whole solution package contains the following files:
File | Description |
|---|---|
| computer-logon-ma.msi | Computer Logon Agent installer |
config.json | Configuration file |
| license.json | License file |
| domain_policy.json | Domain policy file |
| system_policy.json | System policy file |
| install-clo.bat | Batch commands for custom installation |
| deploy.ps1 | PowerShell commands for Intune deployment |
| remove.ps1 | PowerShell commands for Intune deployment |
| detection_rule.ps1 | PowerShell commands for Intune deployment |
Step 2: Customise the configuration file
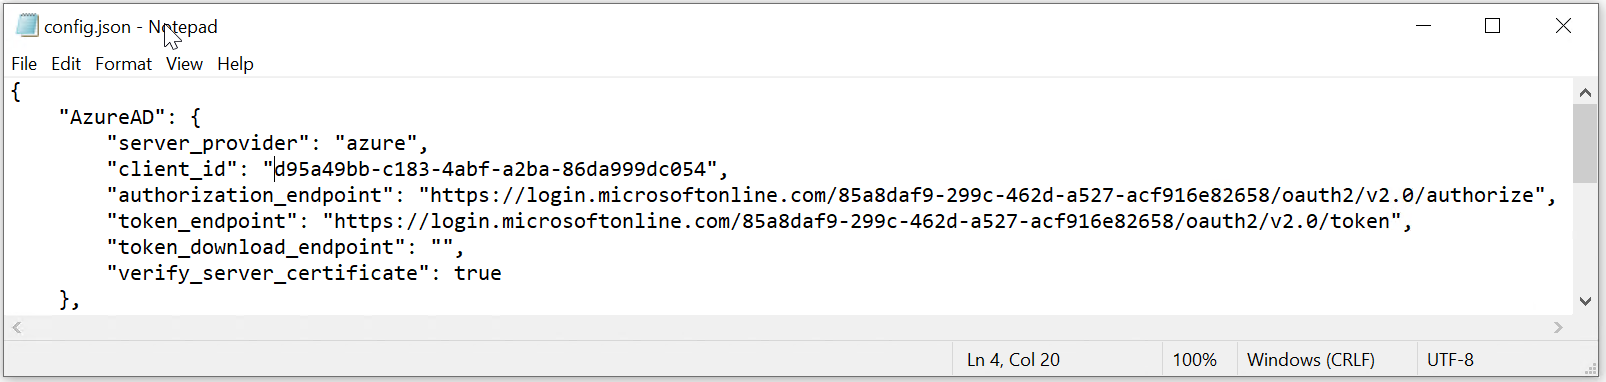
Open the config.json in a text editor, such as Notepad

The Computer Logon Modern Authentication supports both Azure AD (Entra ID) joined PCs and On-Prem AD joined PCs. For Entra ID (Azure AD) joined PCs, you must configure the following settings
- MFA server settings in the "AzureAD" data block
- domain_dns_name_list
MFA Server Settings
As we are configuring the Computer Logon MA for Entra ID joined PCs, we need to change the settings in the "AzureAD" data block.
Also, as we are using Entra ID MFA as the authentication server, we need to copy some settings from your Entra ID tenant.
authorisation_endpoint
token_endpoint
If the application that you have set up in your Entra ID tenant for Computer Logon with MFA supports a single tenant only
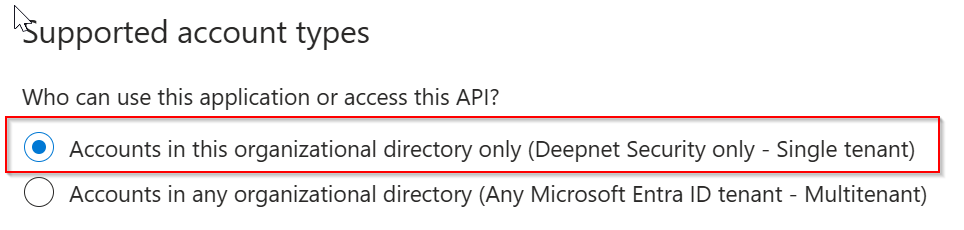
Then, in the "AzureAD" block, replace "YOUR-TENANT-ID" in the "authorisation_endpoint" and "token_endpoint" options with your Tenant ID in the Entra ID.
However, if the application you set up for Computer Logon with MFA supports multitenant
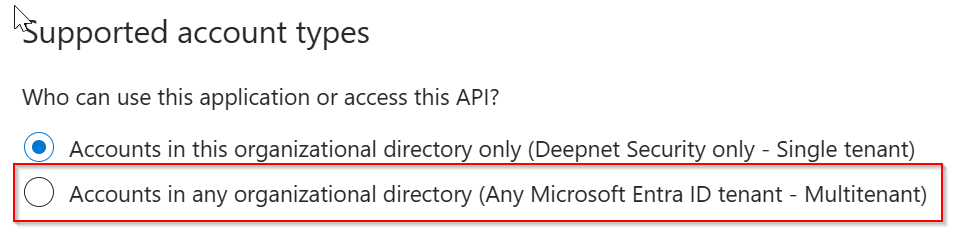
Then, in the "AzureAD" block, replace "YOUR-TENANT-ID" in the configuration file with the word "common"
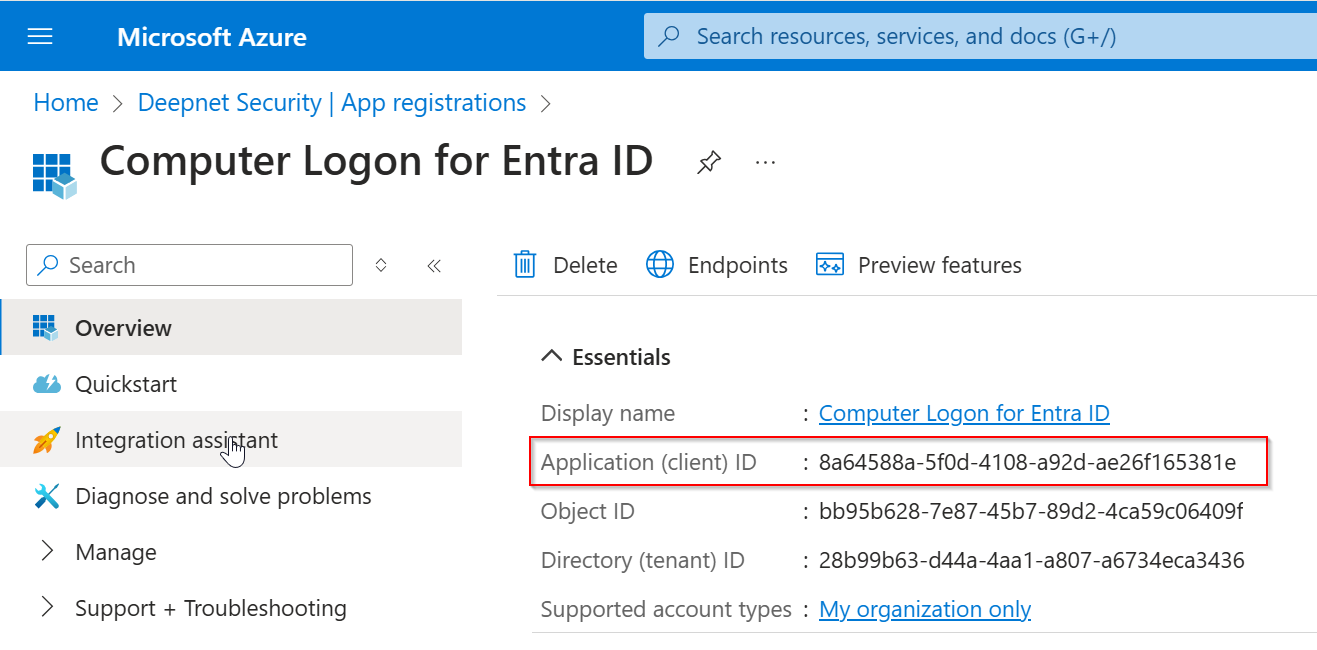
client_id
Next, replace "YOUR-CLIENT-ID" in the "client_id" option with the "Application (client) ID" of the application that you have set up for Computer Logon.
token_download_endpoint
The "token_download_endpoint" is used by the Computer Logon MA agent to download tokens from the MFA server for offline login. Unfortunately, Entra ID MFA does not have this function.
Below is an example:
Domain & NetBios Names
Next, you need to add the list of NetBIOS names and domain DNS names used in your organisation. The Computer Logon solution utilizes NetBIOS names and domain DNS names to differentiate between personal and business accounts.
For Entra ID joined PCs, you do not need to add NetBIOS names. But you must enter the list of your domains in the "domain_dns_name_list" variable, such as "deepnet.onmicrosoft.com" and "la.deepnetid.com"

Step 3: Customise the domain policy
- MFA for both Entra ID (Azure AD) domain users and local users.
- MFA at bootup login, screen unlock, and elevated access
- MFA when PC is online & offline
For each scenario, it provides a separate set of options that allow you to control whether or not MFA is required, and the frequency of MFA requirement etc.
Those options are in the "domain_policy.json" file.
Options for Local Users

| online | offline | |
|---|---|---|
| bootup login | local\offline\MfaPolicy\loginMfa | |
| screen unlock | local\offline\MfaPolicy\unlockMfa | |
| elevated access | local\offline\MfaPolicy\uacMfa |
Options for Domain Users

| online | offline | |
|---|---|---|
| bootup login | azuread\online\MfaPolicy\loginMfa | azuread\offline\MfaPolicy\loginMfa |
| screen unlock | azuread\online\MfaPolicy\unlockMfa | azuread\offline\MfaPolicy\unlockMfa |
| elevated access | azuread\online\MfaPolicy\uacMfa | azuread\offline\MfaPolicy\uacMfa |
If you wish to customise some of those options, then you need to edit the "domain_policy.json" file in a text editor and change the corresponding options.
For instances
- if you want to enforce MFA for Azure AD domain users when PC is online on screen unlock, then you need to set the option "azuread\online\MfaPolicy\unlockMfa" to "true"
- if you want to enforce MFA for local users when PC is online on screen unlock, then you need to set the option "local\online\MfaPolicy\unlockMfa" to "true"
| Element | Remark |
|---|---|
| loginMfa | Boot up login |
| uacMfa | Elevated Access |
| unlockMfa | Screen Unlock |

| Element | Remark |
|---|---|
| loginMfa | Boot up login |
| uacMfa | Elevated Access |
| unlockMfa | Screen Unlock |

Step 4: Customise the license key file

Replace "[YOUR-LICENSE-KEY]" with your license key

Save the file.
Step 5: Customise Offline Token Download Endpoint (Optional)
"token_download_endpoint": "https://your-dualshield-fqdn/sso/v1/authc/oauth/connect/downloadTokens"
You must replace "your-dualshield-fqdn" with the actual FQDN of your DualShield MFA server, e.g. "demo.la.deepnetid.com"
Below is an example:

Step 6: Customise Offline Logon Interface (Optional)

You can customize the following 3 elements in this User Interface
- Logo
- Background
- Tagline Message
Those elements are configured in the configuration file named "customisation.json"
Below is an example:

For the logo and background files, you can include the file path in their file names such as:
file:///C:\Program Files\Deepnet Security\clo-ma\background.png
Or, you do not include the file path at all, such as:
file:///background.png
If you do not include the file path, then you must place the file in the installation folder of the Computer Logon MA software itself.
Step 7: Customise Password Reset Shortcut (Optional)
By default, the label of the shortcut is "Reset Password/Unlock Account":

and it is linked to the Entra's password reset page:

If you wish to change the label and/or the link URL, then you can change them in the "configue.json" file:

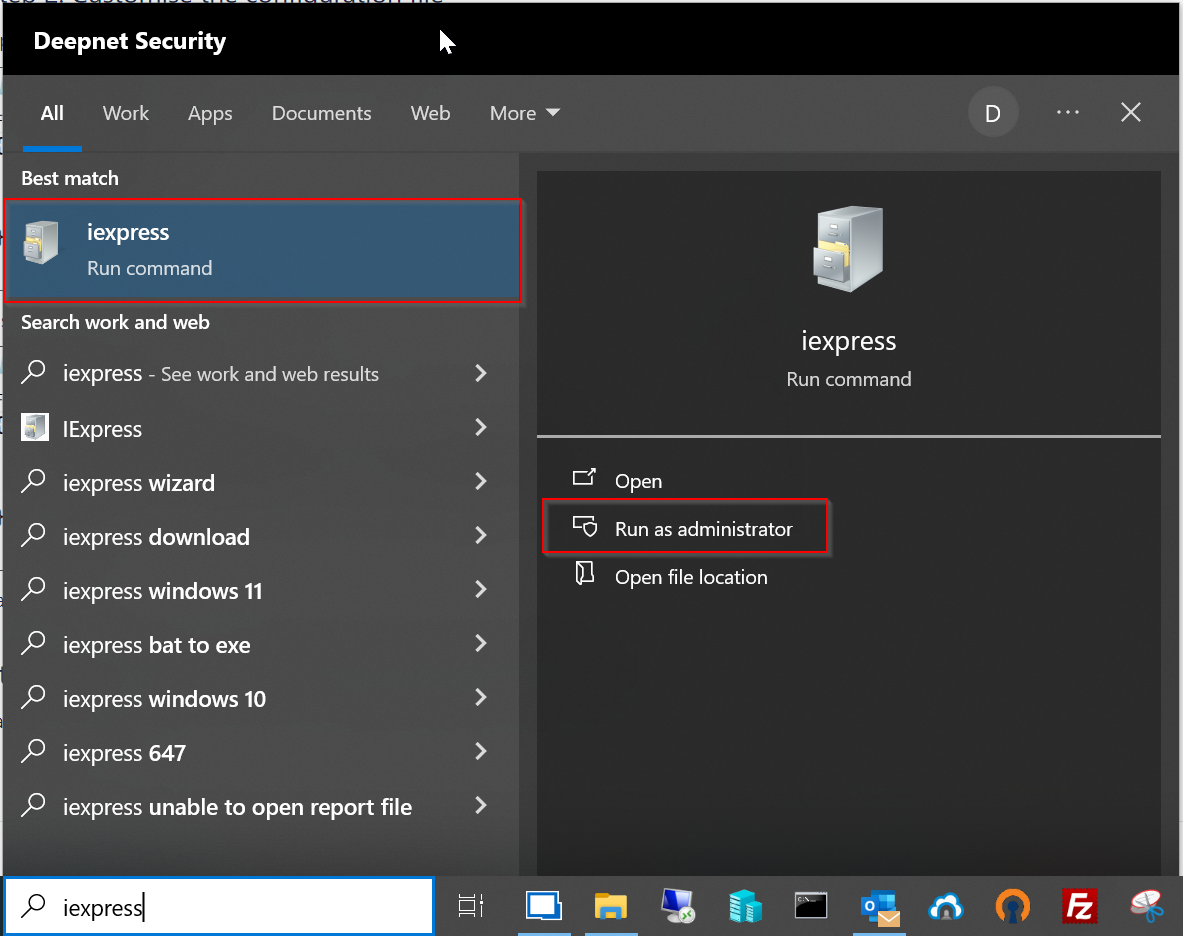
Step 4: Create a custom installer package using iExpress
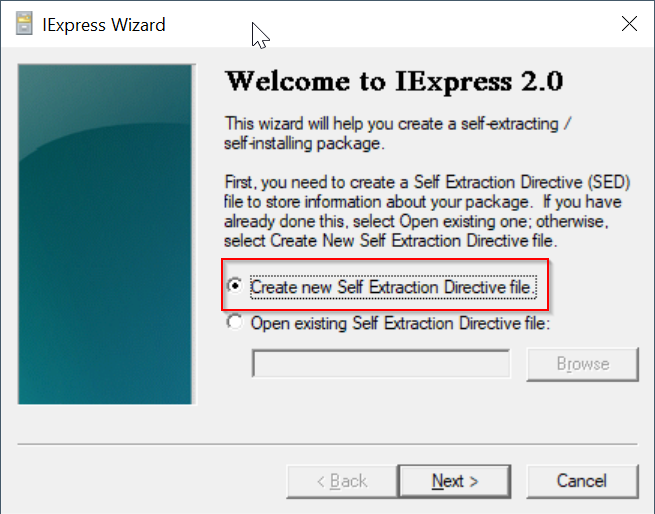
Select the option "Create new Self Extraction Directive file"
Click "Next
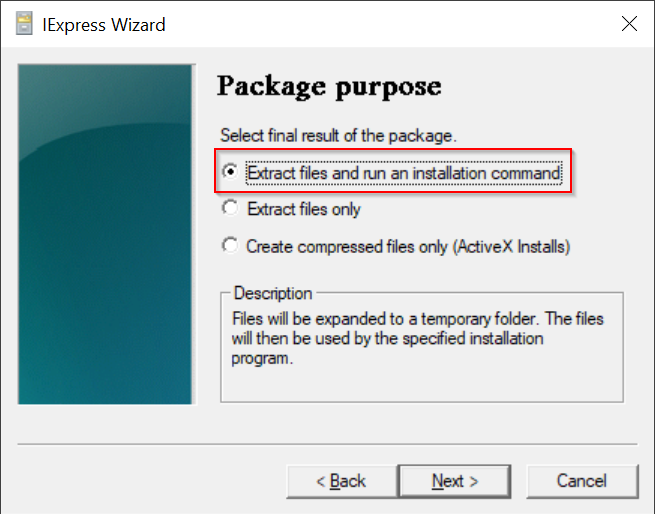
Select the option "Extract files and run an installation command"
Click "Next"
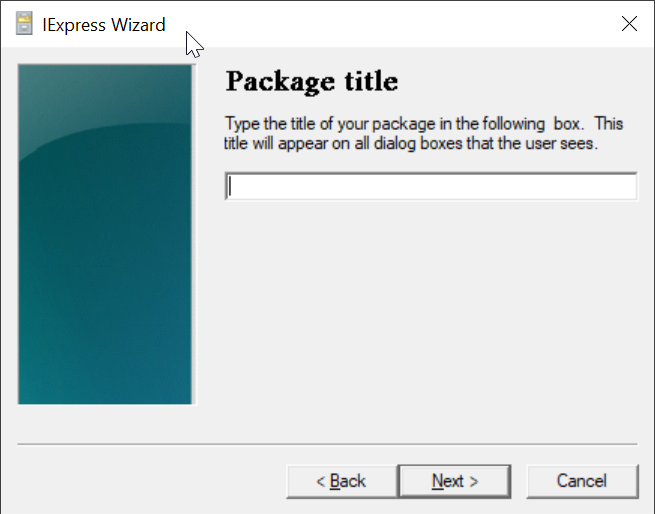
Enter "Deepnet Computer Logon Agent for Entra ID"
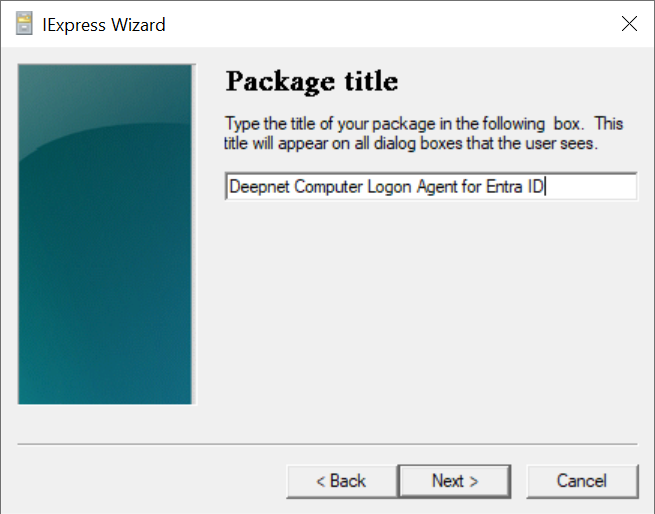
Click "Next"
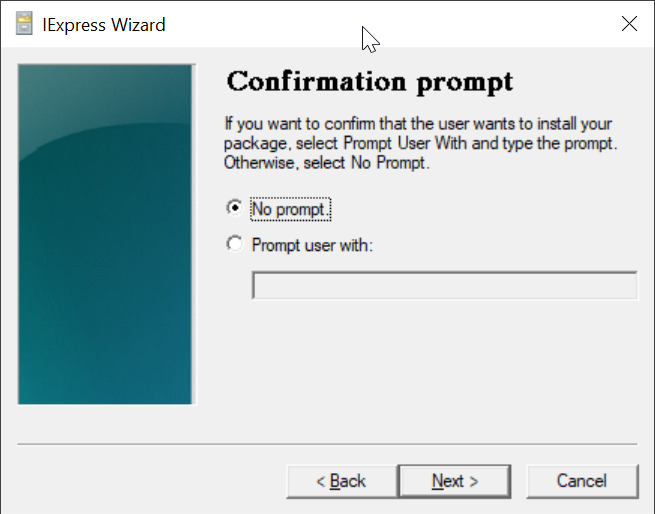
Select "No prompt"
Click "Next"
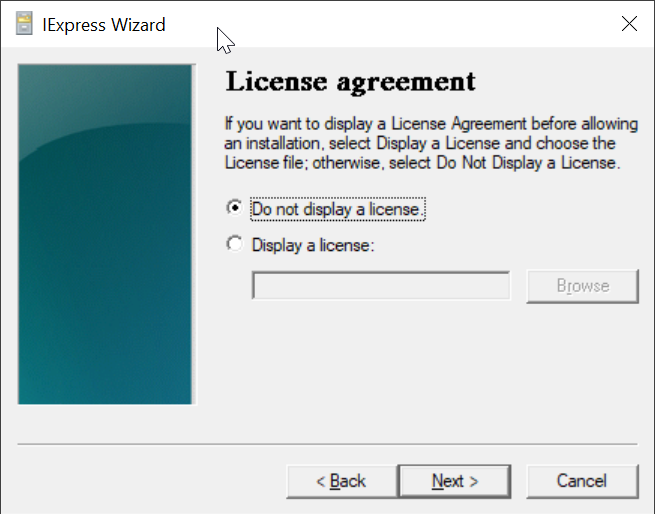
Select "Do not display a license"
Click "Next"
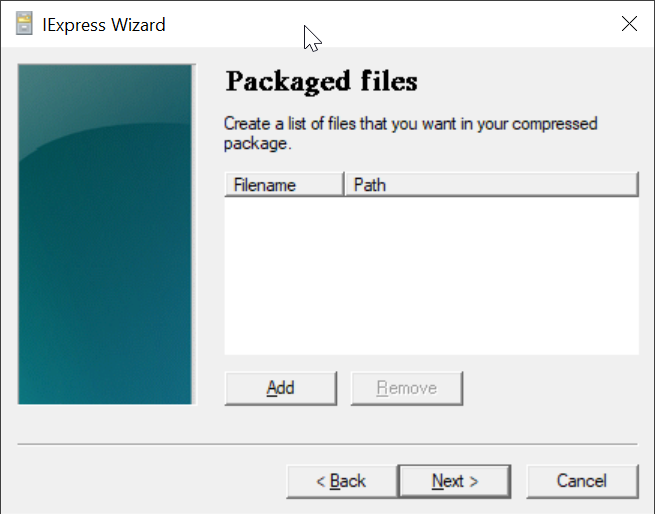
Click "Add"
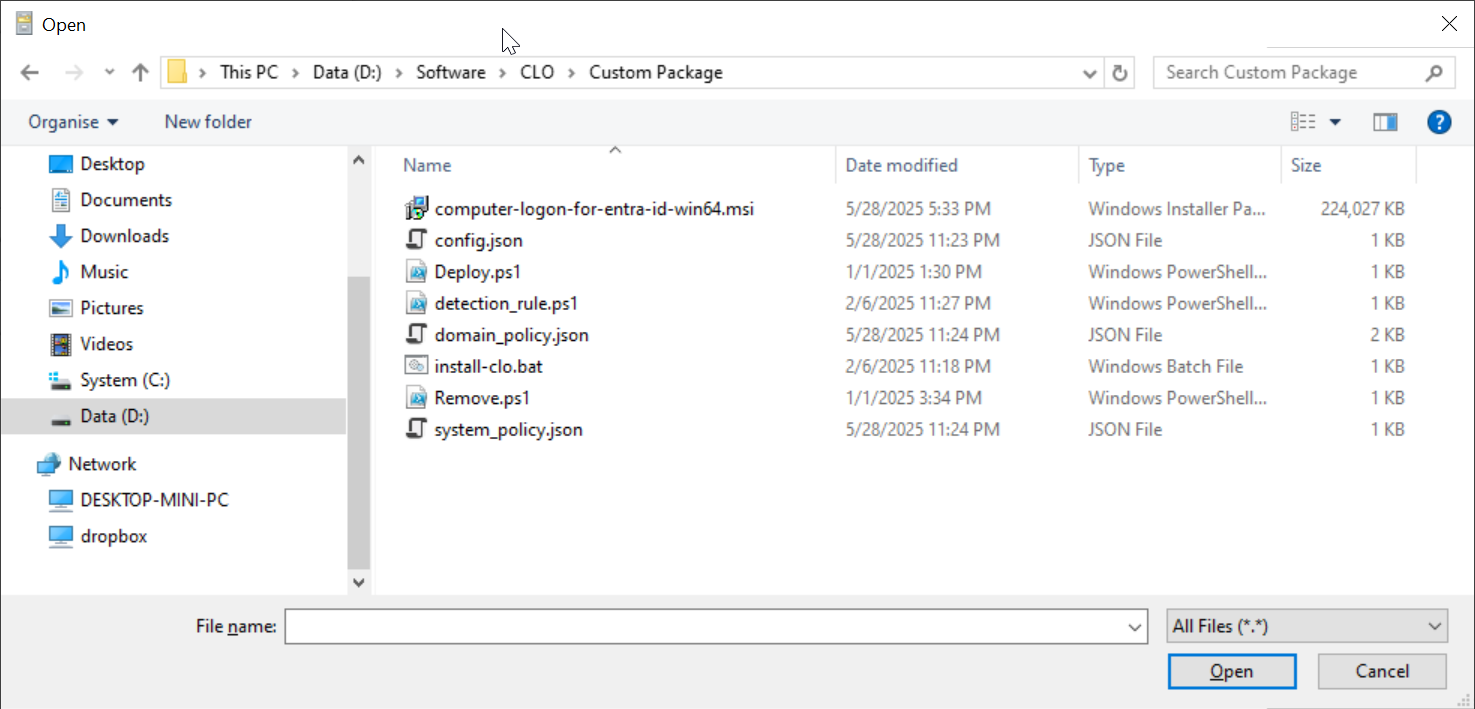
Navigate to the folder where the files are kept, e.g. "D:\Software\CLO\Custom Package"
Select all files in the folder
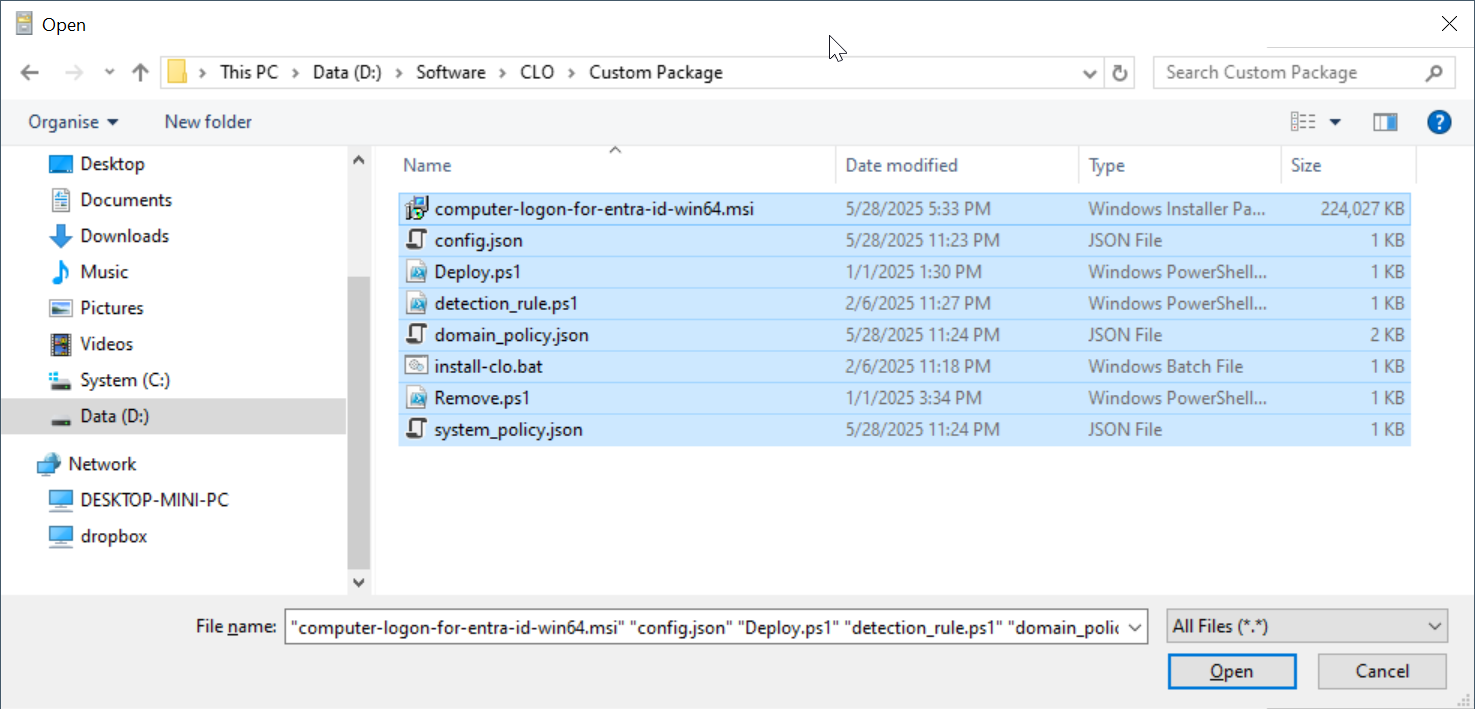
click "Open"
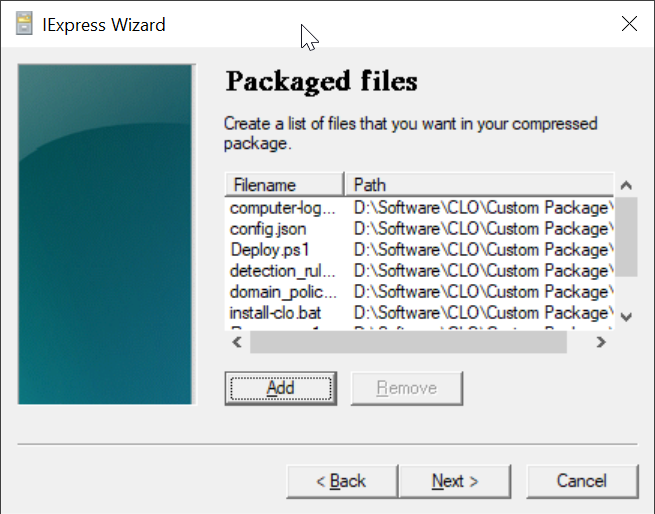
All files are added
Click "Next"
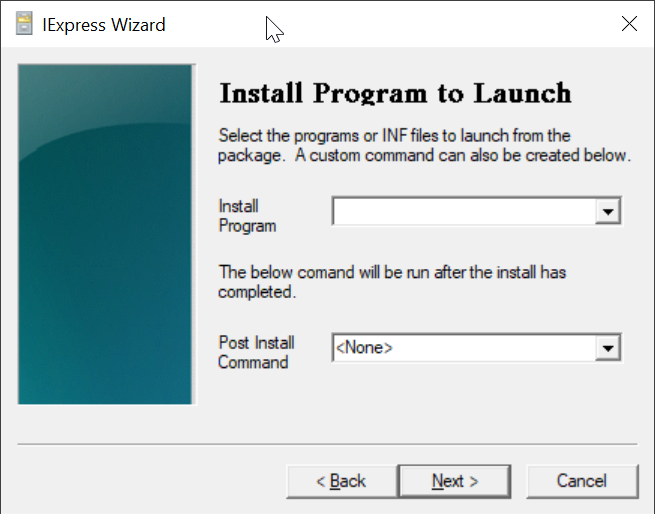
In the "Install Program" box, enter "cmd /c install-clo.bat"
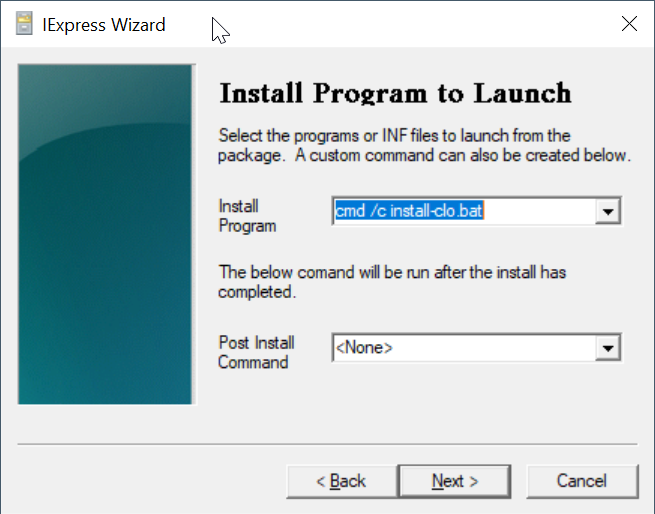
Click "Next"
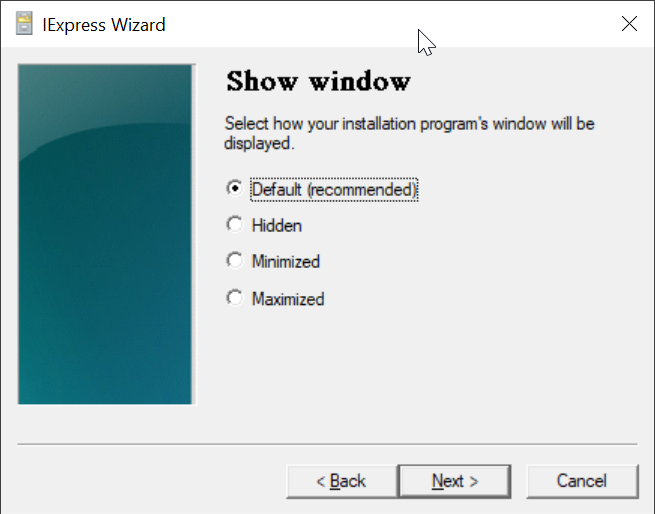
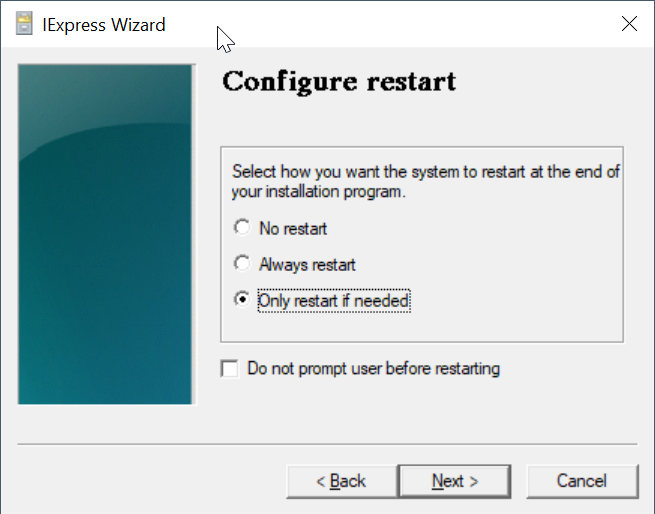
Click "Next"
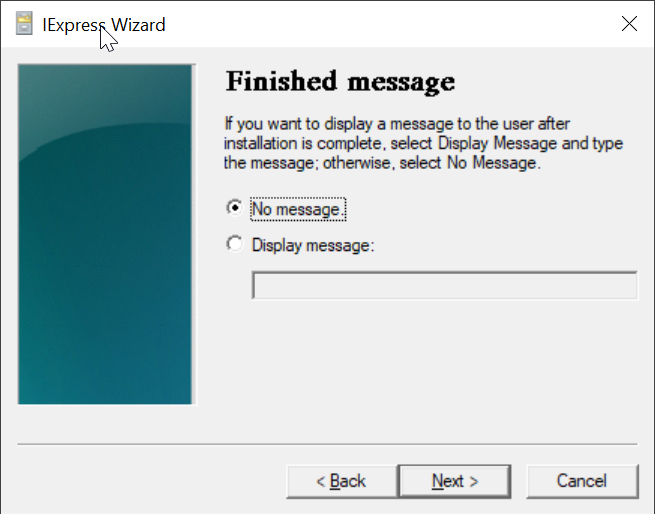
Click "Next"
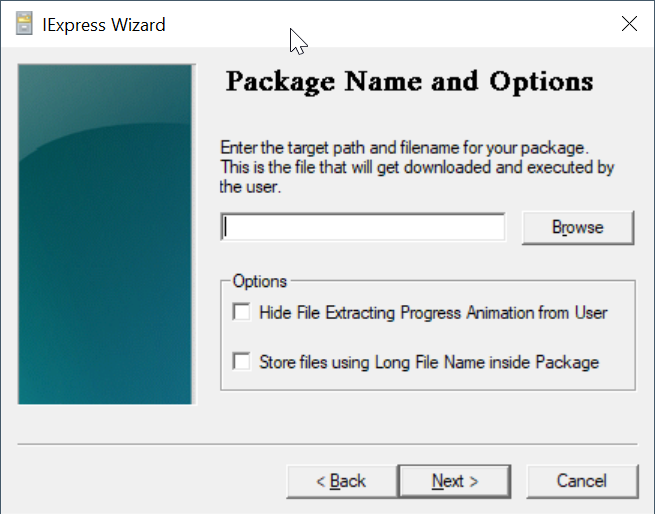
Click the "Browse" button to select a folder where you want to save the custom installer file. e.g. "D:\Software\CLO"
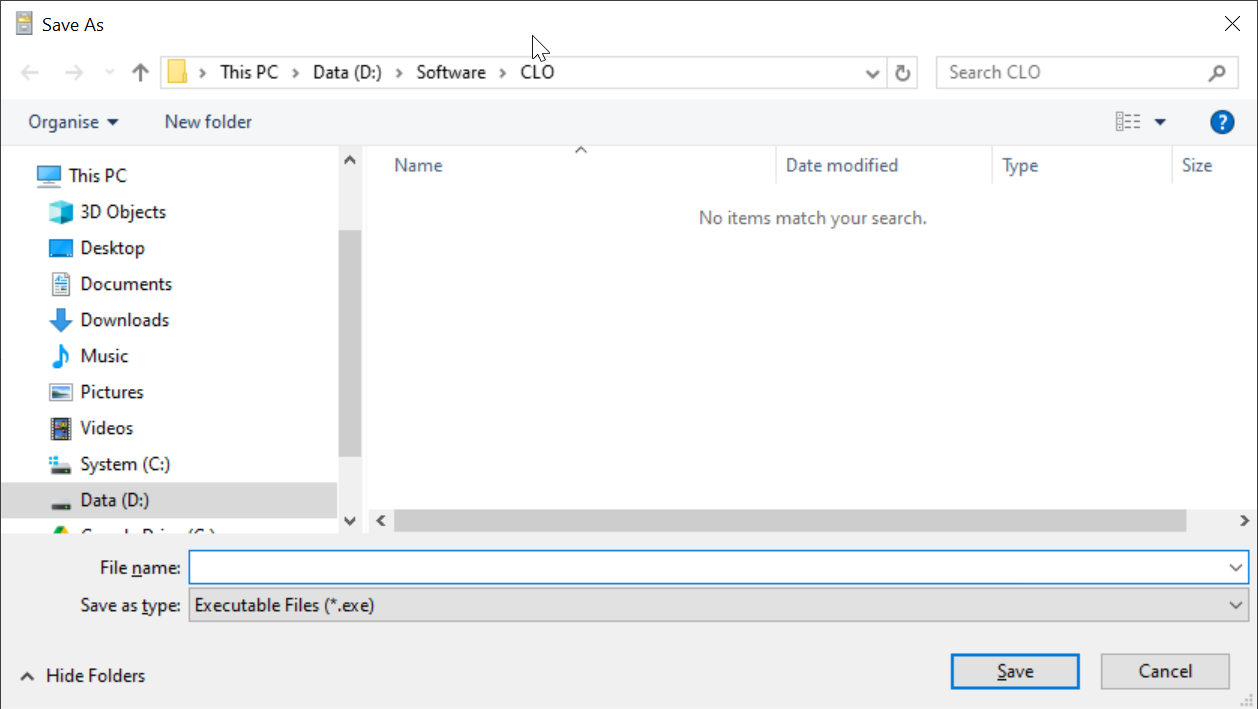
In the "File name" box, enter the name for your customer installer, e.g. Deepnet-CLO-Installer
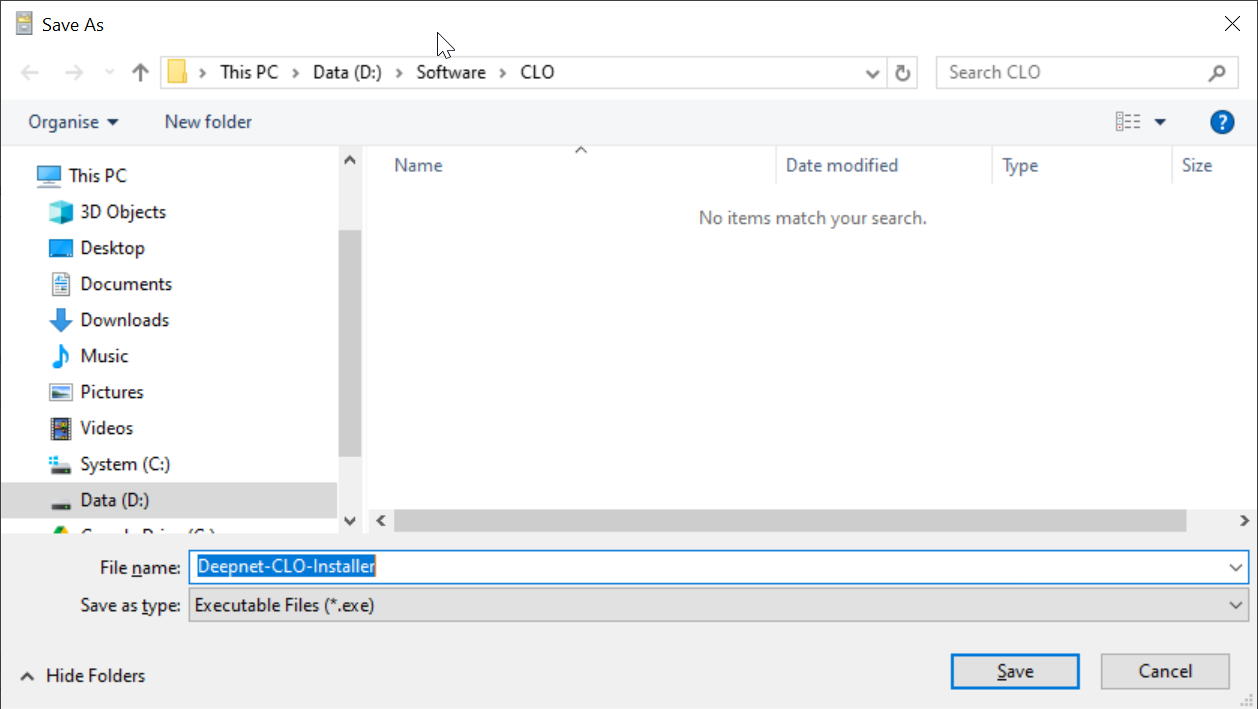
Click "Save"
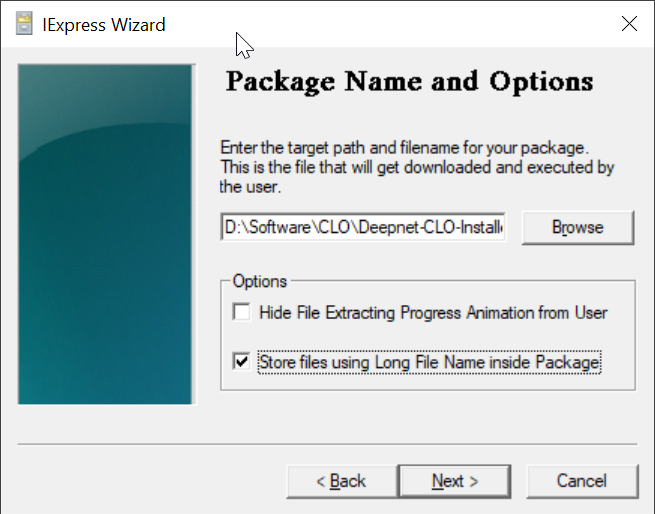
Select "Store files using Long File Name inside Package"
Click "Next"
Click "Next"
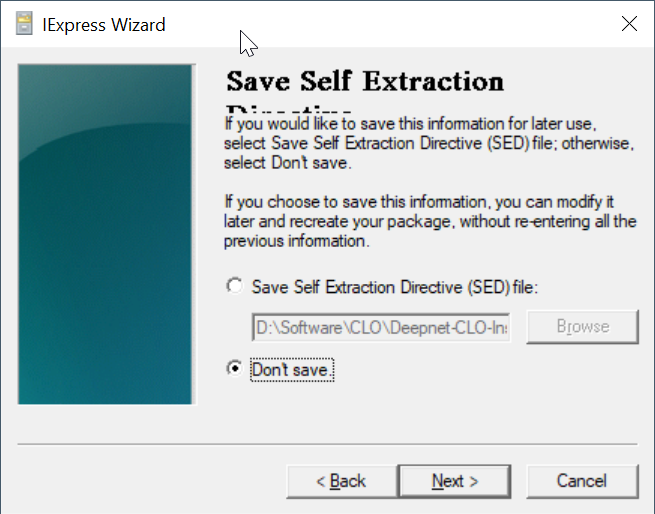
Select "Don't save"
Click "Next"
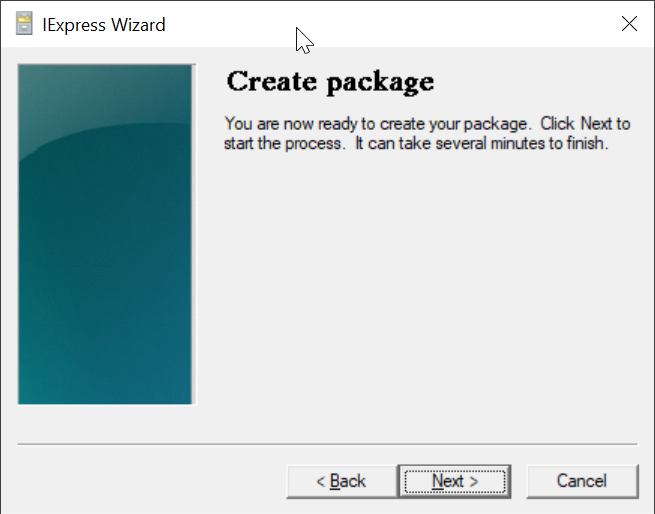
Click "Next"
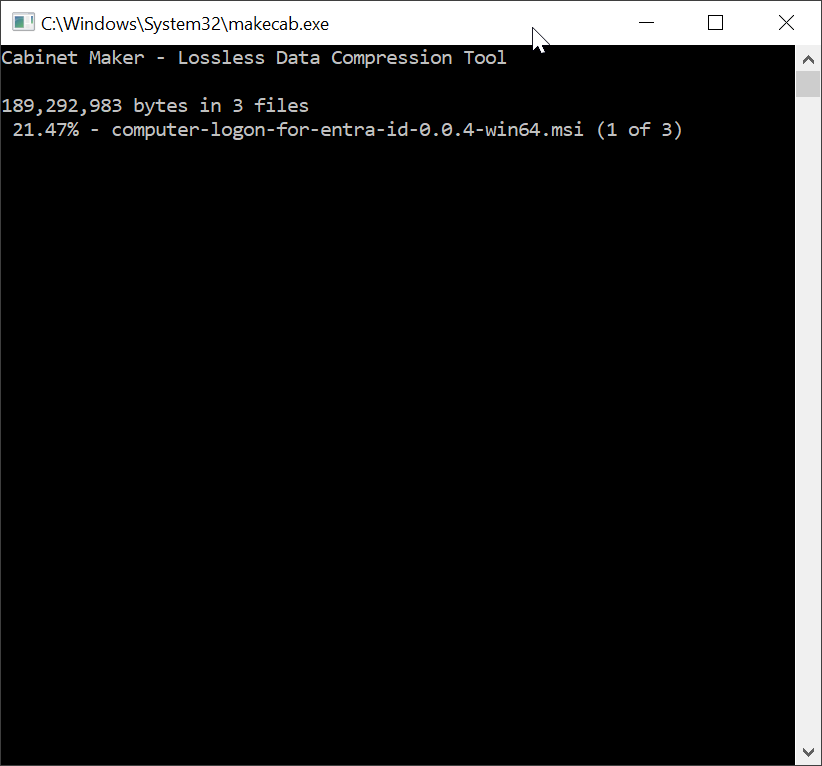
Wait for it to finish
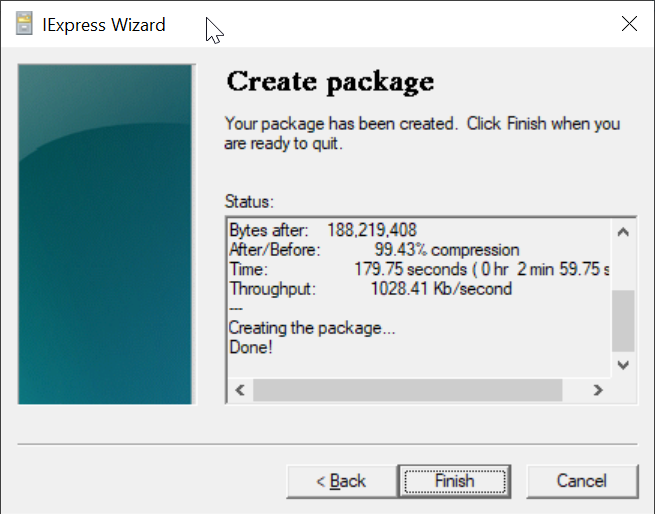
Click "Finish"
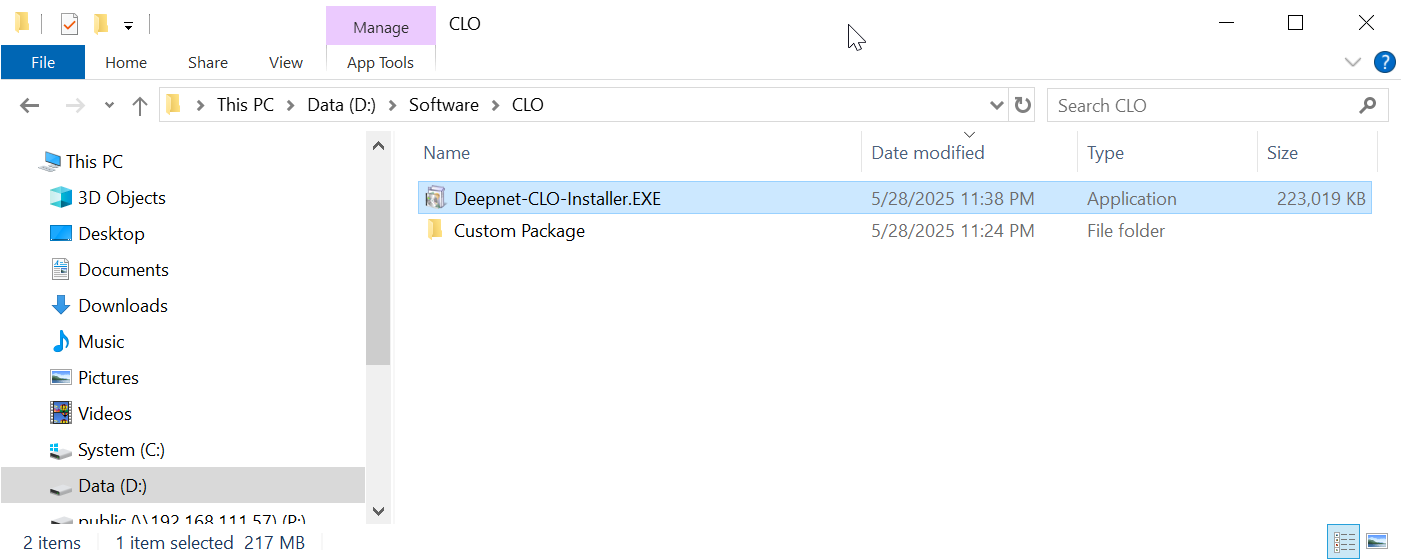
Now, you can distribute your custom installer "Deepnet-CLO-Installer.EXE" to your users.