Assigning Applications to the SSO Agent
In order for you to customise the screen that is shown when users authenticate (the SSO logon screen) you will first need to ensure that the SSO agent has been assigned to the applications that will be customised.
From the management console navigate to "Authentication | Agents", left click on the context menu of the agent "Single Sign-on Server", then select "Applications";
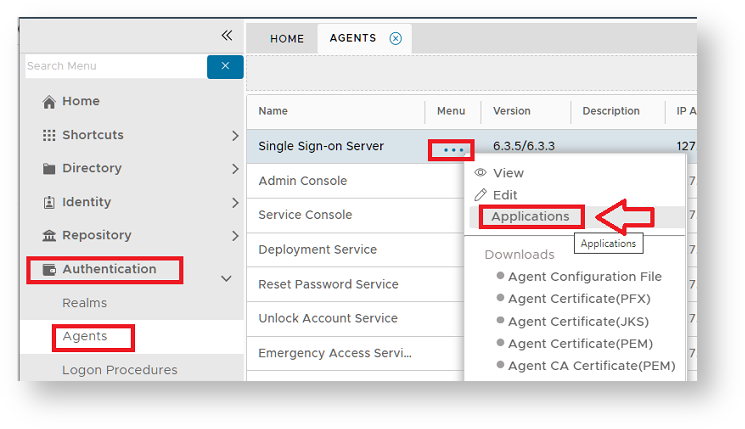
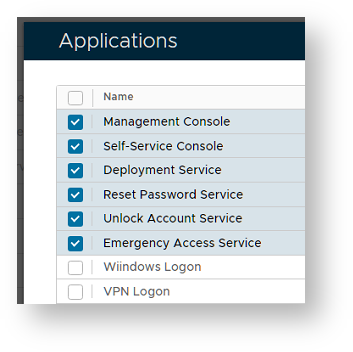
A new window will open titled "Applications" that will list all application assigned to the agent "Single Sign-On Server";
Creating a Customisation for the SSO Logon Screen
Before the UI of an application can be customised you will need to ensure that the application has been selected in this list. In the example above the selected applications will all be available for customisation.
To create a new customisation of a user interface navigate to "Customisation | User Interface", then click on the "CREATE" button.
A new window will now open titled "Configuration - New" that can be used to customise the user experience for a selected application;

To produce a customisation for the SSO logon screen select Customisation Type "SSO Server" and Agent "SINGLE SIGN-ON SERVER";
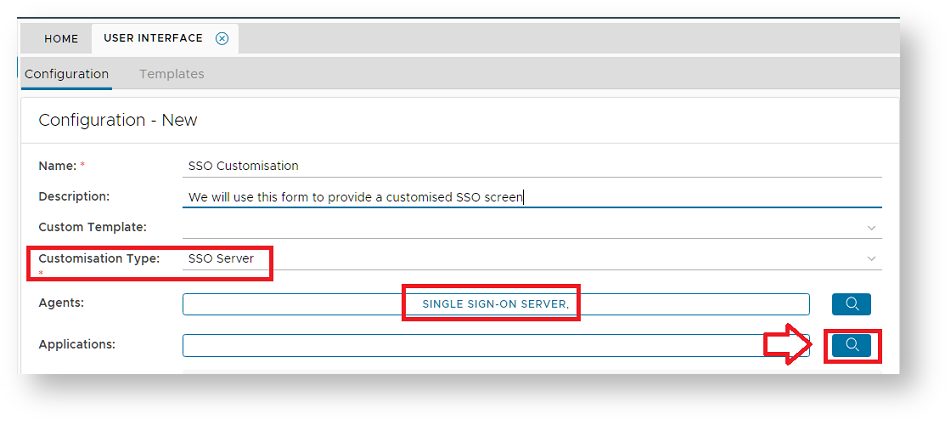
At this point you will need to specify which applications will use this customisation.
Click on the magnifying glass (Red arrow above), and a window will open titled "Applications" listing all applications that have been assigned to the agent "Single Sign-On Server";
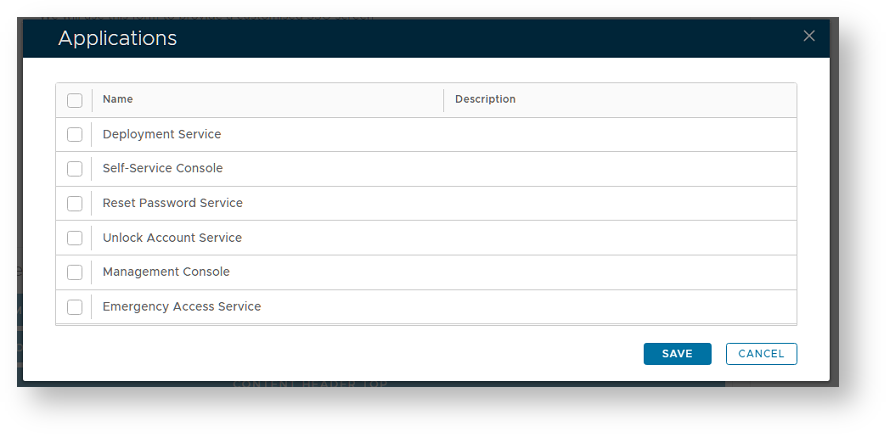
Select the applications that you want customised then click "SAVE".
The selected applications will now be added to your customisation.
You will now need to supply the actual customisations that are to be applied to the logon screen then enable the customisation by clicking on the "Enabled" checkbox, then clicking on the "SAVE" button.
Banner Customisation
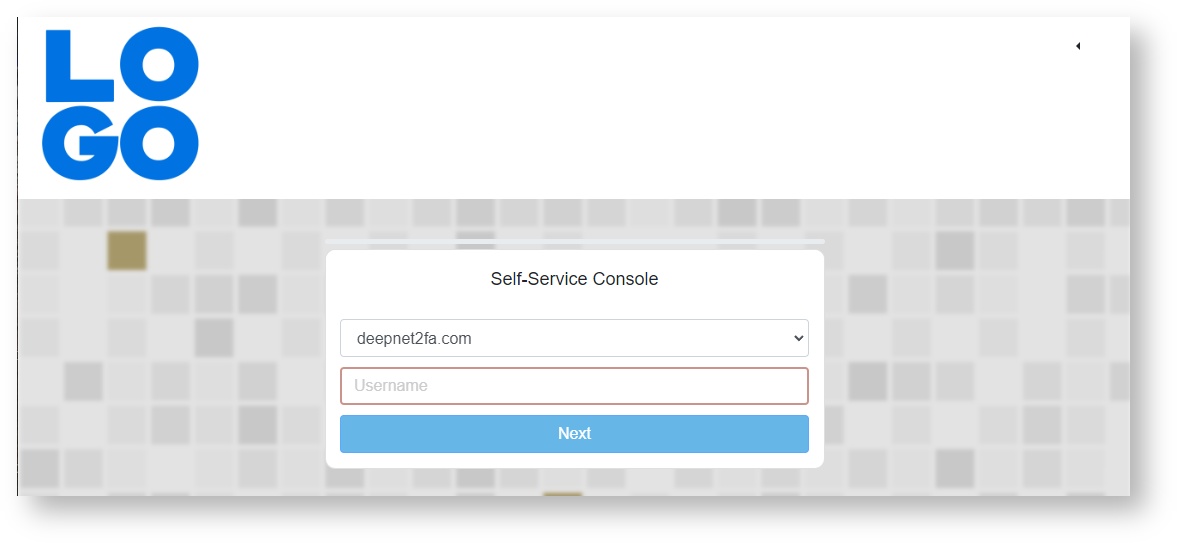
It is possible to replace the logo and banner background that is displayed at the top of the single sign-on screen (see example below);
The logo can be customised following procedure;
- It is possible to replace the DualShield logo displayed on the various portals with one of your own preference.
The method for logo replacement is the same for most portals (however a separate procedure needs to be followed when replacing the logo on the management console
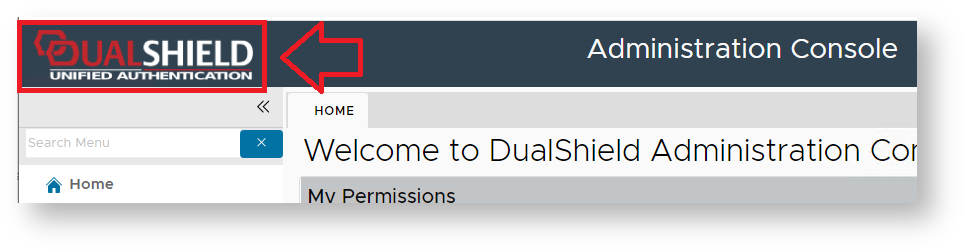
Replacing the Management Console logo
The procedure to replace the logo displayed with the Management Console differs from the procedure for the other portals as it requires a direct file replacement.
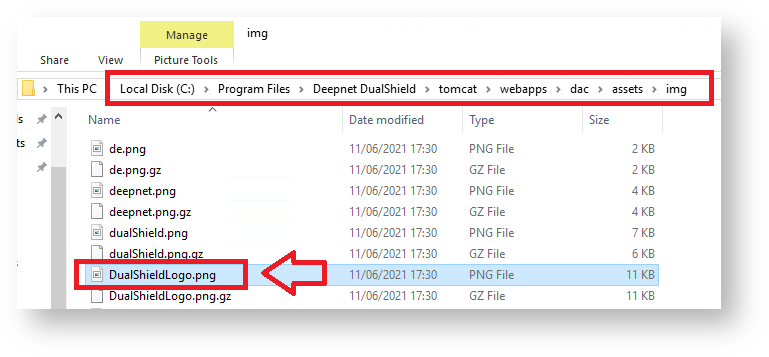
To replace the logo by directly replacement you will first need to navigate to the a subfolder of your DualShield installation directory"\tomcat\webapps\dac\assets\img".
The file to be edited is called "DualShieldLogo.png", and if you replace it with an image of similar size it will replace the logo displayed in the management console.
As an example we will assume that DualShield has been installed in the default installation directory ("C:\Program Files\Deepnet DualShield") so the required file will be found as follows;
Please note you may need to clear your browsers data before you see the change made to the logo when using this method.
Replacing non-Management Console logos
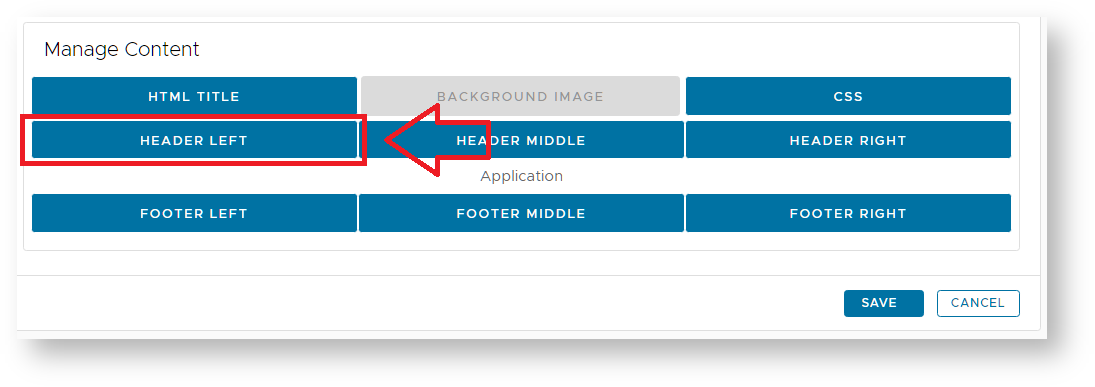
In most cases the procedure is the same - first you create a customisation for the portal you want to replace the icon, then you use the "HEADER LEFT" button to specify a replacement logo;
After the button has been pressed a window will open titled "Header Left";
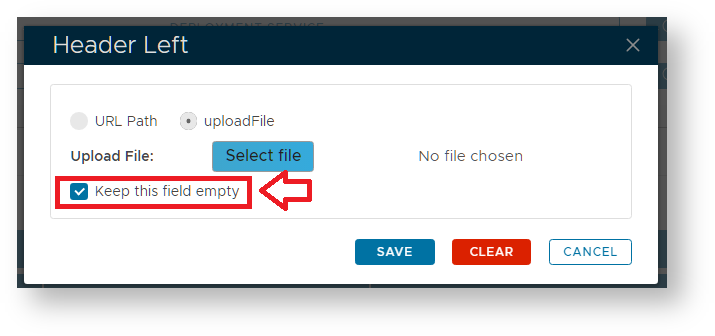
Deselect the option "Keep this field empty" the either upload a new logo image or point to a URL where the image is stored;
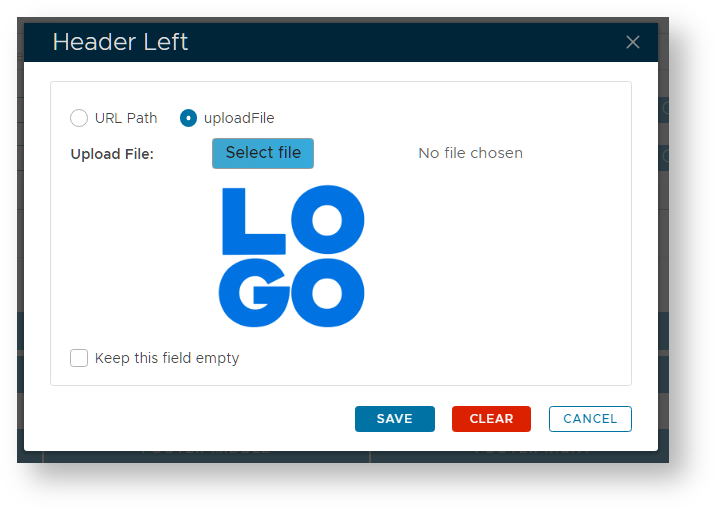
Click "SAVE" and the default logo will be replaced with the selected logo.
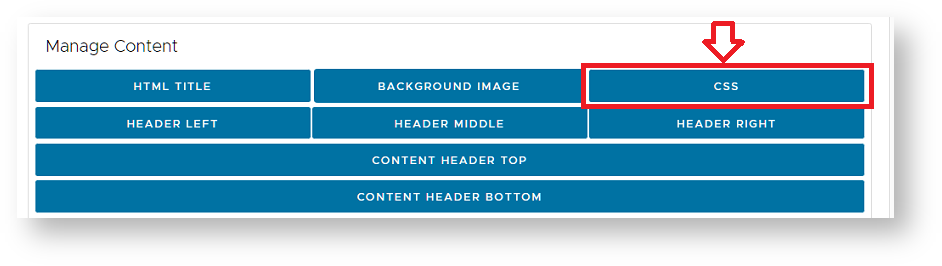
To change the background colour click on the button "CSS" customisation option found in the section "Manage Content";
A new window will open titled "CSS", deselect the checkbox "Keep this field empty", and you will be able to supply CSS script;

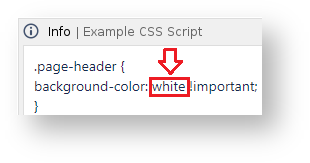
As an example, the following script will replace the background colour for the banner from the detault colour to white;
In the above example script the background colour is determined by changing the parameter as indicated below;
Further customisations to the page may be made but adjustments to other parts of this sample script.