If you plan to deploy only the one-time password based authentication in your user base using OTP tokens such as Deepnet SafeID, MobileID, then you can configure your Citrix NetScaler to work in the so-called One-Step Logon mode. In One-Step Logon process, Netscaler will use your AD as the primary authentication server and your DualShield as the secondary authentication server. Your AD will be responsible for verifying users’ AD passwords and your DualShield will be responsible for verifying users’ one-time passwords only.
Edit Logon Procedure
In the DualShield Management Console, edit the logon procedure for your NetScaler application. You will only need one logon step and typically the logon step will have “One-Time Password” as the authentication method:
Configure Citrix NetScaler
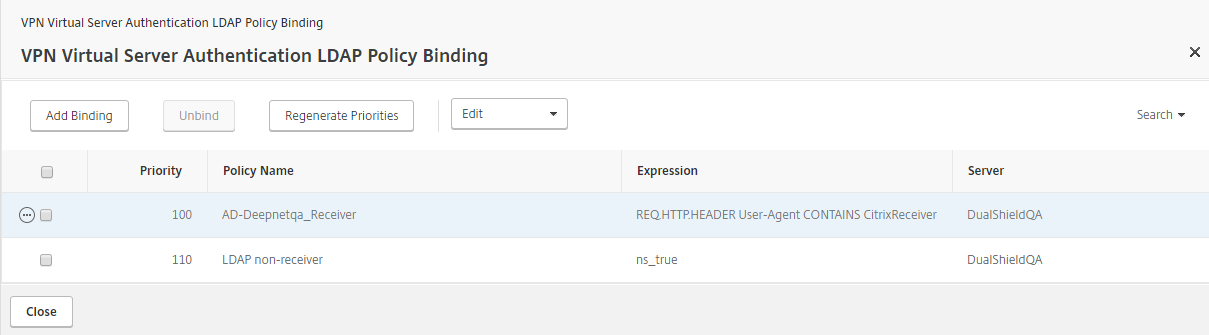
- Go to the properties of your NetScaler Gateway | Virtual Server and go to the Authentication tab. On the Primary Authentication Policies, add the DualShield AD-Deepnetqa_Receiver policy as top priority and the LDAP non-receiver policy as secondary priority.
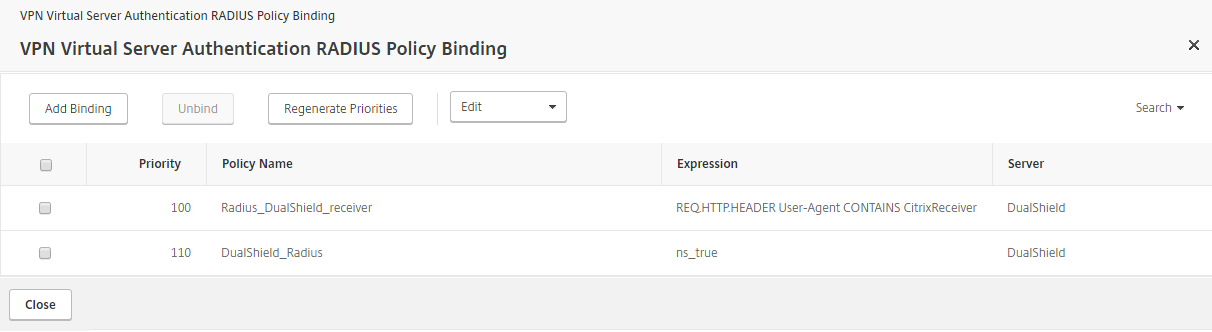
- On the Secondary Authentication Policies, add the DualShield Radius_DualShield_Receiver policy as top priority and the DualShield_Radius policy as secondary priority.
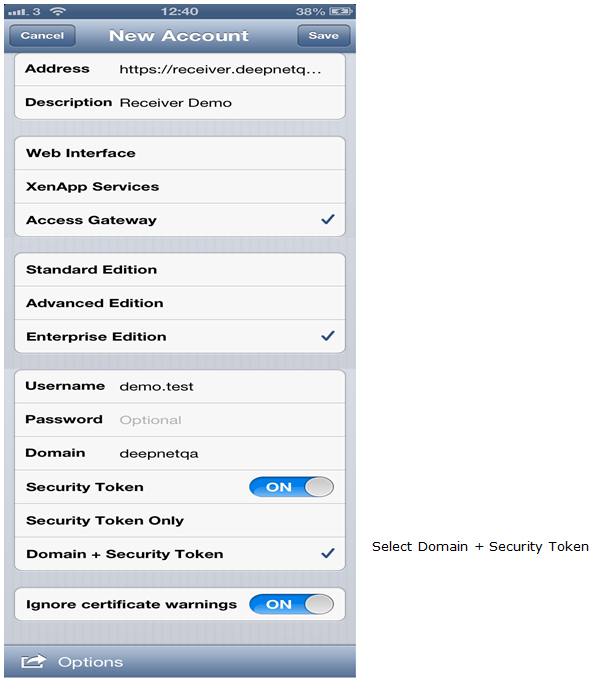
Configure Citrix Receiver
Test Logon in Web Browser
Navigate to the Citrix NetScaler Access Gateway logon page:
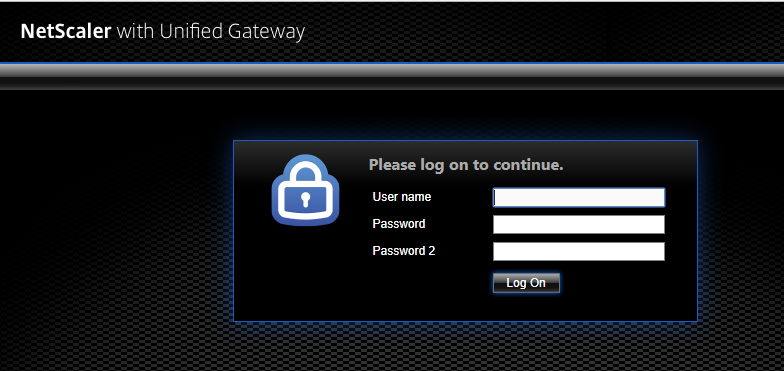
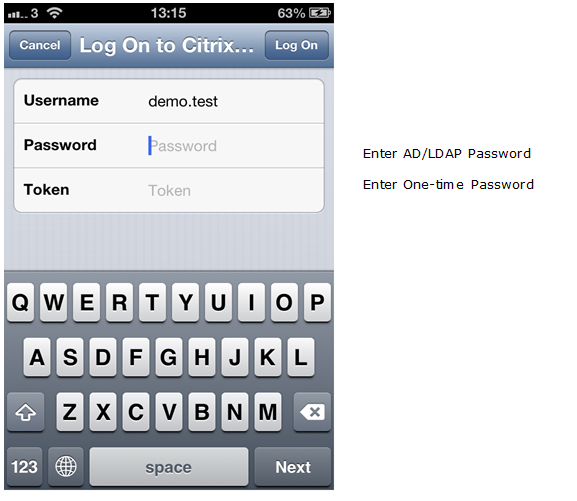
The logon form consists of 3 fields:
- User name: User's domain account logoin name
- Password1: AD Password
- Password2: One-time Password
Customise Logon Form
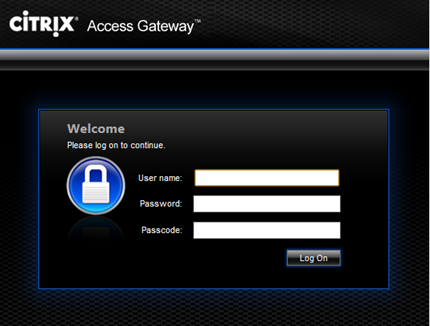
You can customise NetScaler Access Gatway’s logon page to make it more user friendly. For instance, you may want to change “Password1” to “Password” or “Ad Password”, “Password2” to “Passcode” or “One-Time Password”.
The article below is the general instruction for customising Access Gateway logon page:
http://support.citrix.com/article/CTX126206
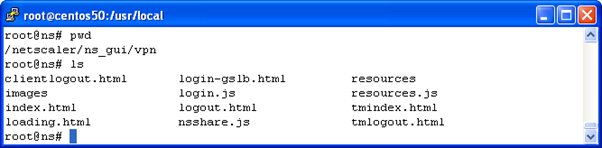
The basis of the customisation is to change relevant HTML and Javascript files in the NetScaler appliance. These file can be accessed via SSH in the folder below:
/netscaler/ns_gui/vpn
As an example, if you just want to “Password1” to “Password” and “Password2” to “Passcode”, then you need to edit the “login.js” file and replace the function “ns_showpwd()” with the following code:
function ns_showpwd()
{
var pwc = ns_getcookie("pwcount");
document.write('<TR><TD align=right style="padding-right:10px;white-space:nowrap;"><SPAN class=CTXMSAM_LogonFont>Password:</SPAN></TD>');
document.write('<TD colspan=2 style="padding-right:8px;"><input class="CTXMSAM_ContentFont" type="Password" title="' + _("Enter password") + '" name="passwd" size="30" maxlength="32" style="width:100%;"></TD></TR>');
if ( pwc == 2 )
{
document.write('<TR><TD align=right style="padding-right:10px;white-space:nowrap;"><SPAN class=CTXMSAM_LogonFont>Passcode:</SPAN></TD>');
document.write('<TD colspan=2 style="padding-right:8px;"><input class="CTXMSAM_ContentFont" type="Password" title="' + _("Enter password") + '" name="passwd1" size="30" maxlength="32" style="width:100%;"></TD></TR>');
}
UnsetCookie("pwcount");
}
Test Customise Logon Form in Web Browser
The Access Gateway logon page will be presented as:
Test Logon in Citrix Receiver