- Login to the DualShield Administration Console
- In the main menu, navigate to "Authentication | Logon Procedures"
- Click the "+CREATE" button on the toolbar
- Enter a suitable Name, then set 'Type' as "RADIUS":
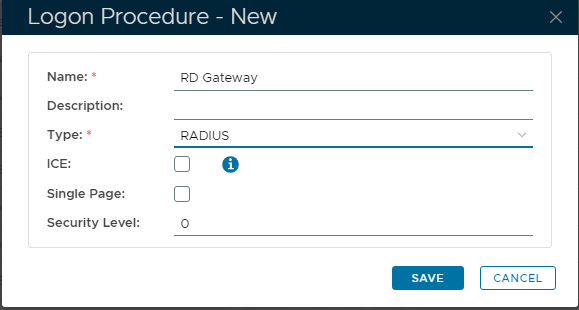
- Click "Save"
- Click the context "..." menu of the newly created Logon Procedure, then select "Logon Steps"
- In the popup window on the right, click the "+ ADD" button to add an authentication method.
- Select from the list of authenticators "Out of Band Authentication", then "SAVE" button to confirm.
(Please note: RD Gateway ONLY supports "Out of Band Authentication".)

- In the main menu, navigate to "Authentication | Applications"
- Click the "+ CREATE" button on the toolbar
- Enter a suitable 'Name'
- From the drop-down, select your internal 'Realm'
- Select the newly created logon procedure
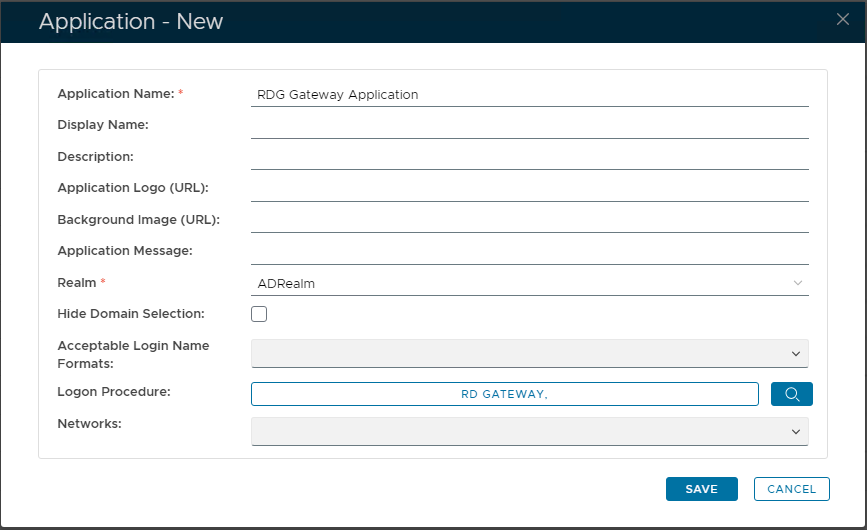
- Click "SAVE" to create the new Application.
- Click the context "..." menu on the newly created application, then select "Agents"
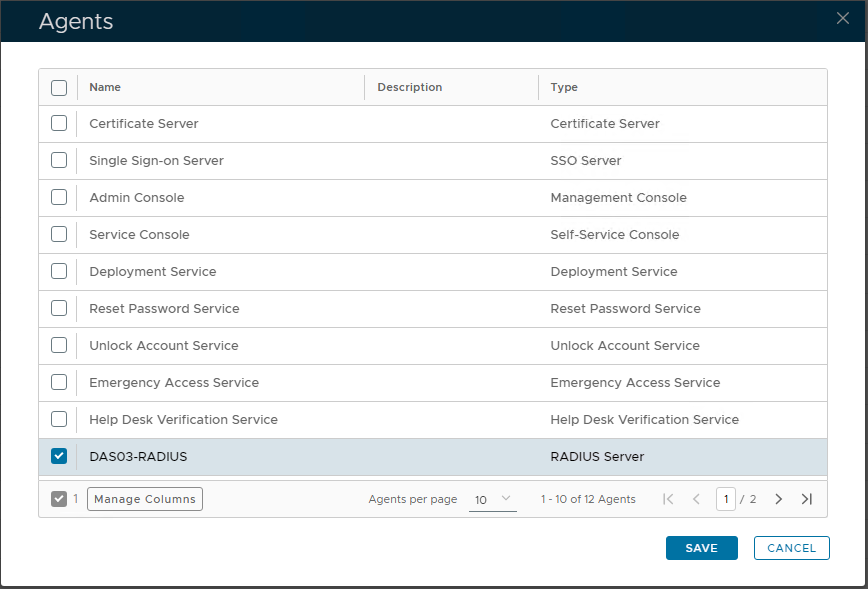
- From the displayed list of Agents, select the integrated "RADIUS" Server. Then "SAVE".
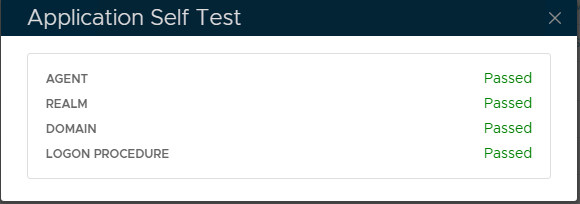
- Finally click the Application context "..." menu and select "Self Test" to confirm everything is correctly associated:
- In the main menu, navigate to "RADIUS | Radius Clients"
- Click the "+ CREATE" button to create a new Radius Client.
- Enter a suitable "Name" for the new Radius Client
- Select the integrated "Radius Server" from the drop-down list.
- Select the previously created "Application" from the drop-down list.
- Enter Network Policy Server’s IP in the "IP Address" field
- Enter the "Share Secret" which matches that saved on the Network Policy Server
- Specify the appropriate "Authentication Protocols" from the list.
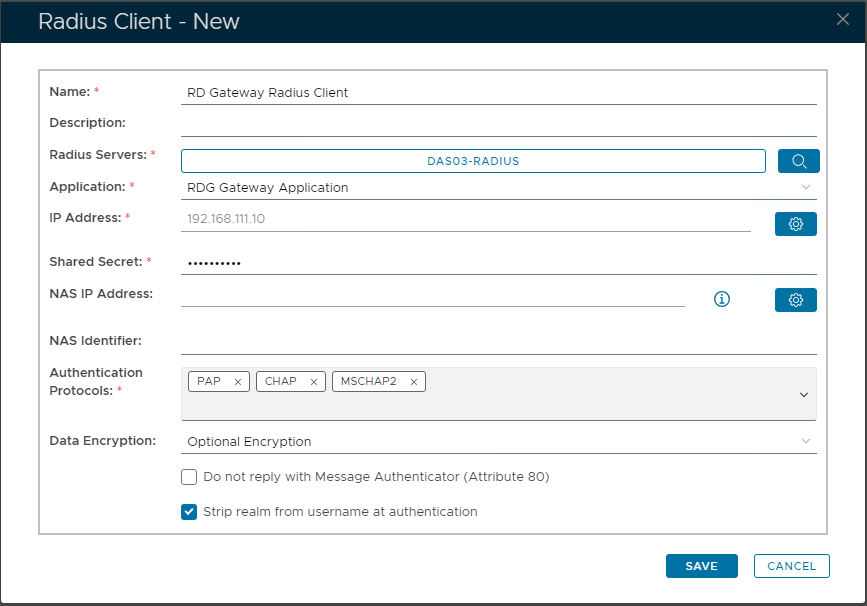
- Click "SAVE" to confirm creation of the new Radius Client.
{"serverDuration": 47, "requestCorrelationId": "6c67f21d48bb3486"}