Log in to your JumpCloud Console as administrator, then in the section "SECURITY MANAGEMENT", select the option "MFA Configurations";

Scroll down to the section "Time Based One-Time Password (TOTP)", then use the slider to enable this option;
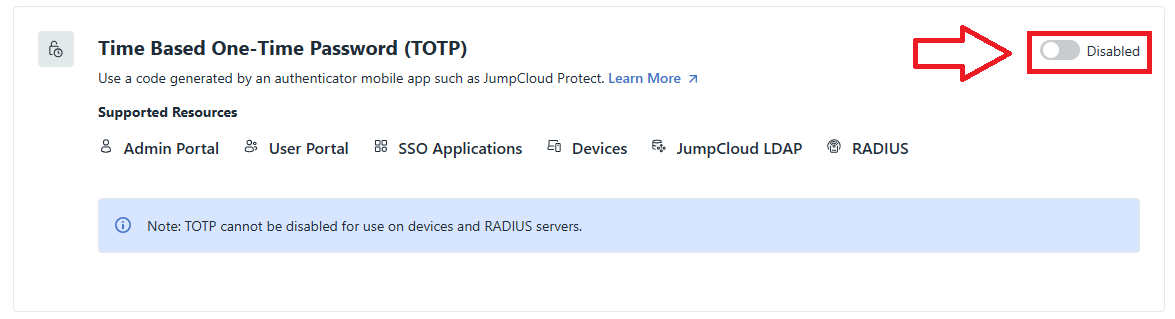
You have now enabled the authentication method and will be shown the following screen;
Adding and Activating MFA for your Users
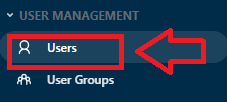
Using your administrator account, in the section "USER MANAGEMENT", click on the option "Users";
Use the icon ![]() to add users, and after the users have been added, their user status will be set to "Staged", how3ever the user can be activated by clicking on "Activate Now";
to add users, and after the users have been added, their user status will be set to "Staged", how3ever the user can be activated by clicking on "Activate Now";
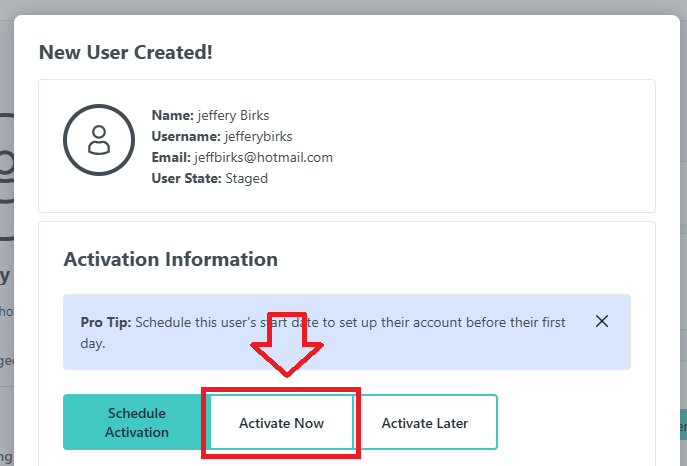
After creating and activating the user account, the password status will be set to "Password pending";

Clicking on user account you will find that you can send an activation email to the user;

A registration link email will then be sent to the user. The user can then provide their password and register their account, but by default MFA will not be enrolled for the newly created account.
Enforcing MFA on user accounts
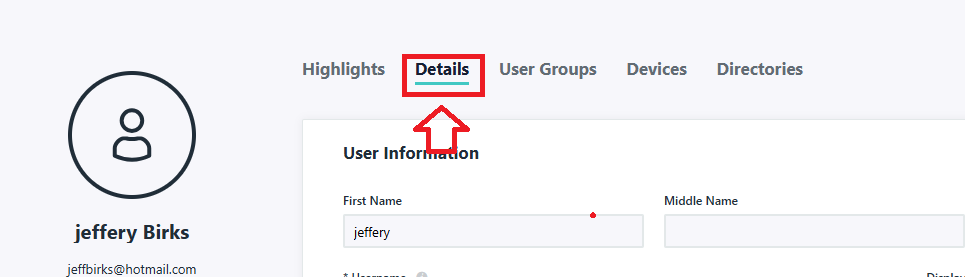
After a user account has been added you can force the account to require MFA by logging in to the administrators console, selecting the user account then selecting the heading "Details";
You can then scroll down to the option "Multi-factor Authentication Settings", and select "Require Multi-factor Authentication on the User Portal";

Self-Enforcing MFA on user accounts that are not MFA activated
Alternatively. the user can set this option for themselves by first logging in to their user account portal, selecting the "Password" option (from the left menu), then in the section "Multi-factor Authentication", select click on the option "Set up Authentication App".
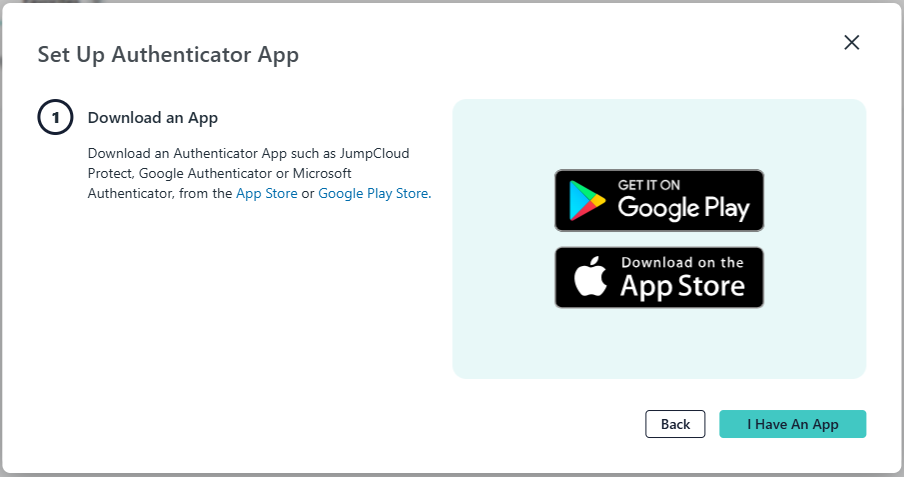
When using programmable tokens an authentication app does not need to be downloaded, so the "I have an app" option can be selected.
After the option is selected you will be presented with A QR code, and the programmable token can be programmed with the QR code (see instructions in the next section).
Logging in to an MFA activated account
Log in to the JumpCloud user account, and a popup titled "Set Up Multi-Factor Authentication" will open;
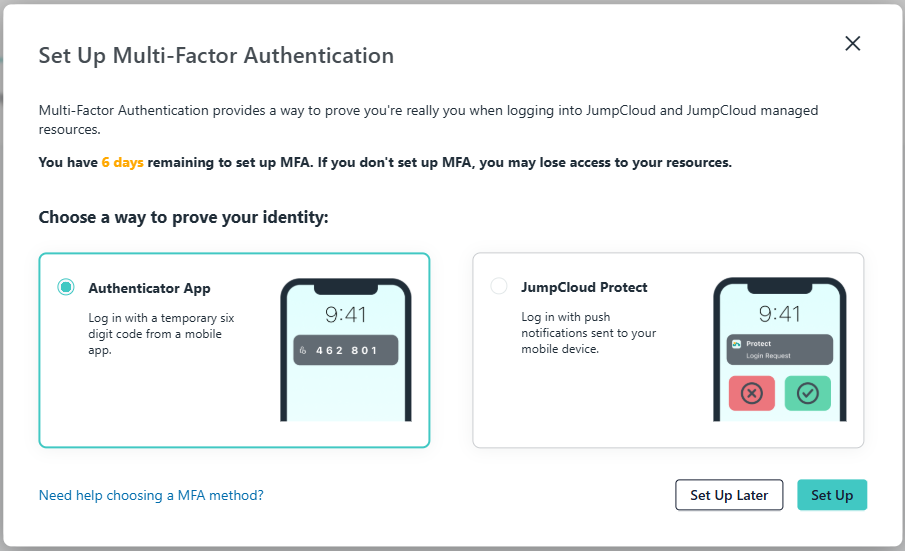
Leave "Authenticator App" selected, then click  ;
;
Although we will be preparing a programmable token we still click on  (as the token is effectively emulating the app).
You will now be presented with a QR code;l
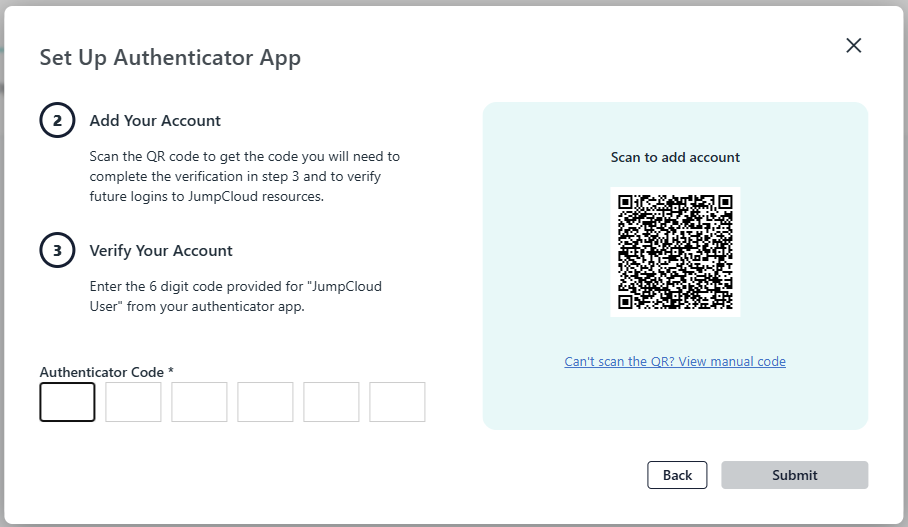
You can use the QR code to program our programmable tokens using the instructions found in the following procedure;
- To program a SafeID/Diamond or SafeID/Pro token with a QR code, launch the SafeID/Diamond programming tool.

Click the Scan QR Code button
Before you scan the QR code please ensure that the clock on your computer is displaying the correct date and time.
You can scan the screen for a QR code, or load from a file.
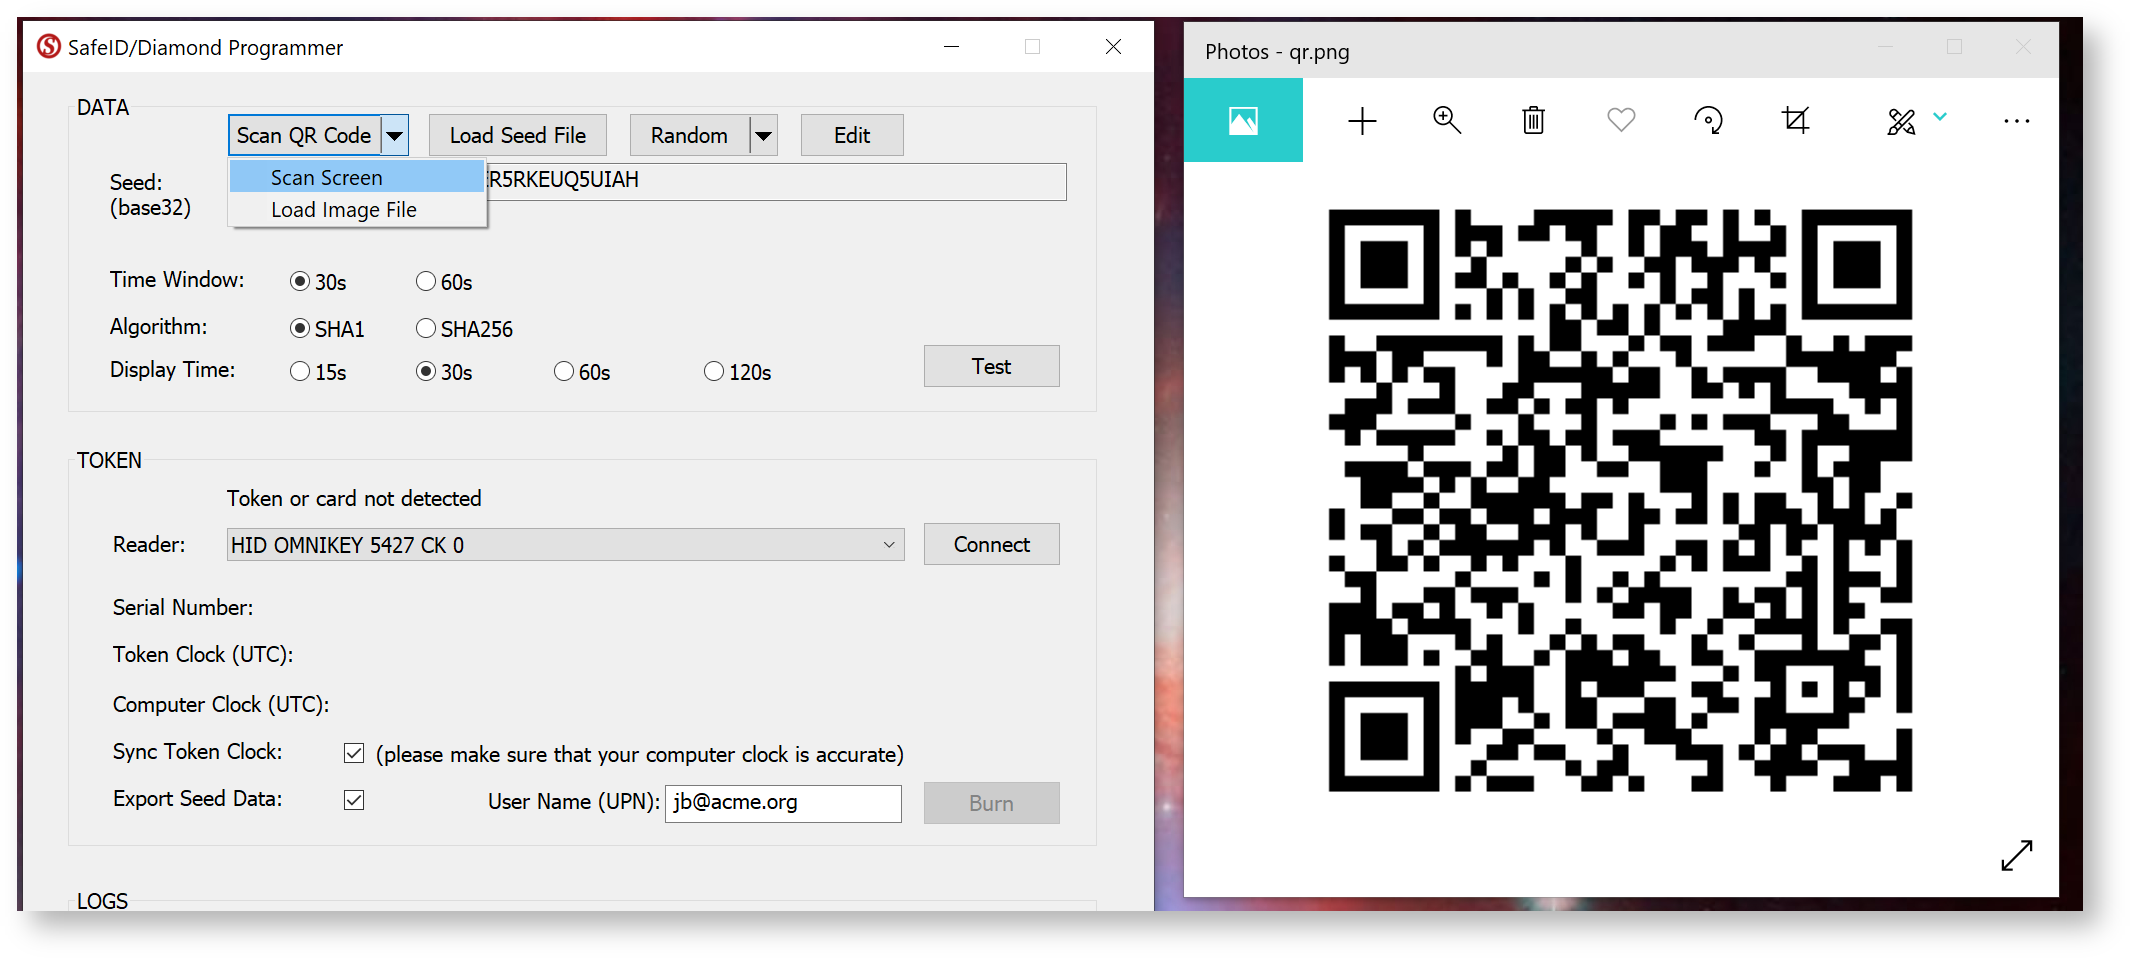
If you are scanning the barcode on the screen please ensure that the QR code is not obscured by other windows, and if you have more than one monitor please ensure that both the app and the QR code are displayed on the main display (display 1).
If you still have difficulty in scanning the QR code double check you only have the one instance of the app running, and that it is the latest version of the app. In most cases when there are issues with scanning of the QR code the most likely cause is the QR code contains the wrong data and may need to be regenerated. To test the QR code you could check that the code works correctly with the authenticator app it is intended for (e.g microsoft authenticator), and if this fails then you know that the QR code will need to be regenerated.
Select Scan Screen.
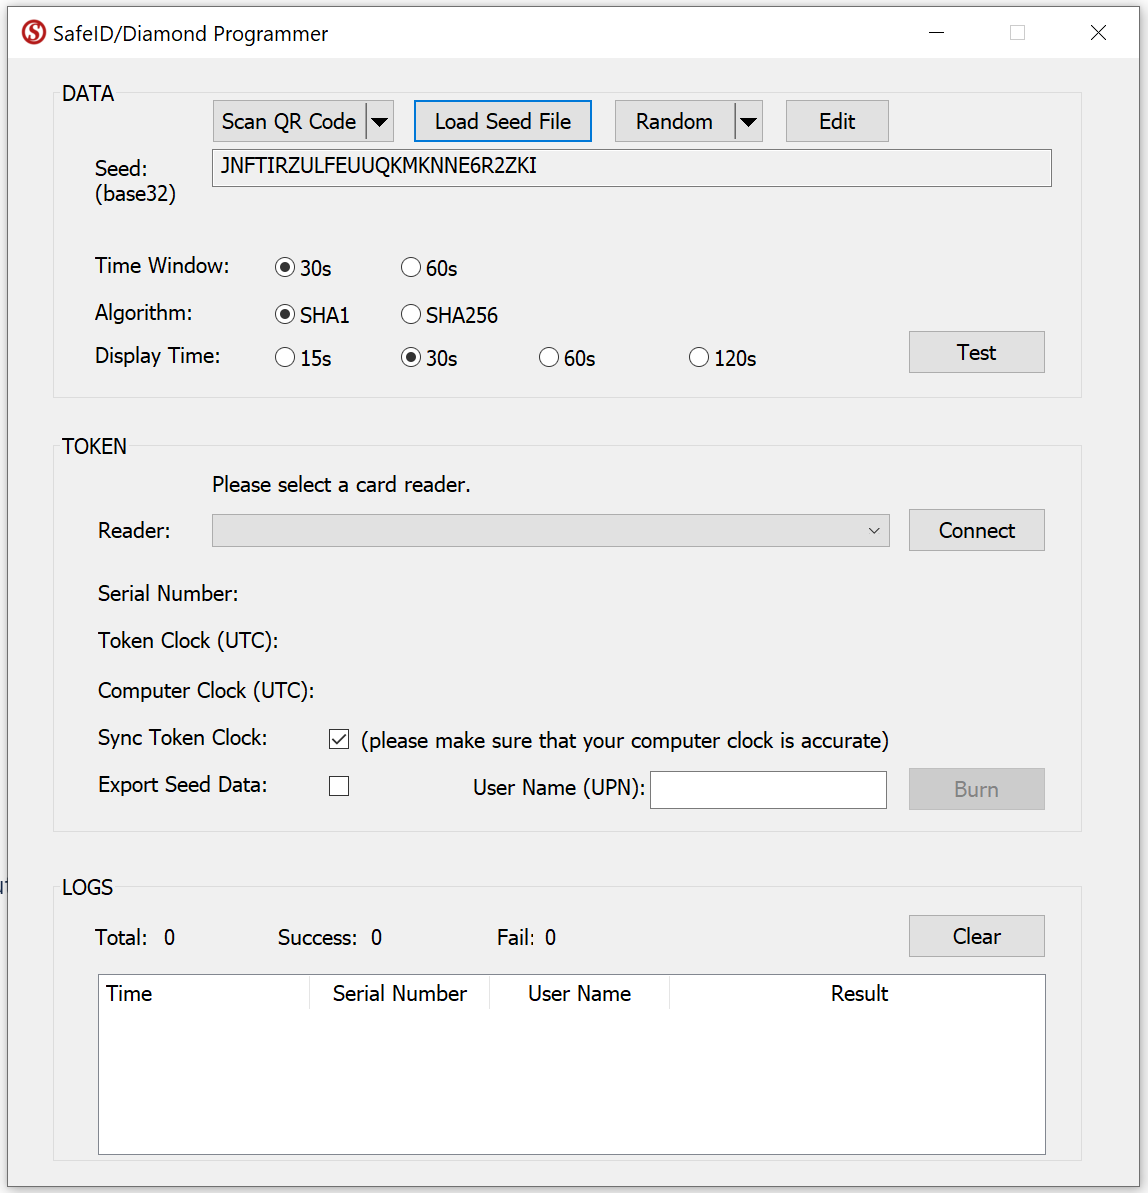
If succeeded, the Seed box should be filled with the token's seed data.
Now, select your smart card reader from the Reader drop-down list, e.g. "HID OMNIKEY 5427 CK"
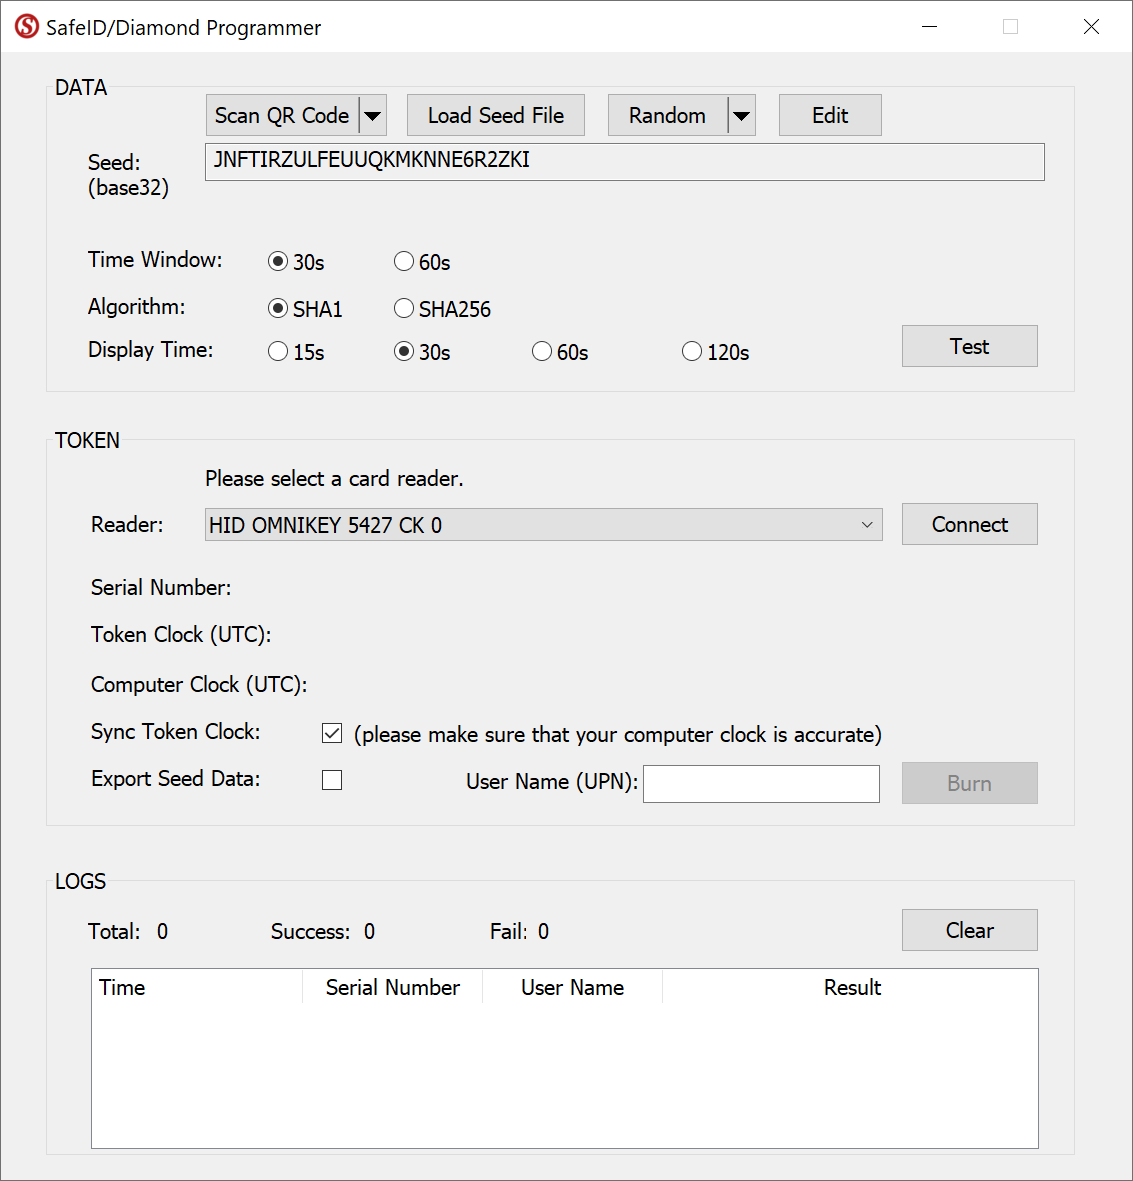
Press the Connect button

Now, switch on a SafeID token and place it on the reader.
The tool will read out the token's serial number and time, and display them:
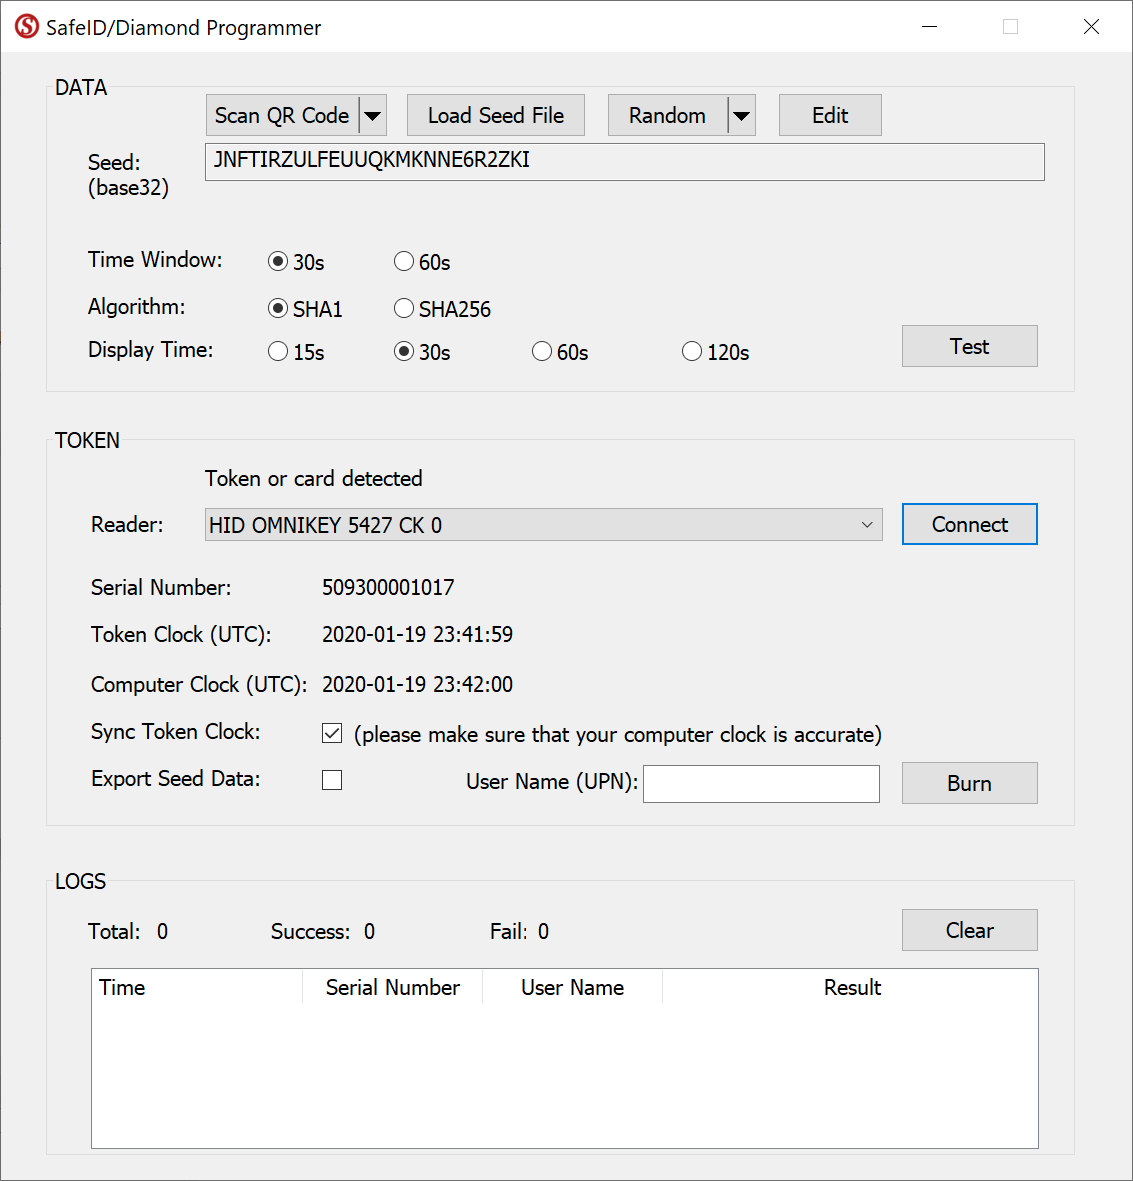
If you want to correct the clock on the token, then leave the "Sync Token Clock" checked, but first ensure the time on your pc is set correctly.
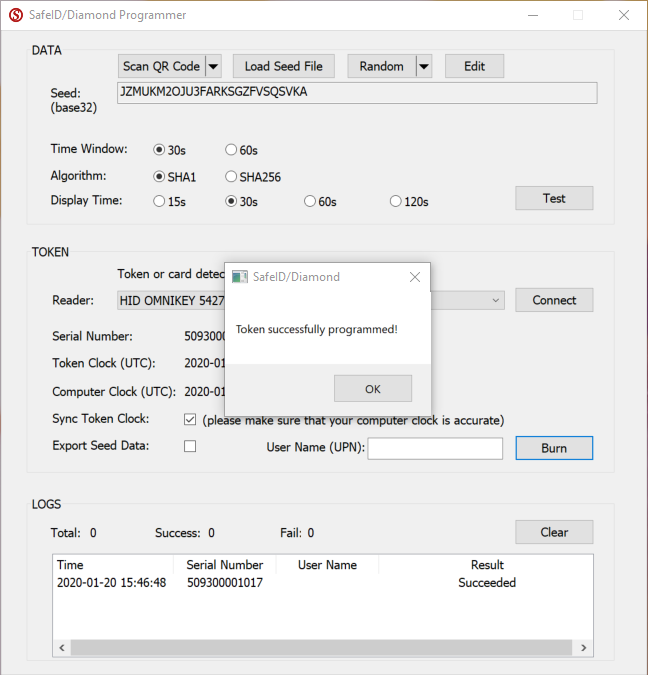
Switch off the token and switch it on again to generate a new code (the token may only use the new seed after being reset)

Related Articles
Verifying your token
Once you have programmed your token you will need to verify it JumpCloud;
You now need to provide a 6 digit OTP code from your recently burned programmable token, enter the code then click  ;
;

After submitting the code you will be informed that the authenticator app enrollment was successful;
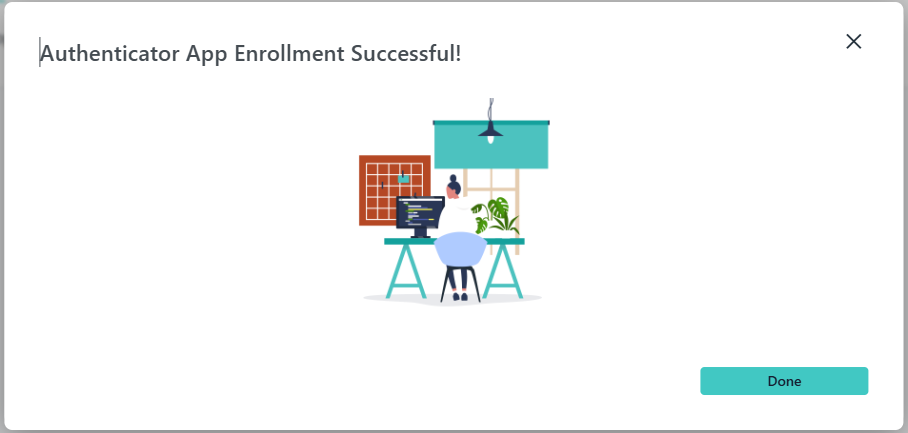
This user account is now ready to use the programmable token as an OTP source when you next log in to the users account.