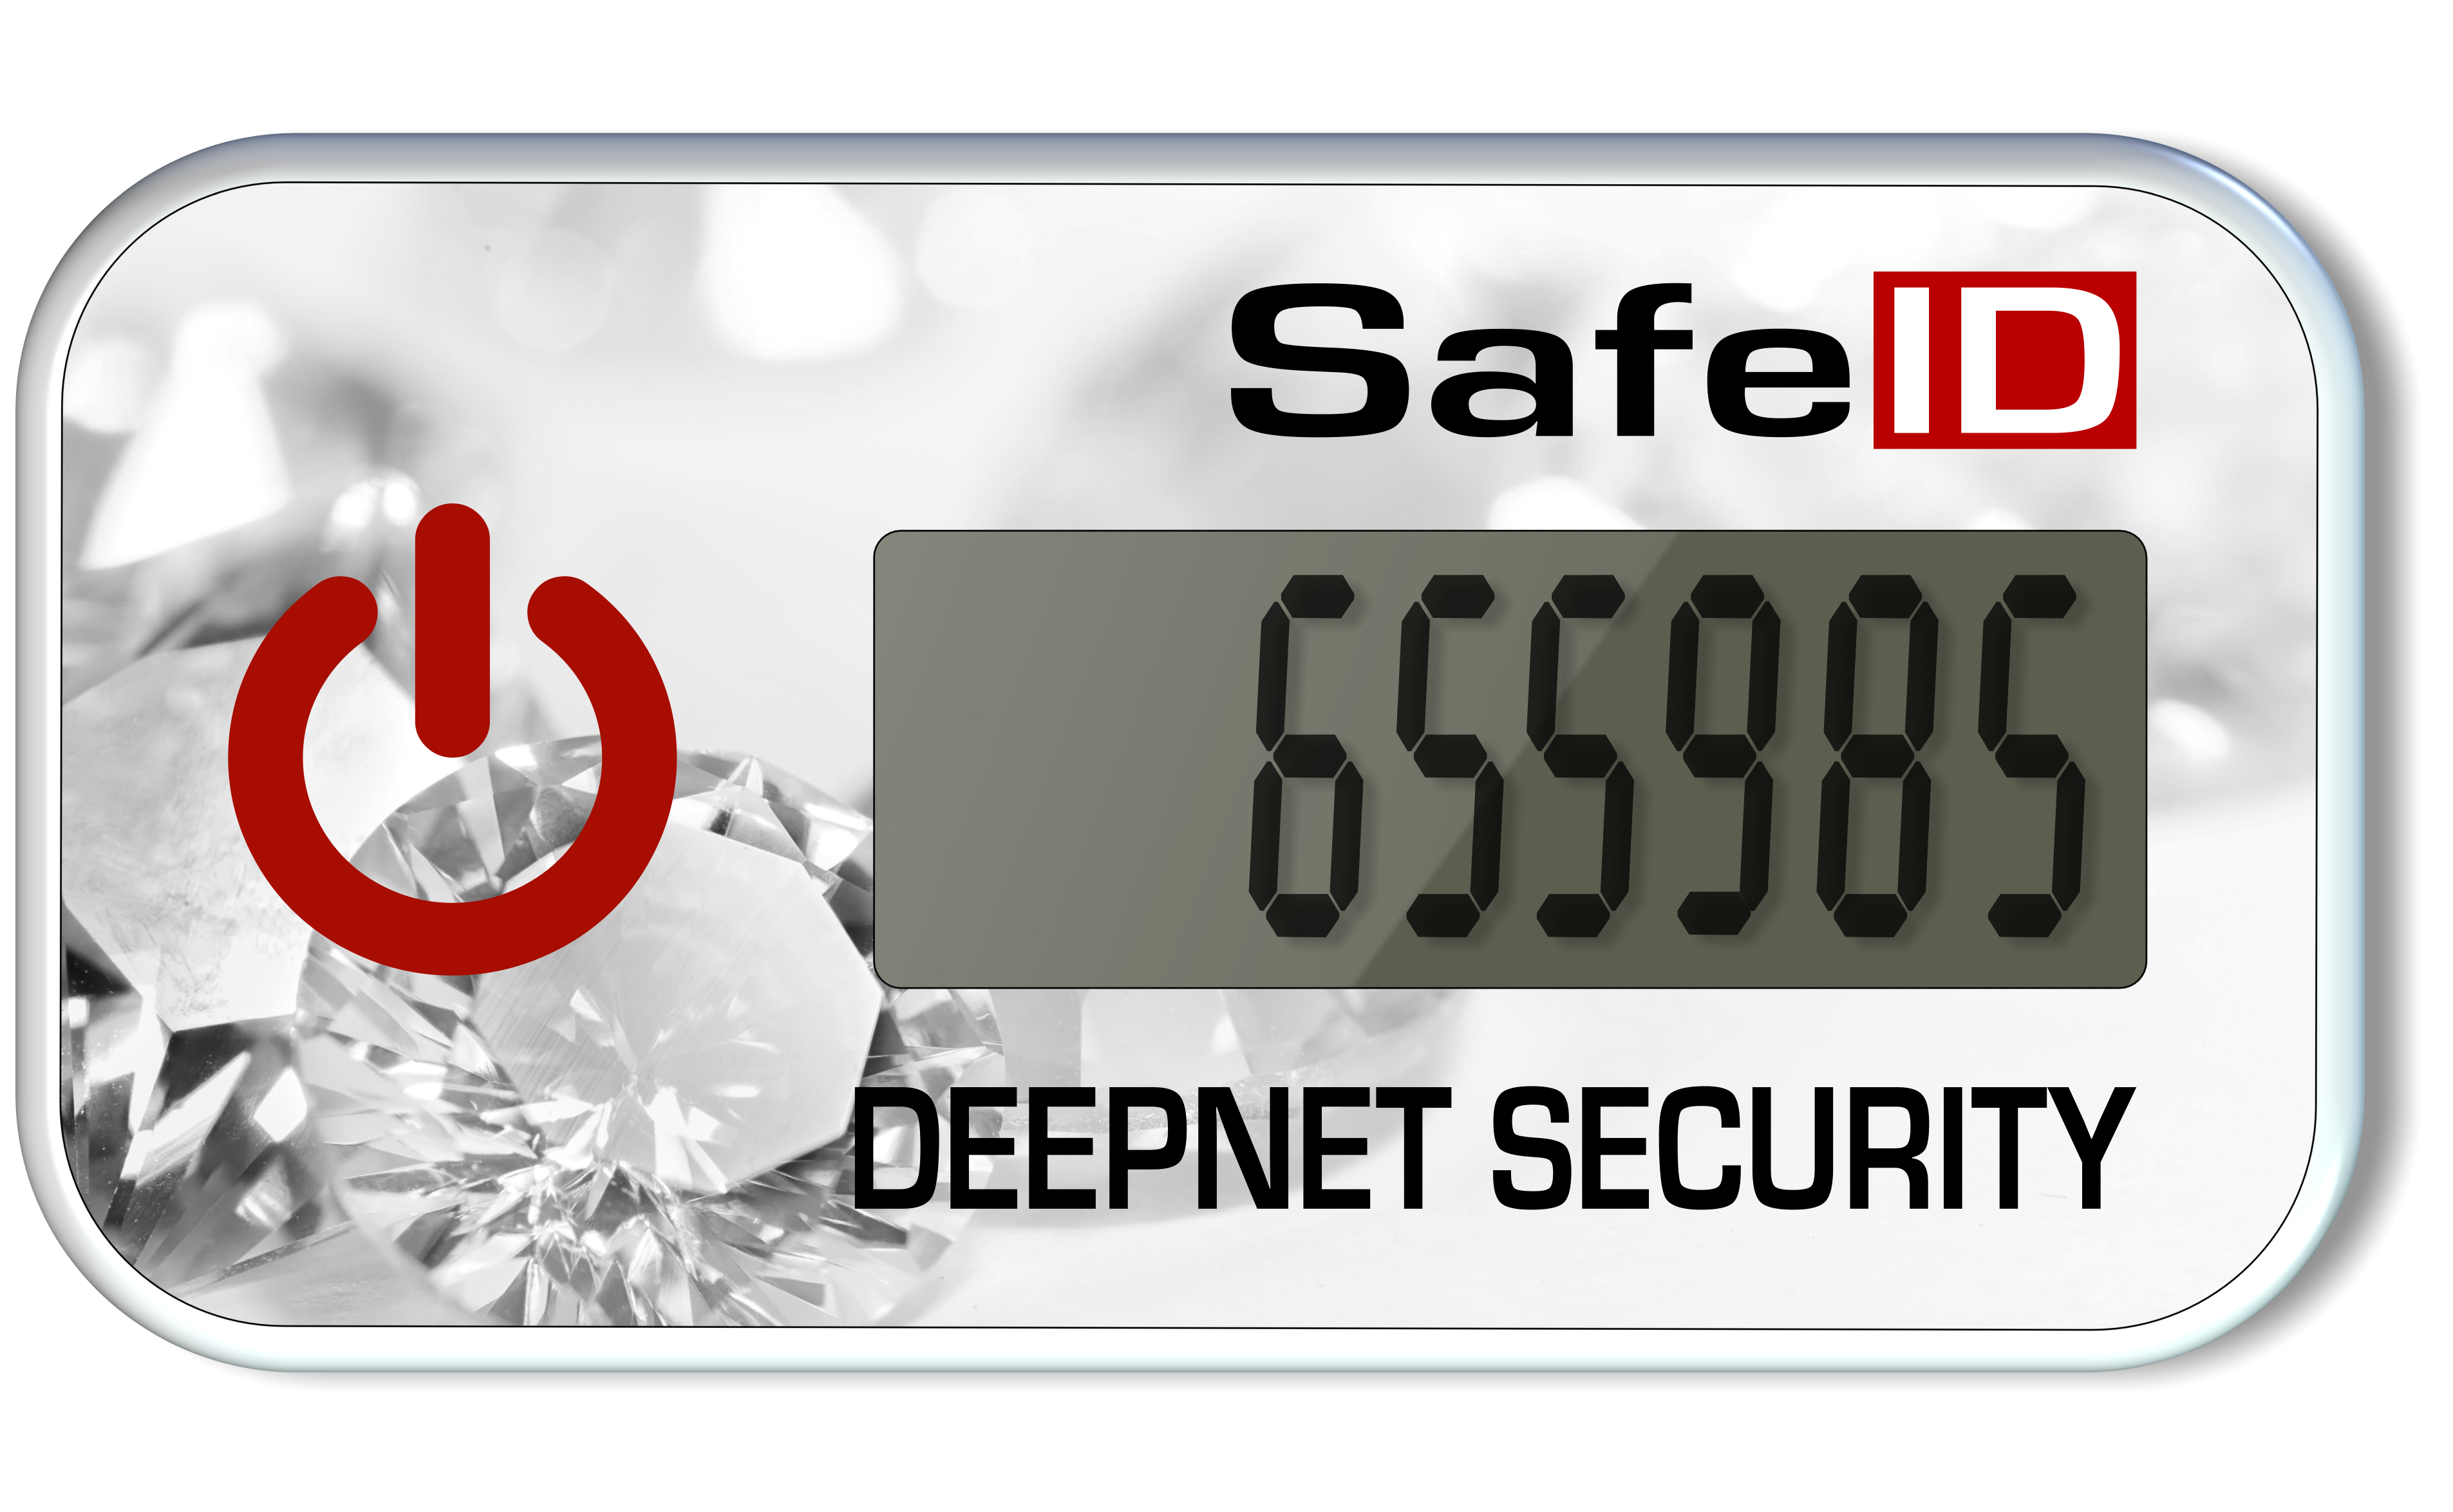
Deepnet SafeID/Diamond is a programmable TOTP token. It can be used to in the place where an OTP authenticator app is being used, such as Google Authenticator or Microsoft Authenticator. It can be used in parallel to OTP app as an additional token, or as a replacement or replica of an OTP app.
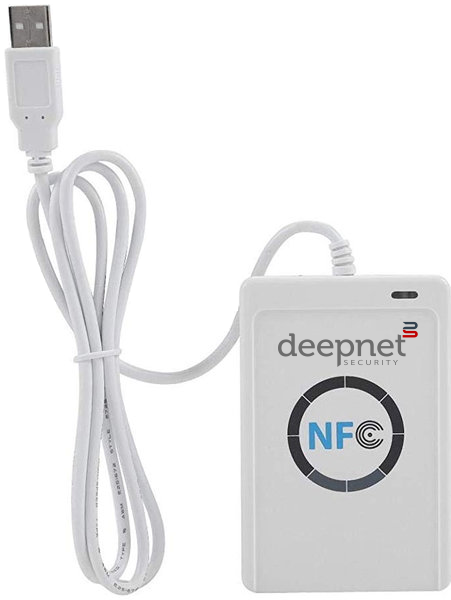
To program a SafeID/Diamond token from your PC or laptop, you need a NFC reader and the SafeID/Diamond programming tool.
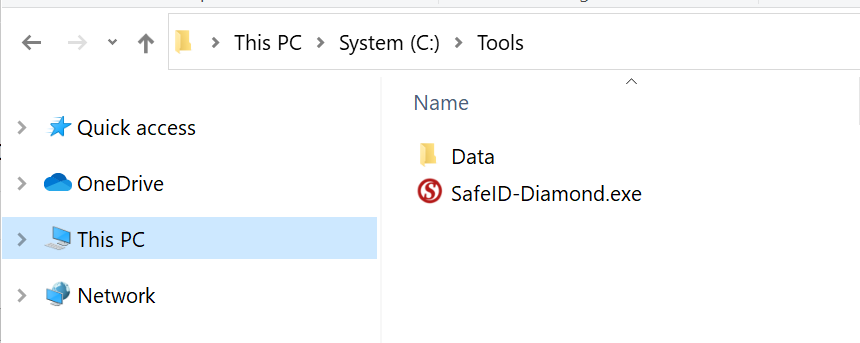
Click here to download the tool, SafeID-Diamond.exe, and save it to a folder on your hard disk.
To program a token, follow 5 simple steps below:
- Obtain Seed
- Connect Reader
- Place Token
- Burn Seed
- Test Token
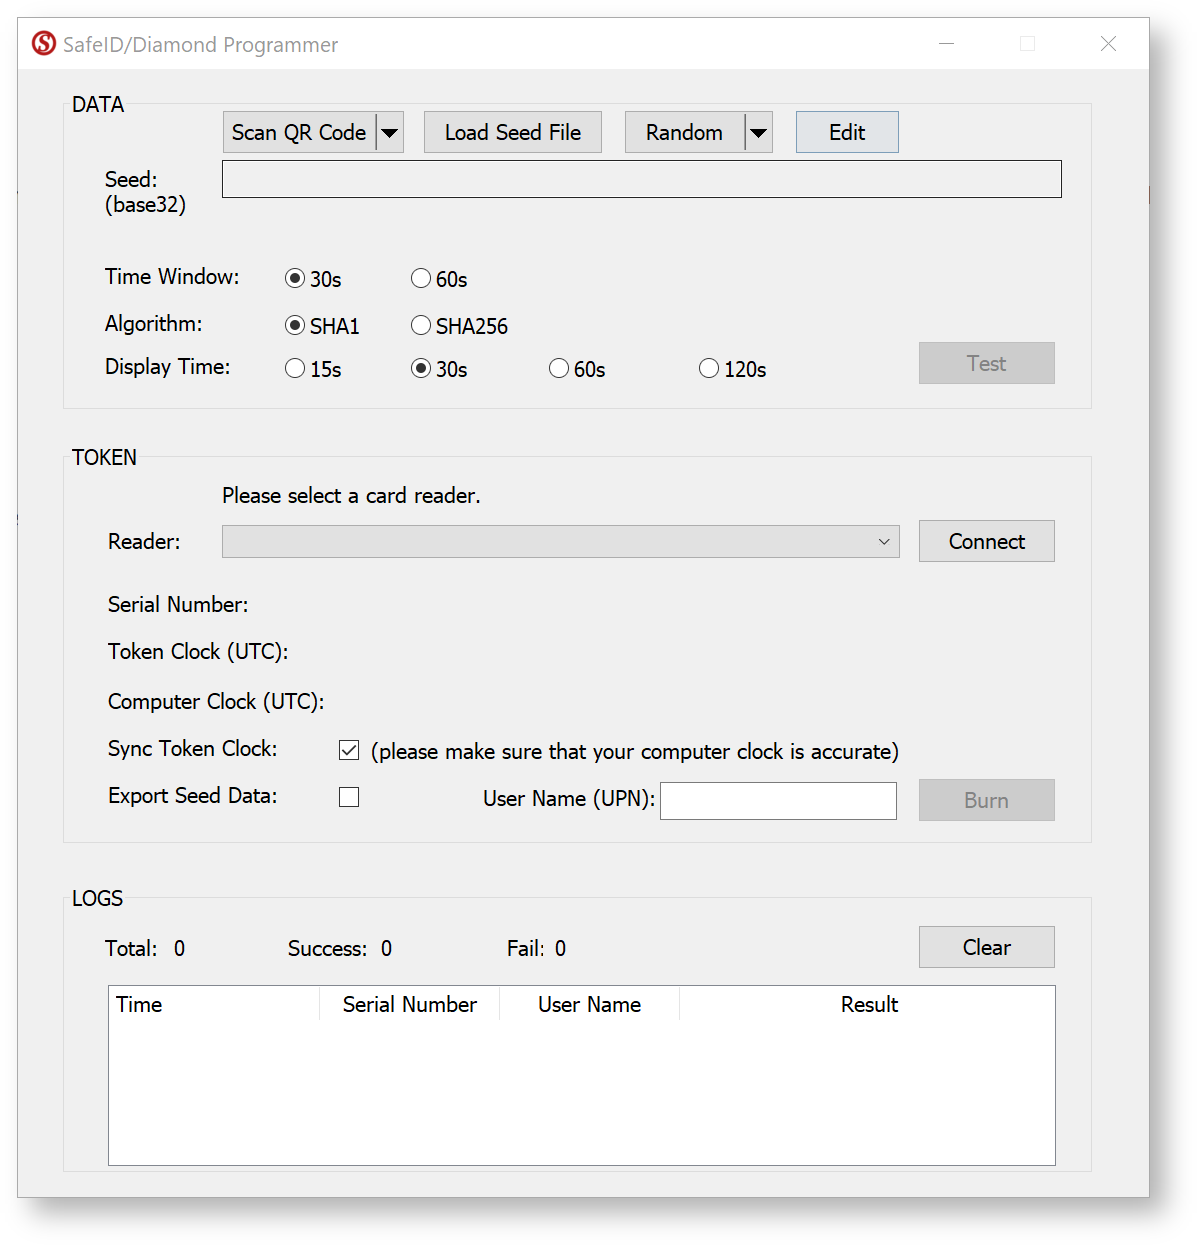
Step 1: Obtain Seed

There are 4 ways you can obtain the seed data or secret key:
- Scan QR Code
- Load Seed File
- Randomly Generated
- Manually Copied
Before you scan the QR code please ensure that the clock on your computer is displaying the correct date and time.
You can scan the screen for a QR code, or load from a file.
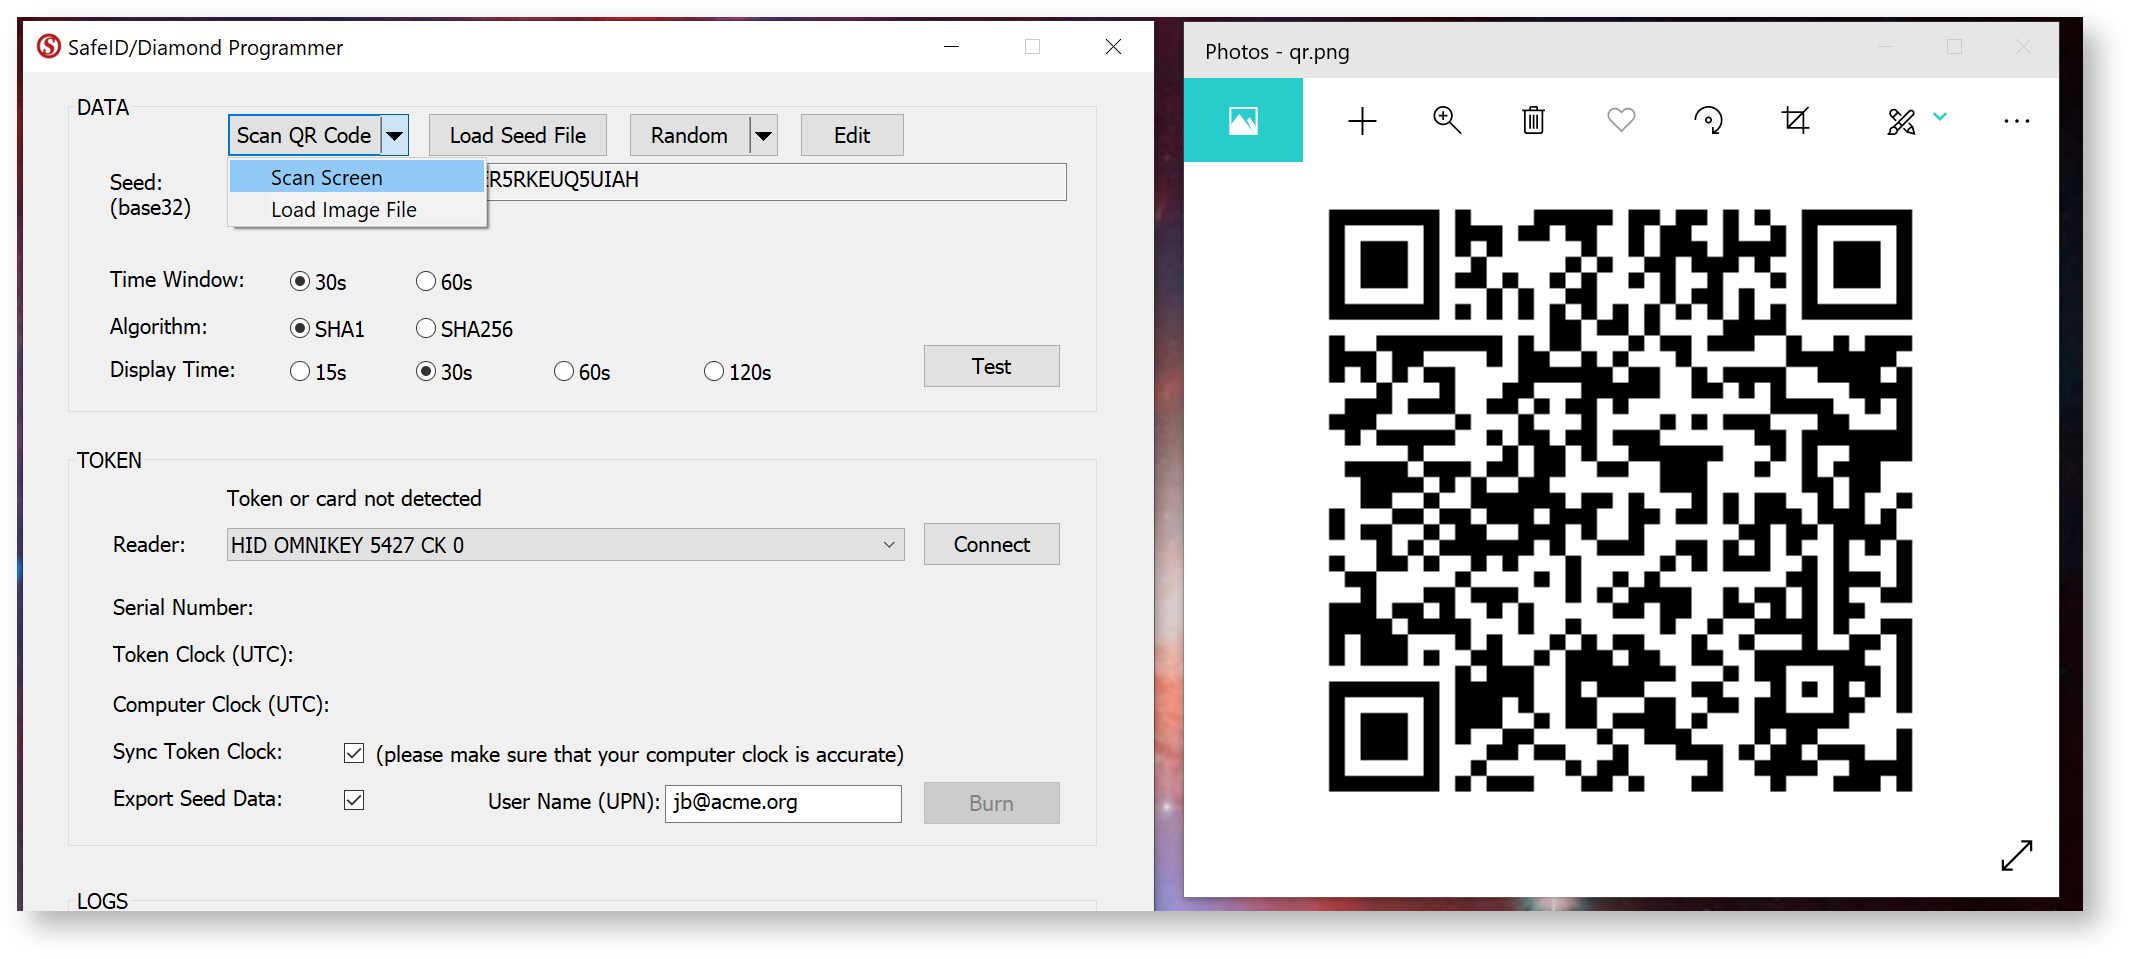
If you are scanning the barcode on the screen please ensure that the QR code is not obscured by other windows, and if you have more than one monitor please ensure that both the app and the QR code are displayed on the main display (display 1).
If you still have difficulty in scanning the QR code double check you only have the one instance of the app running, and that it is the latest version of the app. In most cases when there are issues with scanning of the QR code the most likely cause is the QR code contains the wrong data and may need to be regenerated. To test the QR code you could check that the code works correctly with the authenticator app it is intended for (e.g microsoft authenticator), and if this fails then you know that the QR code will need to be regenerated.
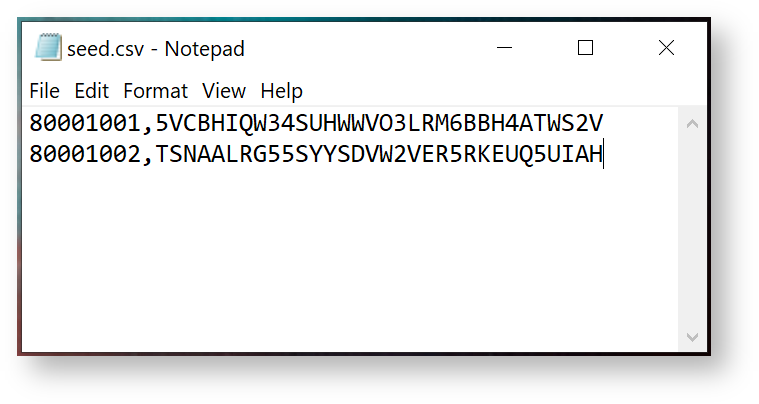
You can also load seed data directly from a file. The seed file must be in CSV format, containing 2 columns of data, i.e. Serial Number and Based32 encoded Secret Key.
Step 2: Connect Reader
Plug in the reader to the USB port of your computer, and the prompt headed "Reader:" should update to indicate the reader is available to be connected;

Select the NFC reader from the drop list, then click "Connect"
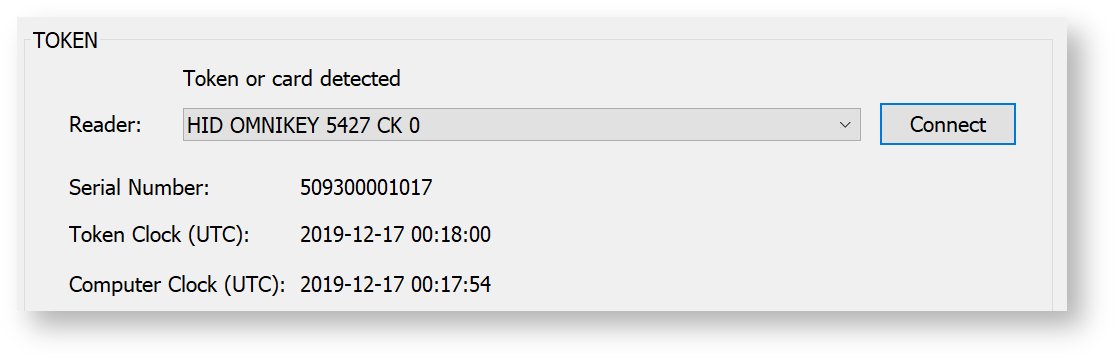
Step 3: Place Token
Now, ensure that the token is switched on (using the button on the top of the token), then place the token face down on the reader.
The tool will now display the token's serial number and time details:
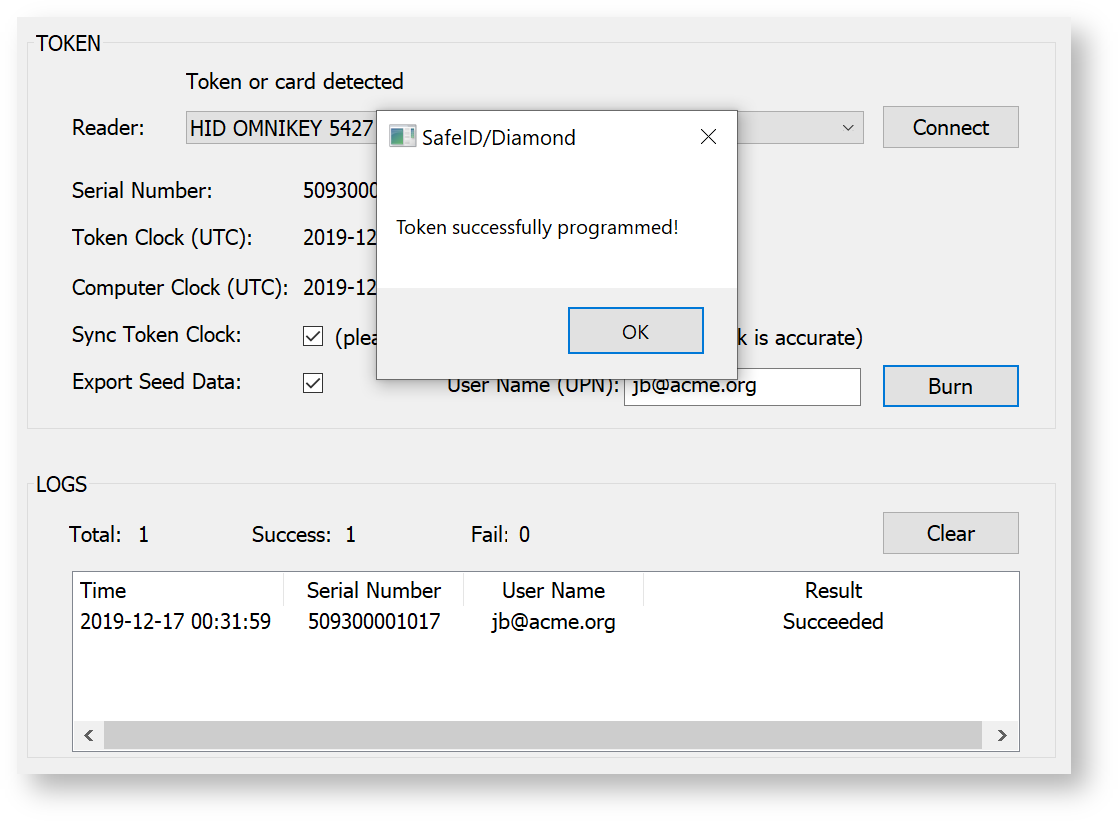
Step 4: Burn Seed
Before burning the seed into the token, you might want to select the options below:
- Sync Token Clock
- Export Seed Data
If you would like to export the seed data to be used with Azure MFA, then you can also optionally enter the User's Principle Name (UPN) to whom the token will be assigned.
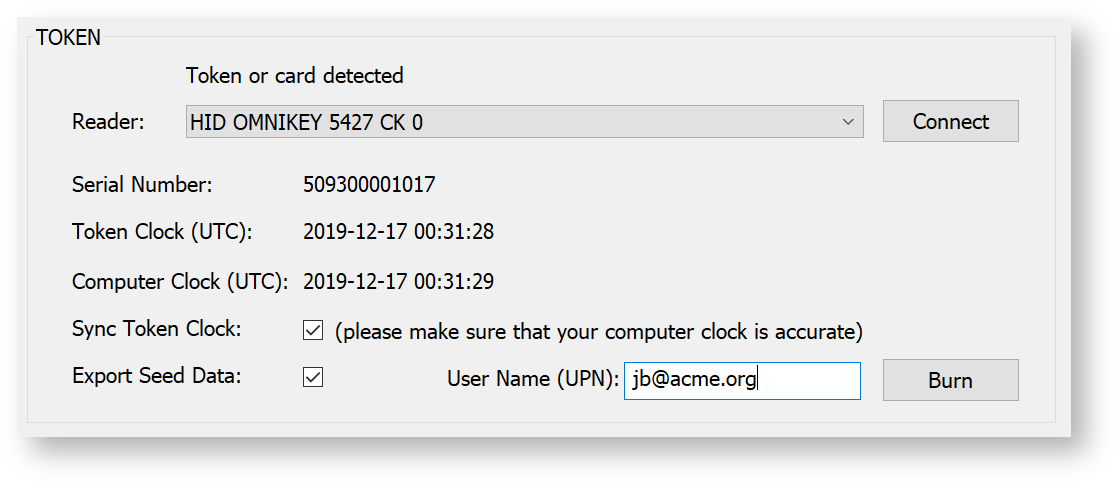
To burn the seed into the token, click "Burn"
Step 5: Test Token
To test the token, click the "Test" button

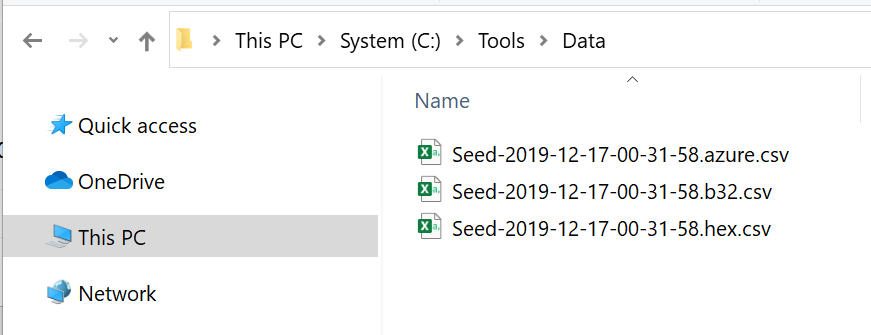
Seed Files
If you selected to export the seed, then you will find that seed files will have been created in a sub-folder from where app was launched (the sub-folder is called "data" and contains seed files of various formats).