Office 365 and Azure AD support several options for multi-factor authentication, including SMS message, Microsoft Authenticator app, and OATH hardware tokens. In this article, we will provide detailed information about how to set up OATH hardware tokens with Azure MFA and how to use them in Office 365 MFA login.
Pre-Programmed Token vs Programmable Token
There are 2 types of OATH hardware tokens, pre-programmed and programmable tokens.
Pre-Programmed Tokens
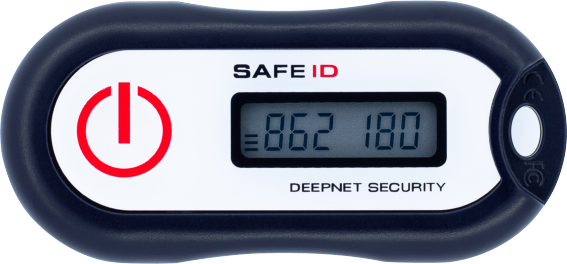
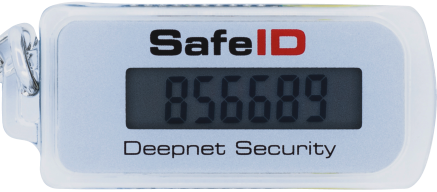
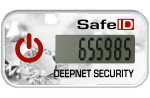
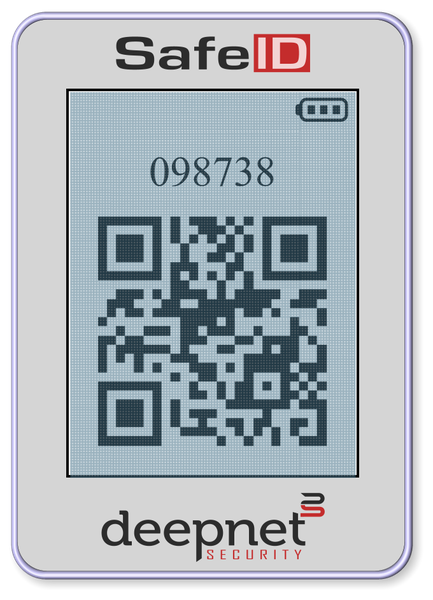
Pre-programmed tokens are the tokens programmed at the factory by the manufacturer, and they can be used out of the box. Deepnet Security provides several pre-programmed OATH hardware tokens such as SafeID/Classic, SafeID/Mini, etc.
Click here to see the complete list of SafeID pre-programmed tokens.
Programmable Tokens
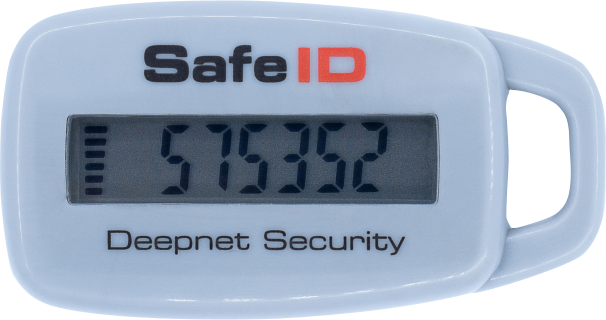
Programmable tokens are designed to be programmed by customers and users. Deepnet Security provides several programmable OATH hardware tokens such as SafeID/Diamond and SafeID/QR
Click here to see the complete list of SafeID programmable tokens.
Azure AD Premium License vs Basic (Free) License
Azure AD has a Basic (Free) license and two Premium Licenses, P1 and P2. You have to select the right type of hardware token according to the type of Azure AD license that you have. If you have Azure AD Premium (P1 or P2) license, then the pre-programmed token would be the first choice for you. If you have the Azure AD Basic (Free) license, then you have to use the programmable token.
The Azure AD license is separate from the Office 365 license, therefore it is often very confusing to know if you have a premium license or not. Below provides some quick info
- If you have Office 365 E3/E5 subscription only, then you do not have an Azure AD premium license
- If you have Office 365 E3/E5 plus EMS (Enterprise Mobility & Security), then you have an Azure AD premium license
- If you have Microsoft 365 E3/E5, then you have an Azure AD premium license
| Office 365 | Office 365+EMS | Microsoft 365 | ||||
|---|---|---|---|---|---|---|
| E3 | E5 | E3 | E5 | E3 | E5 | |
| Azure AD Premium P1 | ✔ | ✔ | ||||
| Azure AD Premium P2 | ✔ | ✔ | ||||
If you are not sure which Azure AD license that you have, click here to find out.
Set up OATH pre-programmed hardware tokens with Azure MFA
- Use Azure AD Portal
- Use SafeID Token Service
Azure AD Portal
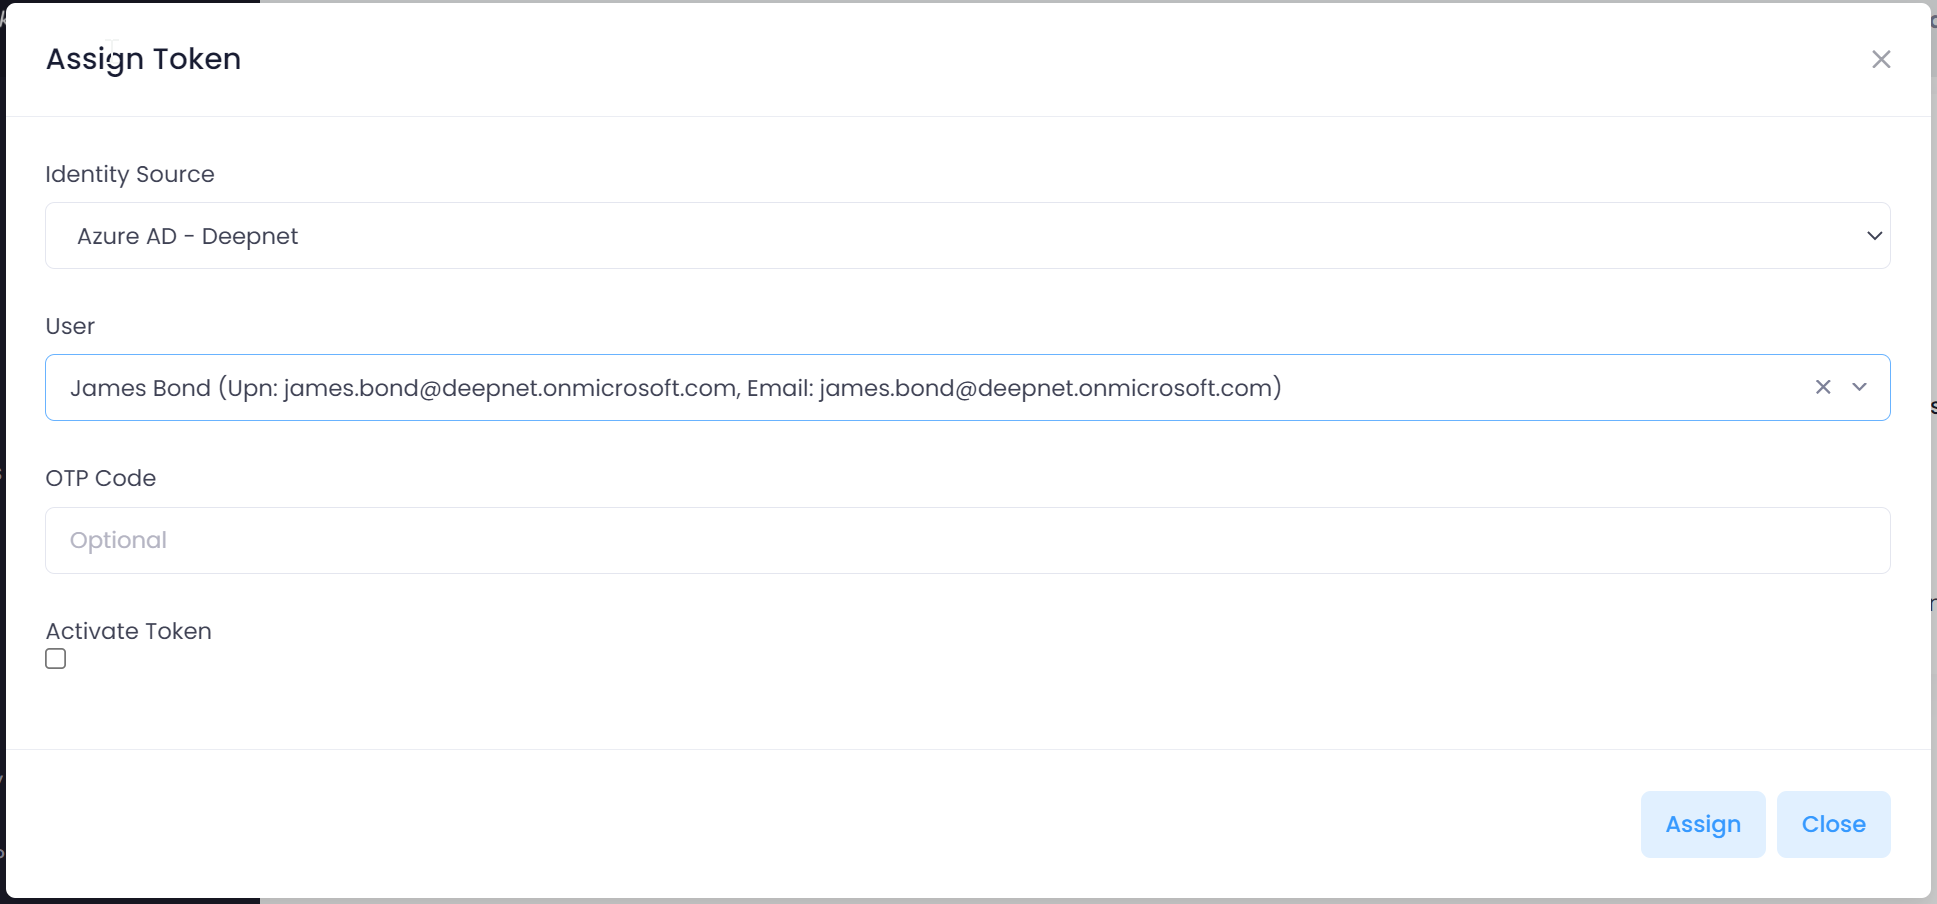
Microsoft Aure AD portal does provide a facility that allows you to enroll the pre-programmed hardware tokens. To set up hardware tokens using Azure AD portal, you will need to go through 3 steps
- Assign tokens to users
- Upload tokens to Azure AD
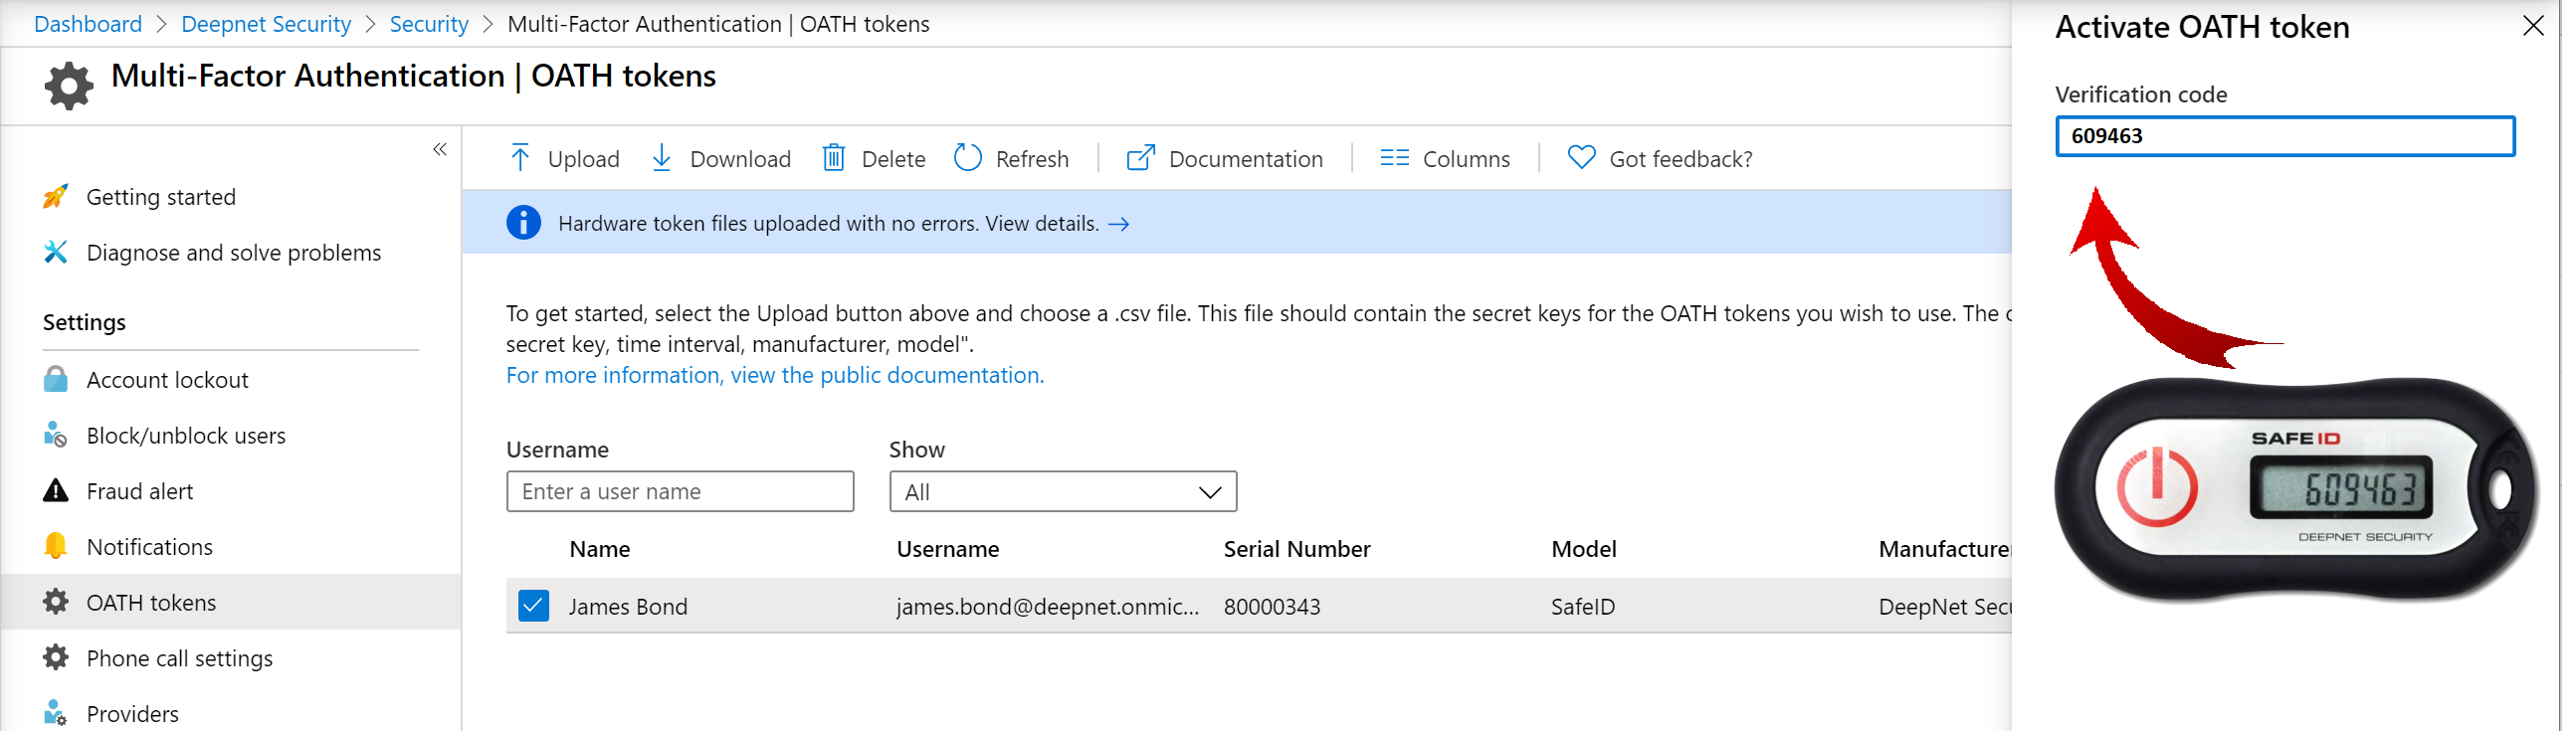
- Activate Tokens
In step 1, you will need to edit the secret file of the hardware tokens with a text editor and assign all of your tokens to your users by adding the user's UPN against the token's serial number, one by one

In step 2, you will need to upload the secret file of the hardware tokens onto Azure AD
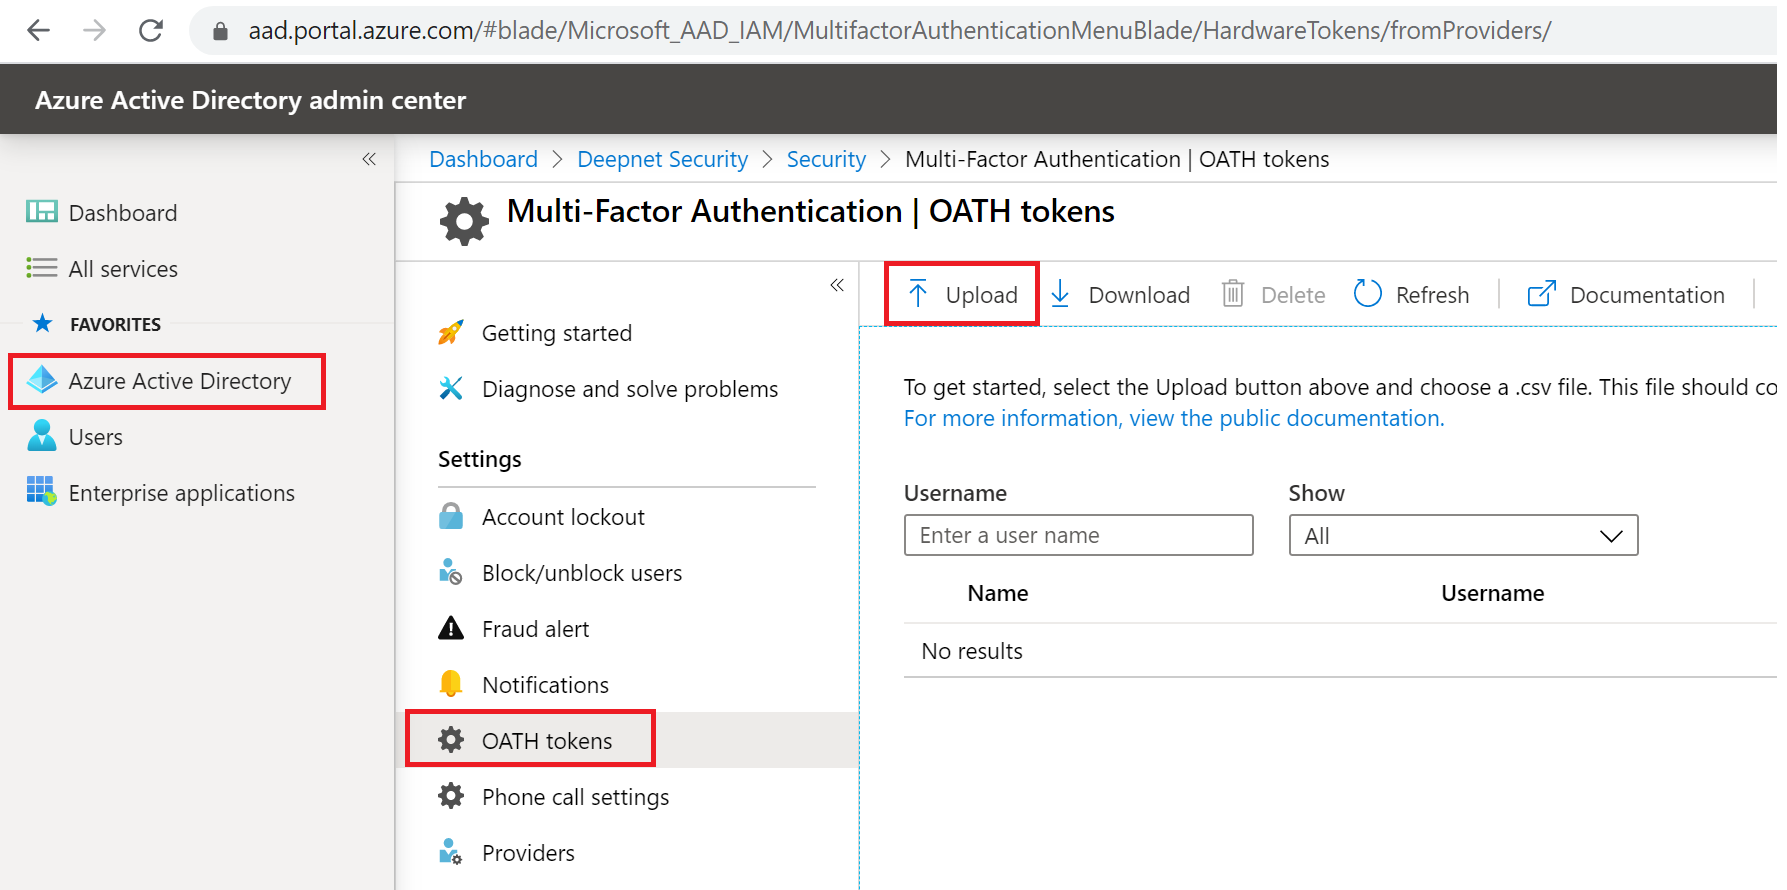
In step 3, you will need to activate tokens by providing a verification code from the token, one by one.
Click here for detailed instructions on how to set up pre-programmed hardware tokens with Azure AD
SafeID Token Service
As you will see, the facility provided by Azure AD is very basic and not flexible. It does not provide functions for you to quickly assign only one token to a user or to reassign a token, for instance. If you have a small number of hardware tokens to manage, then it is OK to use the Azure AD portal. However, if you have a large number of hardware tokens to manage, then we would recommend the SafeID Token Service
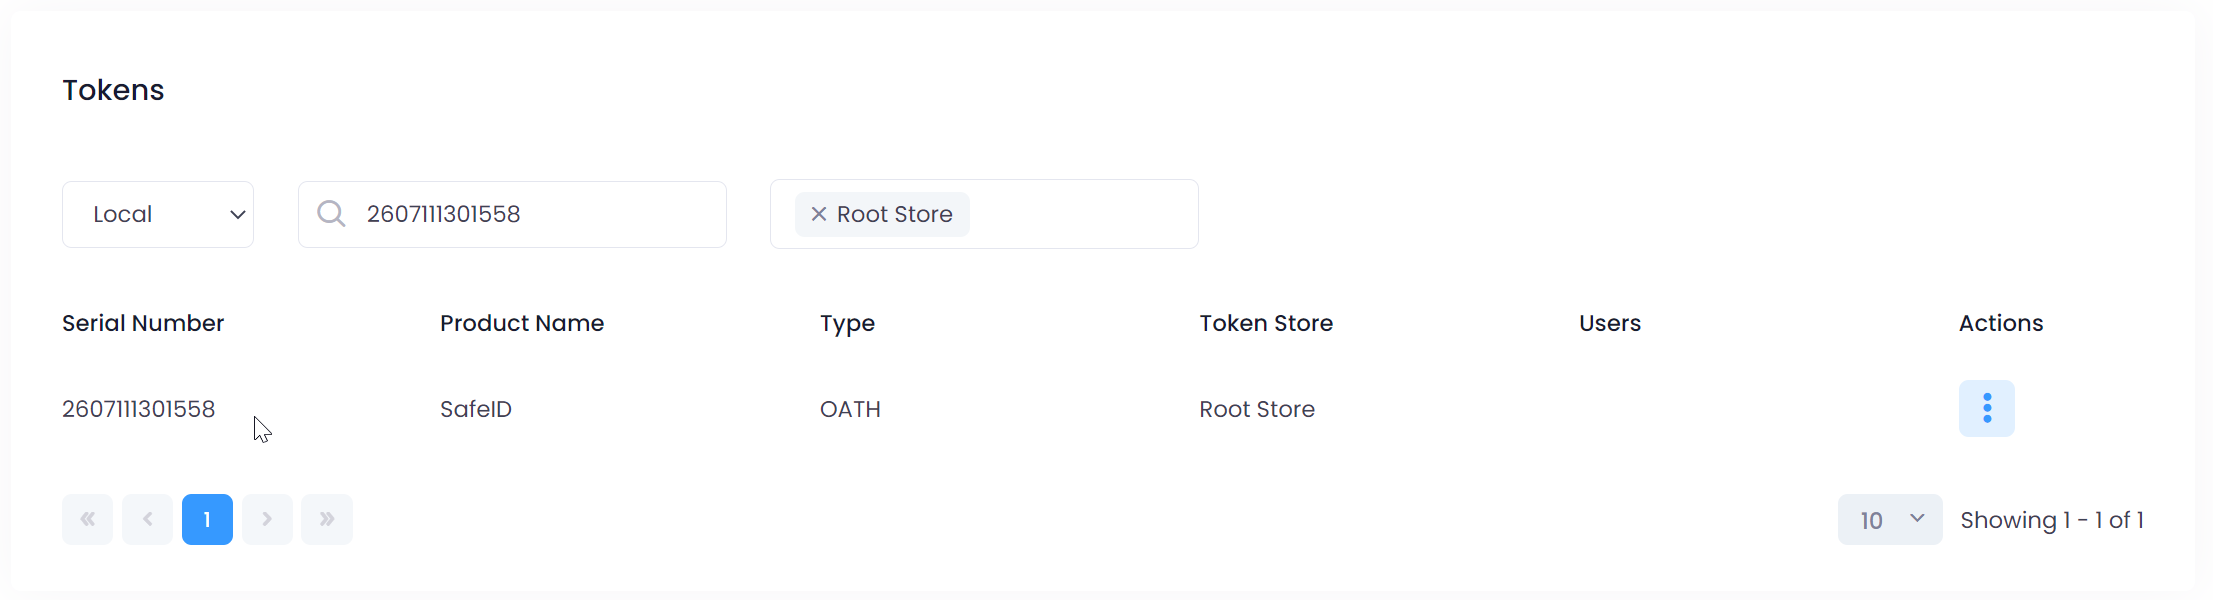
SafeID Token Service provides a Web-based GUI console that allows customers to manage the full life cycle of the SafeID hardware tokens by simply pointing and clicking. You can assign, activate, deactivate, unassign, delete and replace a token, etc with one single click.
Click here for detailed instructions on how to manage hardware tokens with SafeID Token Service
Set up OATH programmable hardware tokens with Azure MFA
A programmable hardware token is essentially a substitution for the Microsoft Authenticator app, and the process to set up a programmable hardware token is similar to setting up the Microsoft Authenticator app.
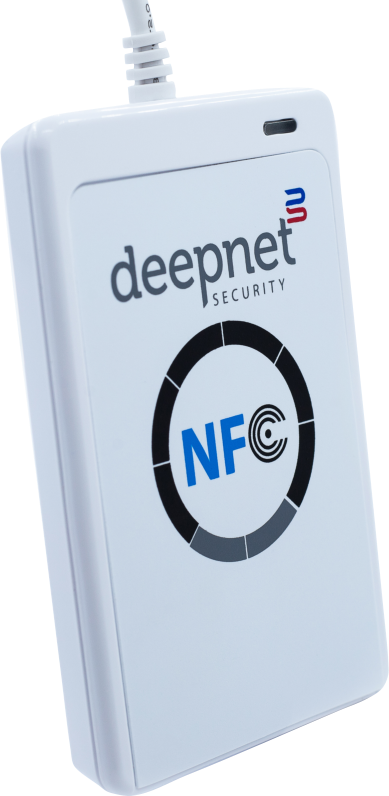
You can use your Android or iPhone to program the hardware token if your phone is NFC enabled. You can also use your Windows PC or laptop to program the hardware tokens. If you are going to use Windows PC or laptop, then you will need an NFC smart card reader.
The video below demonstrate the process:
The steps below summarise the process:
- Download the SafeID/Diamond programming tool. onto your phone or PC
- Sign in to your AAD account, and add a third-party authenticator app
- Obtain the QR code of the authenticator app
- Use the SafeID Programmer app to burn the QR code into the hardware token
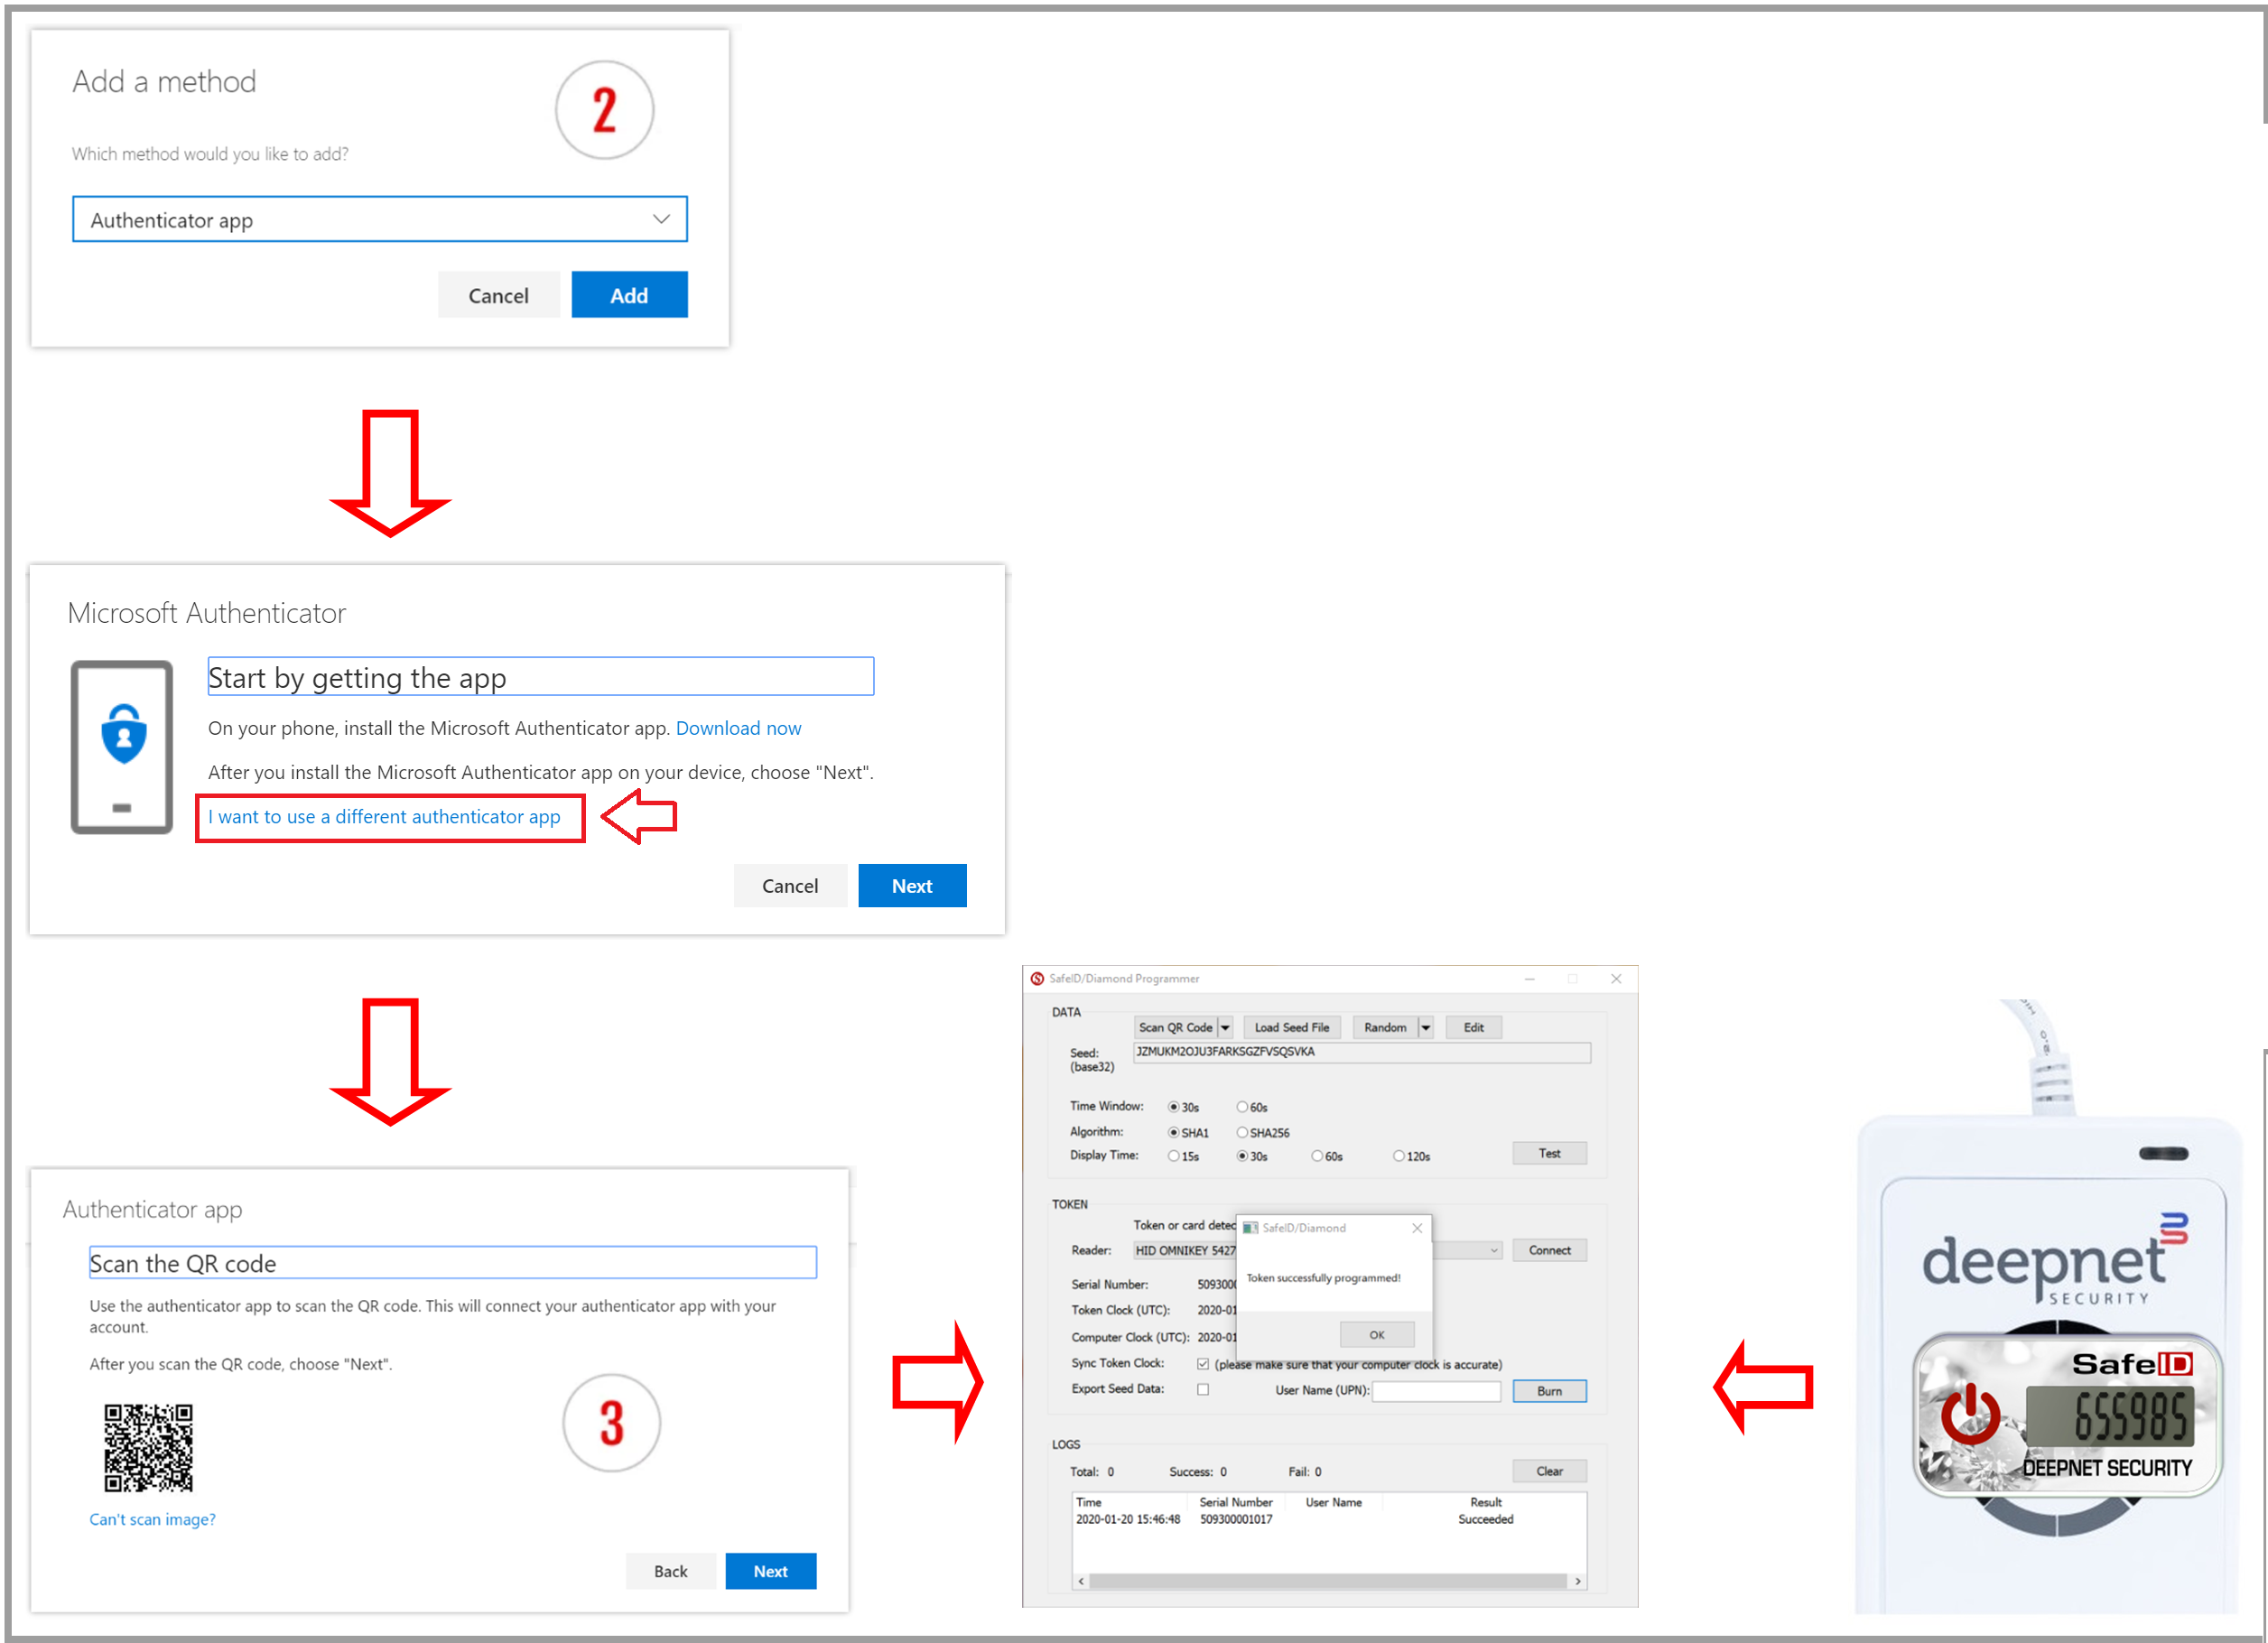
Please note that if the method selected is not set to "Authenticator app" a QR code will still be generated, but will be of the incorrect type (and will produce an error "No QR code found on the screen" when you attempt to scan the QR code).
Click here for detailed instructions on how to set up programmable hardware tokens with Azure AD
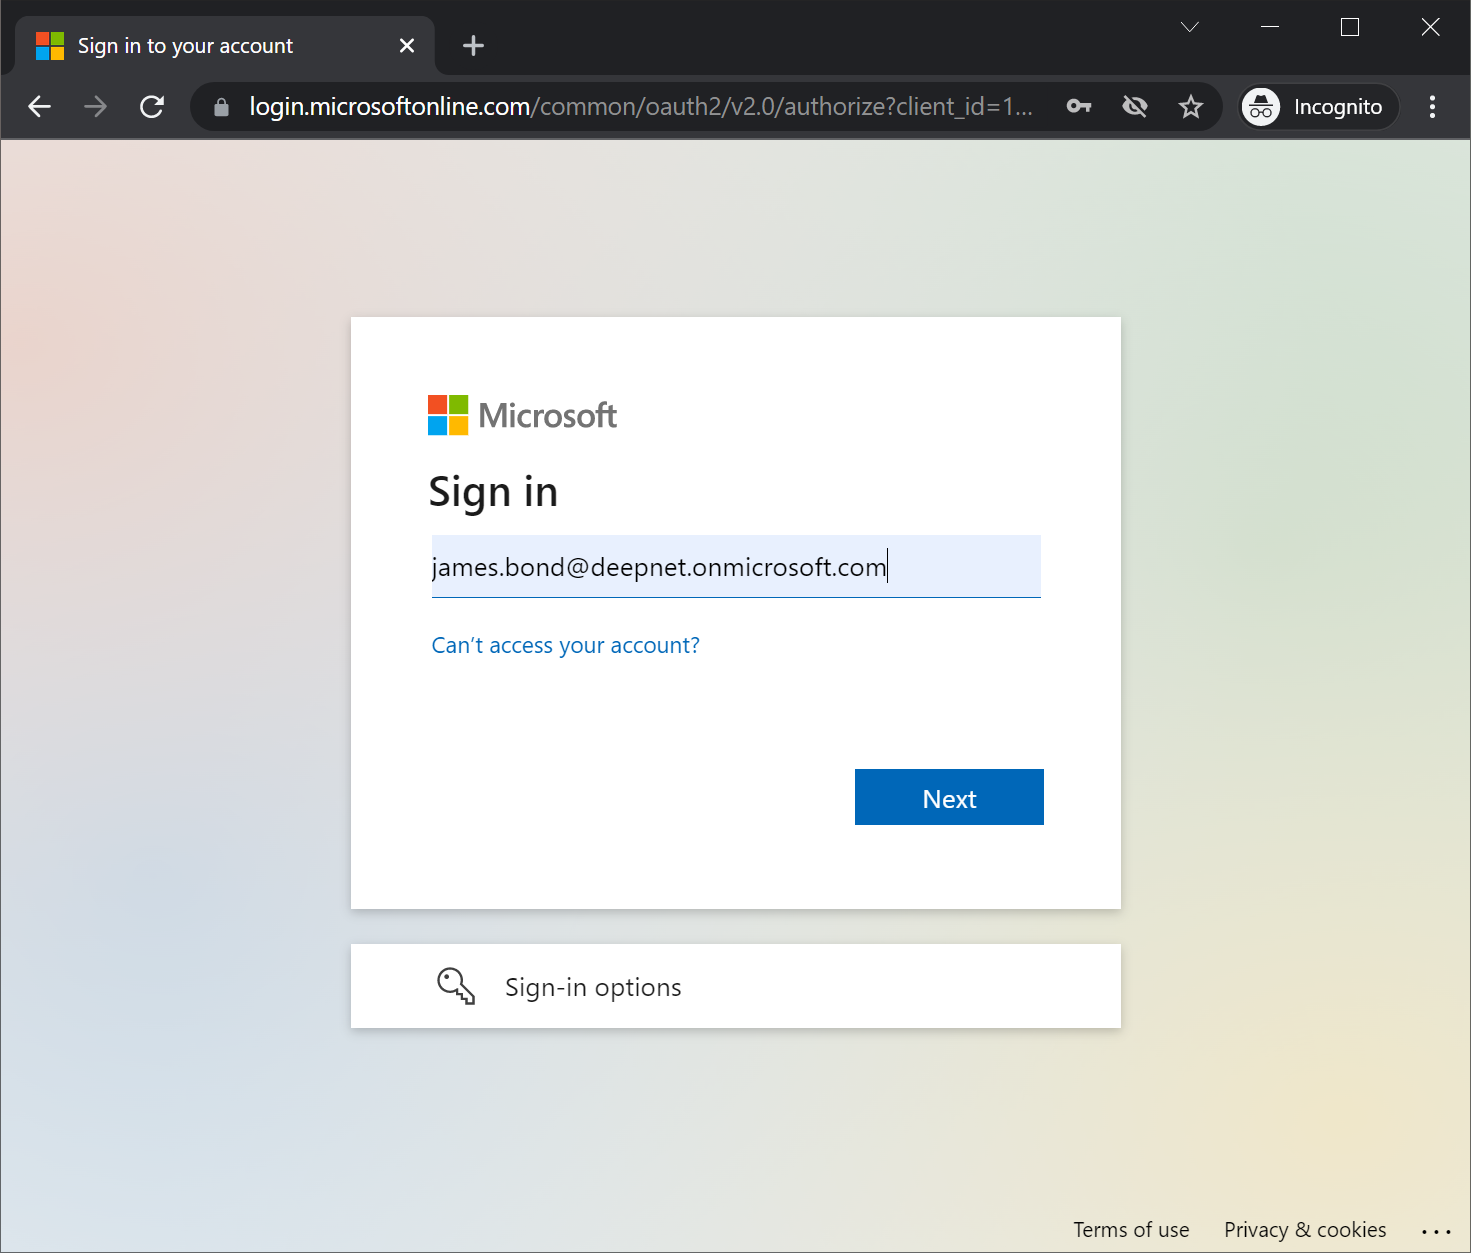
Use OATH hardware tokens in Office 365 MFA login
The user experience with using an OATH hardware token in Office 365 and Azure AD login is basically the same as using the Microsoft Authenticator app

Click here for more details on how to use hardware tokens in Office 365 and Azure AD login.