DualShield 6 provides a new generation of all self-service consoles, including
- Service Console
- Reset Password
- Unlock Account
- Emegency Access
However, in order to install the new genegation consoles on the frontend server, you must carry out an upgrade by new installation. In the new installation process, you still have the options to install the legacy consoles, if they are still required.
Step 1 - Remove current DualShield installation
The first step to upgrade a DualShield frontend server is to completely uninstall the current DualShield installation on the machine.
You uninstall DualShield from the Windows App & Features list:

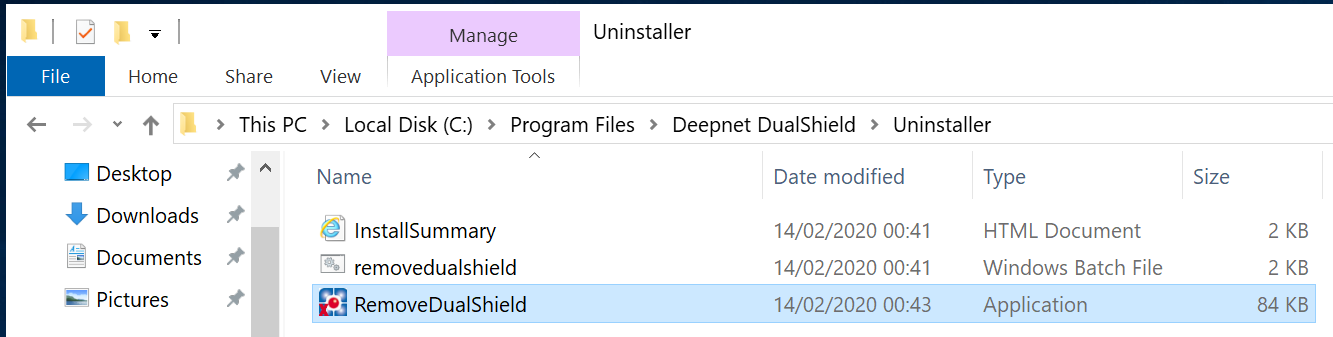
Or, execute "RemoveDualShield.exe" from the Windows Explorer:
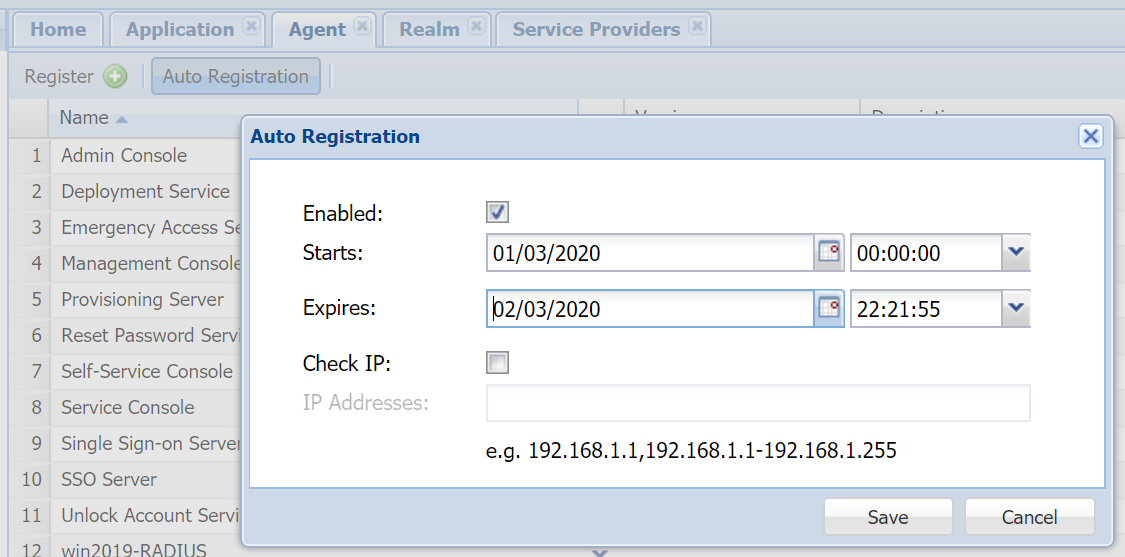
Step 2 - Enable Agent Auto Registration
Installing a DualShield fronend server is like instaling a DualShield agent, it requires Agent Auto Registration to be enabled.
Step 3 - Perform a fresh new, frontend installation
Execute "DualShieldSetup64-6.0.0.xxxx-signed.exe" (where xxxx is the build number)