...
- In the main menu, select "SSO | Service Providers", click "Create"
- Select the "SSO Server", and enter "Name"
- Select "Type" as "WS-Federation"
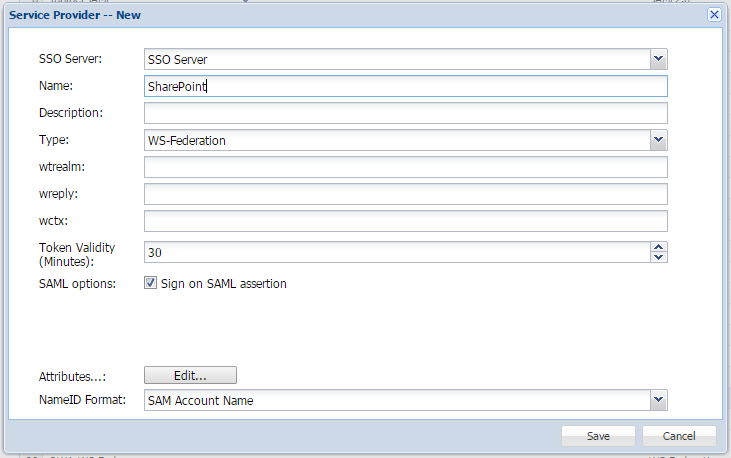
- Click on the "Edit" button to add Attributes

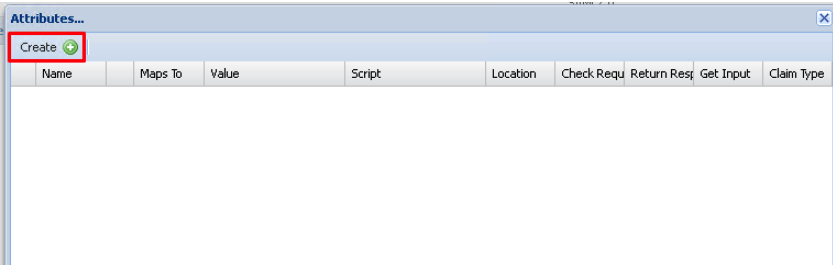
You now need to add attributes that match the 'RoleClaims' and identity claims as specified in the Powershell scripts that will be set up and run in the 'SharePoint Configuration' section.
5. Click 'Create'
6. Create an attribute for the 'RoleClaims'. This will have a fixed value which will contain the name of the role you have setup under your SharePoint Configuration
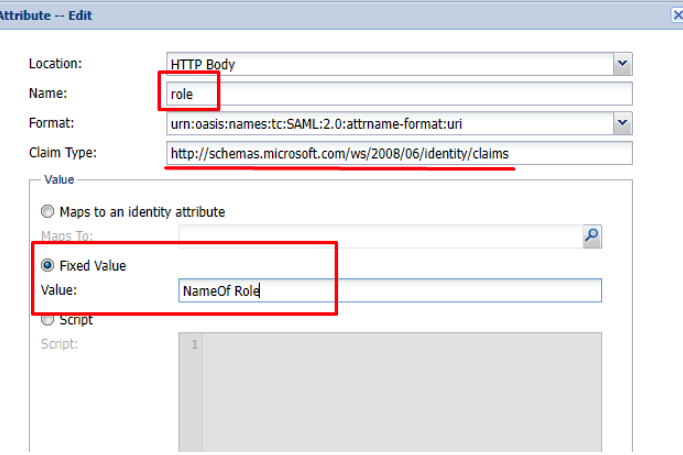
(Remember to replace NameOfRole with the actual name specified in the RoleClames)
7. You now create the 'identity claims attributes' which will be mapped to AD attributes. There are usually three attributes containing emailaddress, givenname and surname.
You can map a value as follows:
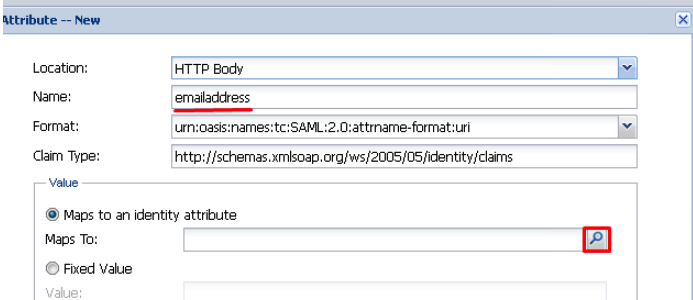
In the "Maps To" section click on the corresponding search button
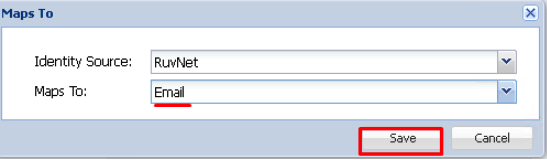
Here you will select the Identity Source corresponding with your domain and choose the Email identity attribute from the drop down list.
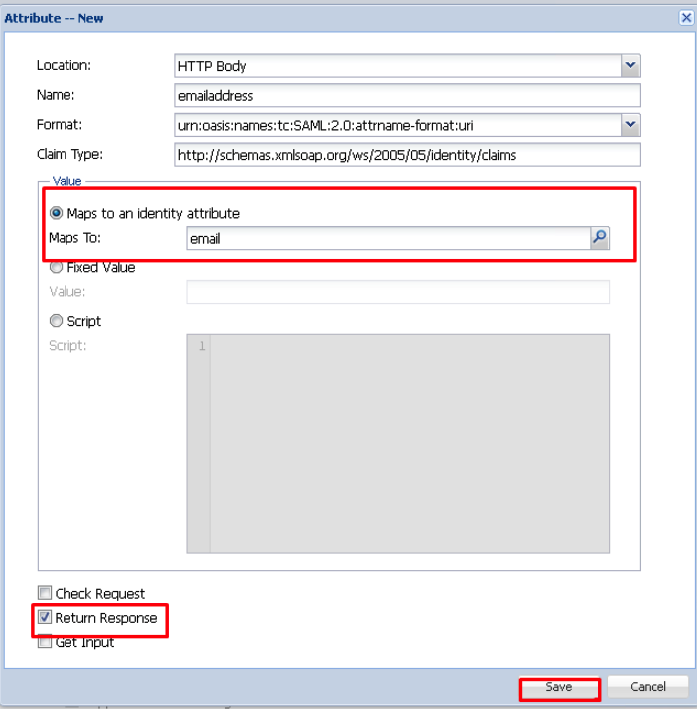
Remember to make sure Return Response is enabled on all your attributes.
Click Save
8. Repeat the process for givenname and surname attribute mappings until you get a list as below:
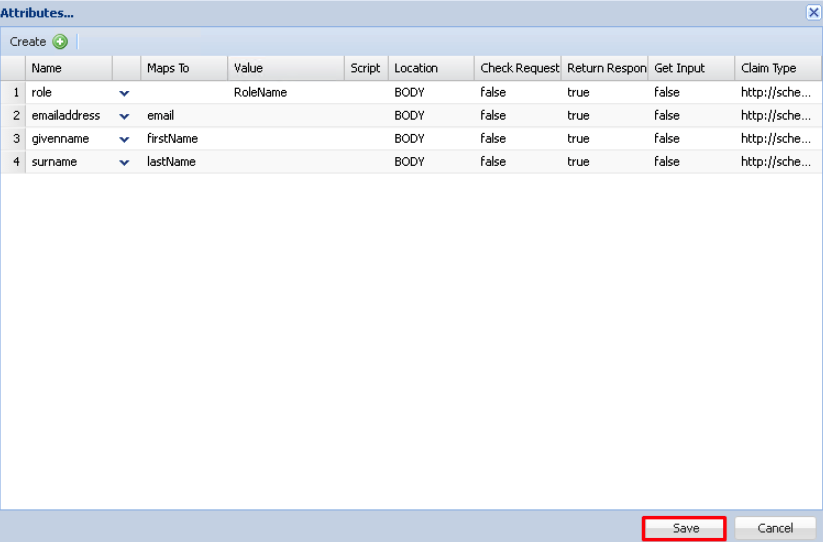
9. Click "Save"
10. Click "Save" at the bottom of the New Service Provider window.