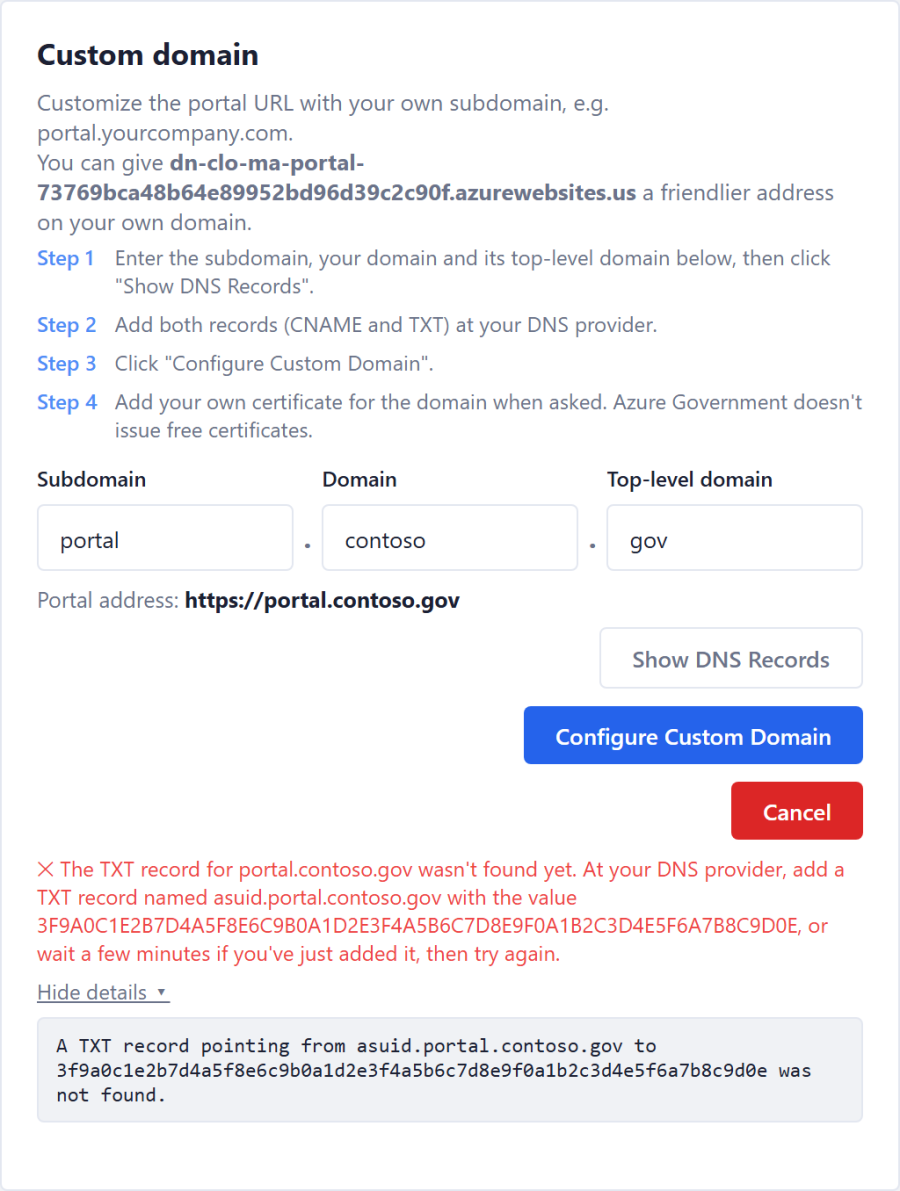
This guide is for portal administrators to change the portal's address to a custom domain.
...
On the Computer Logon Management Portal, navigate to "Portal Settings". You'll see the Custom domain card looks like this: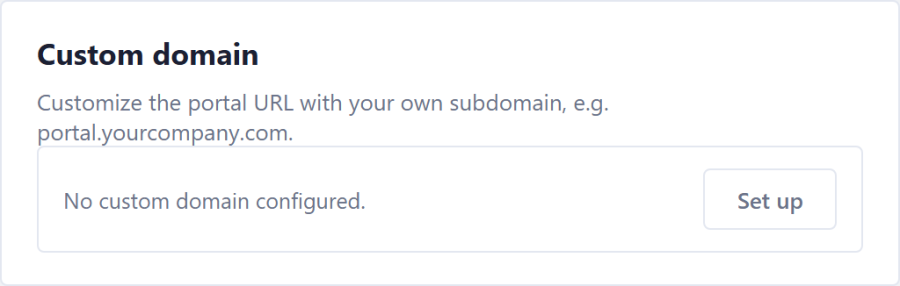
- Click Set up (it reads Edit when a domain is already set; changing the domain uses the same steps).
- Type the address in three parts: Subdomain, Domain, Top-level domain (e.g. portal . contoso . gov). The full address appears under them.
- Click Show DNS Records and add both records at your DNS provider. Each value has a Copy button.
- Once the records are in place, click Configure Custom Domain. The portal checks the records and adds the domain to the portal app.
- The card then shows Certificate needed and the Add certificate dialog opens: carry on with Part 2.
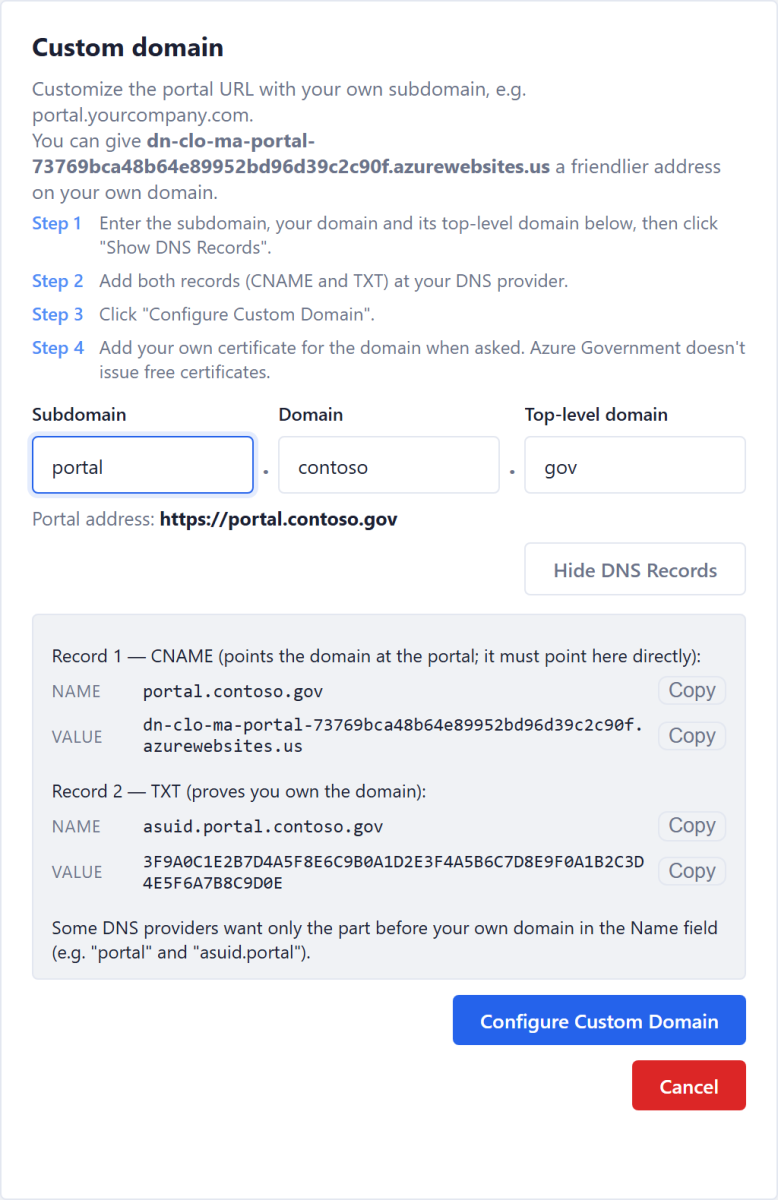
CNAME | The portal's Azure address (ending in azurewebsites.us). Point it there directly, not through another CNAME | |
TXT | The portal app's domain verification ID |
Some DNS providers want only the part before your own domain in the Name field (portal and asuid.portal).
If Azure can't see a record yet, Configure stops and says which record is missing and what it should hold. New records can take a few minutes to appear; wait, then click Configure Custom Domain again. Show details ▸ shows Azure's own message: