Register your FIDO2 key in your JumpCloud console
Before you can use your FIDO2 key as an access method for your JumpCloud console you will need to register the key with JumpCloud using the following procedure;
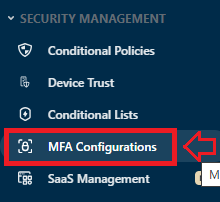
- Log in to your JumpCloud Console as administrator, then in the section "SECURITY MANAGEMENT", select the option "MFA Configurations";
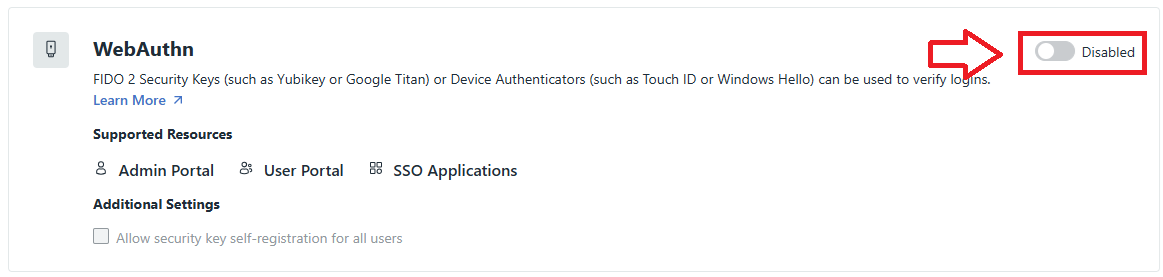
Scroll down to the section "WebAuthn", then use the slider to enable this option;
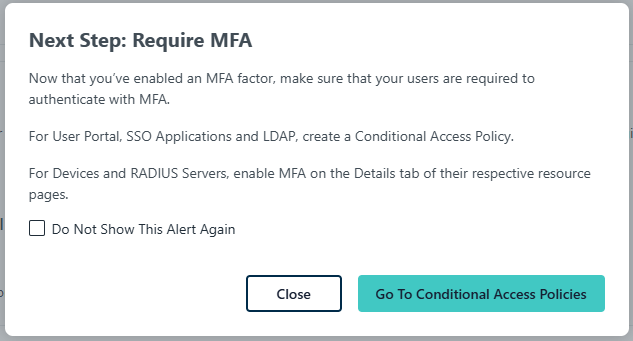
If MFA has not yet been enabled yet you will be notified that it should be enabled, and provided with a link to the conditional access policies, click "Close";
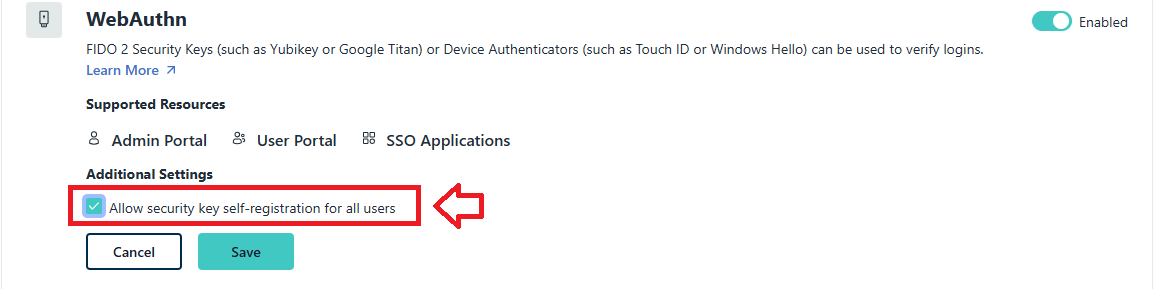
You will return to the WebAuthn options screen, tick the box "Allow security key self-registration for all users", then click

Now that users can register their own Fido2 keys we will log in as a user and register a Fido key.
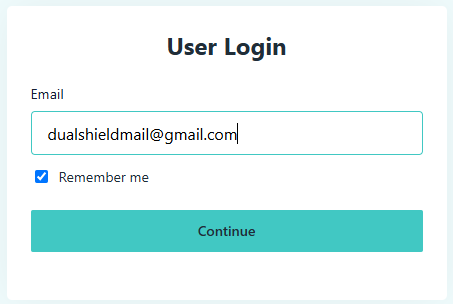
First we log in as a user;
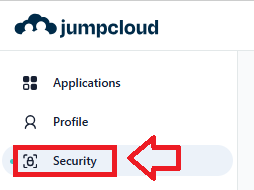
Then from the login screen, in the left hand column we select the option "Security";
Scroll down to the section "Multi-factor Authentication", and in the area indicated below click on the
 button;
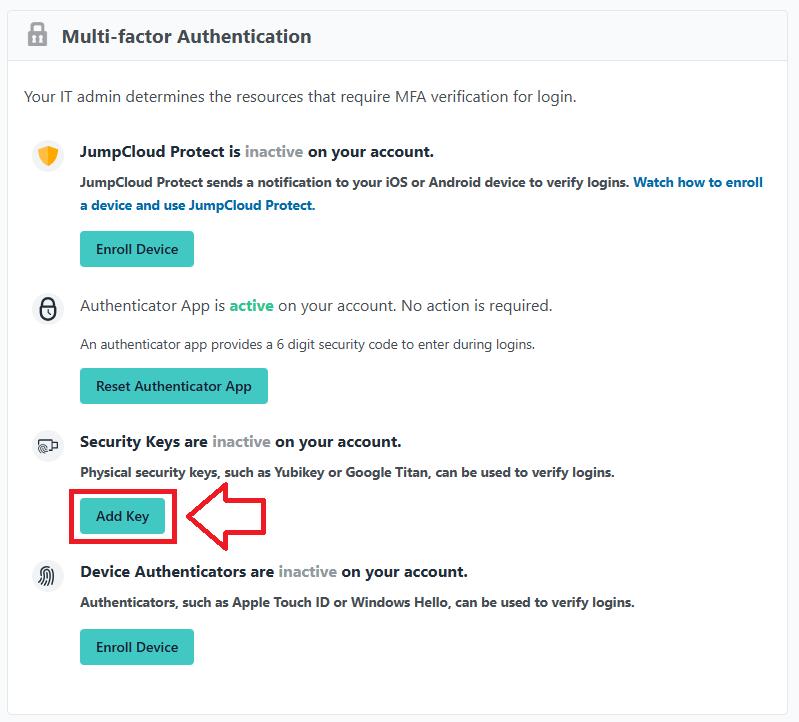
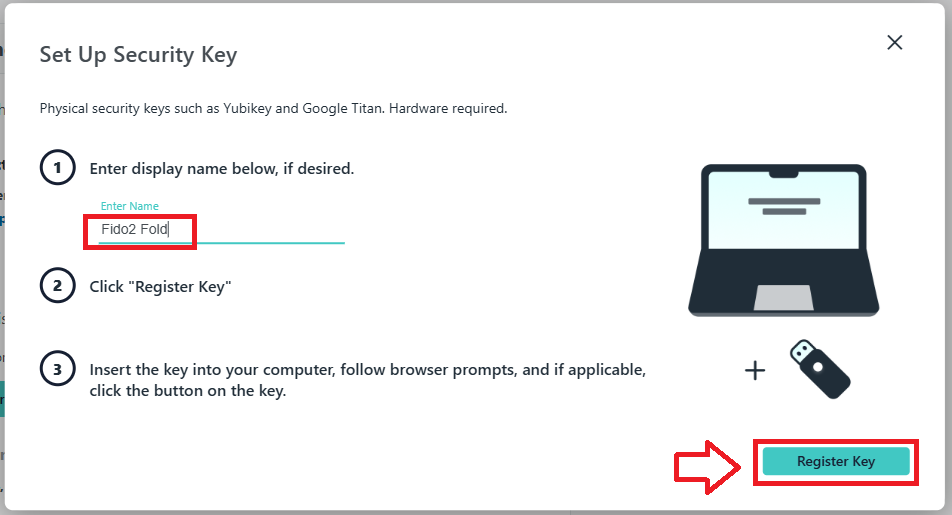
You will now be prompted to set up security key, insert your Fido2 key into an available USB port, provide a suitable name for your key, then click on
 ;
;
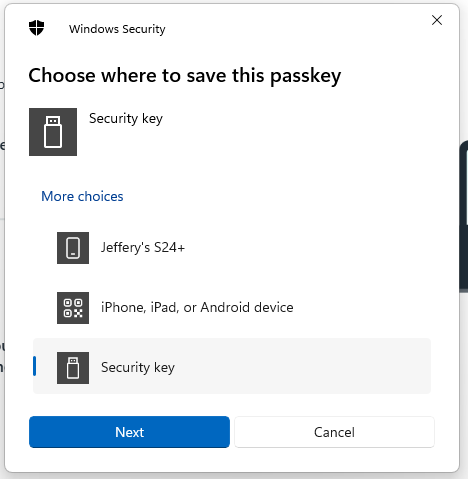
When asked where to save this passkey, select the option "Security Key", then click
 ;
;
You are now notified that access to google will be prepared with your Fido2 security key - click
 to proceed to the next step;
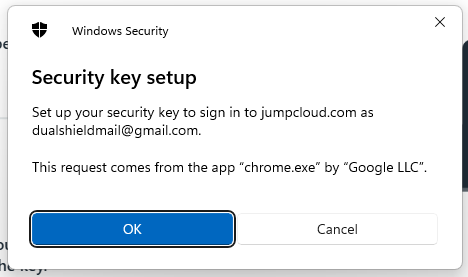
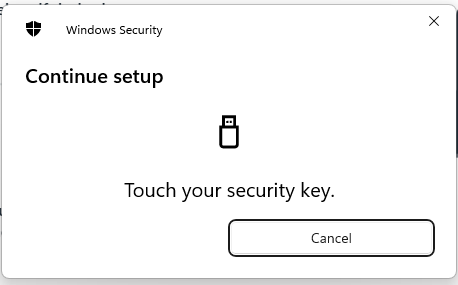
You will now be asked to touch the Fido2 key (in the case of a Fido key with a fingerprint reader you will need to swipe your finger on the key);
Provided you press the button on the Fido2 key in the allowed time, the passkey details will be stored on your Fido2 key, and you will be presented with the following confirmation;
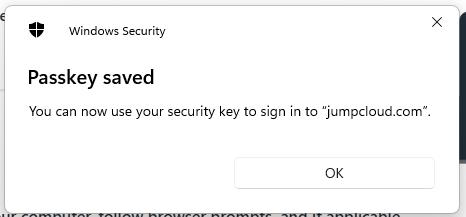
Click "OK", and you will be shown confirmation that the security key enrolment process succeeded;
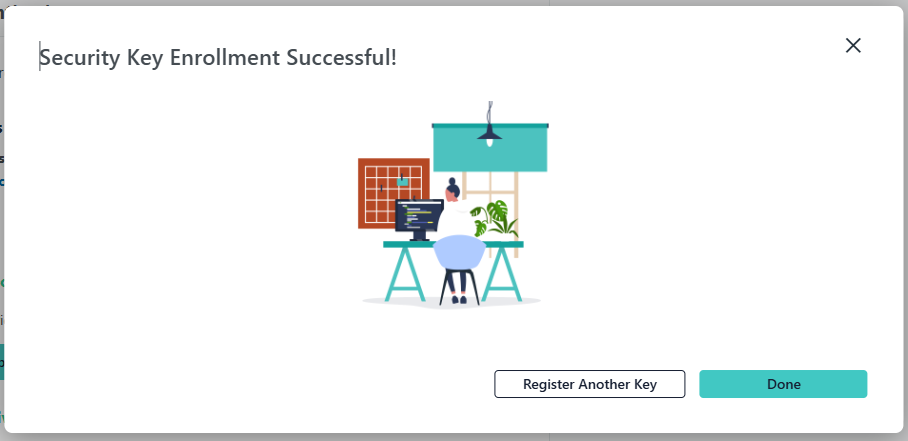
Click
 , and you will find that the details of your enrolled device will be show in the section "Multi-factor Authentication" (see below);
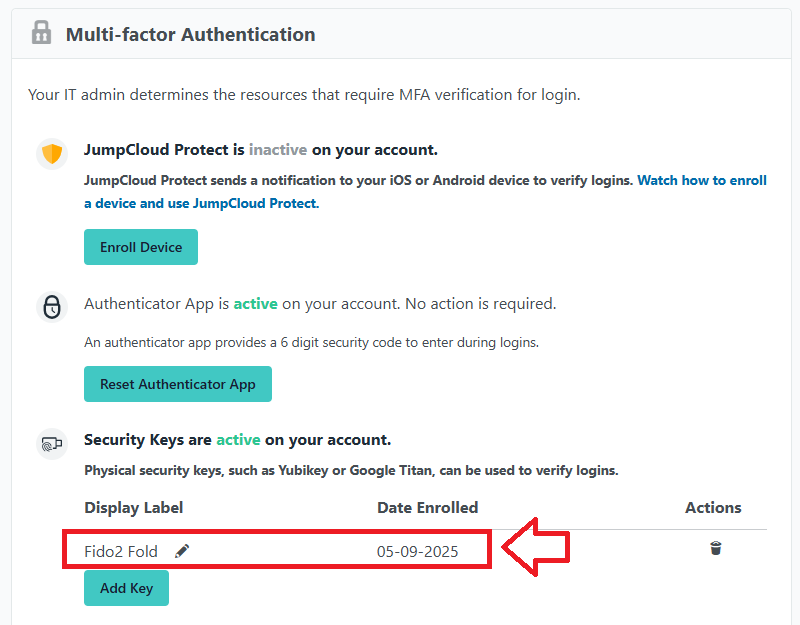
Signing in to your JumpCloud console with a FIDO2 key
Once you have registered you FIDO2 key with JumpCloud the key will be ready to be used as an authentication method when accessing your JumpCloud console;
- Log in to a user's JumpCloud account;

After supplying your username and password details you will be asked to verify your identity.
When asked to sign in with your passkey select the option "Security Key", then click
 ;
;
You will now be asked to touch the Fido2 key (in the case of a Fido key with a fingerprint reader you will need to swipe your finger on the key);

Once the key has been touched you will be logged in to your JumpCloud account.
Related Articles
