Currently, Duo does not directly support programmable tokens. However, you can still use programmable tokens with Duo by following the steps below:
Step 1: Program your tokens with random secrets
SafeID programmable tokens, such as SafeID/Pro, SafeID/Diamond are actually pre-programmed by the vendor. You can use them as pre-programmed tokens and skip to Step 2. Otherwise, if you want to reprogram them, then take this step.
Before we can prepare the token we will first need to download (and launch) the programming tool;
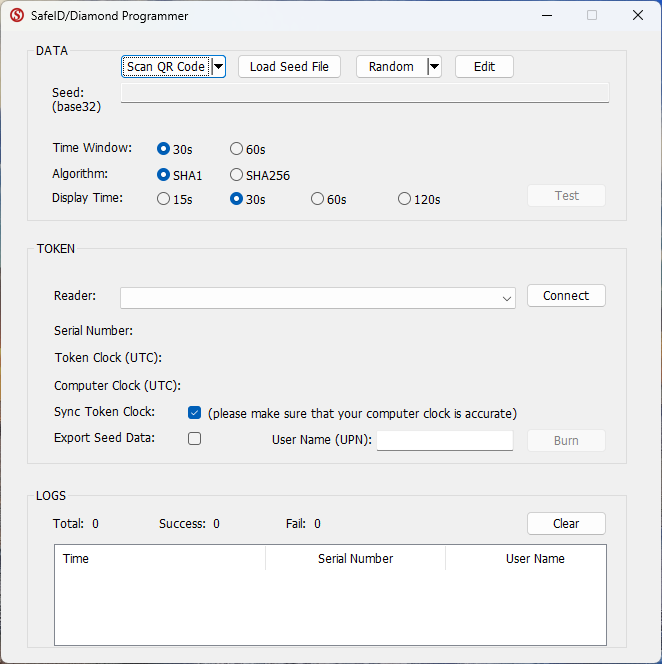
Once the tool is launched a window will open similar to the following;
As we will be using the PC's clock to set the date and time on the programmable token please ensure that these settings are correct on you PC.
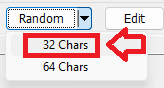
We generating a random seed by first selecting the size of the seed (either a "32 Chars" or "64 Chars").
We suggest generating a 32 character seed as this seed size is suitable for uploading to most authentication servers (e.g. Duo).
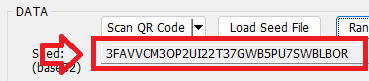
Once the seed size has been selected a random seed will be generated (in base 32 format) and will be displayed on the programming tool;
By default the programming tool will already have selected 30 second windows, and the SHA1 algorithm as these setting are suitable for most purposes.
Unless you have a reason to change these default settings we suggest you leave them set to 30 seconds and SHA1, then physically connect your token programmer to the USB port.
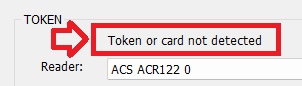
At the dropdown "Reader:" you should now be able to select the connected reader;

When the reader has been selected, click on the  button to connect the reader/writer.
The prompt will now change to "Token or card not detected";
When we burn the token we also want to keep a copy of the token's seed details, in order to retain the seed details ensure the option "Export Seed Data:" is selected;
![]()
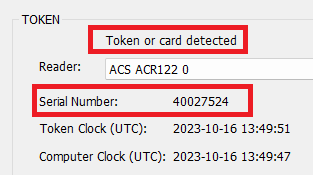
Turn on your programmable token (so that a 6 digit OTP code is displayed), then place the token on the reader, and the app will now be updated with details read off the reader;
 .
.
You are now ready to burn the token. Ensure the token is still powered on, then click the  button to burn the token.
After a small delay you should be presented with confirmation that the token has been programmed.

In the folder where your SafeID programming app was installed, you will find a sub-folder named "Data", and in this folder you will find 3 seed files have been created for this token.
The seed files contained in this folder provide the seed details that were generated for the recently programmed token, and will be appended with seed details of subsequent tokens that are prepared for use.
How to use the seed files
As each token is prepared the seed details are added to the seed files, and three types of seed files are created in order to help uploading of seed details to 3rd party authentication servers.
The following is an example of the types of seed files created;
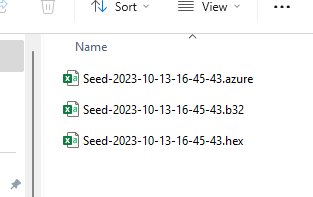
The first file is structured to make the file suitable for upload to azure (once the UPN details have been added).
The second file contains the serial numbers and base32 encoded seed data, and the third is the same, but with hex encoded seed data.
All 3 files are CSV files and if editing is required (prior to uploading to an authentication server), then these files should only be edited using text editors
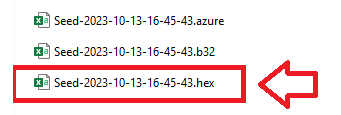
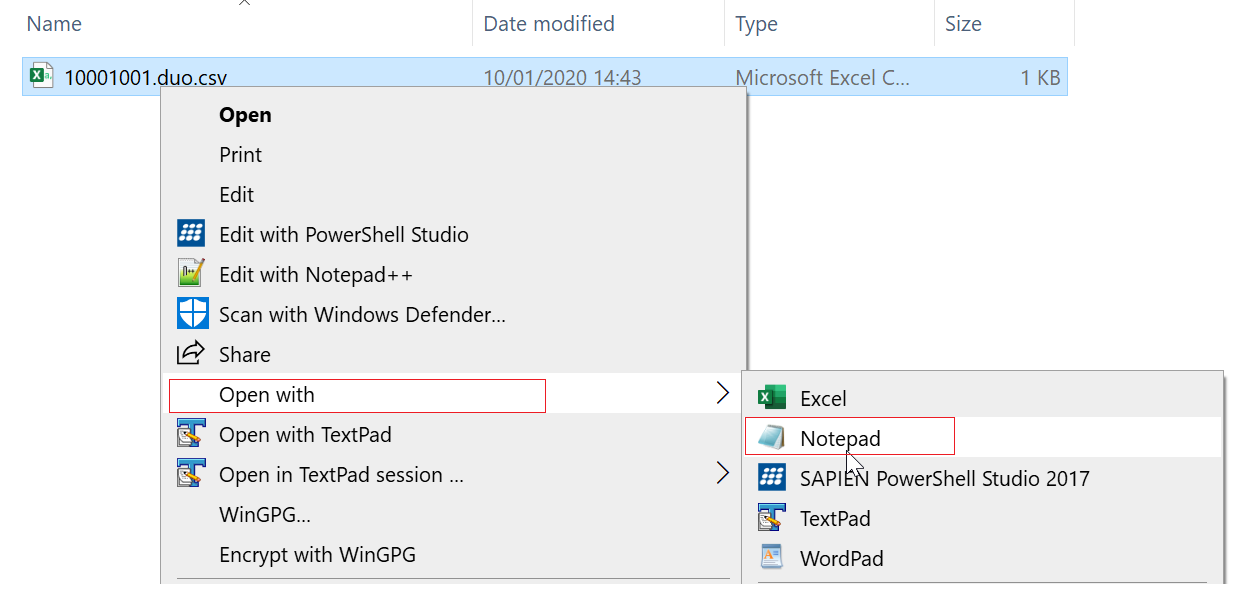
Once you have programmed the tokens open subfolder where the seed data files are stored, then open the seed file with the ".hex" extension with a text editor (such as notepad);
Please Note: the seed files are only populated upon termination of the programming app so please exit the app prior to editing the files
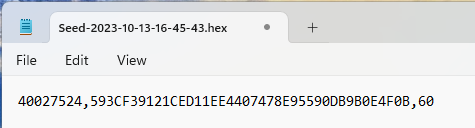
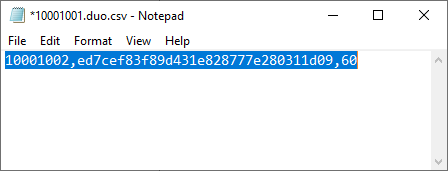
The seed file should now look like the following;

By default the programming tool does not add a time setting into the seed file, but if this is not specified then Duo will assume 30 second windows.
If you chose to program the tokens with 60 second time windows then please append each line with a ",60" (see example below);
You are now ready to save and upload this seed file to Duo
Step 2: Once you have programmed your tokens, then you can upload the tokens in the same way as uploading pre-programmed tokens
Deepnet SafeID provides both event-based and time-based tokens. Below is the list of SafeID tokens:
Download Token Seed File
First, obtain the seed file of your SafeID tokens using the instructions in the following guide
How to request token seed or secret file
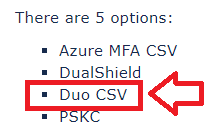
In step 4 select "Duo CSV";
Import Hardware Tokens to Duo
To import hardware tokens into Duo, follow the steps below.
1 - Log in to the Duo Admin Panel
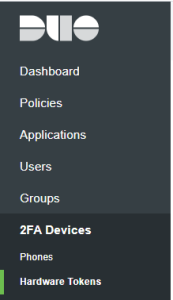
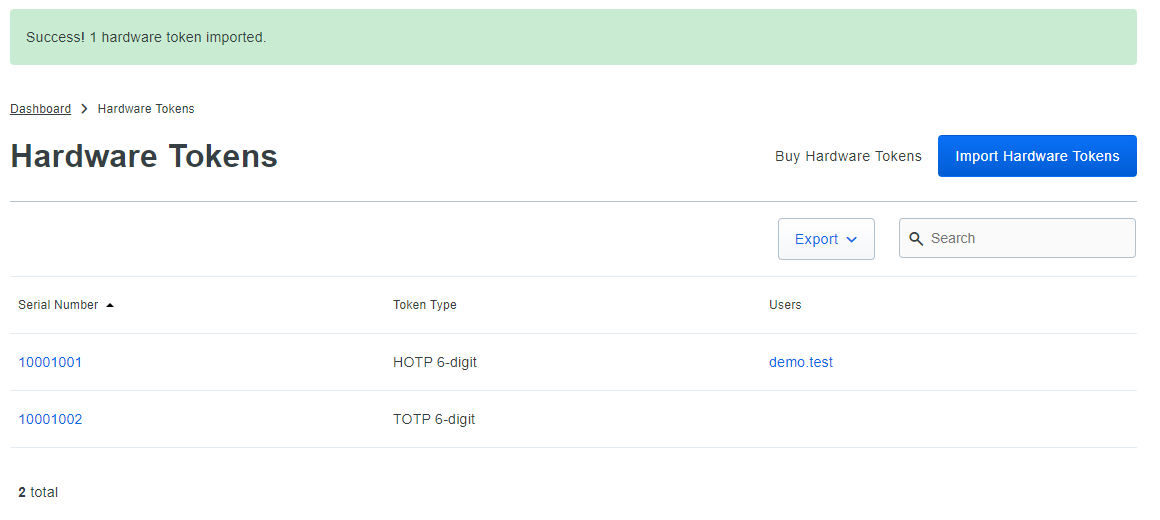
2 - Click 2FA Devices in the left sidebar, then click Hardware Tokens. A list of hardware tokens is shown, along with the attached end user, if any.
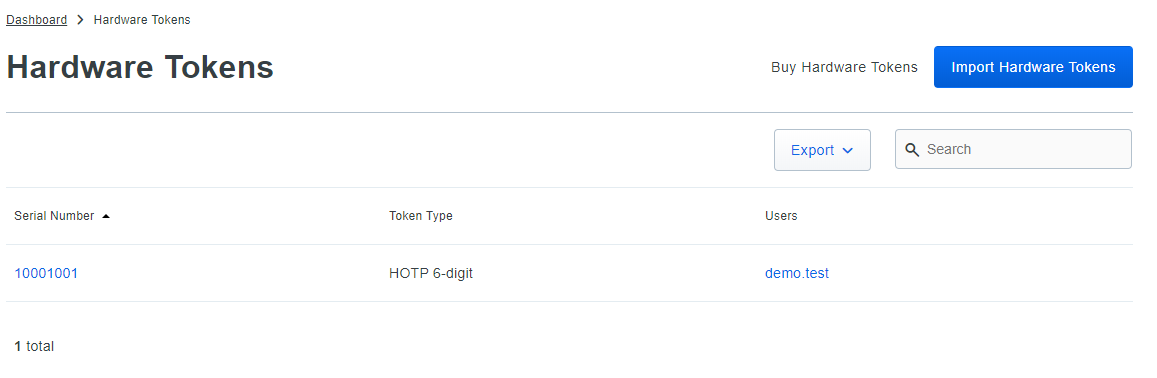
3 - Click the Import Hardware Tokens button
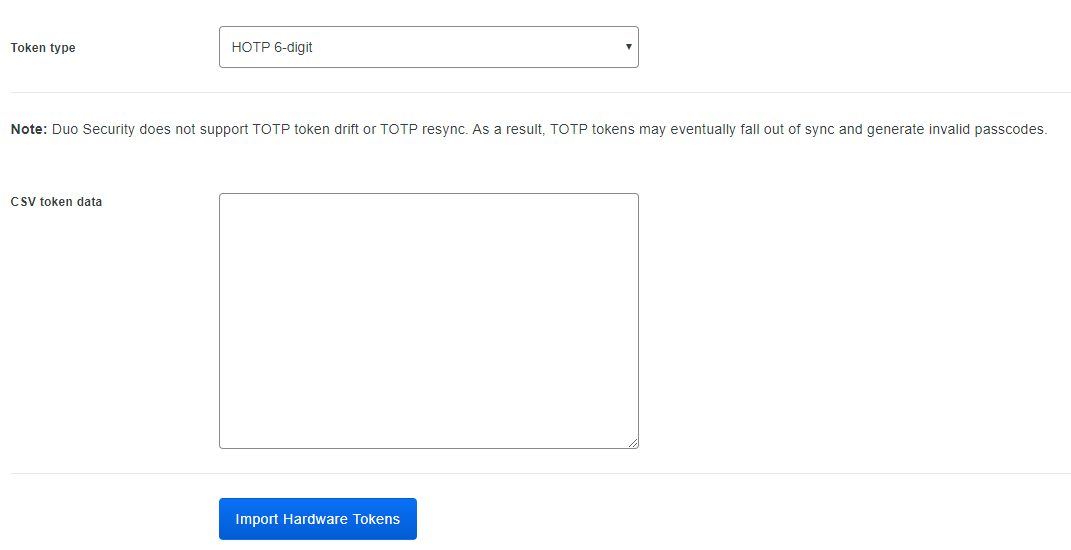
4 - Select the correct Token type, (i.e. for Safeid/Eco tokens select "HOTP 6-digit", and for all other Safeid tokens select "TOTP-6 digit").
5 - Open the SafeID token seed file received from Deepnet Security in a text editor such as Notepad
6 - Copy the entire content and paste it into the CSV token data box in the Duo portal
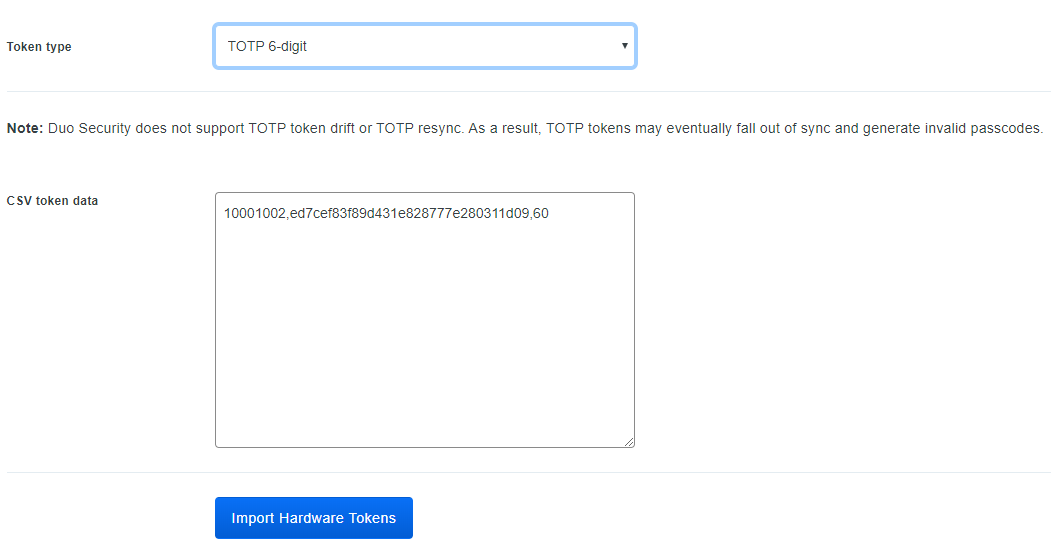
7 - Click Import Hardware Tokens button
Assign Hardware Tokens to Users
Once tokens have been uploaded they will need to be assigned to users using the following instructions;
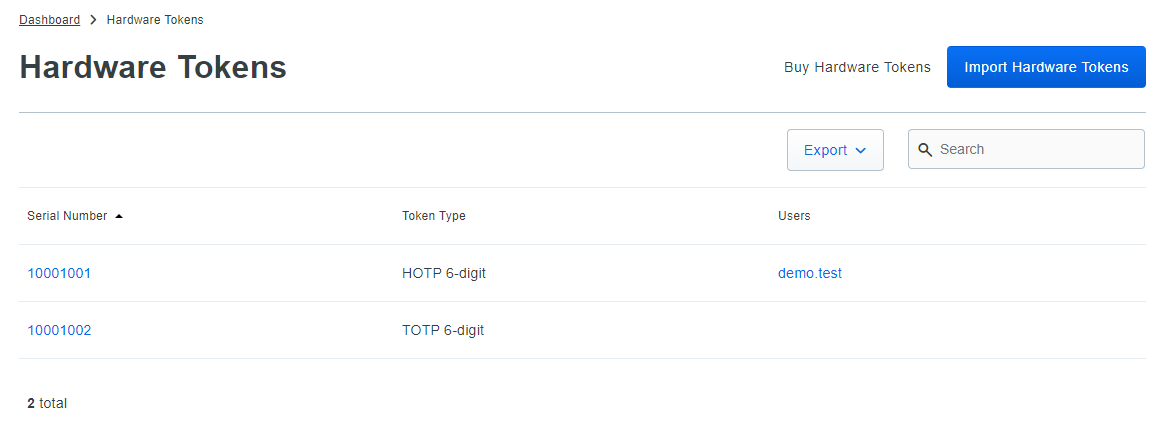
2 - Click on the serial number of a token to access the token's properties page, e.g 10001002
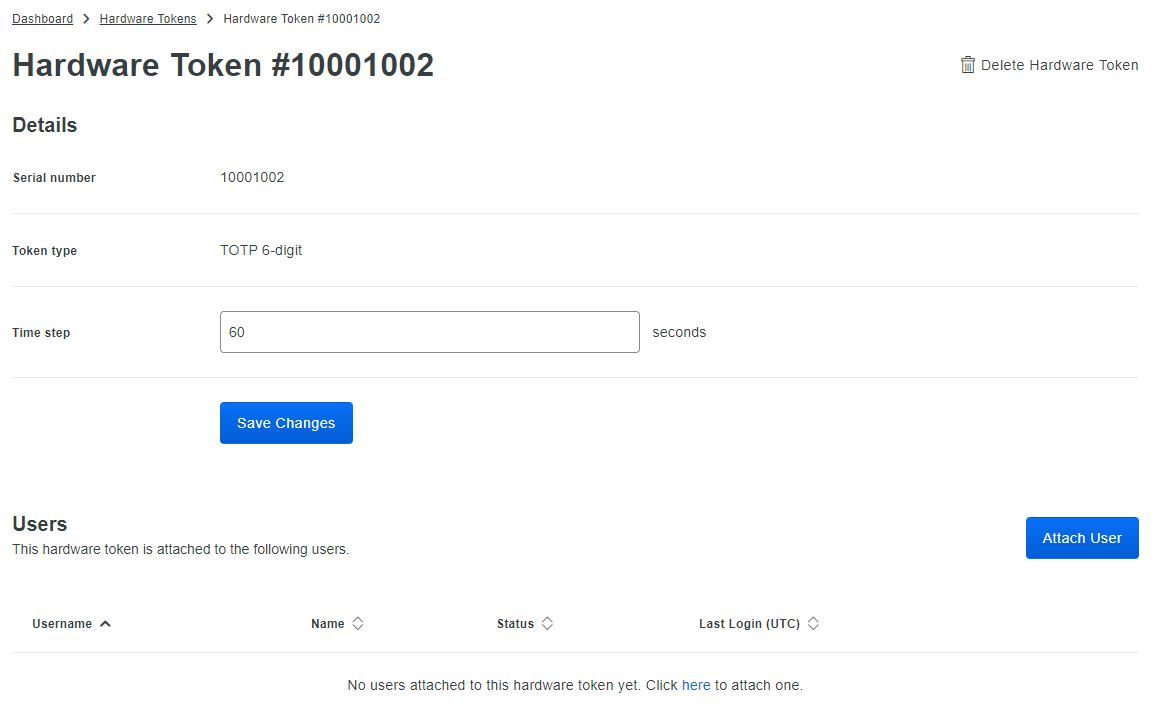
3 - On the token's properties page, scroll down to the Users table and click the Attach User button.
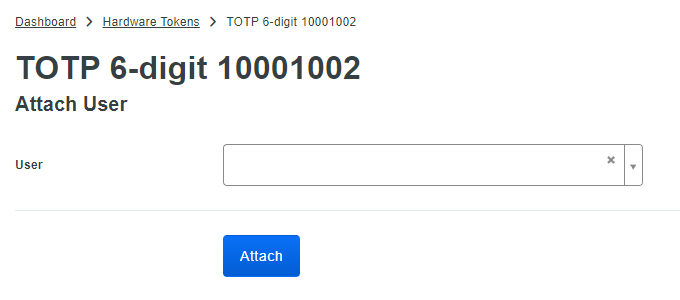
4 - Select a Duo user from the drop-down list and click Attach.

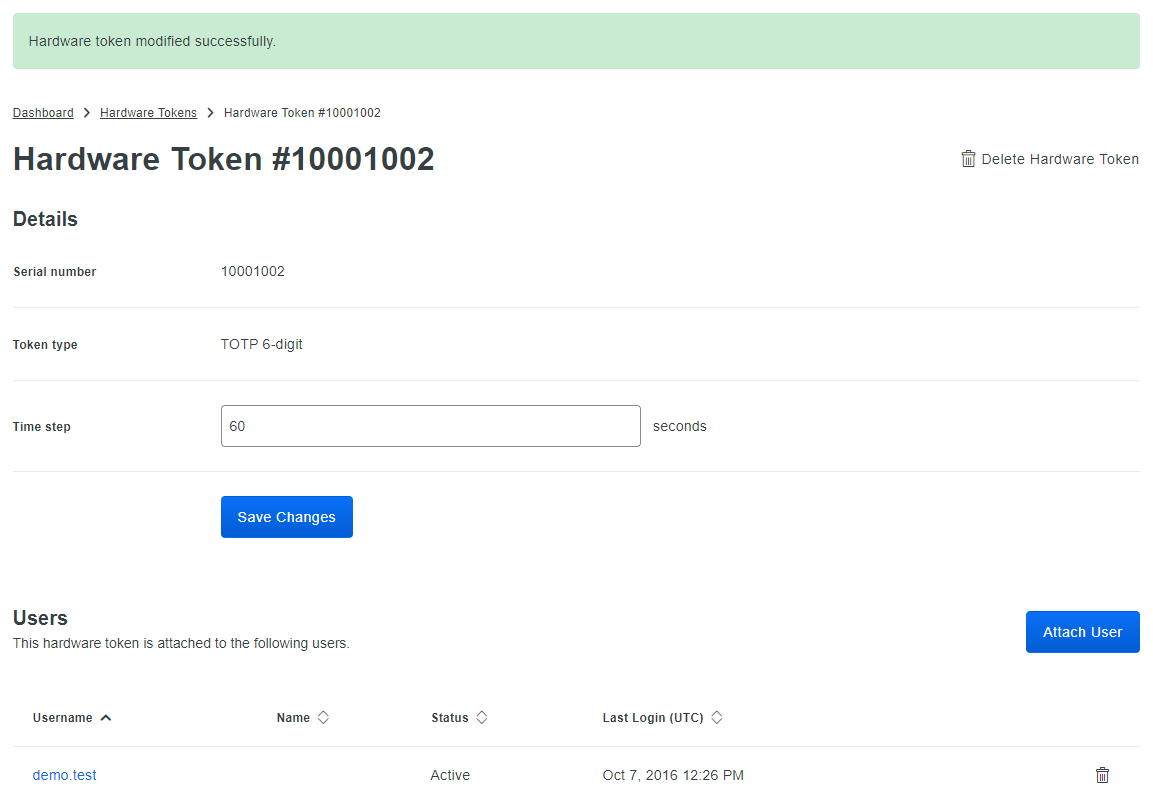
5 - The token's properties page now lists the attached user.
Related Articles
- SafeID Hardware Tokens
- How to request token seed or secret file
- Assign a hardware token to an end user in Duo
- Resynchronize Tokens in Duo
- Delete Tokens in Duo