You will need to download both the DualShield Windows Logon Agent and Client software onto the Stand alone PC.
You can download the software from http://support.deepnetsecurity.com/visit.asp?pg=download/dualshield.
Make sure you have your license key to hand.
Install the agent BEFORE the client
Please use the following guide which details how to install the Windows Logon Agent onto your PC.
Prerequisites
Before you run the setup wizard, you must have your DualShield Authentication Server installed and operating, and make sure that the computer on which you are going to install the Windows Logon Agent meets the following minimum hardware and software requirements:
- A Windows 2016, 2019 or 2022 Server with the latest Service Pack installed.
Note: For Windows Server 2016, it might be necessary to add an additional JAVA Option, that will generate a TripleDES legacy based PFX. If it is observed the Windows Logon Agent fails complete registration with the DualShield Server (no Application can be associated).
The Deepnet WIKI guide detailing how to add a JAVA Option is here: How to edit JAVA options in the DualShield framework
The JAVA Option / parameter to add: -Dkeystore.pkcs12.legacy=true
A restart of the DualShield Server Service is then required, for this change to take effect.
- TCP/IP Networking
- TCP port 14292 and/or 14294 must be available on the Windows server for use by the DualShield Windows Logon Agent.
Enable Agent Registration
In order to install a DualShield Windows Logon Agent, we need to first enable the Agent Registration option.
For security purposes, the agent registration function is disabled by default. You need to enable the Agent Auto Registration function in your DualShield authentication server.
From the management console, navigate to "Authentication | Agents", then click 
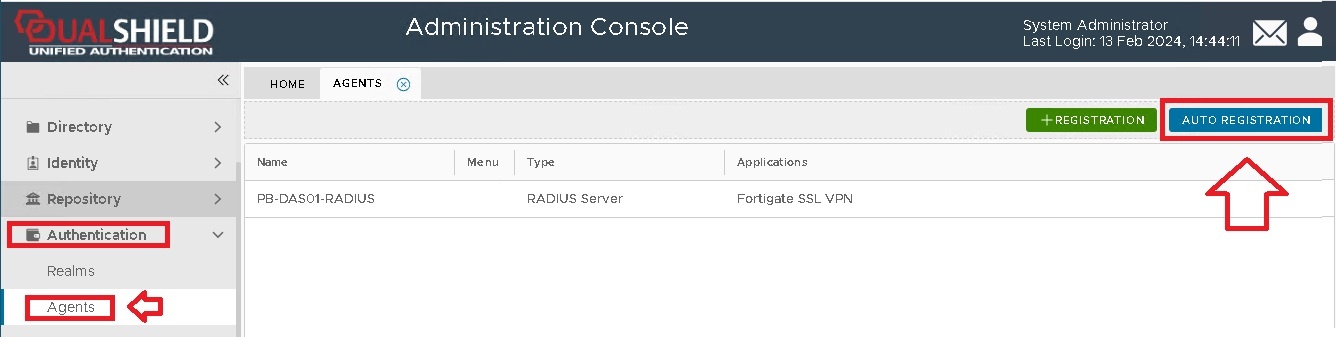
A new window will now open titled "Auto Registration", ensure the "Enabled" option is selected, then click ;
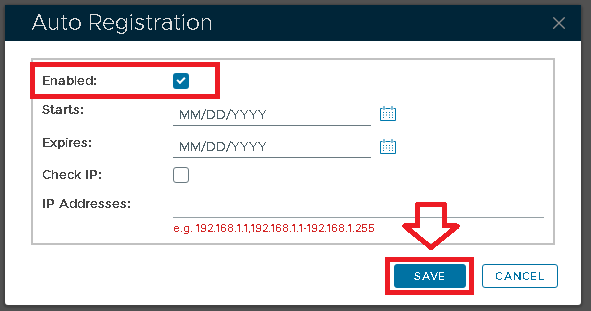
Tick the "Enabled" option first, then fill in the Starts and Expires date.
You may want to enable the "Check IP" option for extra security. If this option is enabled, then in the "IP Addresses" field you must enter the IP address of the machine where the authentication agent is being installed.
Click on the  button, and Auto-Registration will now take place during the installation of the RADIUS server.
Install DualShield Windows Logon Agent
To install the DualShield Windows Logon Agent, launch the installer SetupDSAgent-xxx.yyyy.exe (where xxx is the version number and yyyy the build number) and go through the following steps:
Step 1: Welcome

Step 2: License Agreement

Step 3: Installation Path

Step 4: Agent Registration

In the FQDN field, enter the correct FQDN of your DualShield server. The default suggestion is based on the host name of the machine and is often not the correct value.
In the Port field, keep the default value 8071, unless you have changed your DualShield Server's operating port numbers.
Step 5: Installing...

Step 6: Connect to an application
At this point, the agent has been successfully registered with the DualShield server., and is waiting for an application to be published on this agent.
Make sure the DualShield Authentication Server Address matches the FQDN of your DualShield Server.

In the “Application” field, it displays “Click here to select”.
The next step is to publish a Windows application on this agent.
Step 7: Publish an application
Login to your DualShield Admin Console, select "Authentication | Agents" in the side panel.

You will see that the agent you are installing is listed.
Open the Agent's context menu.

Select "Applications" to launch the application list
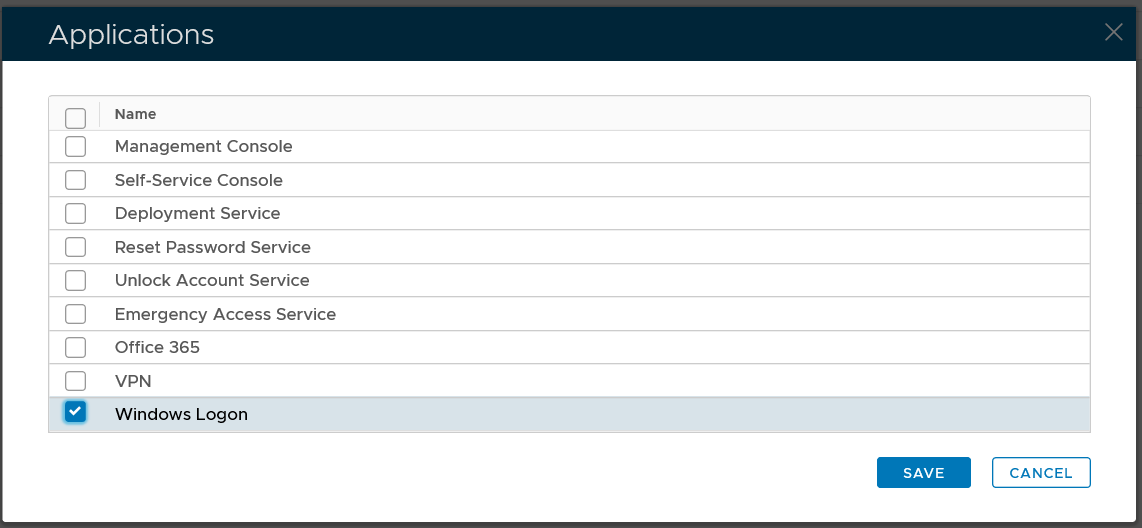
Select the application that you want to publish on this agent, e.g. Windows Logon, then click the "SAVE" button.

The application is now published on the agent.
Step 8: Complete installation
Now, go back the agent installation process where it is displaying "Click here to select” in the Application field:
Click "Click here to select", you will see that an application is now available in the list

Select the application, then click the Save icon on the toolbar:

You will then see the following message

It is recommended that you DualShield Windows Logon Agent service.

Finally, click the close icon to close the window

The Windows logon agent has now been successfully installed, registered and linked to an logon application.
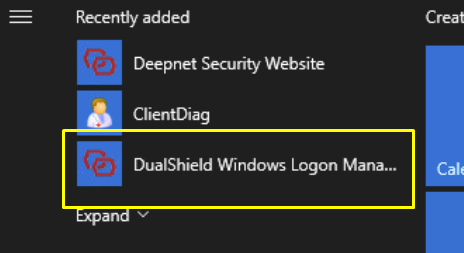
Upon successful installation of the Windows Logon Agent please go into the Start Menu on the stand-alone PC and launch DualShield Windows Logon Manager from the recently added items.
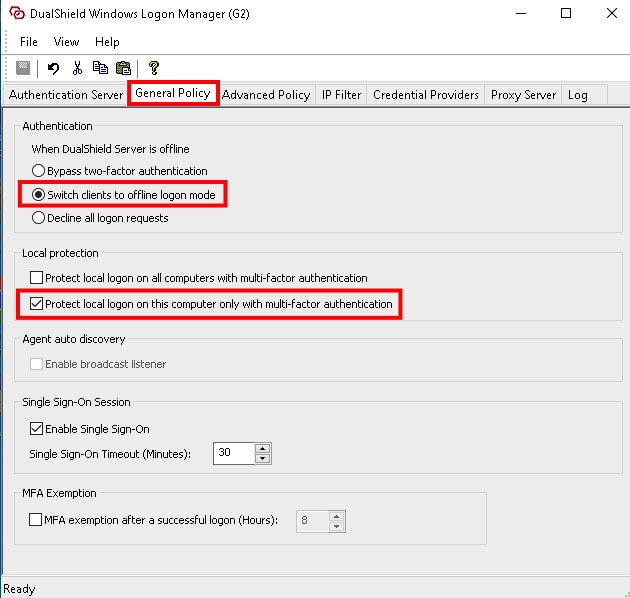
Click on the General Policy tab within Windows Logon Manager.
Under Authentication select the option Switch Clients to Offline Mode
Under Local Protection enable Protect Local Logon on this computer only
Click the Save icon  in the top toolbar (You may need to restart the Windows Logon Client service as well)
Make the agent discoverable on the network by doing the following:
Because you created a virtual domain, you must add the DNS entries in a corresponding lookup zone.
To add a new forward lookup zone open DNS Manager expand the server name, right-click on Forward Lookup Zones and select New Zone

Keep the default settings in the New Zone Wizard


Enter the name of the virtual domain you created on DualShield


Add new host A records for your dswagent2 and dswsslagent2:

Make sure you can ping the agent from the end client workstation.
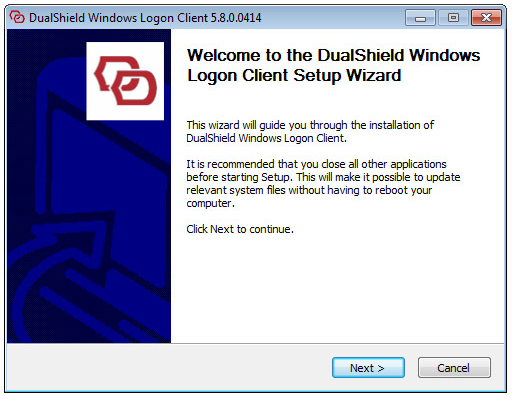
Next, install the Client software.
- Welcome
- License Agreement
- Installing Path
- Install Credential Provider
- Installing
- Finish
Step 1: Welcome
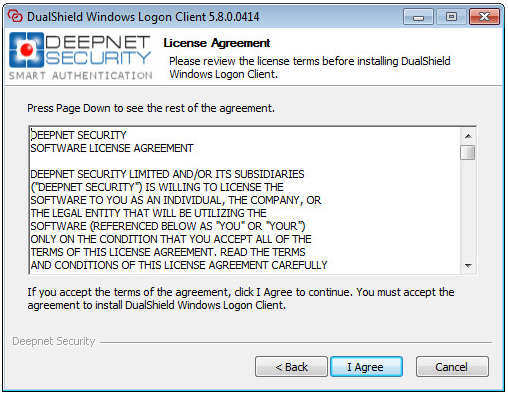
Step 2: License Agreement
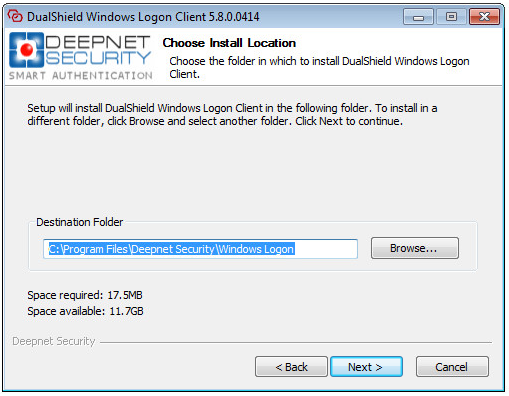
Step 3: Choose Install Location
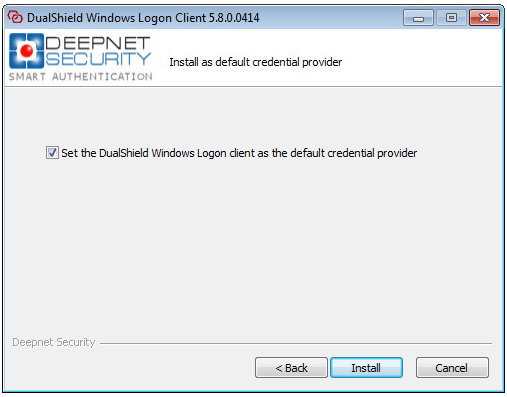
Step 4: Set the default credential provider
Step 5: Installing

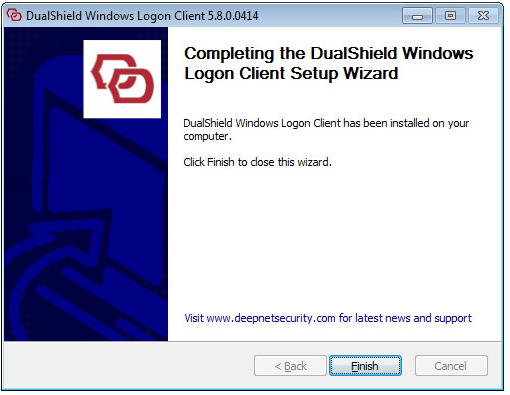
Step 6: Installation Completed
After completing the installation of the client, the Client Diagnostics tool should automatically pop up. (If not it can be found under Start>Deepnet Security>ClientDiag)
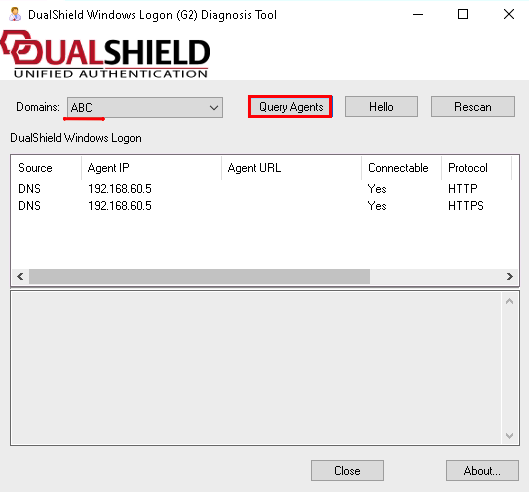
It is a good idea to check to make sure the Client software can communicate with the agent software by querying the agent as shown in the screenshot.