Follow the steps below to prepare the configuration files for Entra-joined PCs.
Step 1: Download the off-the-shelf installer package

Download the Computer Logon MA Installer file:
computer-logon-modern-authentication-x.y.z.msi
(where x.y.z. is the version and build number, e.g. computer-logon-modern-authentication-1.2.3.20260305.msi)
Save it to a local folder, e.g. "D:\Software\CLO\Custom Package", and rename the file to "computer-logon-ma.msi"
If this is the first time you are setting up the solution, then you also need to download the Supporting Files package:
computer-logon-modern-authentication-supporting-files.zip
Unzip it to the same local folder on your PC, e.g. "D:\Software\CLO\Custom Package"
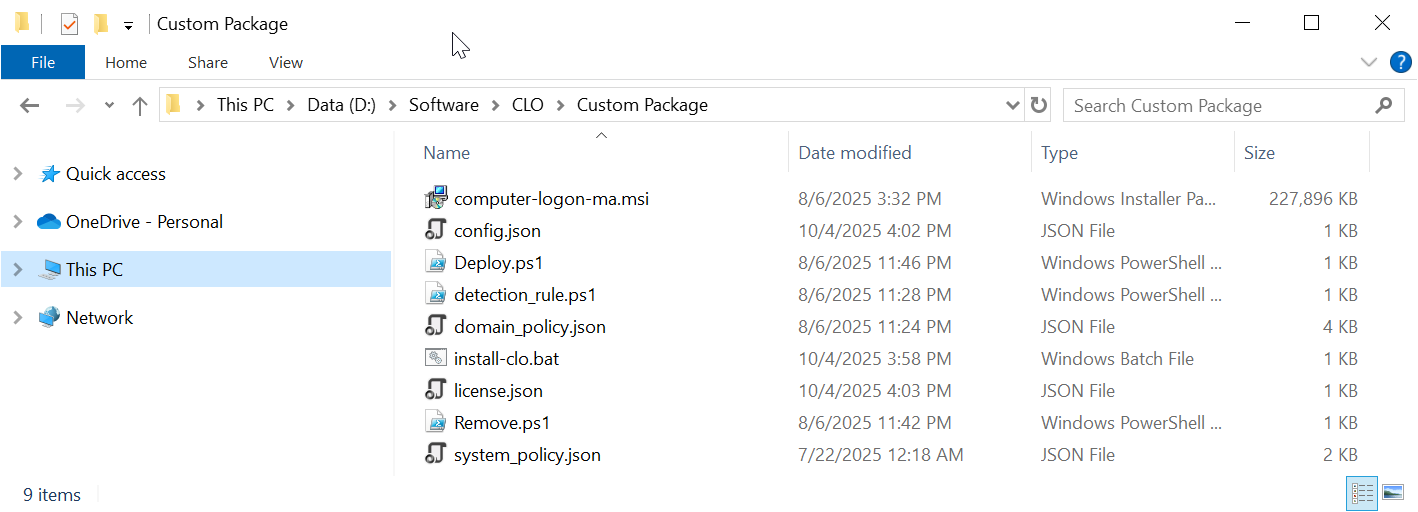
The whole solution package contains the following files:
File | Description |
|---|---|
| computer-logon-ma.msi | Computer Logon Agent installer |
config.json | Configuration file |
| license.json | License file |
| domain_policy.json | Domain policy file |
| system_policy.json | System policy file |
| install-clo.bat | Batch commands for custom installation |
| deploy.ps1 | PowerShell commands for Intune deployment |
| remove.ps1 | PowerShell commands for Intune deployment |
| detection_rule.ps1 | PowerShell commands for Intune deployment |
Step 2: Customise the configuration file
The Deepnet Computer Logon Modern Authentication requires a custom configuration file in order to function correctly for the users. You must customise the configuration file with your own data.
Open the config.json in a text editor, such as Notepad