Enable Windows Auto Logon
Click here to download AutoLogon
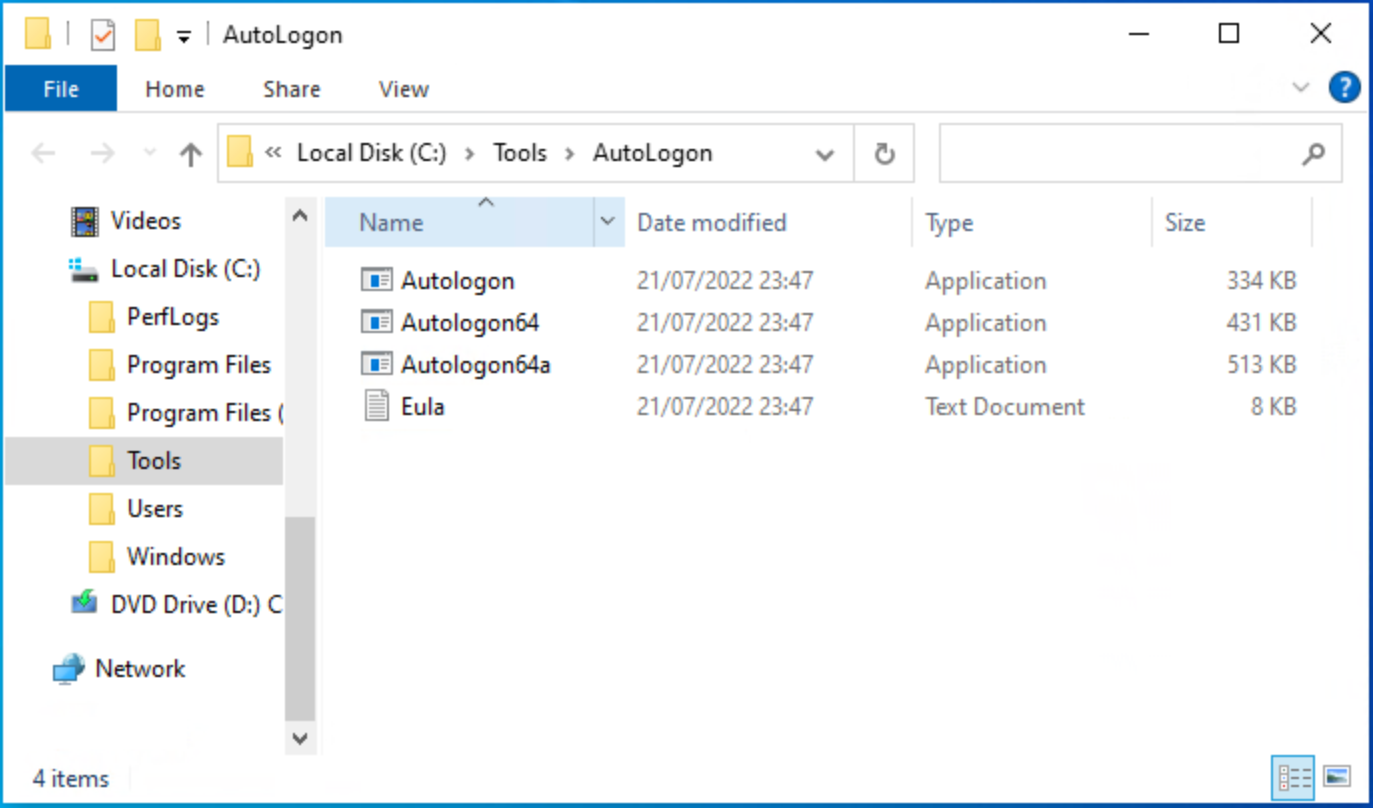
Autologon is easy enough to use. Just run autologon.exe, fill in the dialog, and hit Enable.
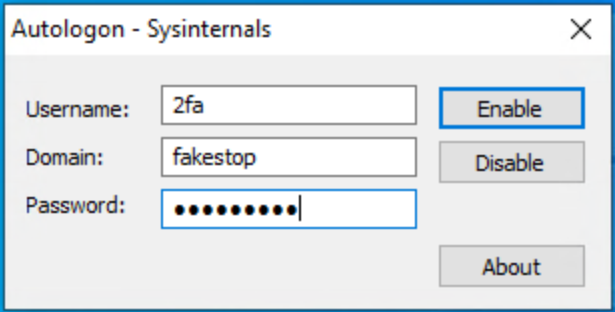
You can also pass the username, domain and password as command-line arguments:
autologon user domain password
Make sure that you have provided the correct credentials, as the Autologon tool does not verify the submitted credentials, nor does it verify that the specified user account is allowed to log on to the computer.
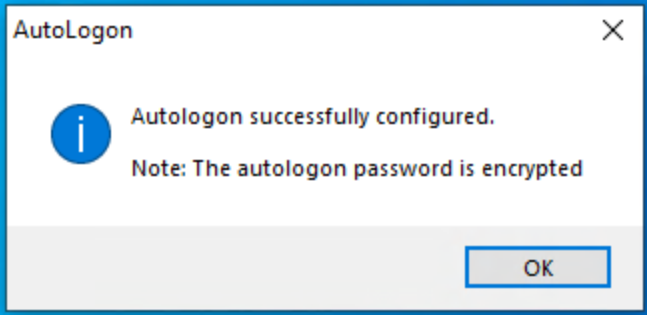
The next time the system starts, Windows will try to use the entered credentials to log on the user at the console. (If the shift key is held down before the system performs an autologon, the autologon will be disabled for that logon).
Note: When Exchange Activesync password restrictions are in place, Windows will not process the autologon configuration.
1. Run "Regedit" as administrator
2. Navigate to the following registry key:
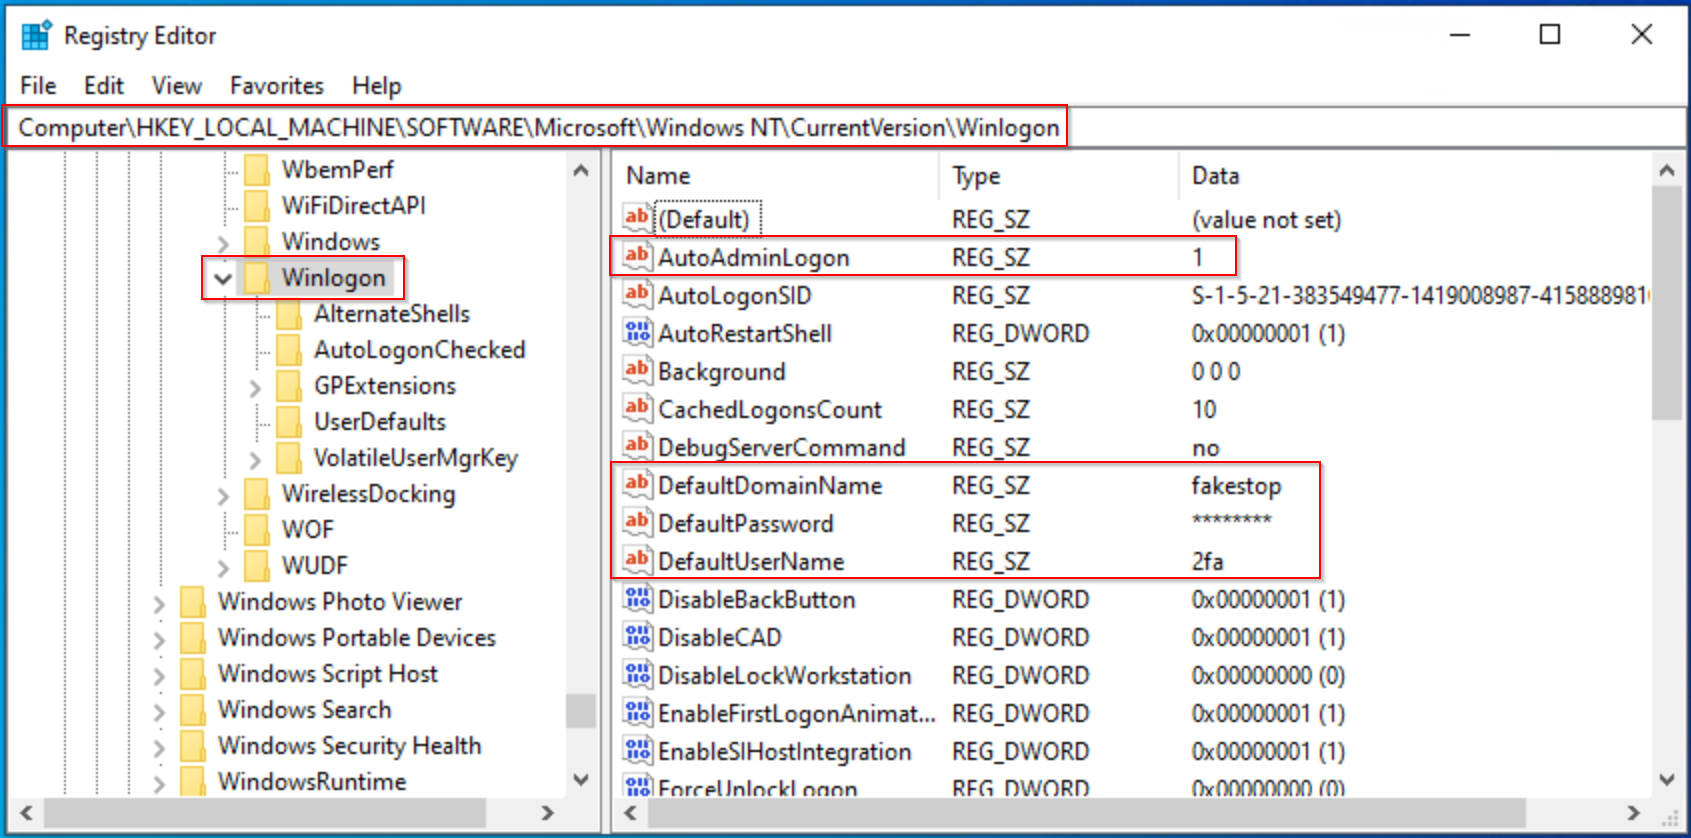
HKEY_LOCAL_MACHINE\SOFTWARE\Microsoft\Windows NT\CurrentVersion\Winlogon

3. There are 4 registry values in the Winlogon key that need editing or creating
- AutoAdminLogon
- DefaultUserName,
- DefaultPassword
- DefaultDomain
The AutoAdminLogon value should already be present, but the others may or may not be depending on your system. If they are not there, add each one as needed.
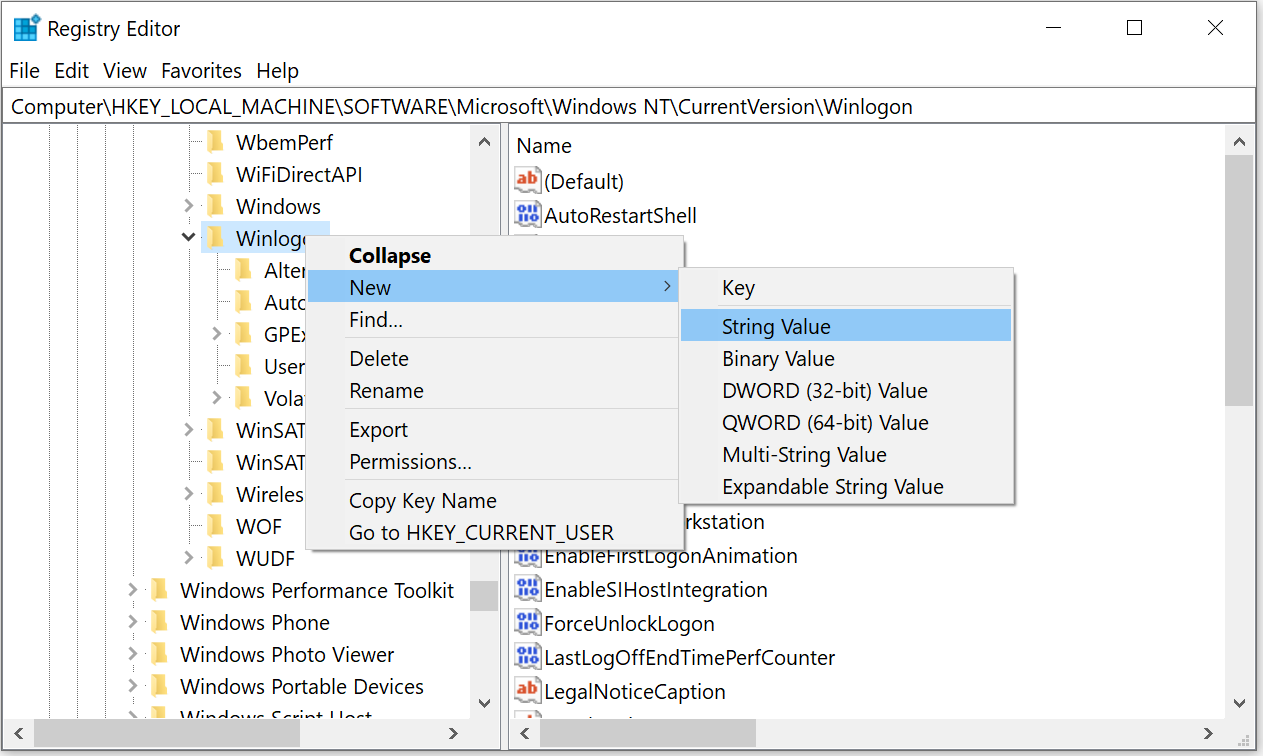
Right click on Winlogon key > New > String Value and name it DefaultUserName
Right click on Winlogon key > New > String Value and name it DefaultPassword
(Optional) Right click on Winlogon key > New > String Value and name it DefaultDomain
4. Once the required four values are present, double click on each one in turn and edit its Value data to match the user you want to set up as auto logon.
AutoAdminLogon – Enable or disable auto logon, enter 1 to enable, 0 to disable.
DefaultUserName – The name of the user to auto logon with.
DefaultPassword – The password of the above user.
DefaultDomain – (Optional) The domain to log onto, ignore if you’re not part of a domain.
5. Once you have completed entering the values, close the registry editor and restart to see if the changes have been successful. If they are, the specified user won’t be asked to log on.
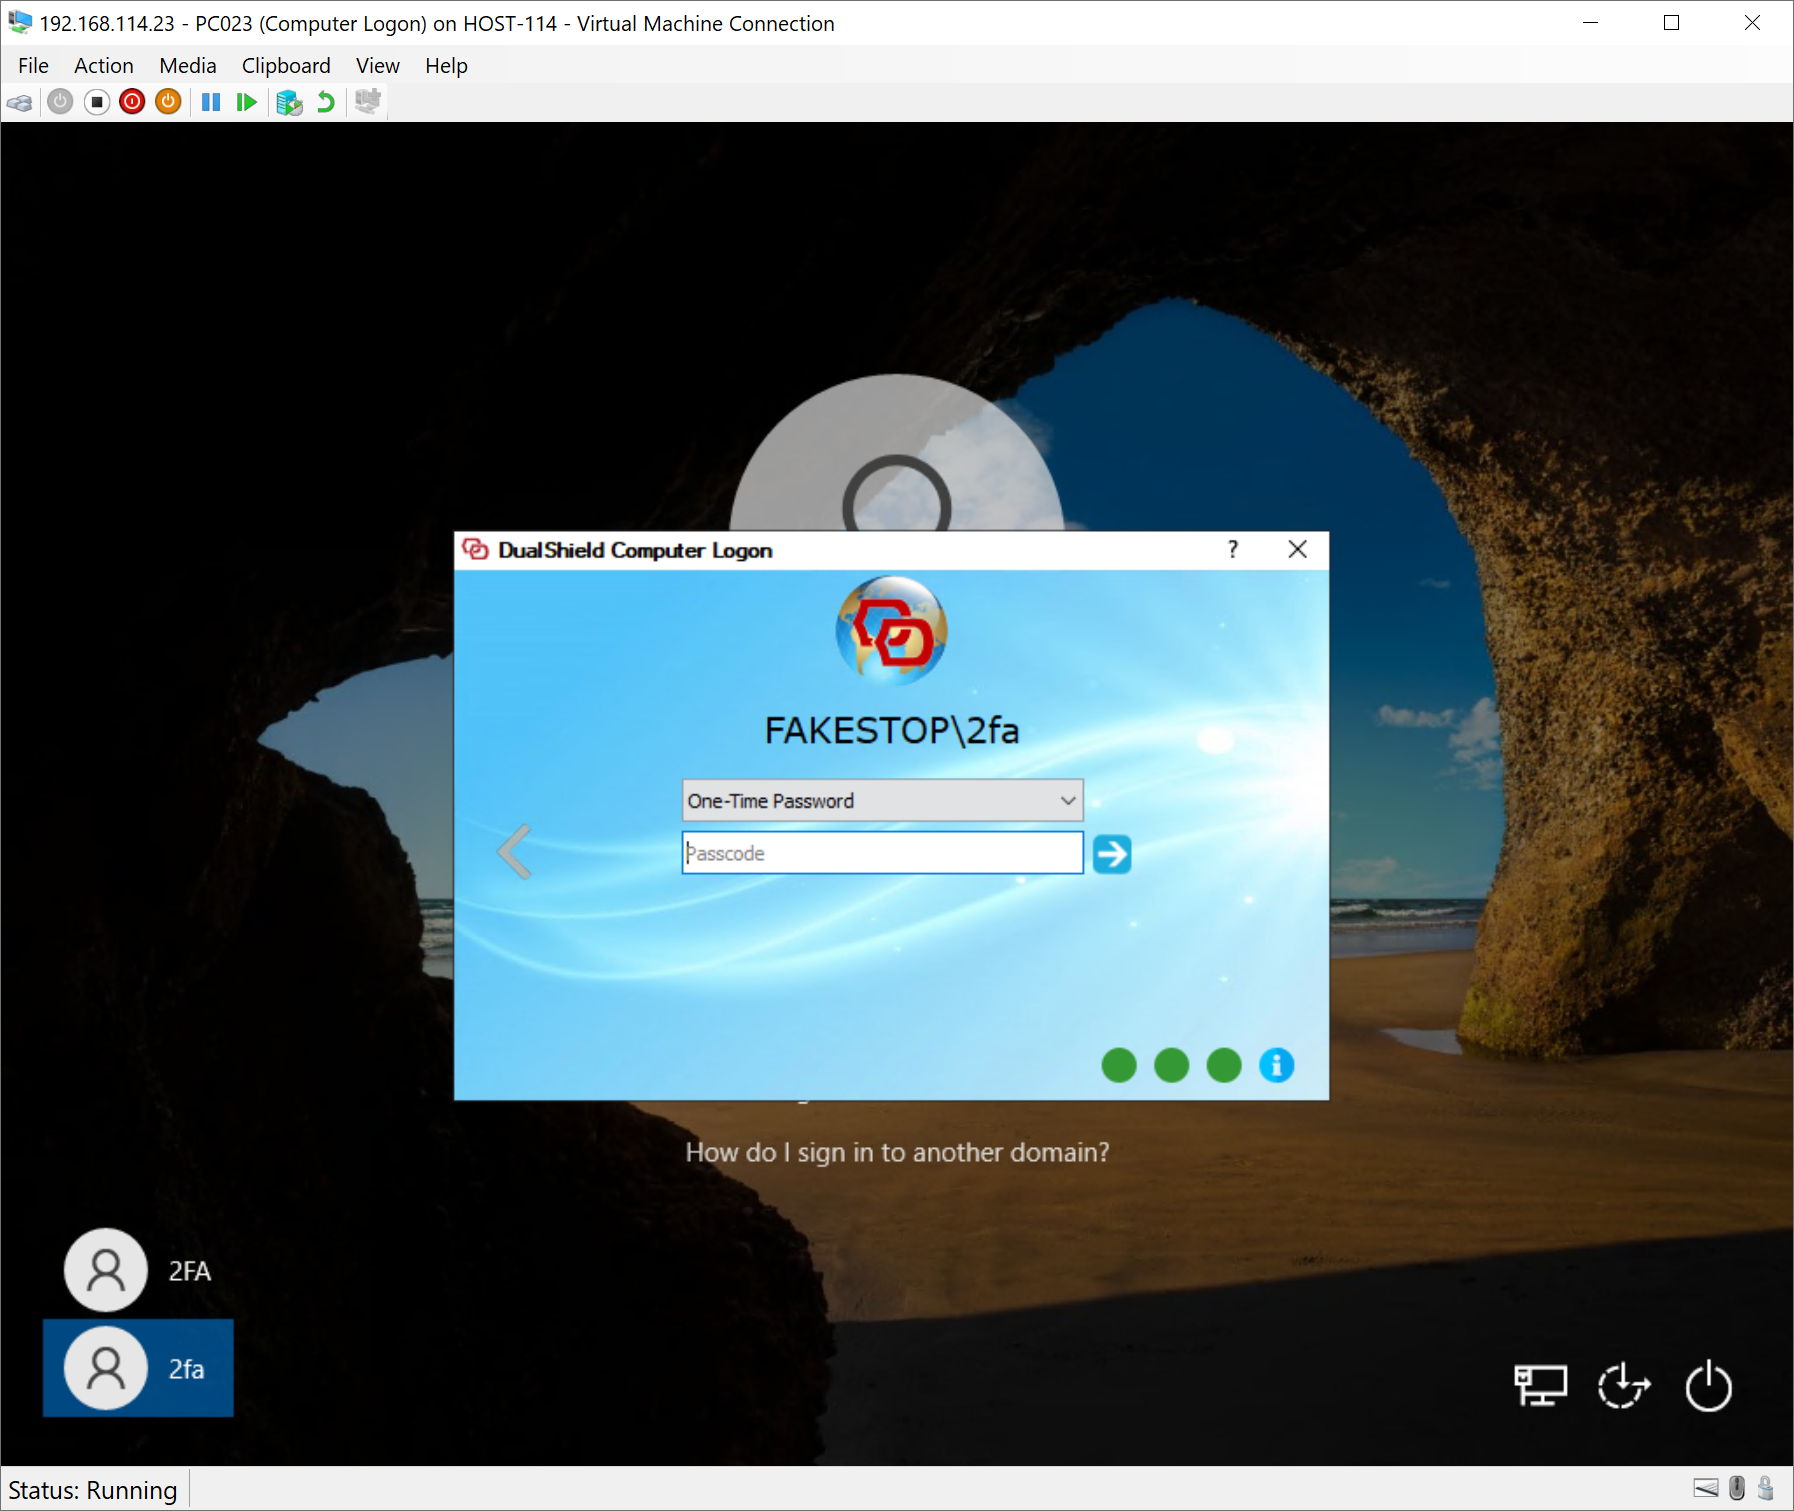
User Experience