Setup SAML Server
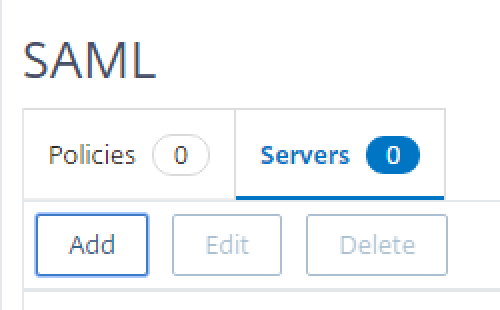
- ON ADC go into Citrix Gateway > Policies > Authentication > SAML
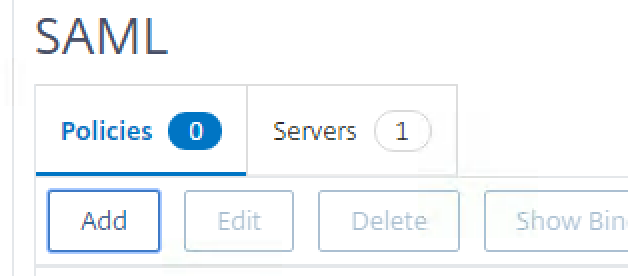
- Click on Servers tab at the top and then Add
3. Enter a Name but untick Import Metadata
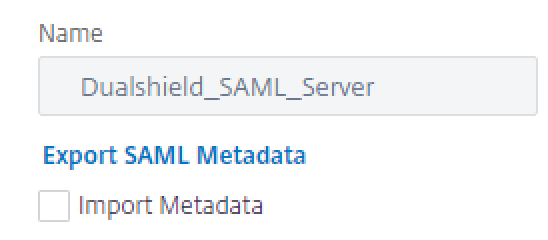
4. Open up the IDP Metadata file you saved earlier
5. Locate SingleSignOn and SingleLogoutService Location

6. Add the Login URL to Redirect URL and the logout URL to the Single Logout URL
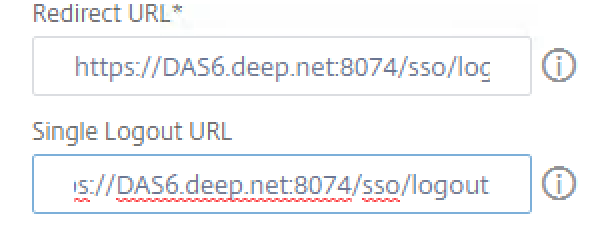
7. Set SAML Binding and Logout Binding to Redirect

8. For IDP Certificate Name, click the drop-down arrow and choose your recently added IDP file.

9. In the Issuer Name field, enter the FQDN of your NetScaler Gateway Virtual Server. (The SAML Issuer Name must be identical to the EntityID in the metadata of the service provider that was set up in the previous section)
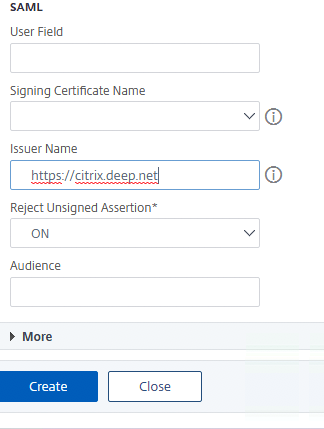
10. Click on More
11. Add the attribute names which were created in the DualShield Service Provider.

12. Click Create/OK
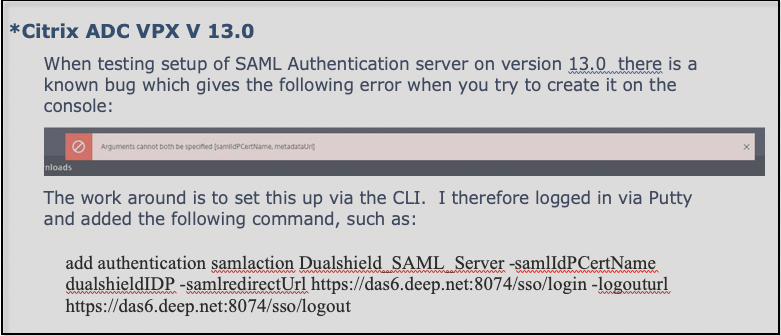
(If you end setting up SAML server via CLI, you will then need to repeat steps 7 and 9 – 12)
Setup SAML Policies
- ON ADC go into Citrix Gateway > Policies > Authentication > SAML
- Click on Policies tab at the top and then Add
3. Enter a Name
4. Select the SAML server you just created from the drop down
5. Create an ns_true expression
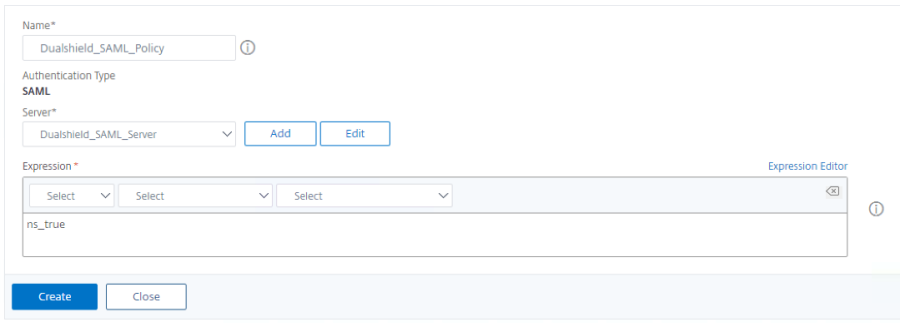
6. Click Create
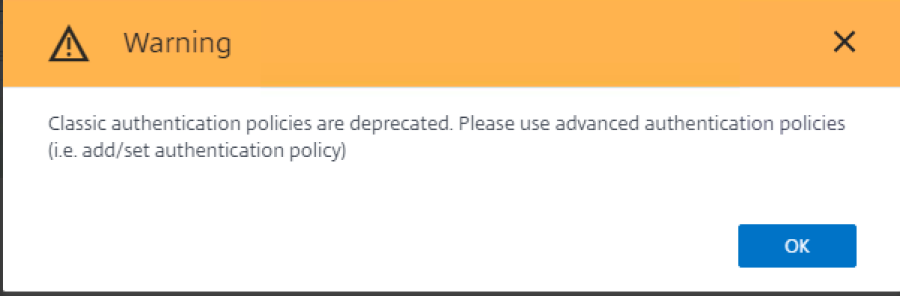
7. Ignore warning message as below and click OK