The DualShield Platform includes a self-service console (DSC) and several self-service portals, as listed below:
| Name | Abbreviation | Ports | URL |
|---|---|---|---|
| DualShield Service Console | DSC | 8076 | https://fqdn:8076/dsc |
| DualShield Reset Password Service Portal | DRP | 8076 | https://fqdn:8076/drp |
| DualShield Unlock Account Service Portal | DUA | 8076 | https://fqdn:8076/dua |
| DualShield Emergency Access Service Portal | DEA | 8076 | https://fqdn:8076/dea |
By default, all those self-service consoles and portals operate on HTTP port 8076.
The DualShield Platform also includes a Single Sign-On (SSO) portal. By default, the SSO portal operates on port 8074.
If you want to make both the SSO portal and the service console operate on port 443, then you will have to install 2 DualShield servers. On one server, you can change the SSO port from 8074 to 443, and on the other server you can change the port 8076 to 443. Typically, customers install the self-service console in DMZ as a DualShield Frontend Server.
To change the DualShield SSO port from 8074 to 443, follow this guide: How to change the DualShield SSO port to 443
To change the DualShield Service port from 8076 to 443, follow the steps below.
Step 1: Install a DualShield frontend server
Follow the guide below to install a DualShield Frontend Server
Enable Agent Auto Registration
Installing a DualShield frontend server is like installing a DualShield agent, it requires Agent Auto Registration to be enabled.
For security purposes, the agent registration function is disabled by default. You need to enable the Agent Auto Registration function in your DualShield authentication server.
From the management console, navigate to "Authentication | Agents", then click 
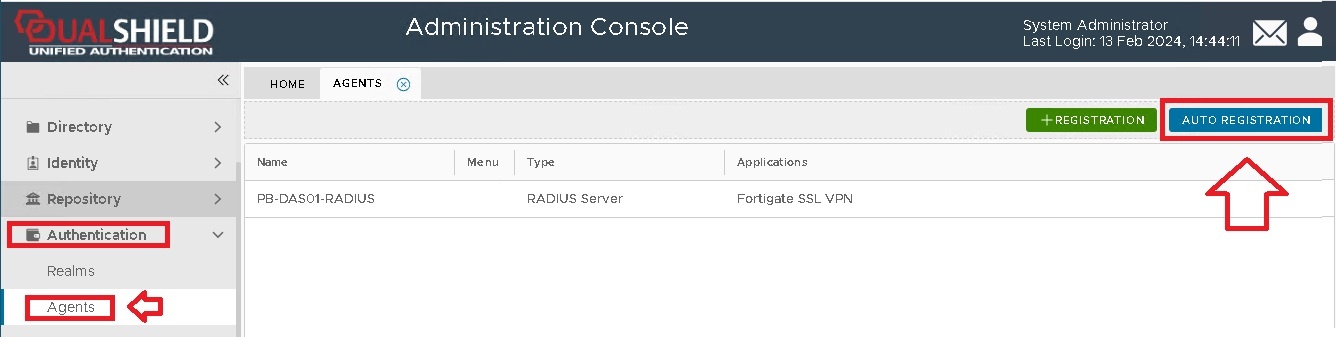
A new window will now open titled "Auto Registration", ensure the "Enabled" option is selected, then click ;
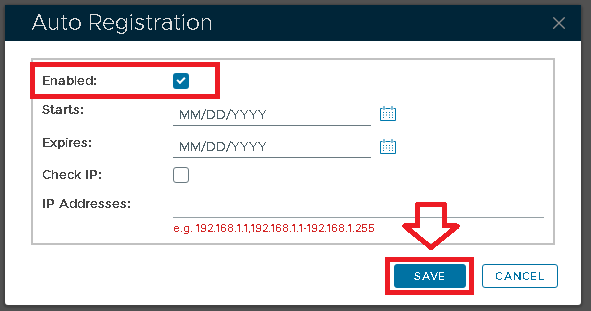
Tick the "Enabled" option first, then fill in the Starts and Expires date.
You may want to enable the "Check IP" option for extra security. If this option is enabled, then in the "IP Addresses" field you must enter the IP address of the machine where the authentication agent is being installed.
Click on the  button, and Auto-Registration will now take place during the installation of the RADIUS server.
Install Frontend Server
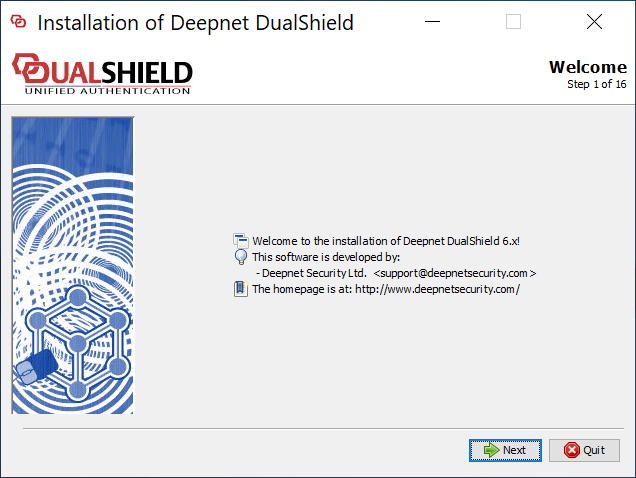
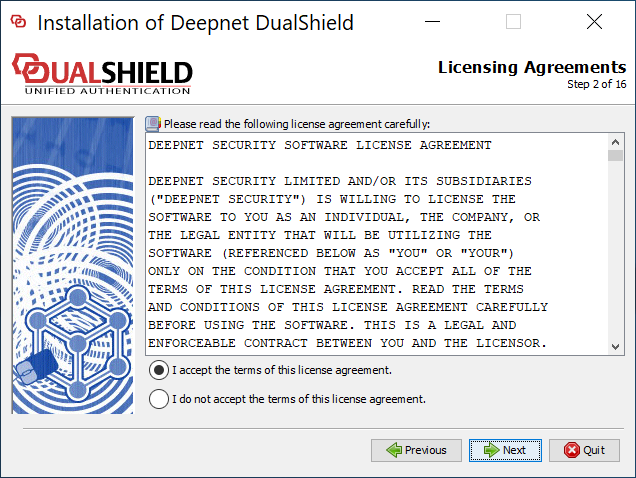
Execute "DualShieldSetup64-xxx.yyyy-signed.exe" (where xxx is the version number and yyyy the build number) to start installation:
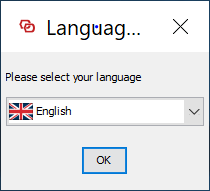
As of version 6.0.0, the language translation is still in progress. For now, please select "English".
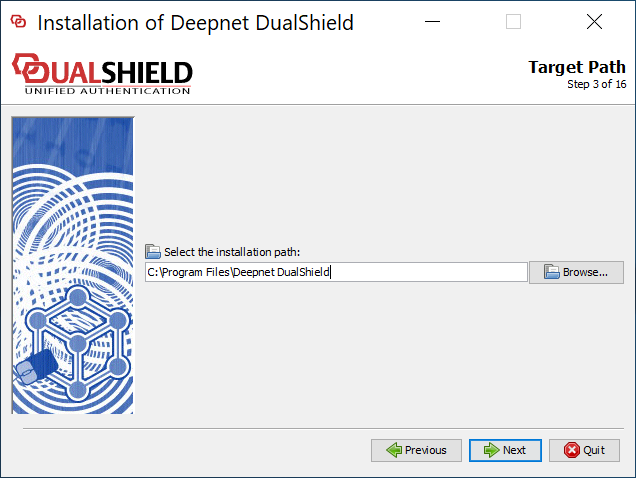
Please keep the installation path as suggested, unless the C drive does not exist or for some other reason.
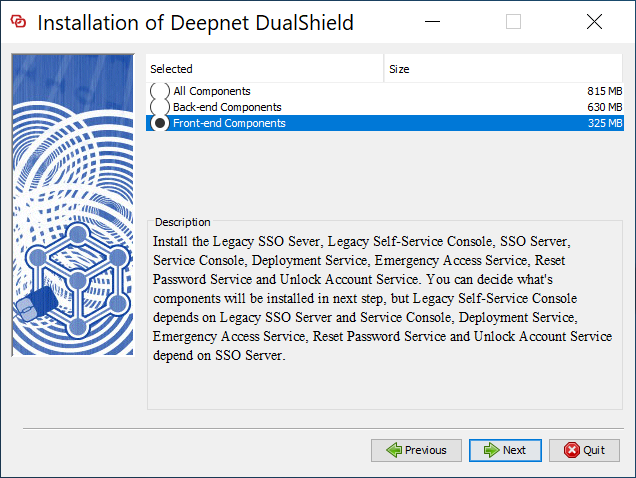
Select "Front-end Components"
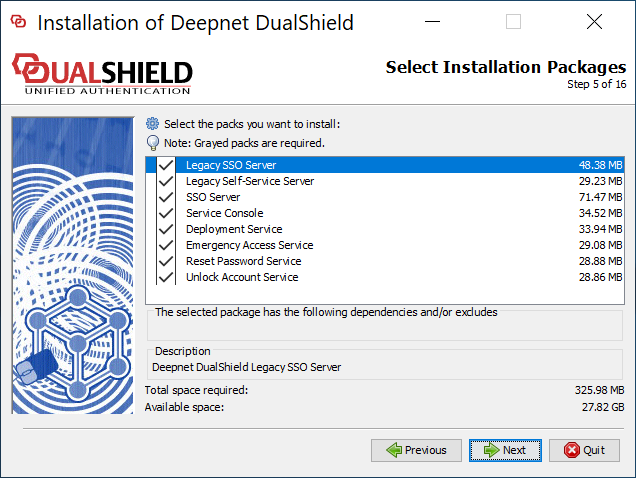
If you want to keep the legacy components, make sure that you select the following
- Legacy SSO Server
- Legacy Self-Service Server
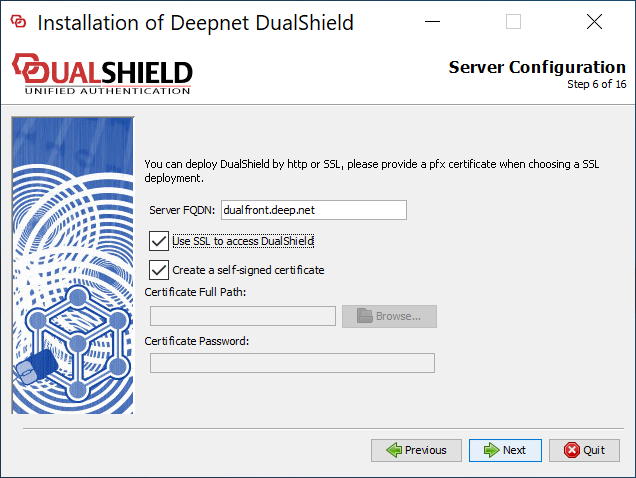
First, the frontend server must have a different FQDN from the backend server.
Secondly, if you are upgrading an old DualShield 5 frontend server to DualShield 6 by fresh installation, then you want to keep the FQDN the same as it currently is.
Thirdly, it is recommended that you provide a commercial SSL certificate for your DualShield frontend server as it is meant to be accessed by end-users from the Internet.
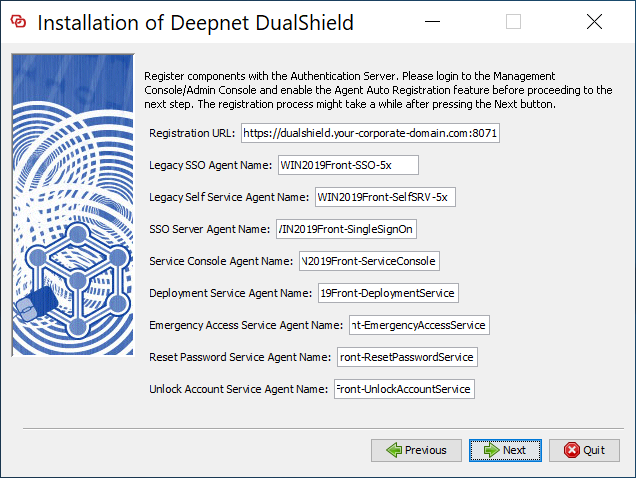
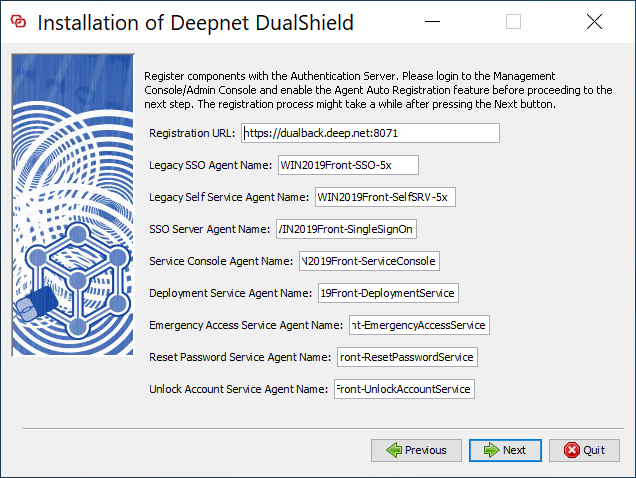
Change "dualshield.your-corporate-doamin.com" to the FQDN of your DualShield backend server, e.g. "dualback.deep.net"
Keep the rest of the fields as they are suggested, unless you have special reasons to change them.
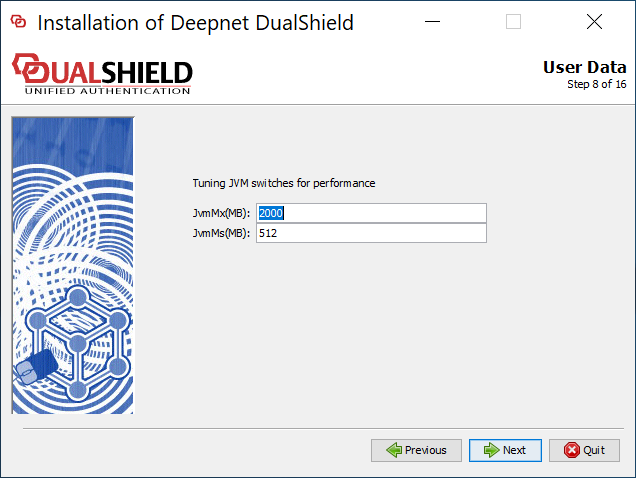
The frontend server is not as resource-demanding as the backend. The default values should be appropriate in most cases.
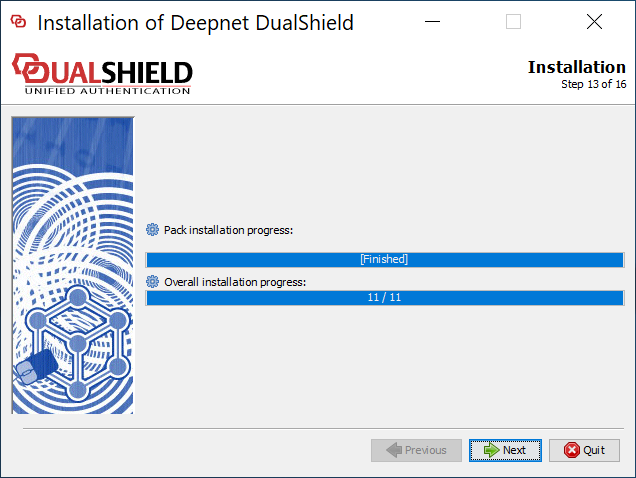
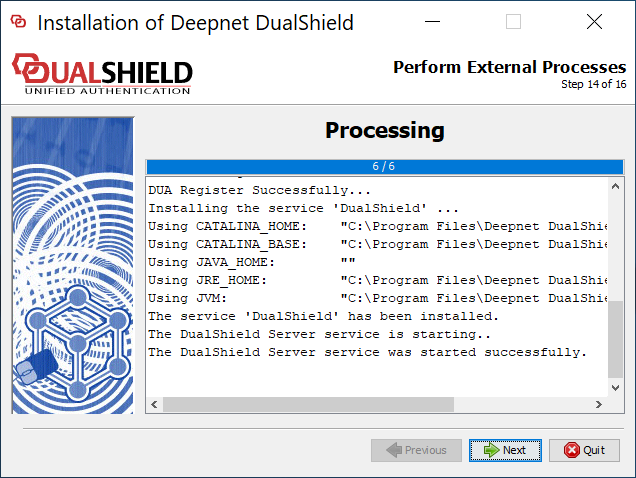
Wait for the DualShield server to be fully loaded
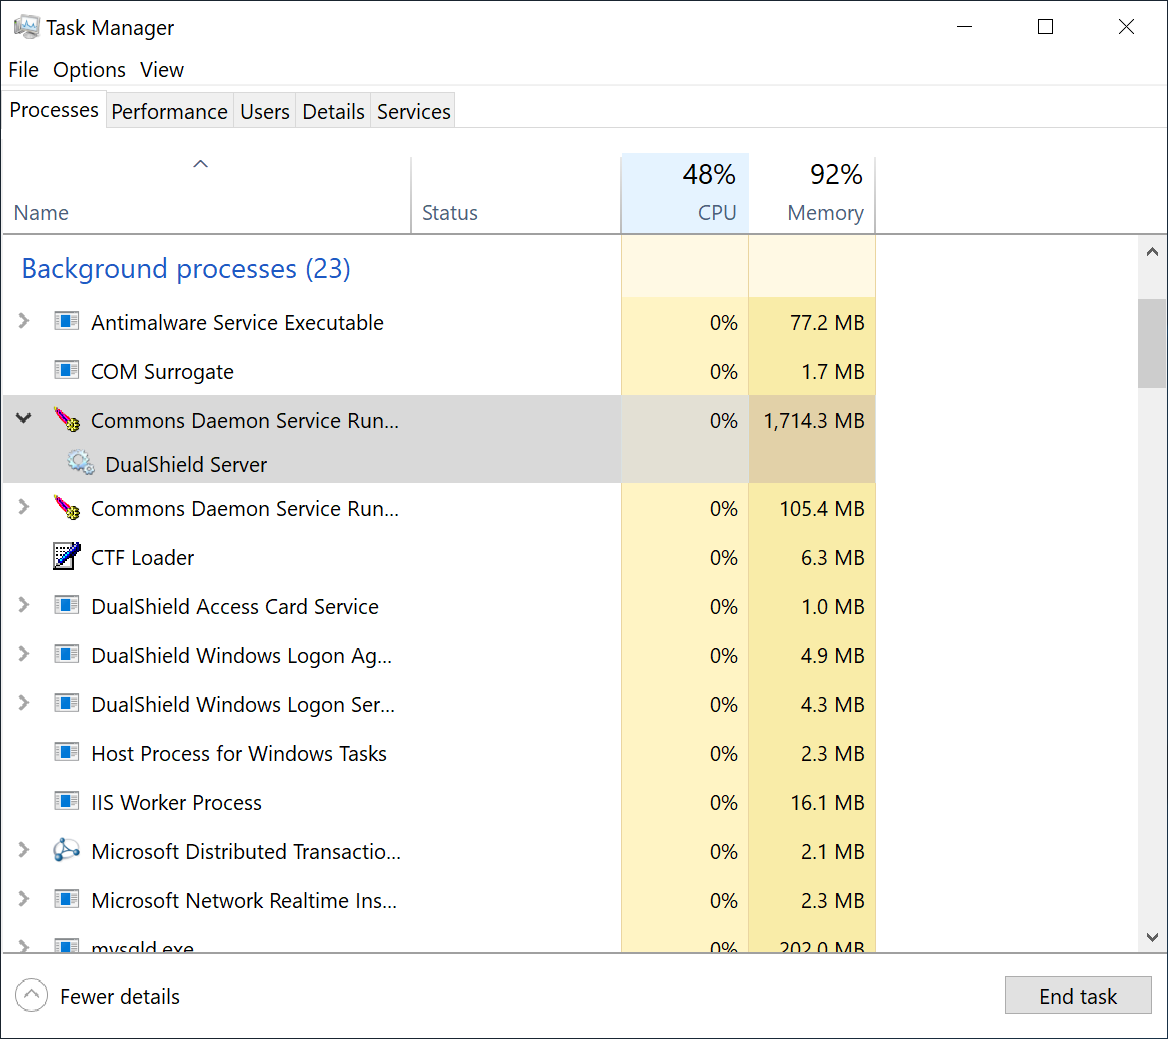
To wait for the DualShield server to be fully loaded and monitor the its initialisation progress, launch the Windows Task Manager and check the process called DualShield Server which is often a sub-process of Commons Daemon Service Runner, as shown below:
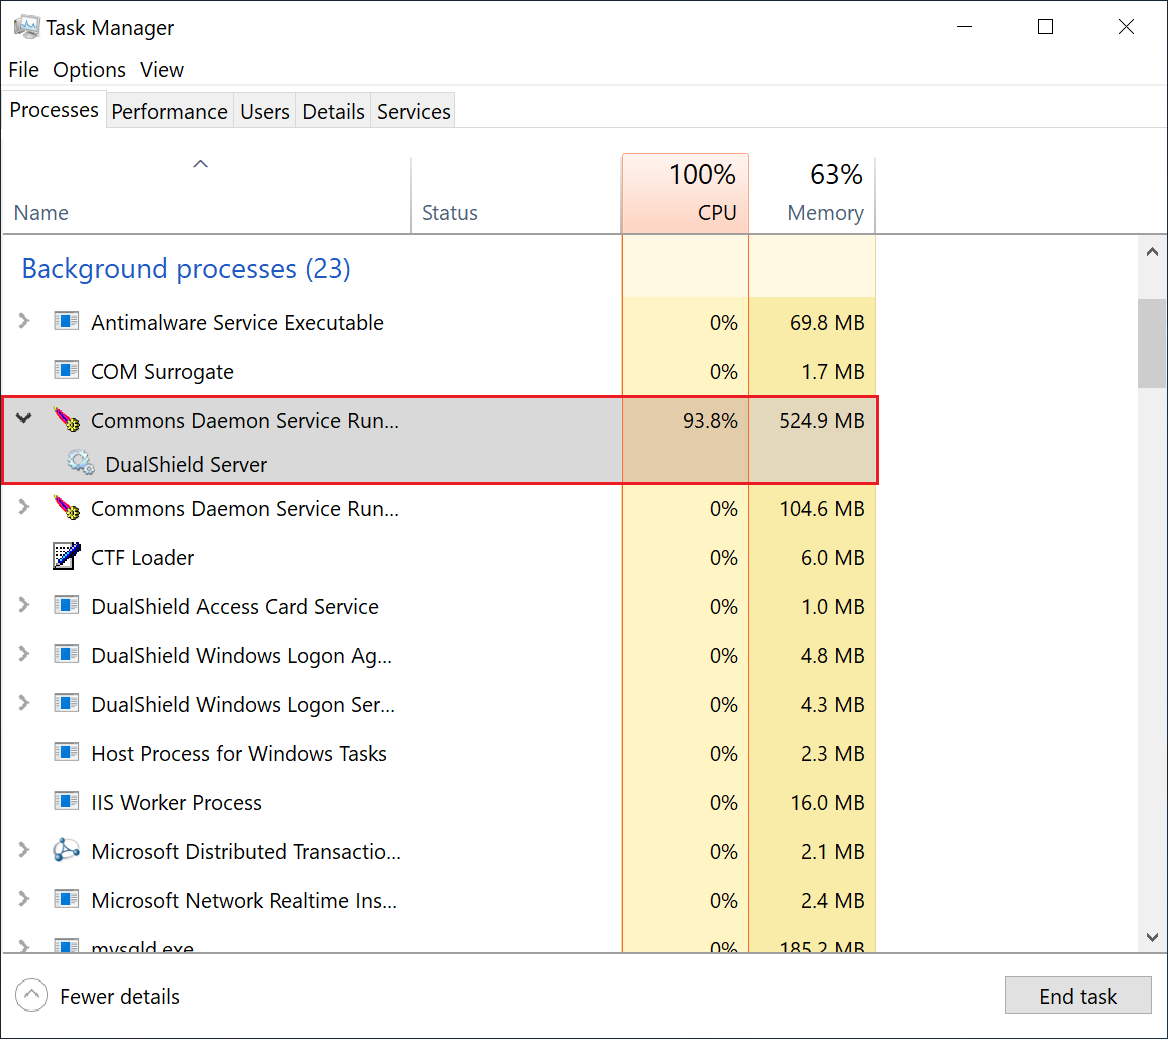
During the initialisation process, the CPU usage of the DualShield Server process will go up and down, and the Memory consumption will continue to increase.
When the CPU usage drops to zero or slightly above zero, and the memory consumption reaches close to 1.8GB for the backend or 550MB for the frontend, that's the indication that DualShield is fully loaded and ready for operation.
Follow the guide below to set up the Service Console on the frontend server
Set up Logon Procedure
Logon Procedure defines how users will be authenticated when they attempt to login to the portal. You can define a logon procedure of 1-step, 2-step and 3-step verification, for instance.
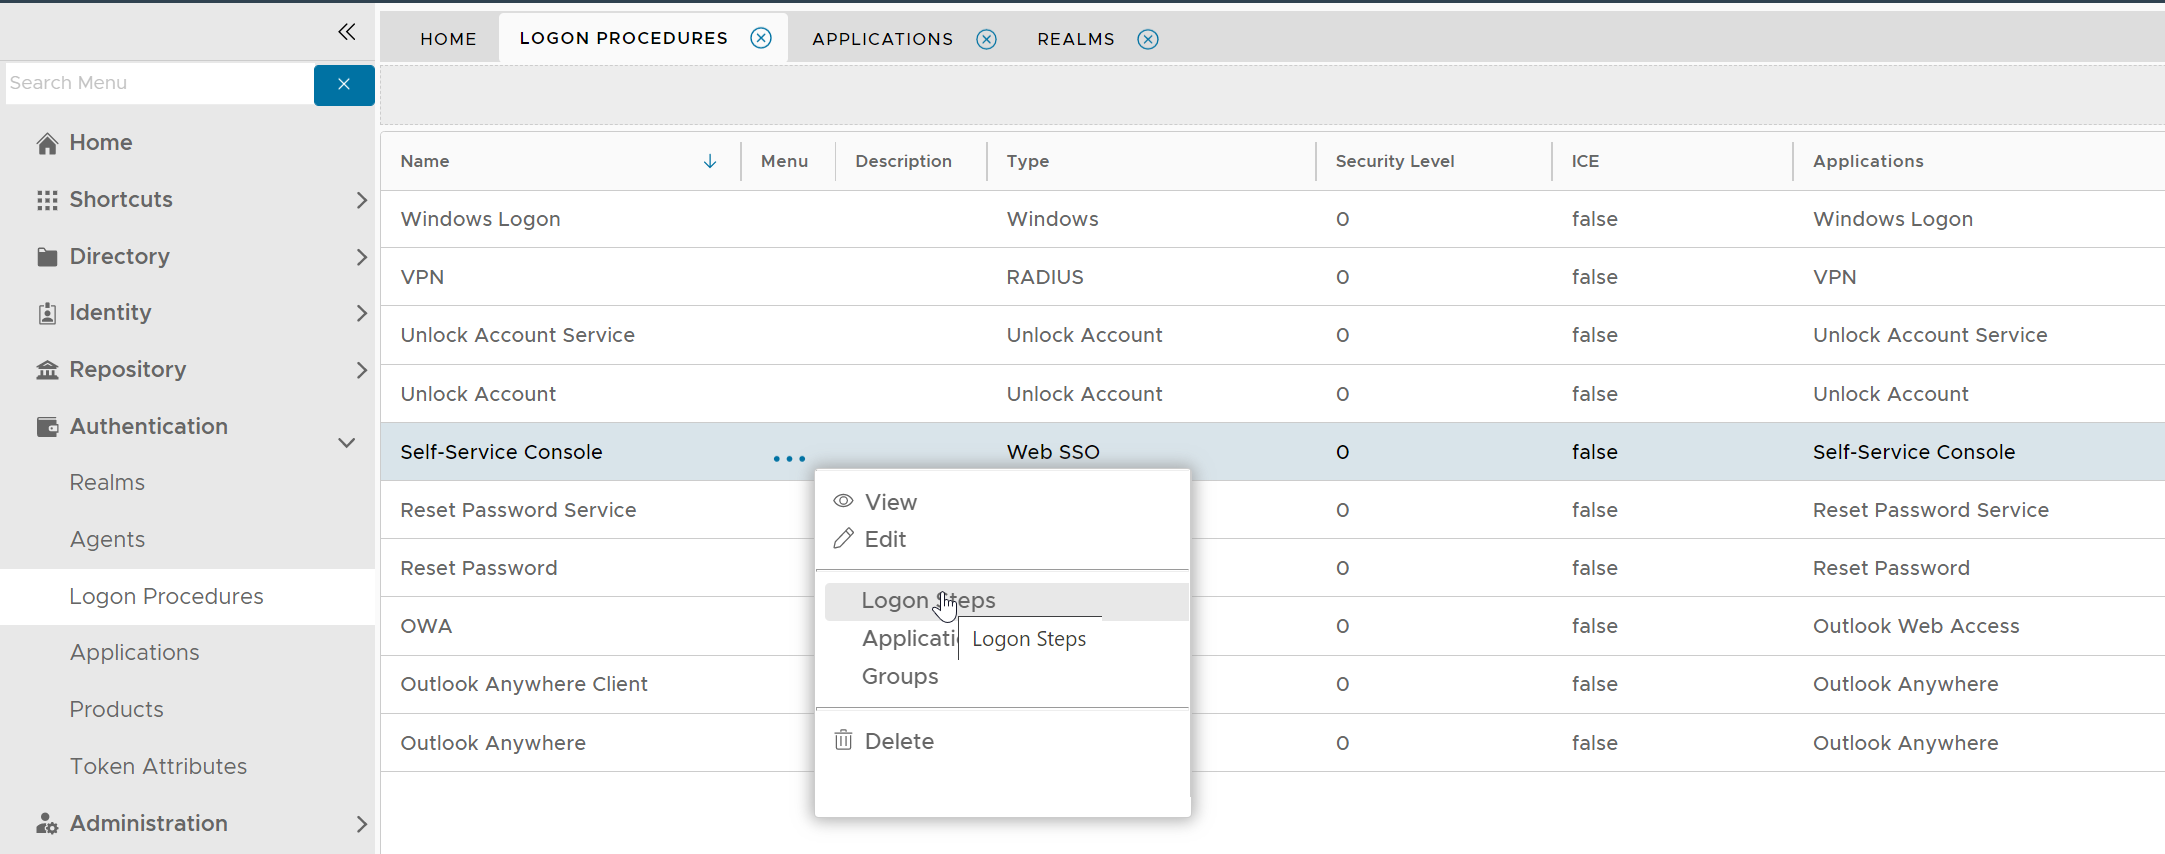
In the Admin Console, select "Logon Procedures"
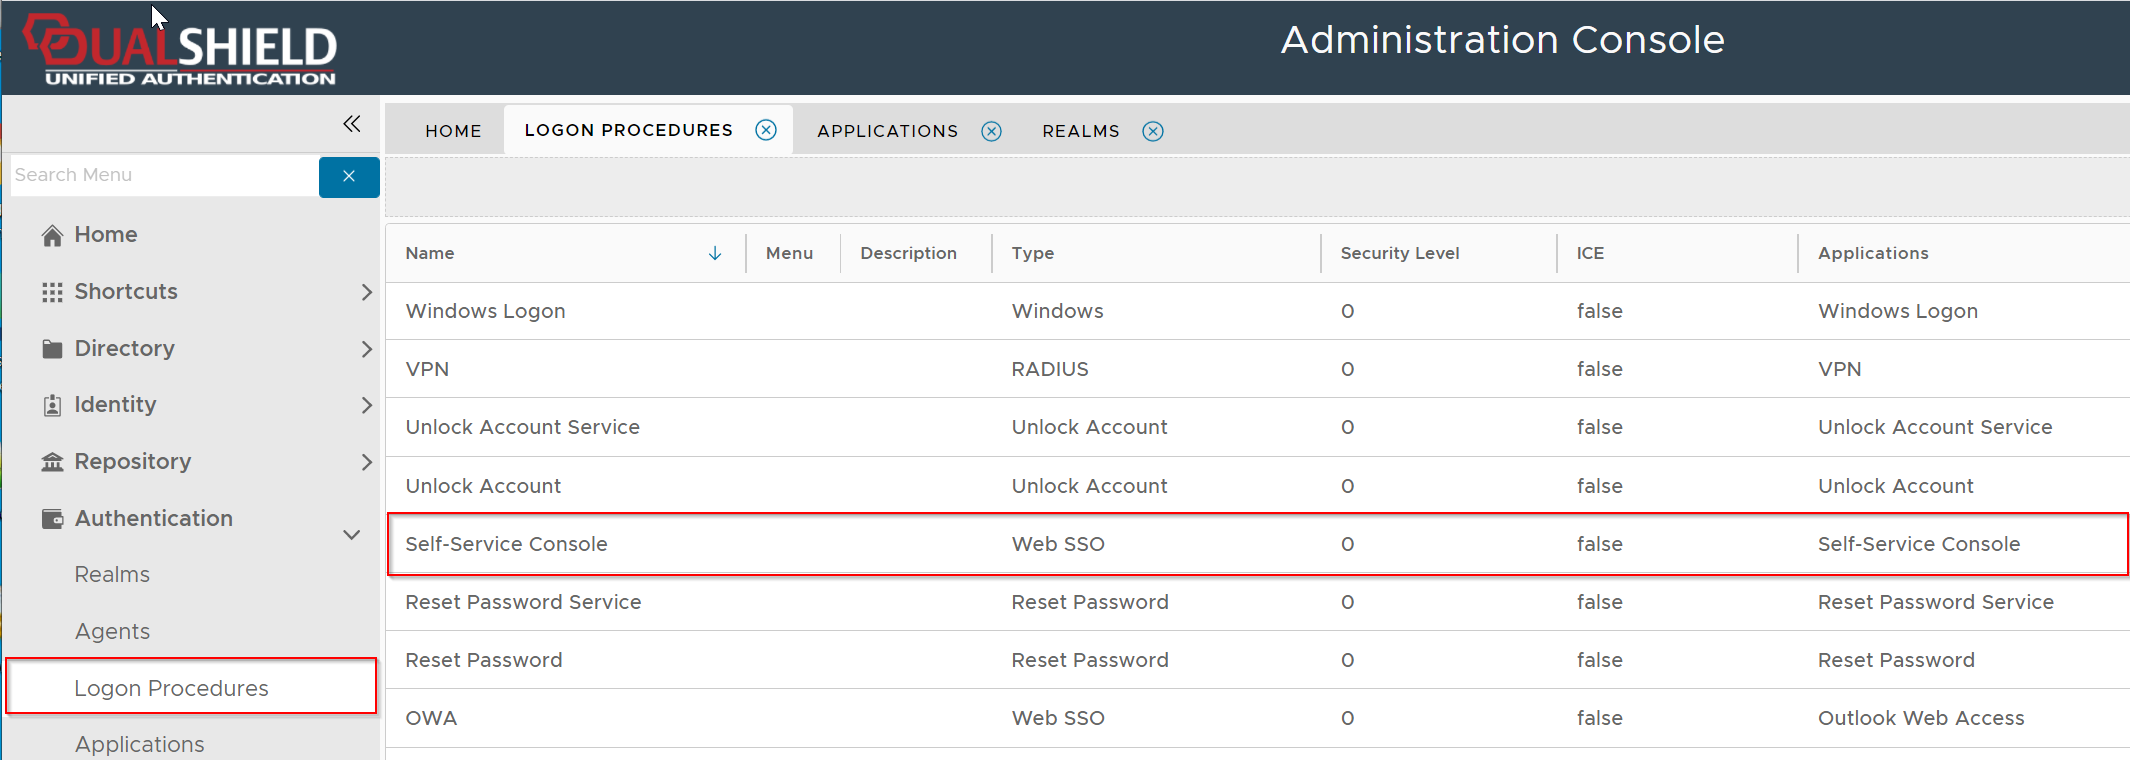
There is a pre-defined logon procedure named "Self-Service Console".
To change its logon steps, click its context menu, select "Logon Steps"
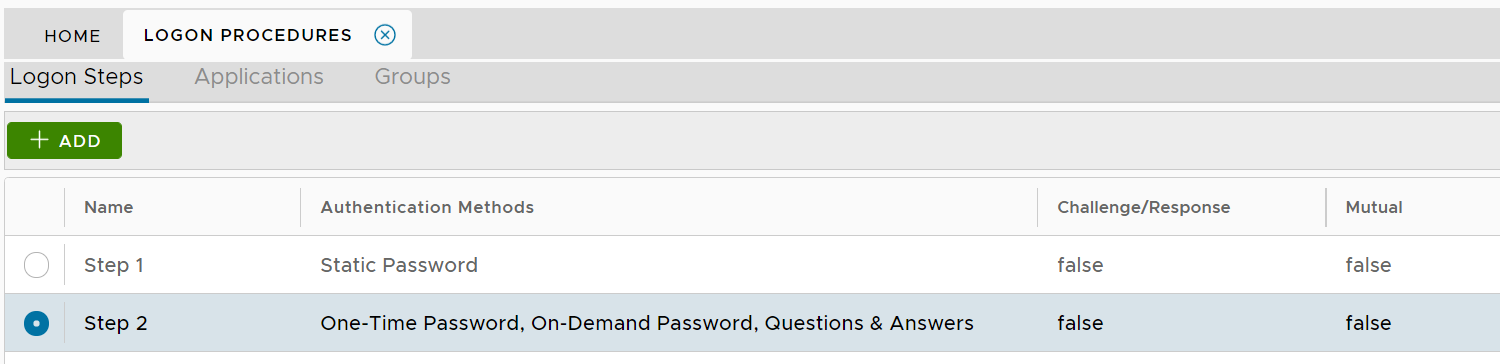
You can define the logon steps according to your own requirements
Set up Application
In the Admin Console, select "Applications"
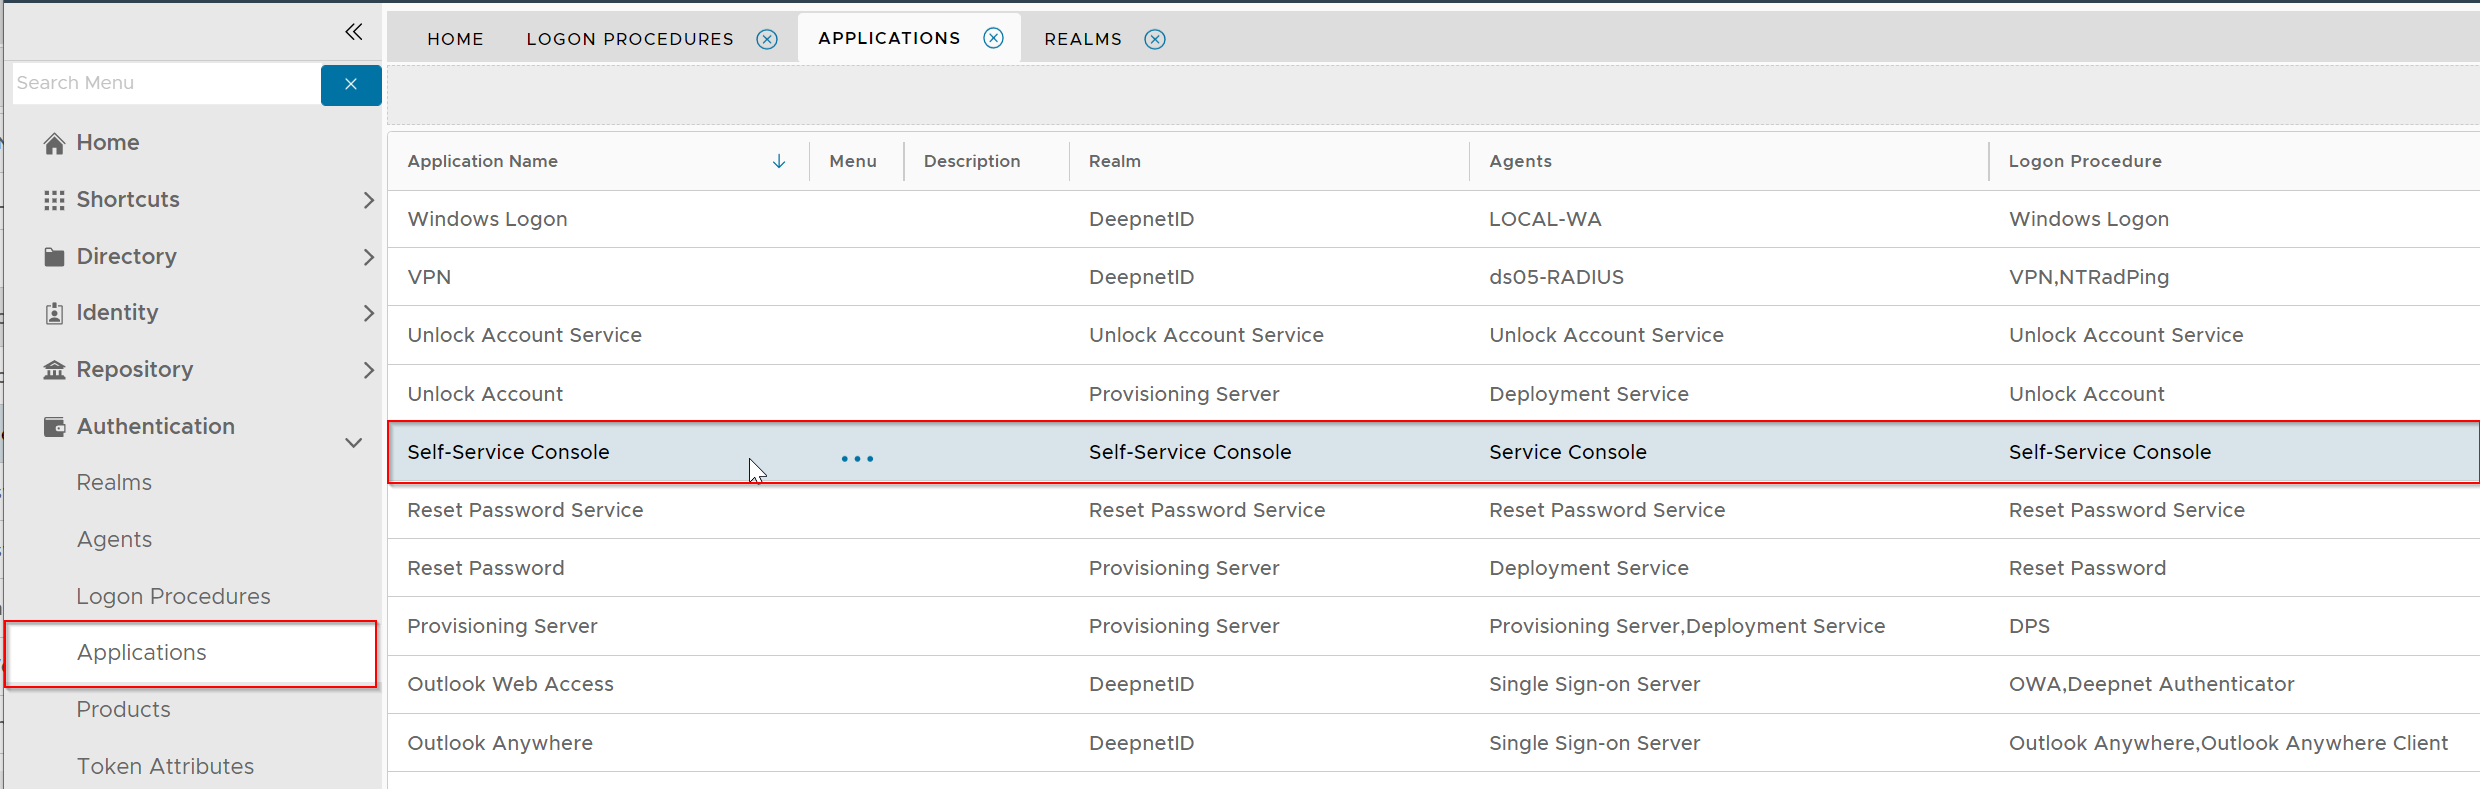
There is a pre-defined application named "Self-Service Console"
Normally, you do not have to make changes to the default setup.
Set up Realm
Realm is a group of user domains. It defines who is allowed to access the application that's associated with the realm.
In the Admin Console, select "Realm"
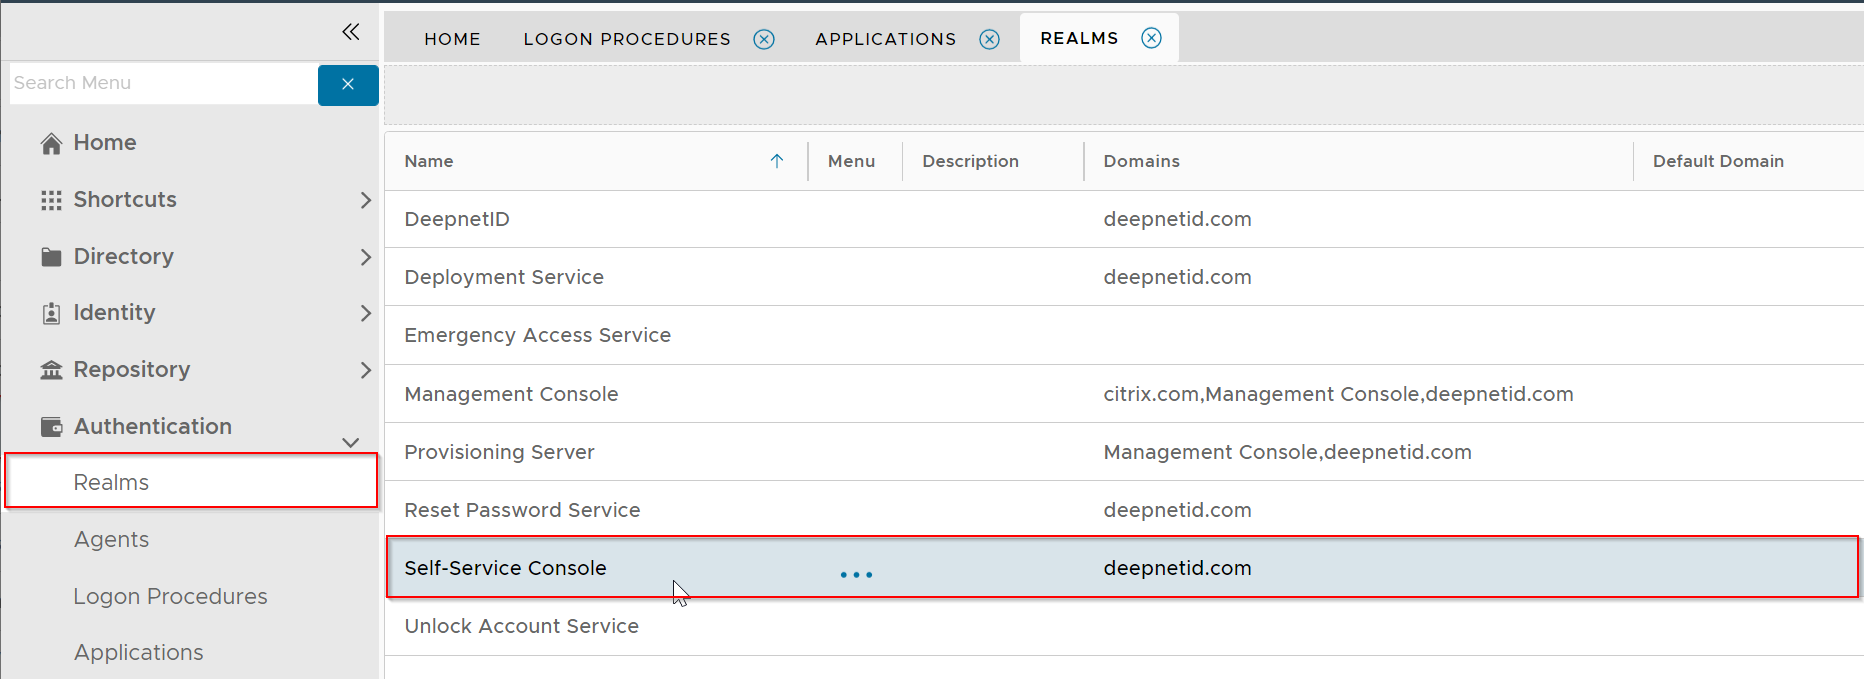
There is a pre-define realm named "Self-Service Console"
You must change the domains that are to be included in this realm, e.g. deepnetid.com
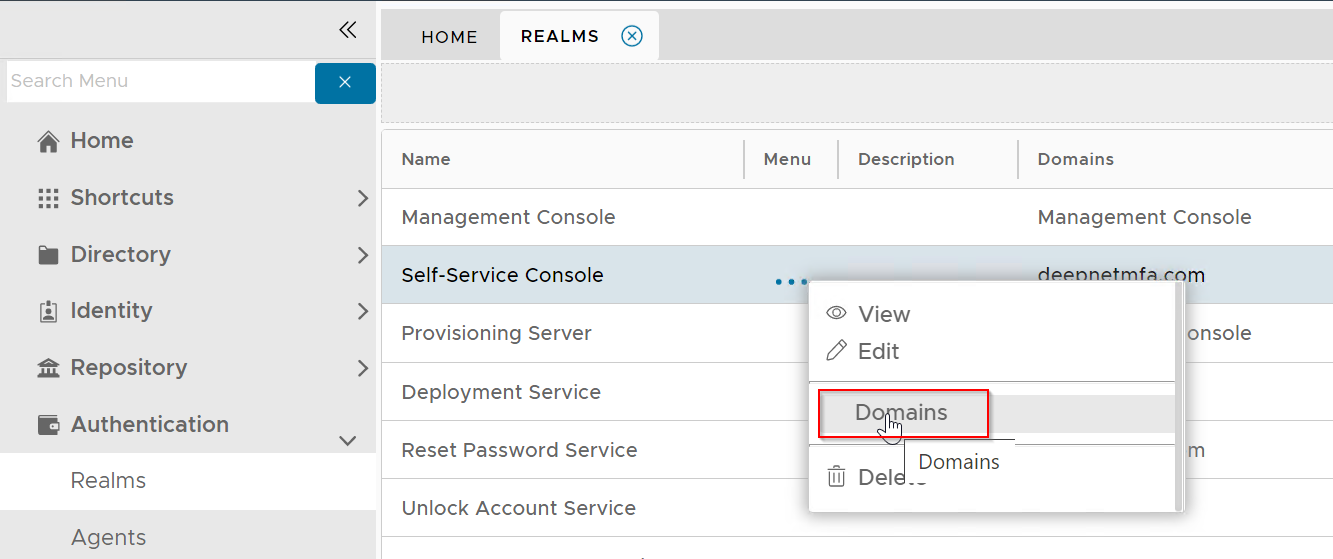
select "Domain"
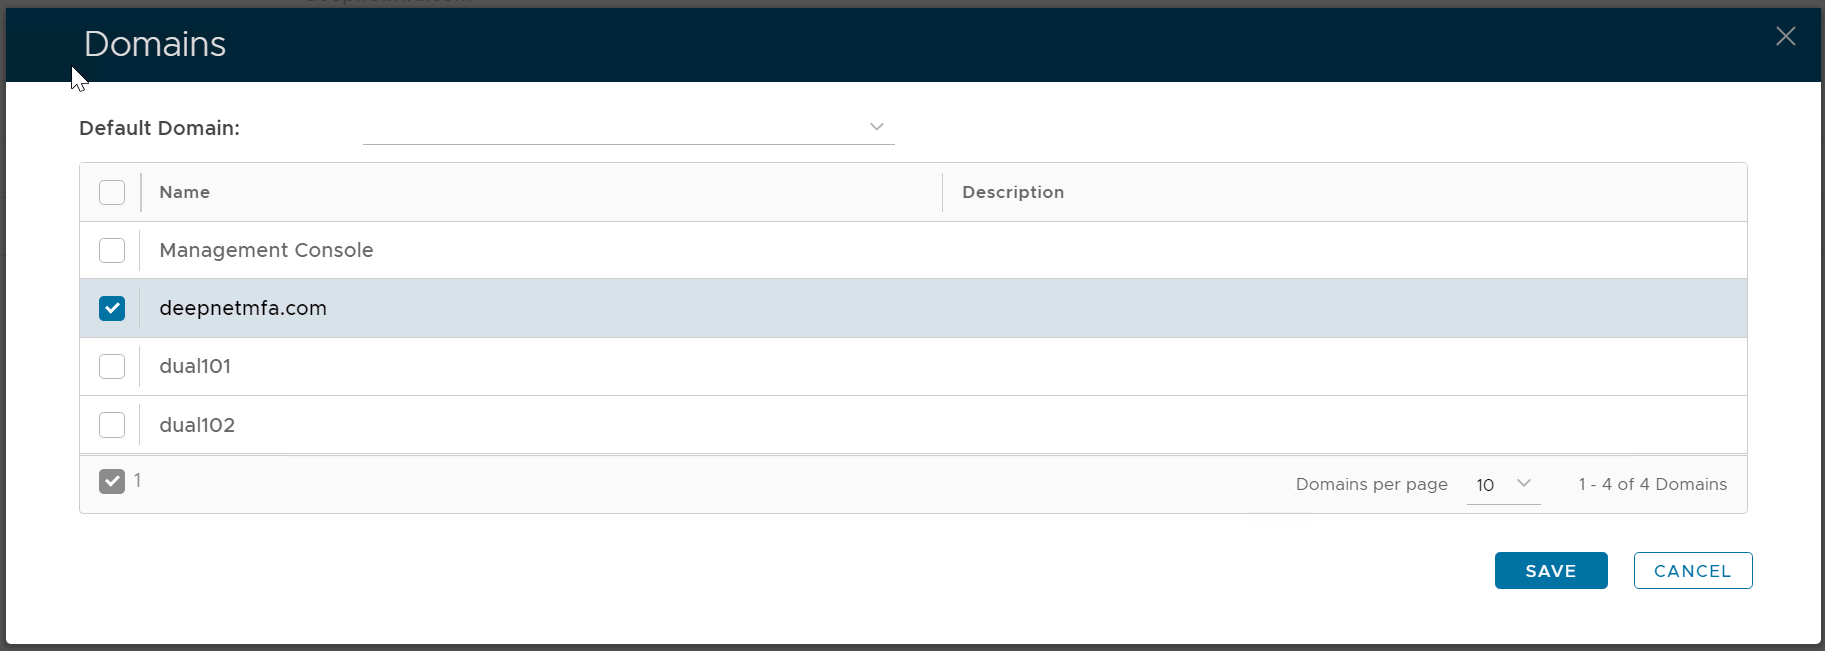
select the domains to included or deselect the domains to be excluded in the realm
Finally, click Save to save the changes.
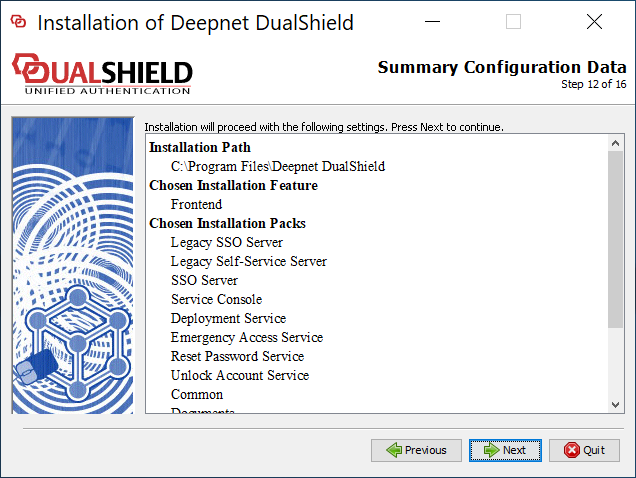
During the installation process, on the page below select both "Service Console" and "SSO Server"
(Although you only need the "Service Console" on the frontend server, the installer was designed so that you must select the "SSO Server" as well)

Step 2: Change port 8076 to 443
After the installation of the frontend server, you need to change the port 8076 to 443 by editing the server.xml file.
Navigate to the folder "C:\Program Files\Deepnet DualShield\tomcat\conf", and edit the Server.xml file..
Search for '<Service name="DSS">', locate 'port=8076'

Change 'port=8076' to 'port=443'

Save the server.xml file, and restart the Dualshield Service.
Step 3: Change the "SSO Server" of the Frontend Service Provider
In this setup, we cannot give port 443 to the frontend SSO portal. Therefore, the frontend SSO portal is operating on the default port 8076.
We have to make a change so that the frontend service console will use the backend SSO portal that operates on port 443.
Login to the DualShield Admin Console on the backend server
Navigate to "SSO | Service Providers", locate the newly installed frontend server, e.g. "FrontMFA-ServiceConsole"

Click the context menu of the frontend server agent, and select "Edit"
Then, click the "Edit"

Change the "SSO Server" option from "FrontMFA-SingleSignOn" to "Single Sign-on Server"


Step 4: Change the "Metadata" of the Frontend Service Provider
Now, click the "EDIT METADATA" button

Remove 8076 from the 2 lines highlighted above

Save the changes
