Before you can use your fingerprints for login, you must enroll fingerprints first.
The enrollment process is a Self Service, integrated in to the Windows Login user interface.
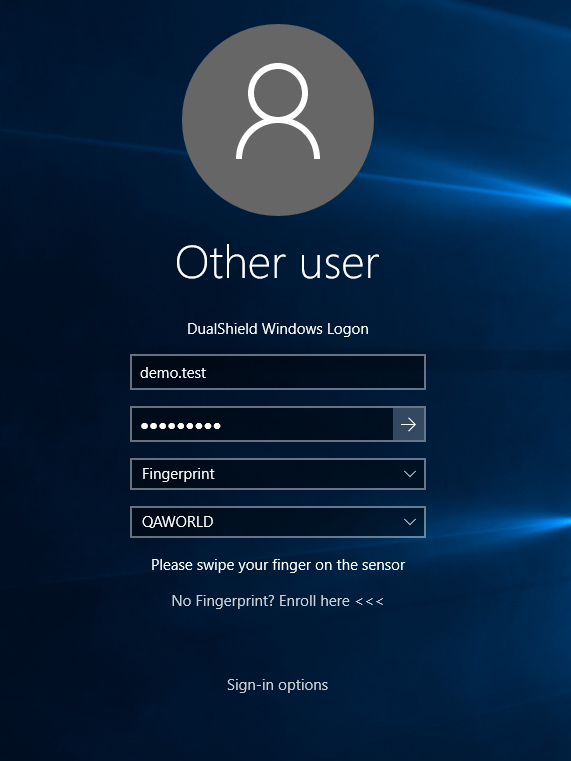
On the logon window, select "Fingerprint" as the authentication method:
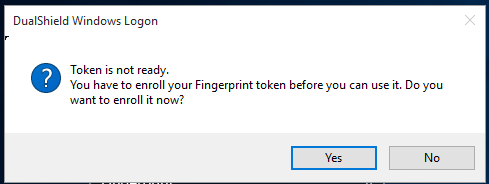
If you attempt to continue, then the popup below will be displayed:
Alternatively you can click the link "No fingerprint? Enroll here" to start the enrollment process...
In the Fingerprint policy settings, if the authorisation code is required for enrollment, you will be prompted to enter an authorisation code:
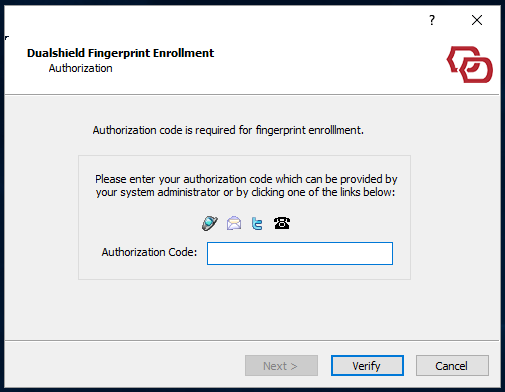
Once you have provided the correct authorisation code, the enrollment process will resume.
Depending upon your Fingerprint policy settings in DualShield, you might be prompted to enroll more than one finger for the purpose of reliability and security.
Enrolling the first finger, will appear as per the following window:
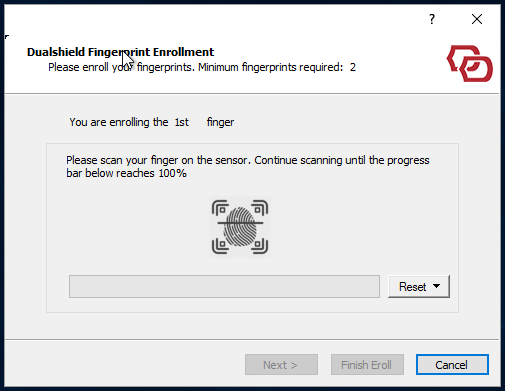
Swipe or scan your finger, depending on the type of Fingerprint reader, until the necessary number of samples has been successfully collected: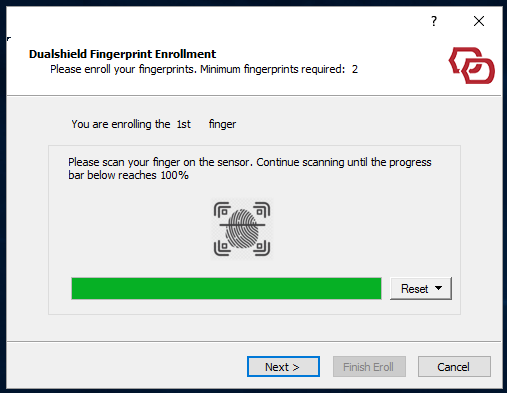
Then click "Next" to enroll the next finger (as / if prompted):
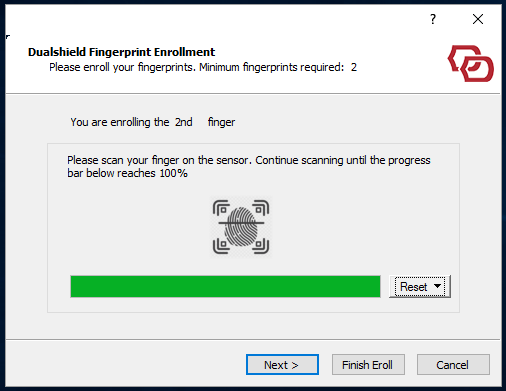
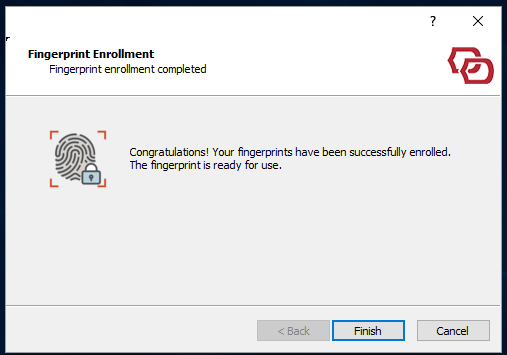
Once the total number of fingers have been successfully enrolled, you can click "Finish" to complete the process.
Optionally, you can continue to enrol more fingers by clicking "Next".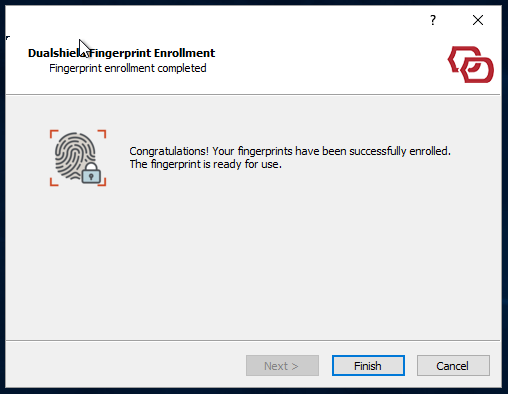
Click "Finish" to finish the enrollment process.
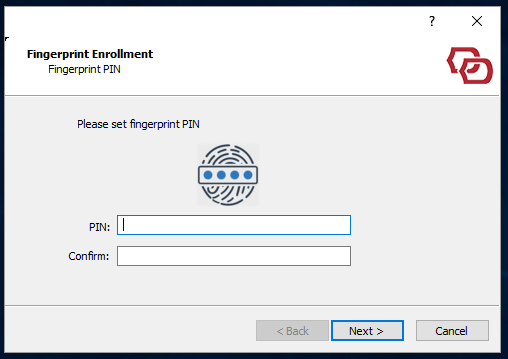
Now, in the fingerprint policy settings, if a PIN is required (as per the Policy) then here you will be prompted to enter one:
Once you have set your PIN, the complete enrollment process is finished. The final confirmation will appear as follows: