The first step to set up SAML integration with FortiGate is to create an application for FortiGate in your DualShield server.
For general instruction on how to create a SMAL application, please refer to
Complete the following steps to build an application for SAML integration.
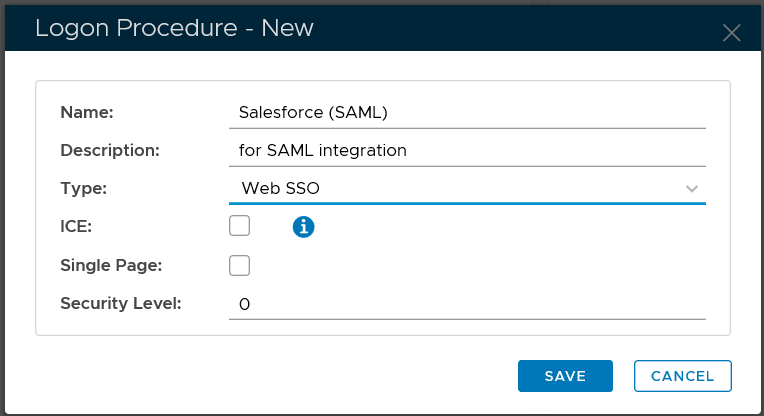
Create Web SSO logon procedure
Click the "CREATE" button on the toolbar
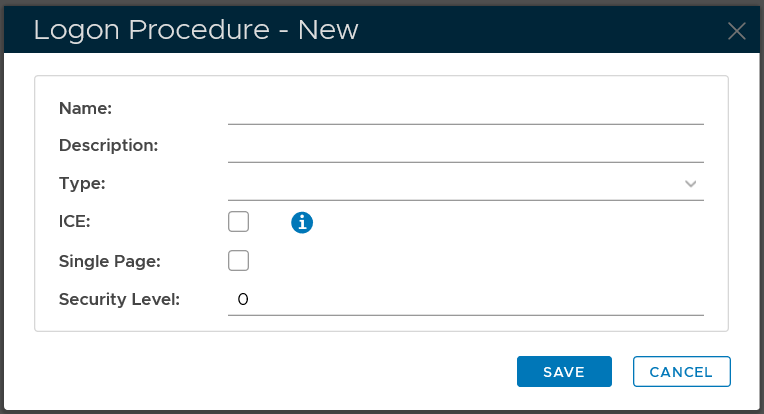
In the "Name" field, enter a name for this new logon procedure, e.g. "Office 365"
In the "Type" field, select the type of the logon procedure from the drop list, e.g. "Web SSO"

Click the "SAVE" button to save it.
Now that a new logon procedure is created, you want to add logon steps.
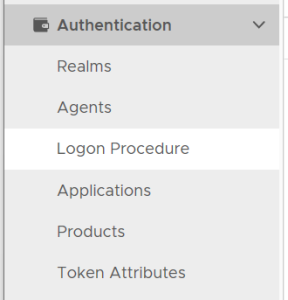
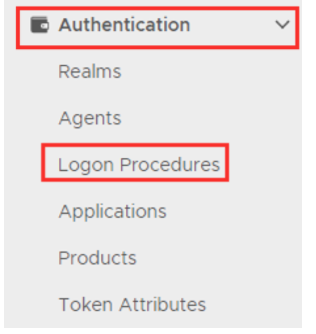
Navigate to Authentication | Logon Procedures
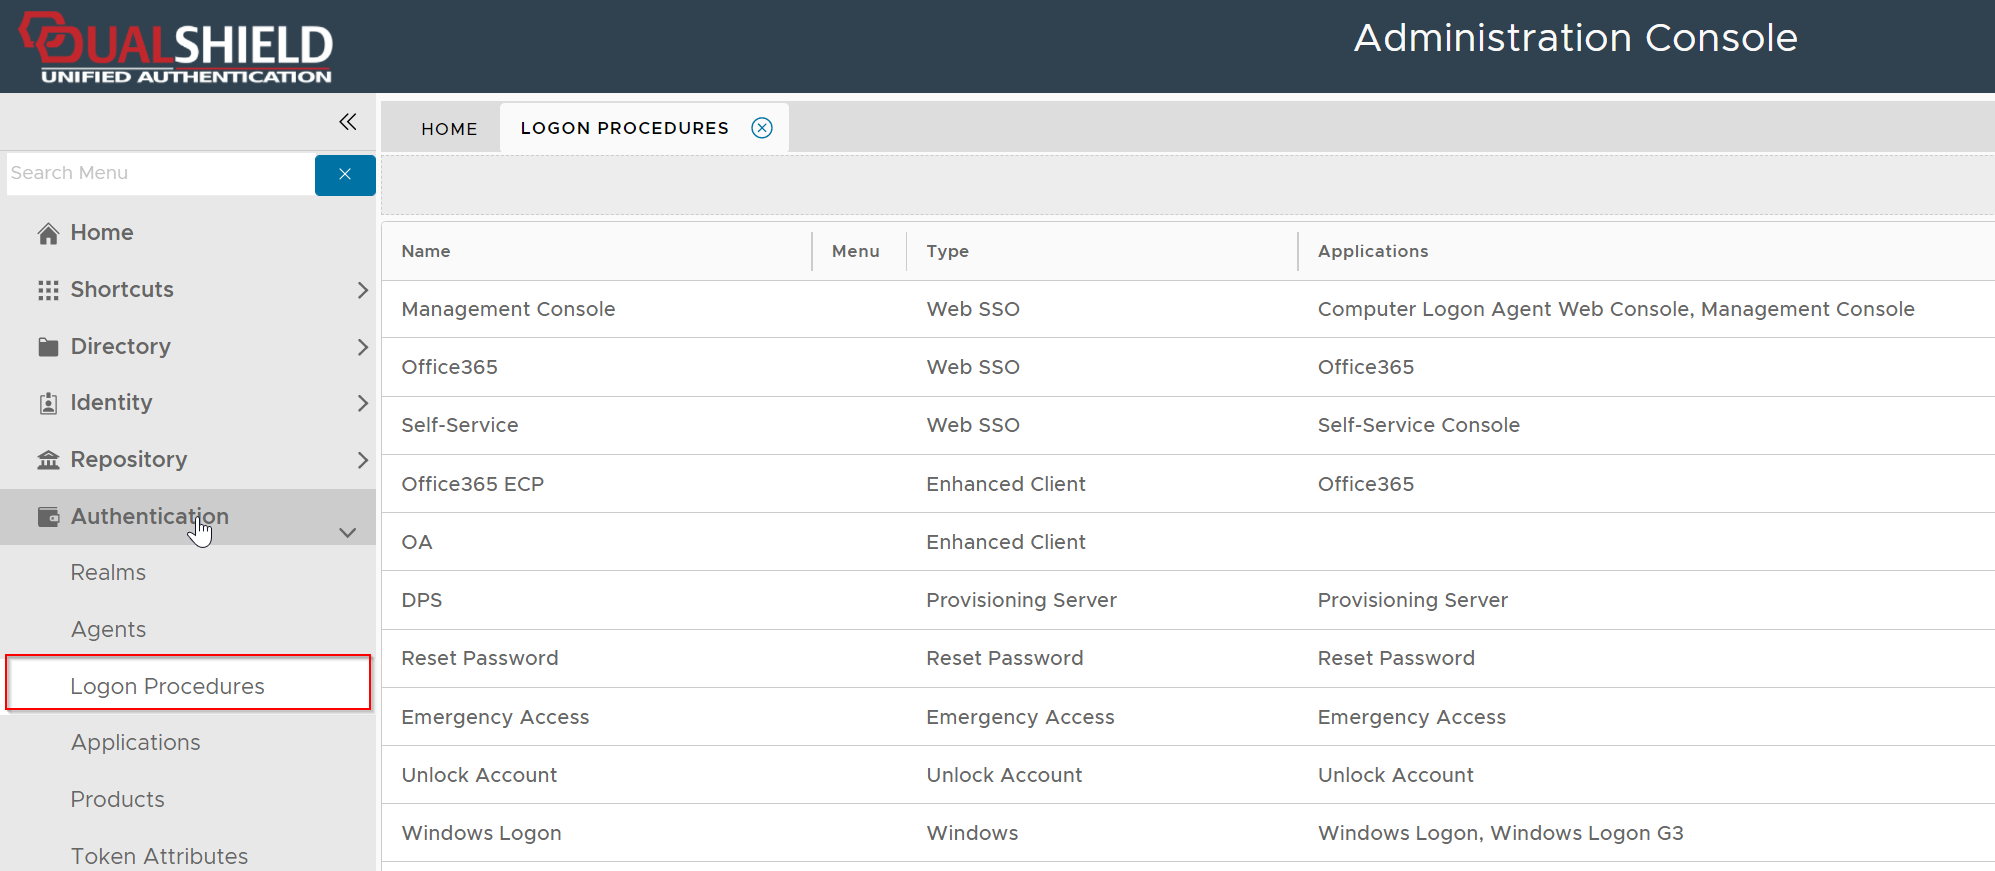
Click the context menu icon "..." of the application to be edited, e.g. "Office 365"
select "Logon Steps" to bring up the logon steps editor

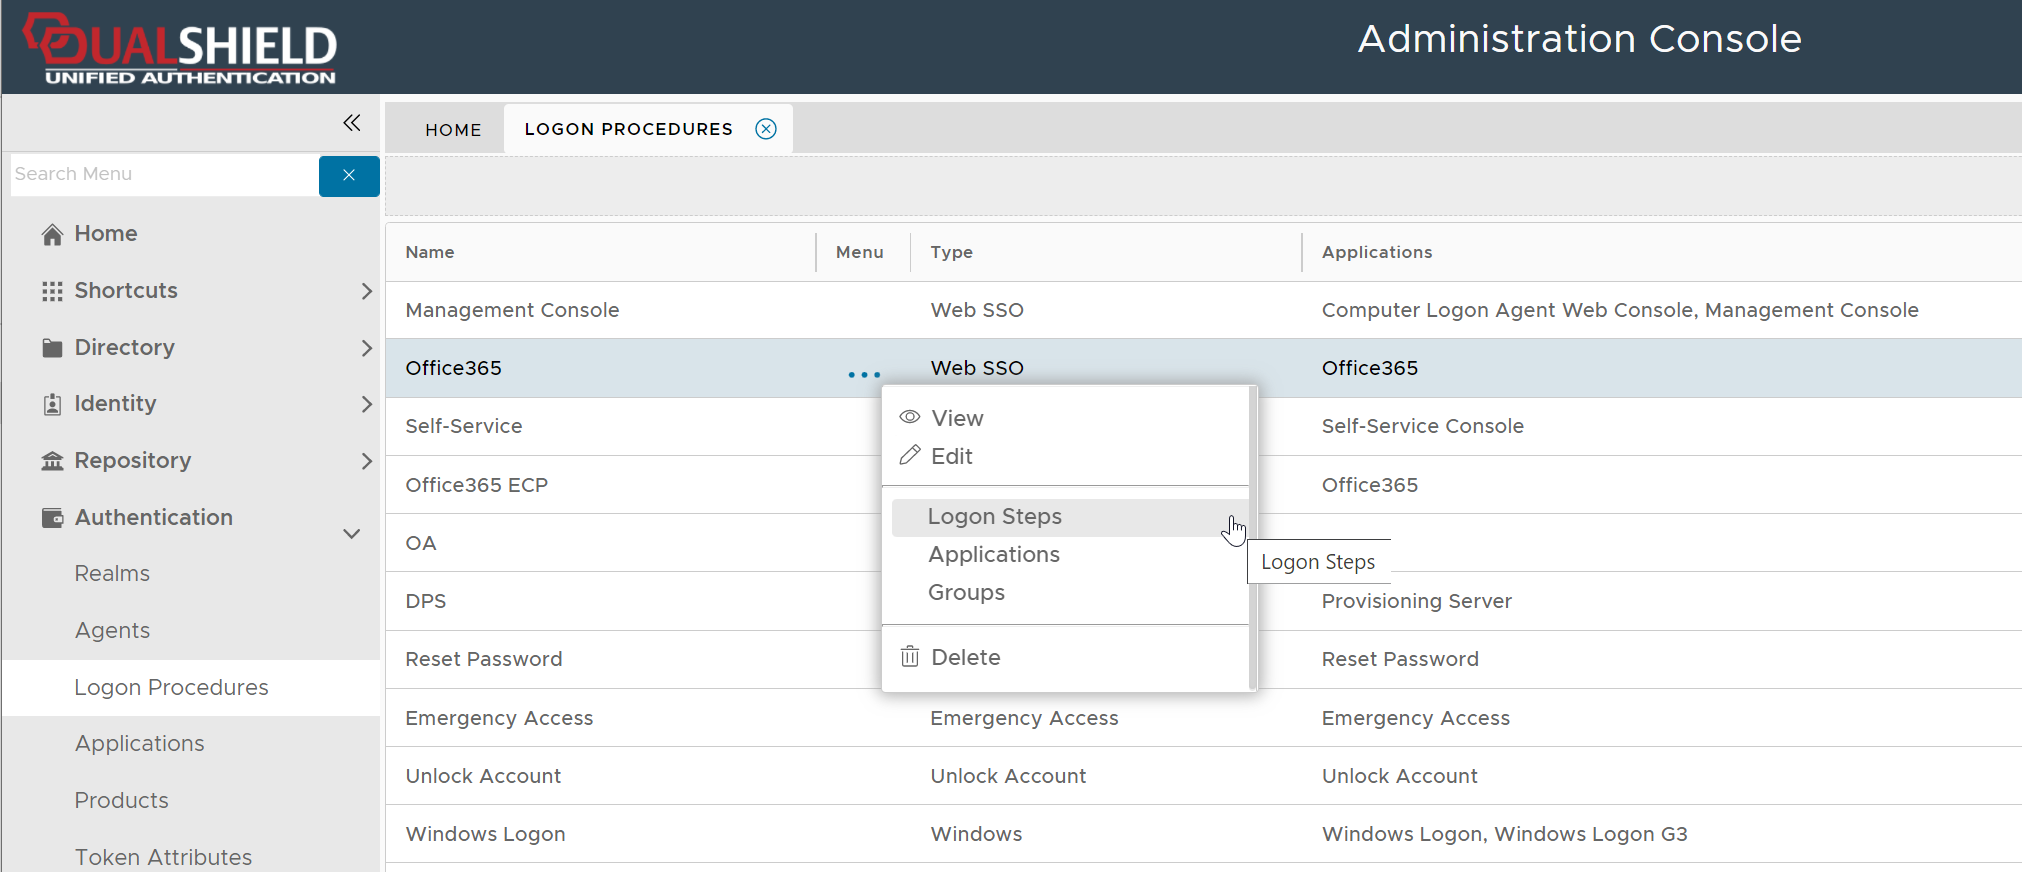
To add a logon step, click the "ADD" button
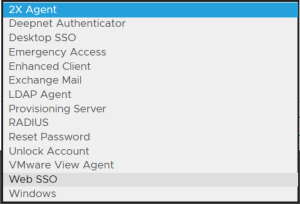
Select the one or multiple authentication methods that you want to add to this step, e.g. "One-Time Password"
Click the "SAVE" button to save it

You can change the order of the steps by clicking the "UP" and "DOWN" buttons.
The type of logon procedure for SAML integration must be Web SSO.
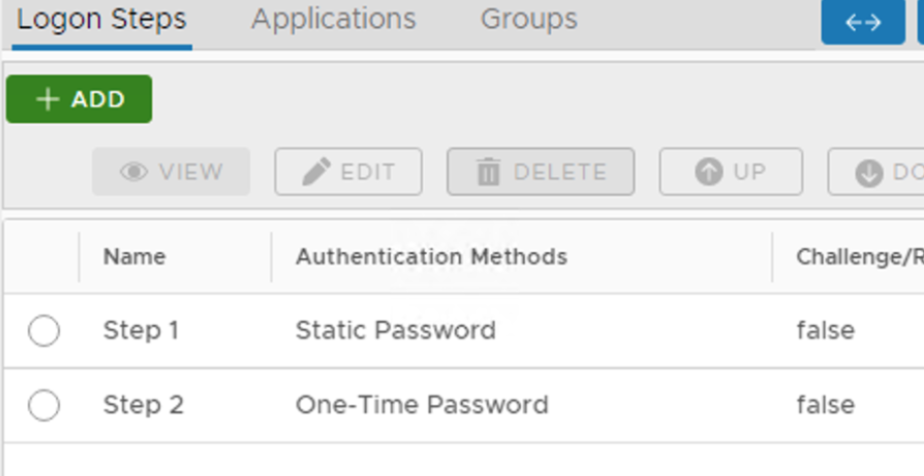
Once a logon procedure has been created, you need to add logon steps into the newly created logon procedure. Typically, you would create a two logon steps, as the example below.
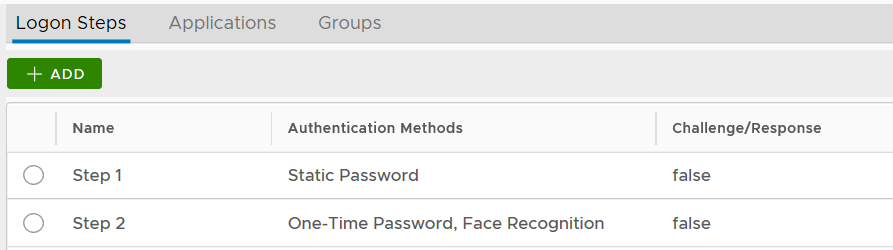
Of course, you can create as many steps as you like.
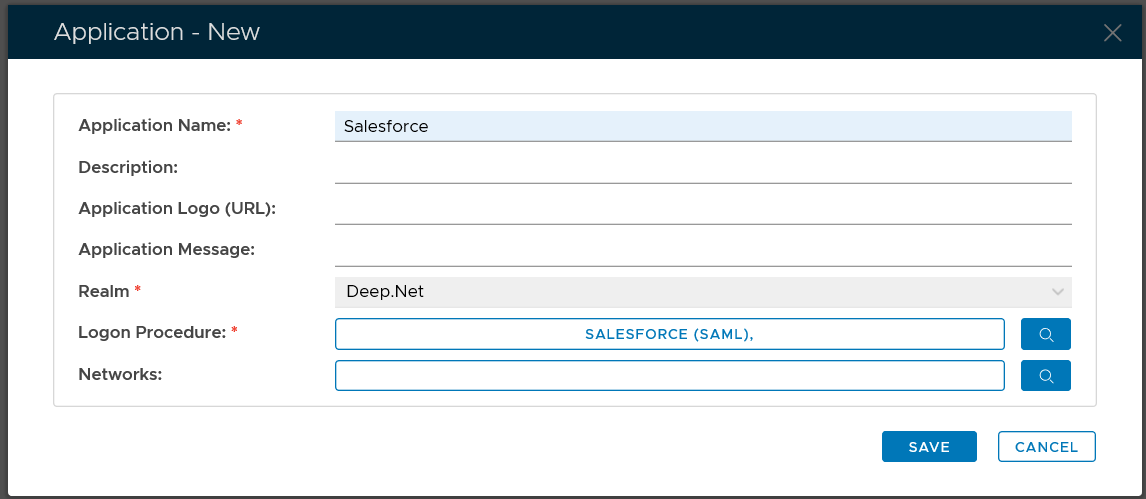
Create Web SSO application

Select "CREATE" on the toolbar

Select the Realm to be linked to this application, e.g. Deep.Net
Select the Logon Procedure to be used by this application, e.g.. Office 365
Click "SAVE" to save the application.

However, you must select a Logon Procedure that is of the type of Web SSO. In the example below, "Salesforce (SAML)" is a Web SSO logon procedure.
Publish Web SSO application
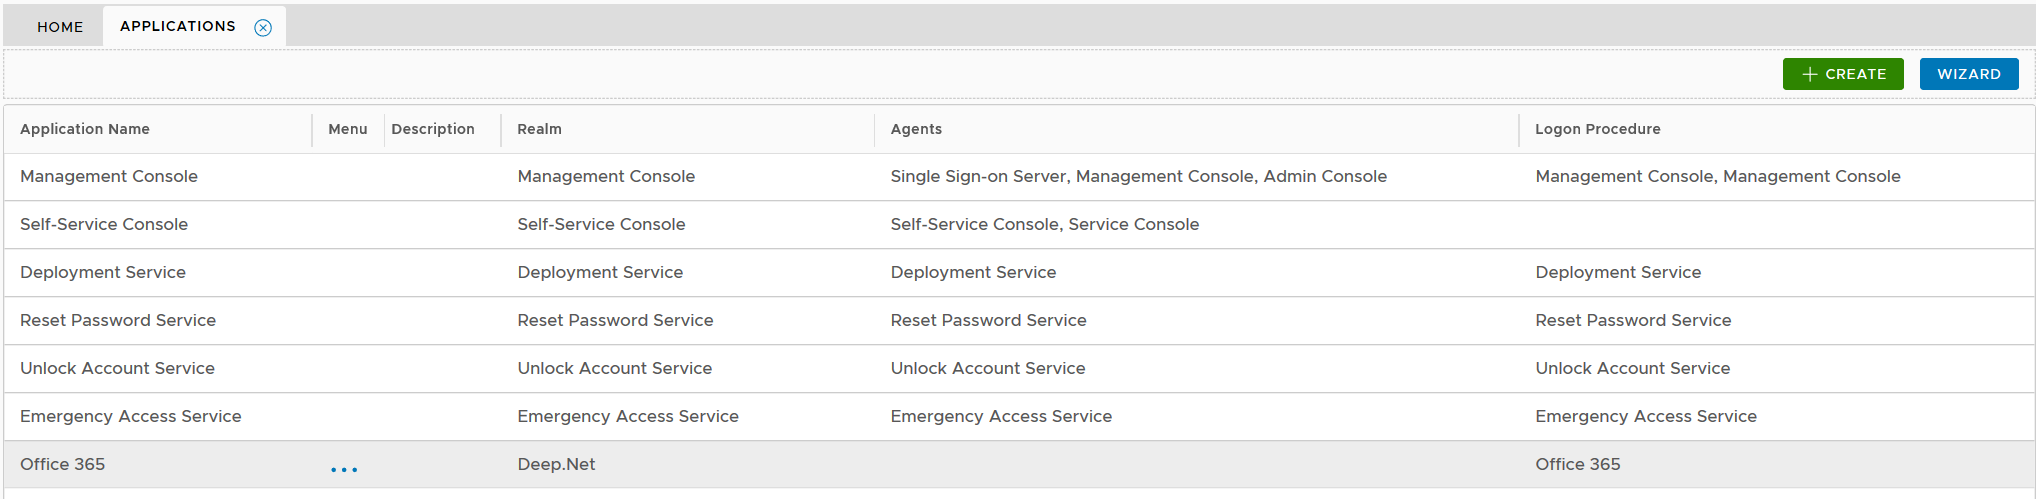
Click the context menu icon "..." of the application, e.g. "Office 365" to access its context menu

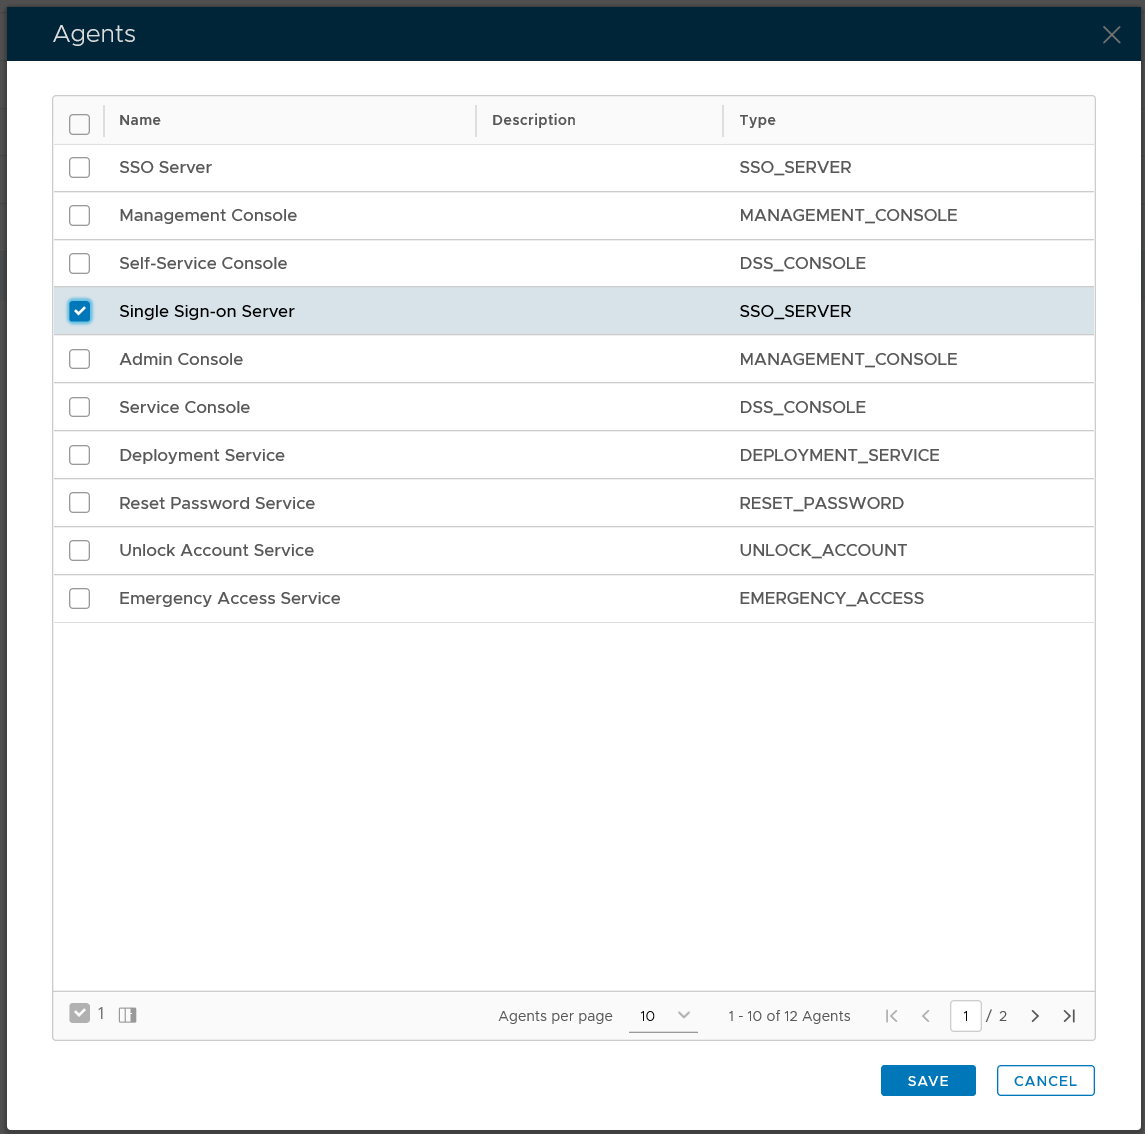
select "Agents" in the context menu
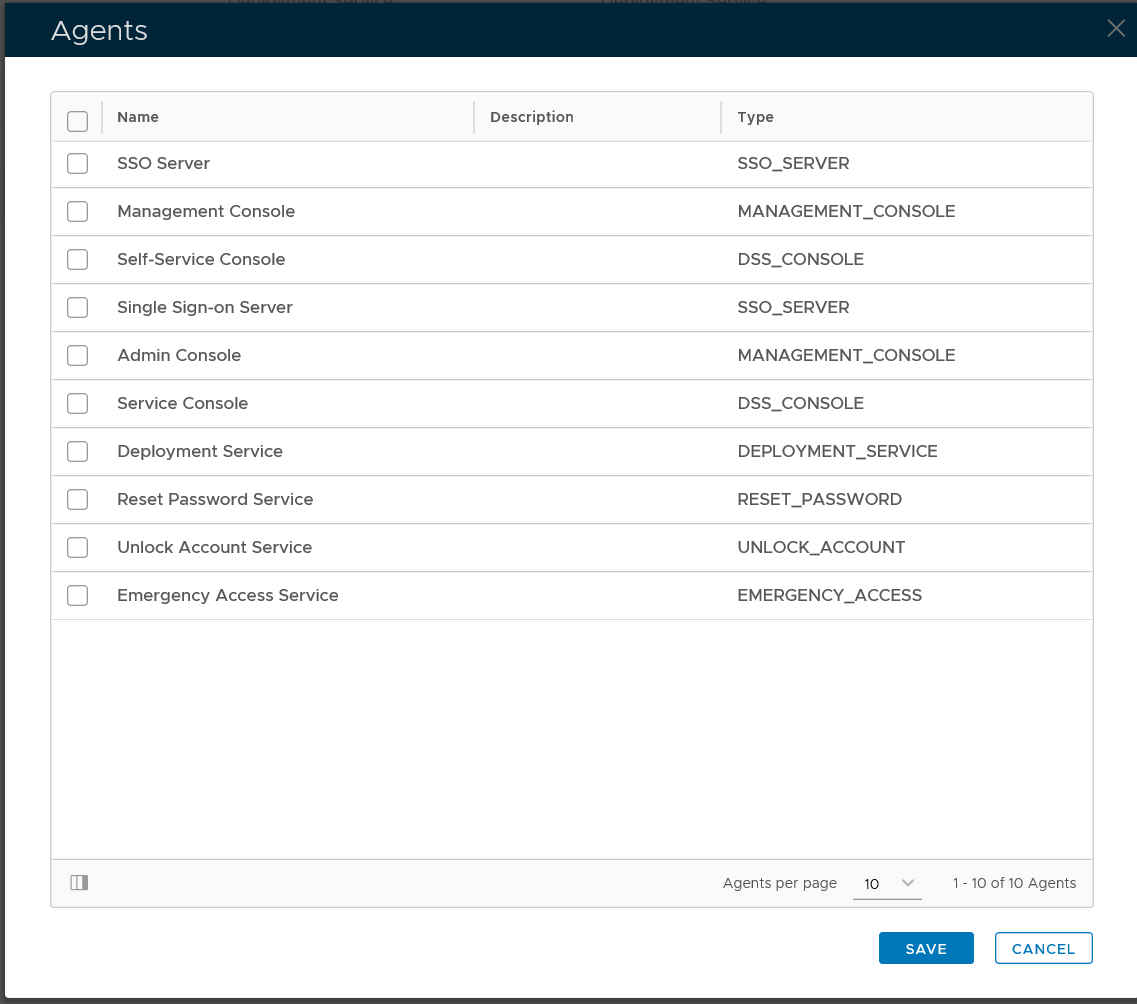
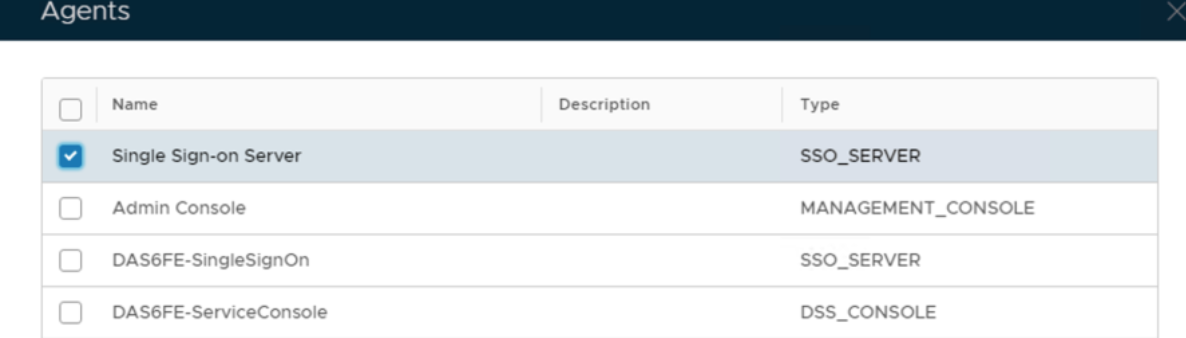
select the authentication agent on which the application is to be published, e.g. "Single-Sign-on Server"

Click "SAVE" button to save the settings
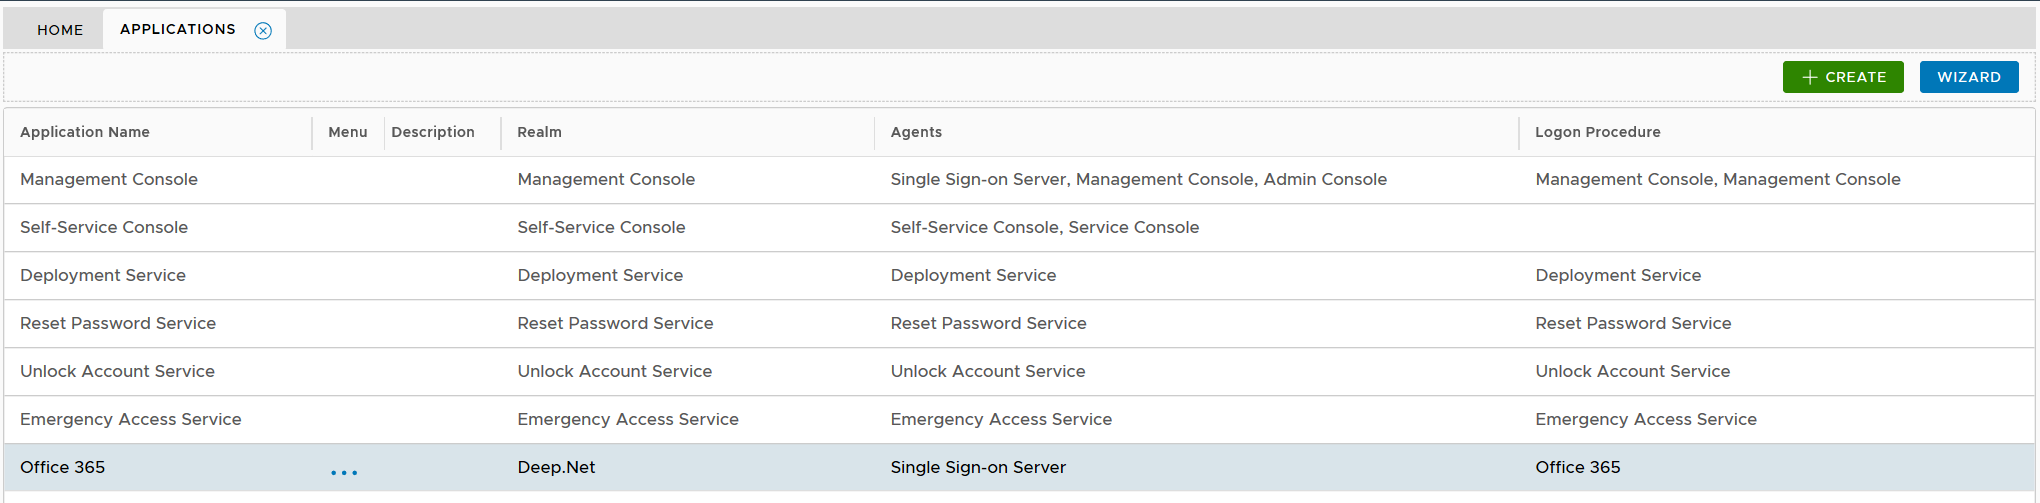
A Web SSO application has to be published on one or many Single Sign-On (SSO) servers.
You might see two SSO servers in your DualShield platform, one called "SSO Server" and the other called "Single Sign-on Server". The so-called "SSO Server" is the legacy SSO server in DualShield 5 and the "Single Sign-on Server" is the new SSO server in DualShield 6.

Follow the steps below to build up an application for FortiGate
Create a Logon Procedure
Log on to the DualShield Administration Console and go to Authentication>Logon Procedure
Click on ![]() on the top right.
on the top right.
In the new Logon Procedure window, please enter the following information:
| Option | Value |
|---|---|
| Name: | Enter a friendly name |
| Type: | Web SSO |
Click: Save

Add Logon Steps
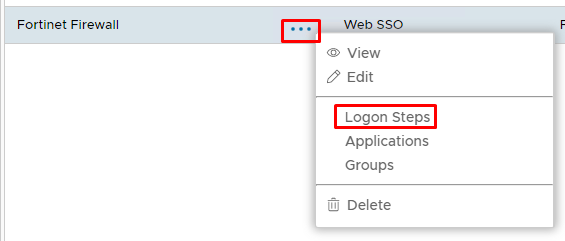
Select the drop down menu corresponding to the Logon Procedure you will be using and click on Logon Steps.
In the Logon Steps Dialogue box, click the ![]() button.
button.
Tick the desired authentication method, e.g. Static Password
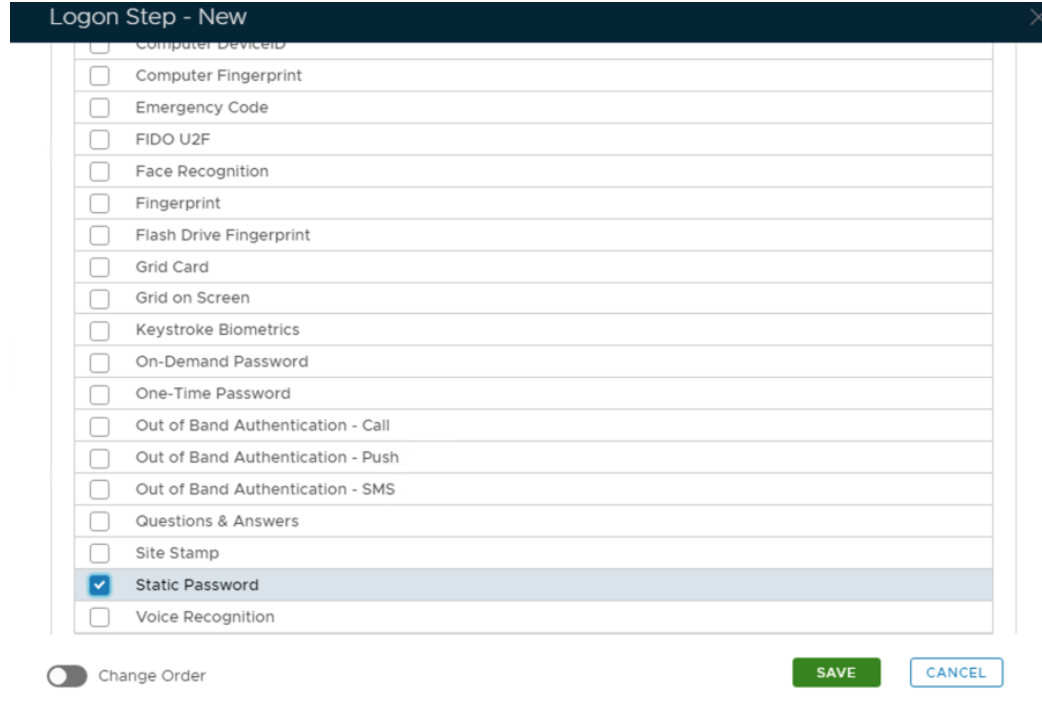
Click Save.
Repeat to add extra steps.
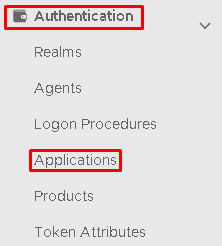
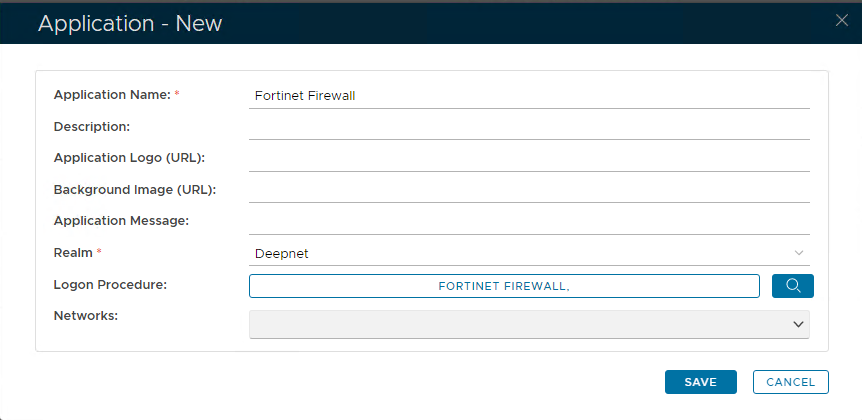
Create an Application
Authentication> Applications
Click on ![]() on the top right.
on the top right.
In the new Application window, please enter the following information:
| Option | Value |
|---|---|
| Name: | Enter a friendly name |
| Realm: | Select your Realm |
| Logon Procedure: | Select the Logon Procedure you had created in the previous step |
Click: Save
Publish the Application
Select the drop down menu corresponding to the Application you will be using and click on Agents.

Tick the box of the SSO Server you will be using and click Save below.