This guide describes how to add the Dualshield SSO as a SAML Claims Provider in the ADFS server.
Launch the ADFS Management console
Right click on "Trust Relationships", and then select "Add Claims Provider Trust”
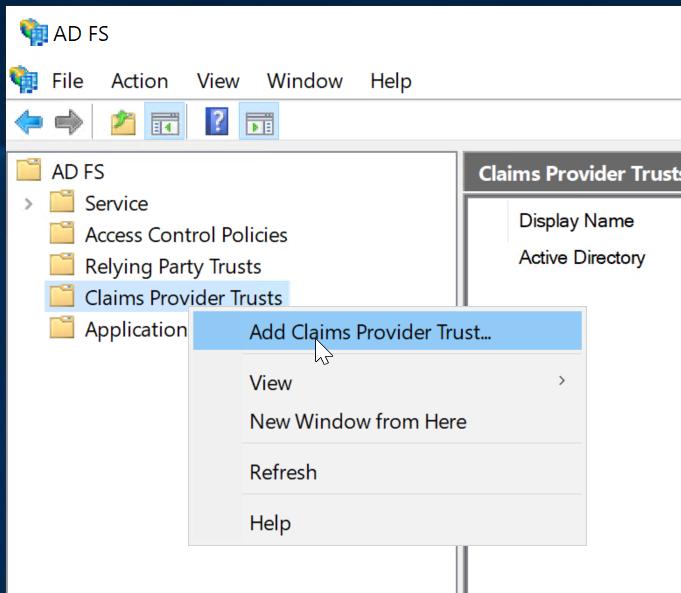
This will initiate the Add Claims Provider Trust Wizard.
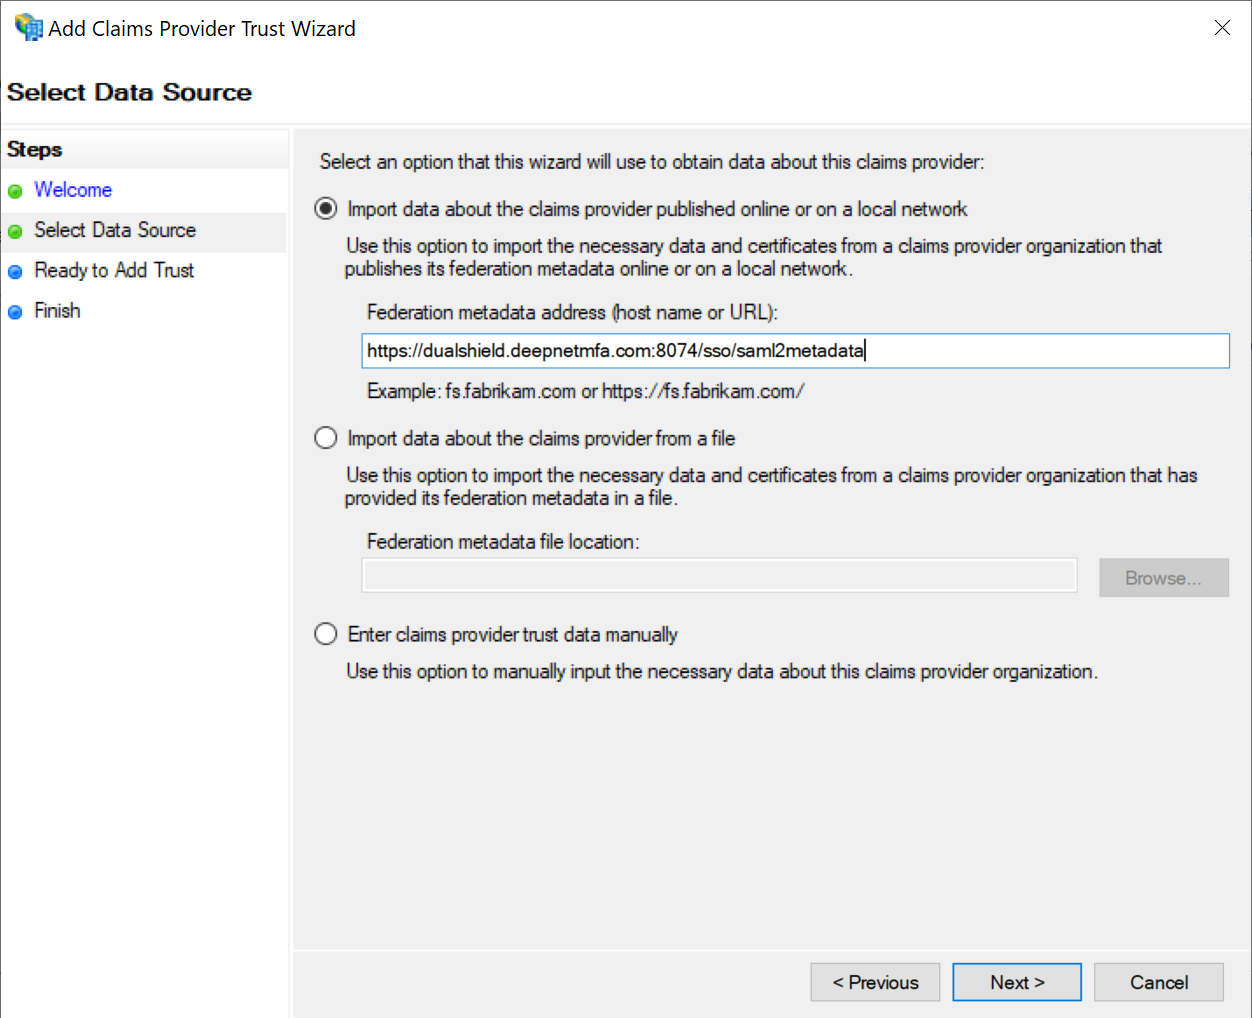
In the wizard, click through the welcome page to the "Select Data Source" page

DualShield publishes its metadata to a standard URL (https://your-dualshield-fqdn:8074/sso/saml2metadata).If this URL is accessible from the ADFS server, then select the option "Import data about the claims provider published online or on a local network". Otherwise, select "Import data about the claims provider from a file"
Download metadata by URL
https://your-dualshield-fqdn:8074/sso/saml2metadata
Replace "your-dualshield-fqdn" with the fully qualified domain name of your DualShield server, e.g.
https://dualshield.deepnetid.com:8074/sso/saml2metadata
Download metadata from the Admin Console
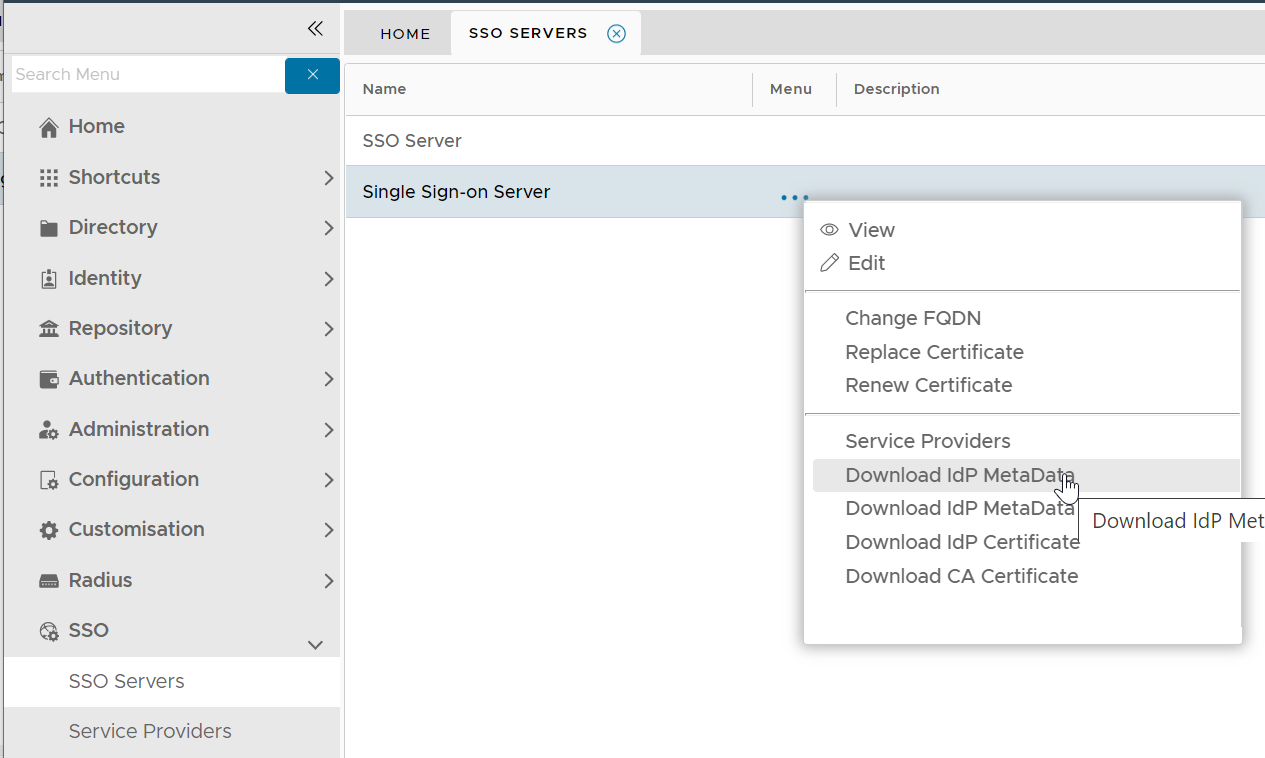
Select "Download IdP MetaData" from its context menu. It will be saved in the local drive as "SSO Server.xml"

Download metadata by copy and paste
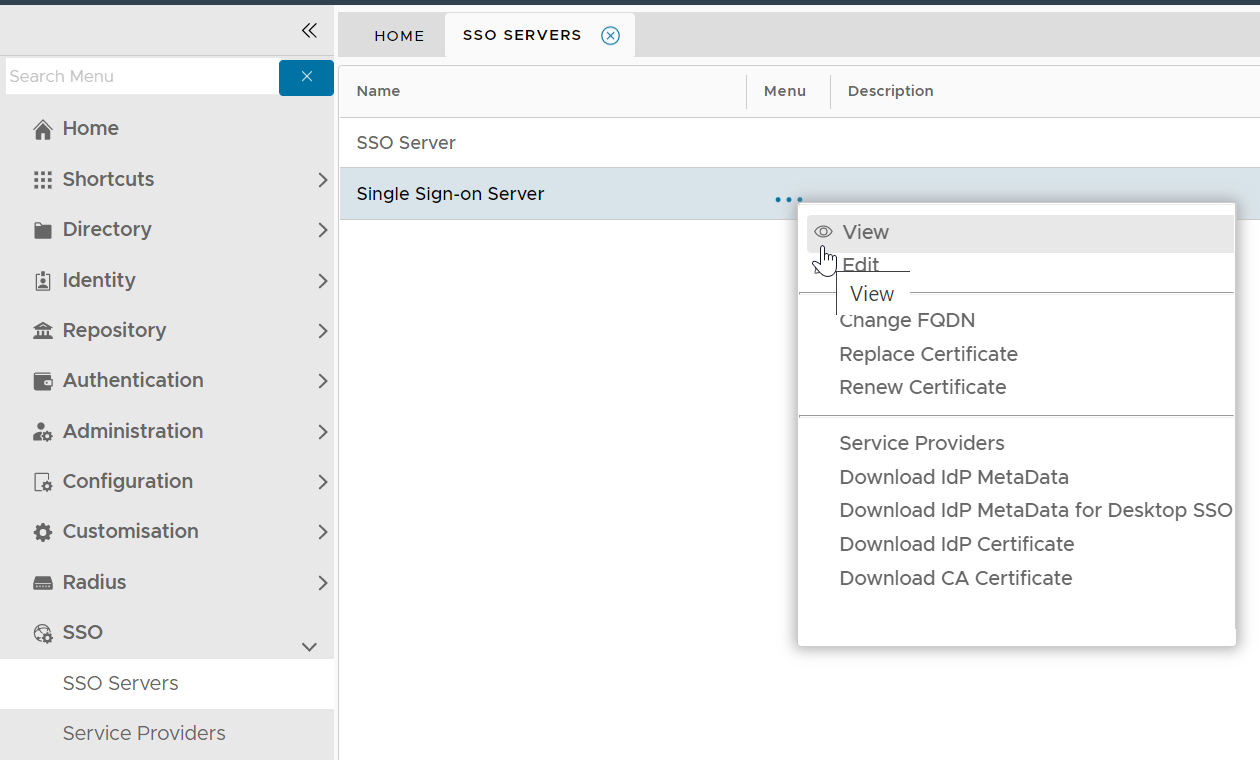
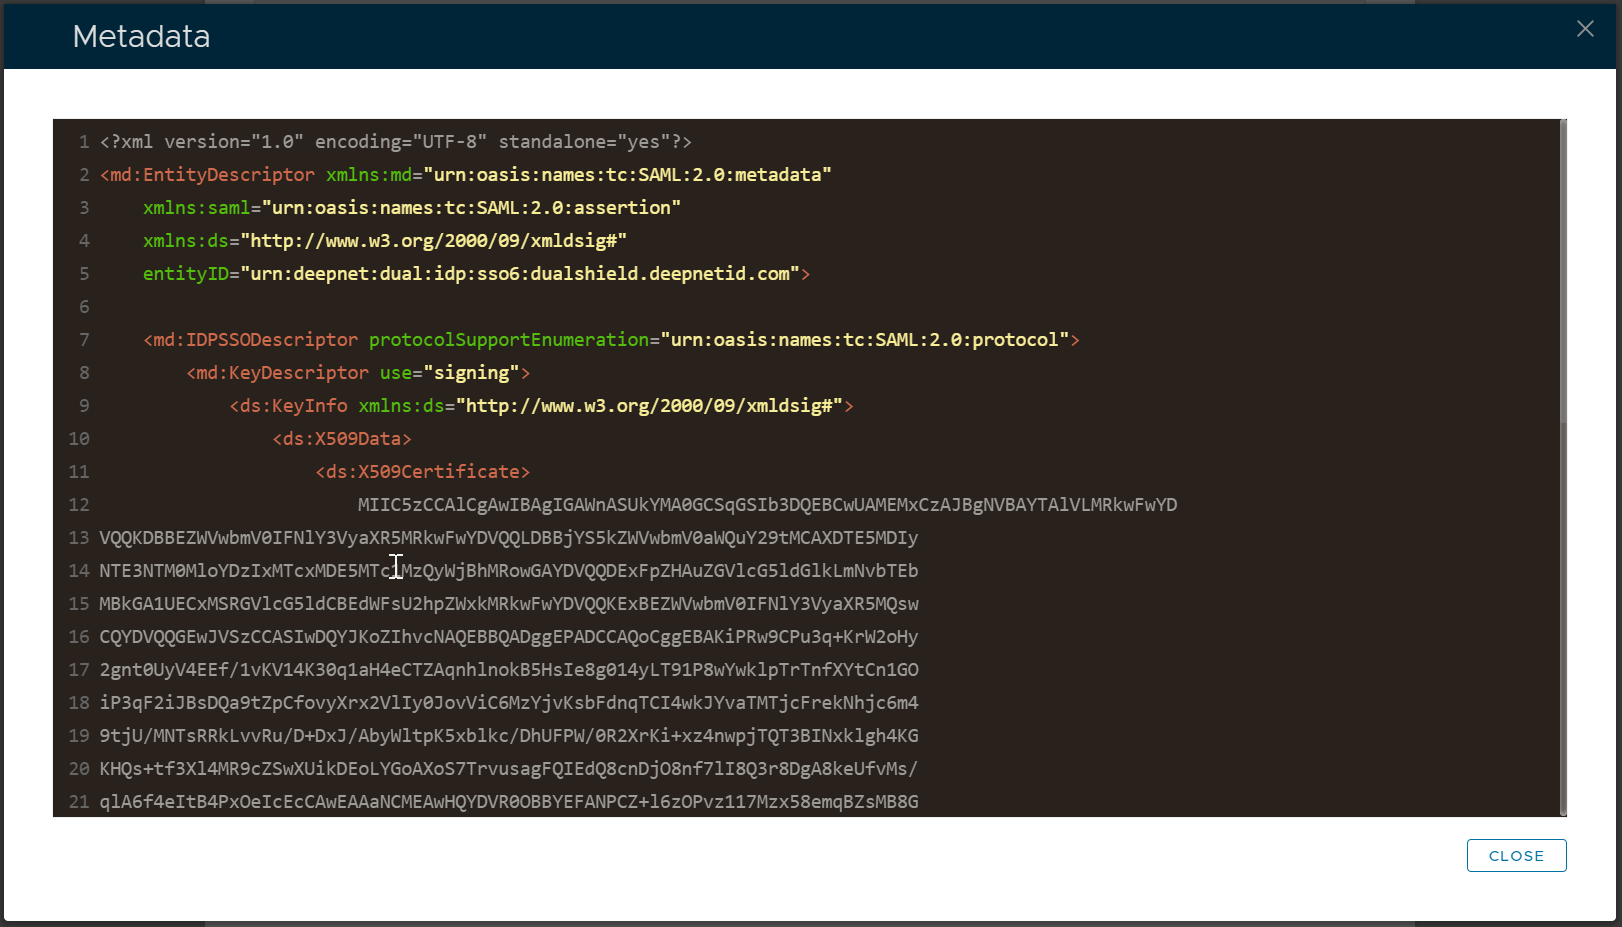
Select "View" from its context menu
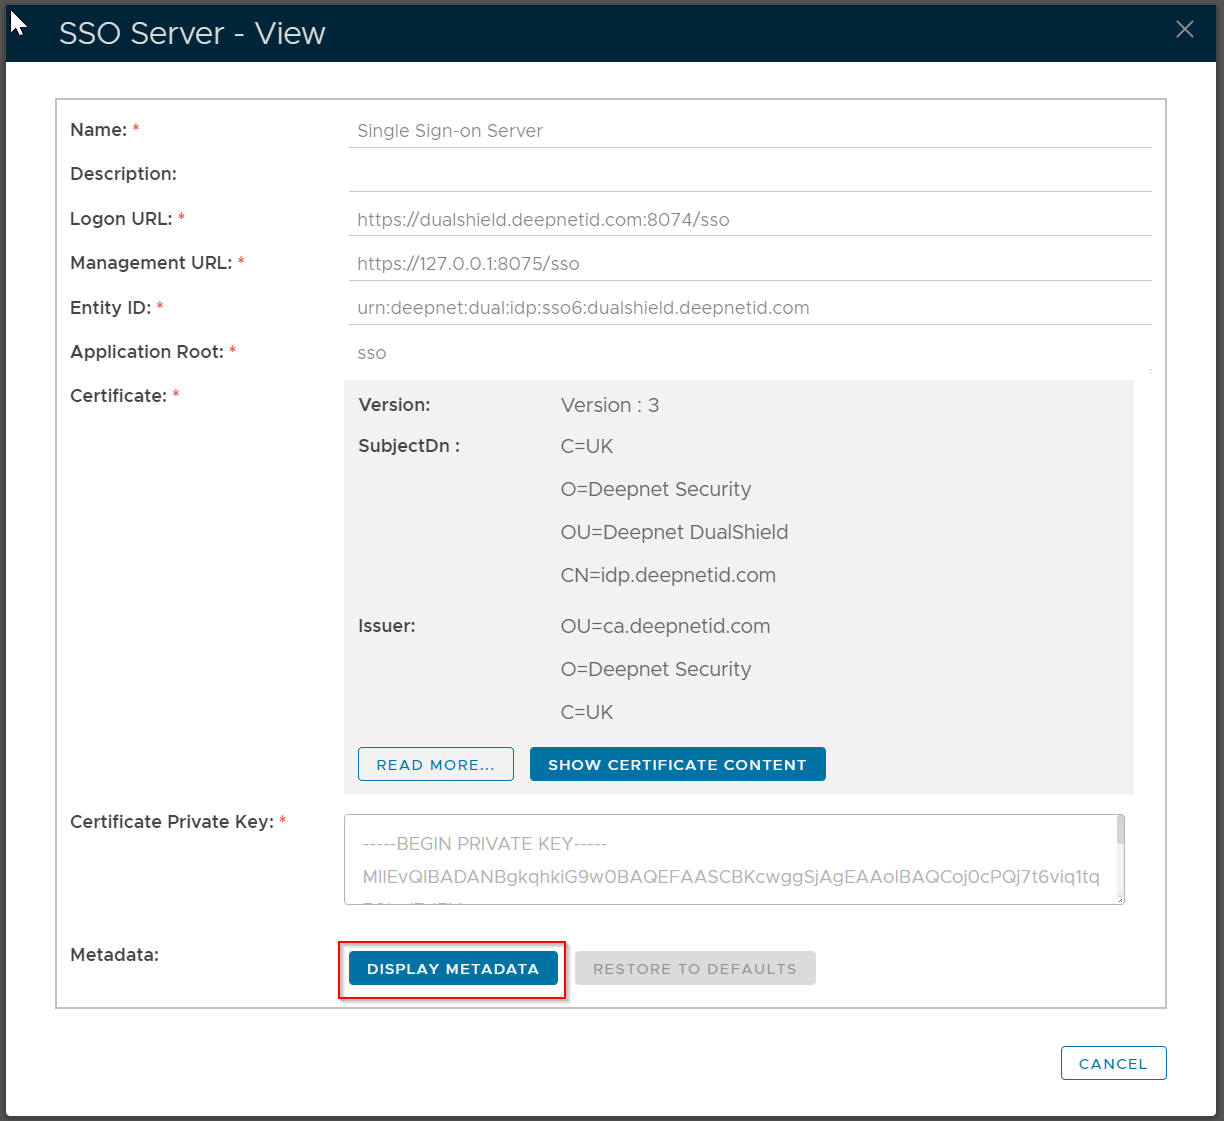
Click "Display Metadata"
Click “Next” to continue.
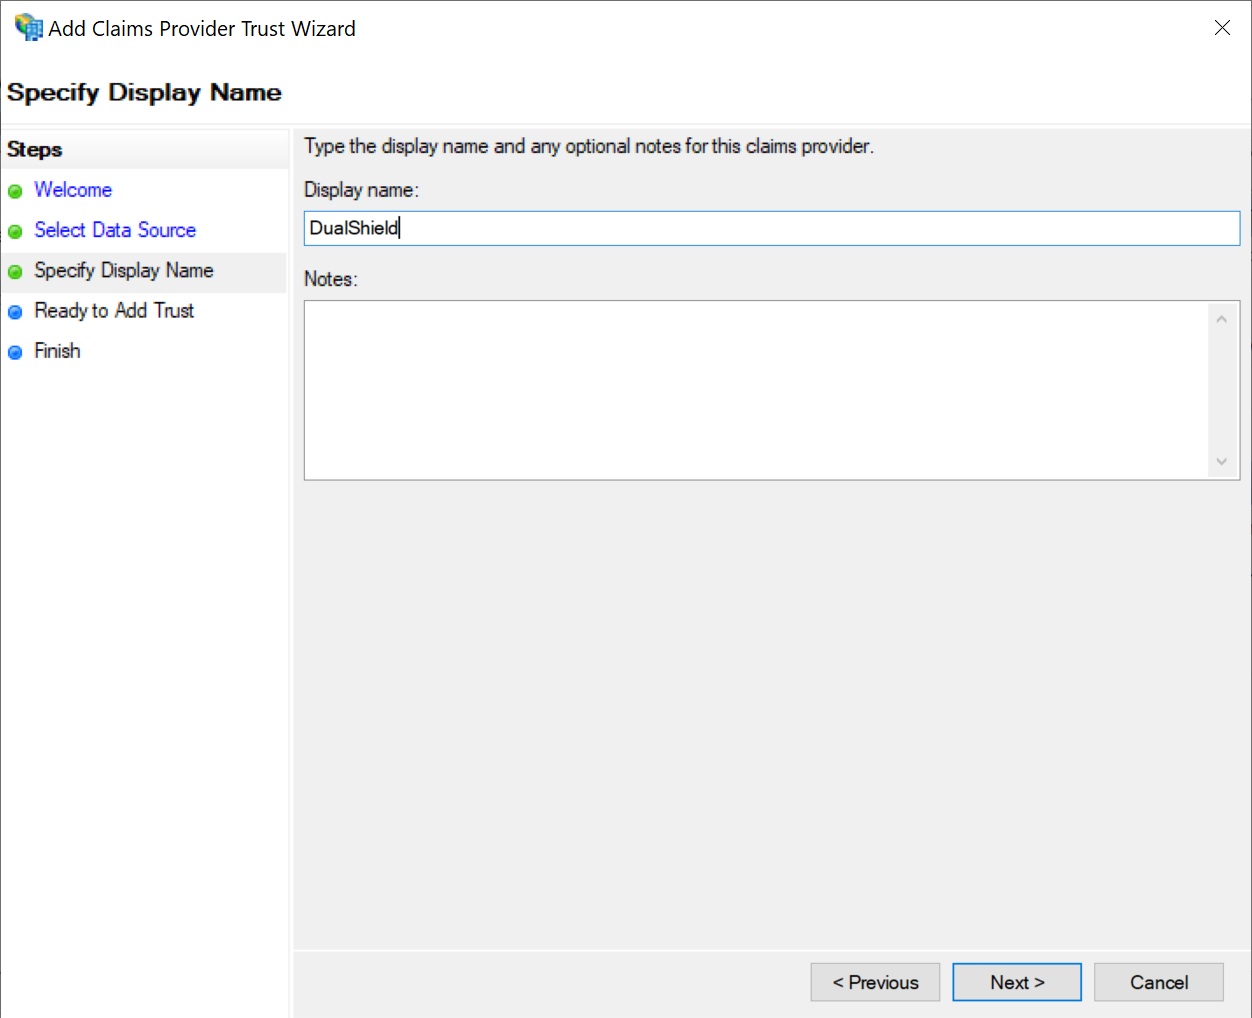
Change the display name to whatever you like, e.g "DualShield"
Click “Next” to continue until the "Finish" page
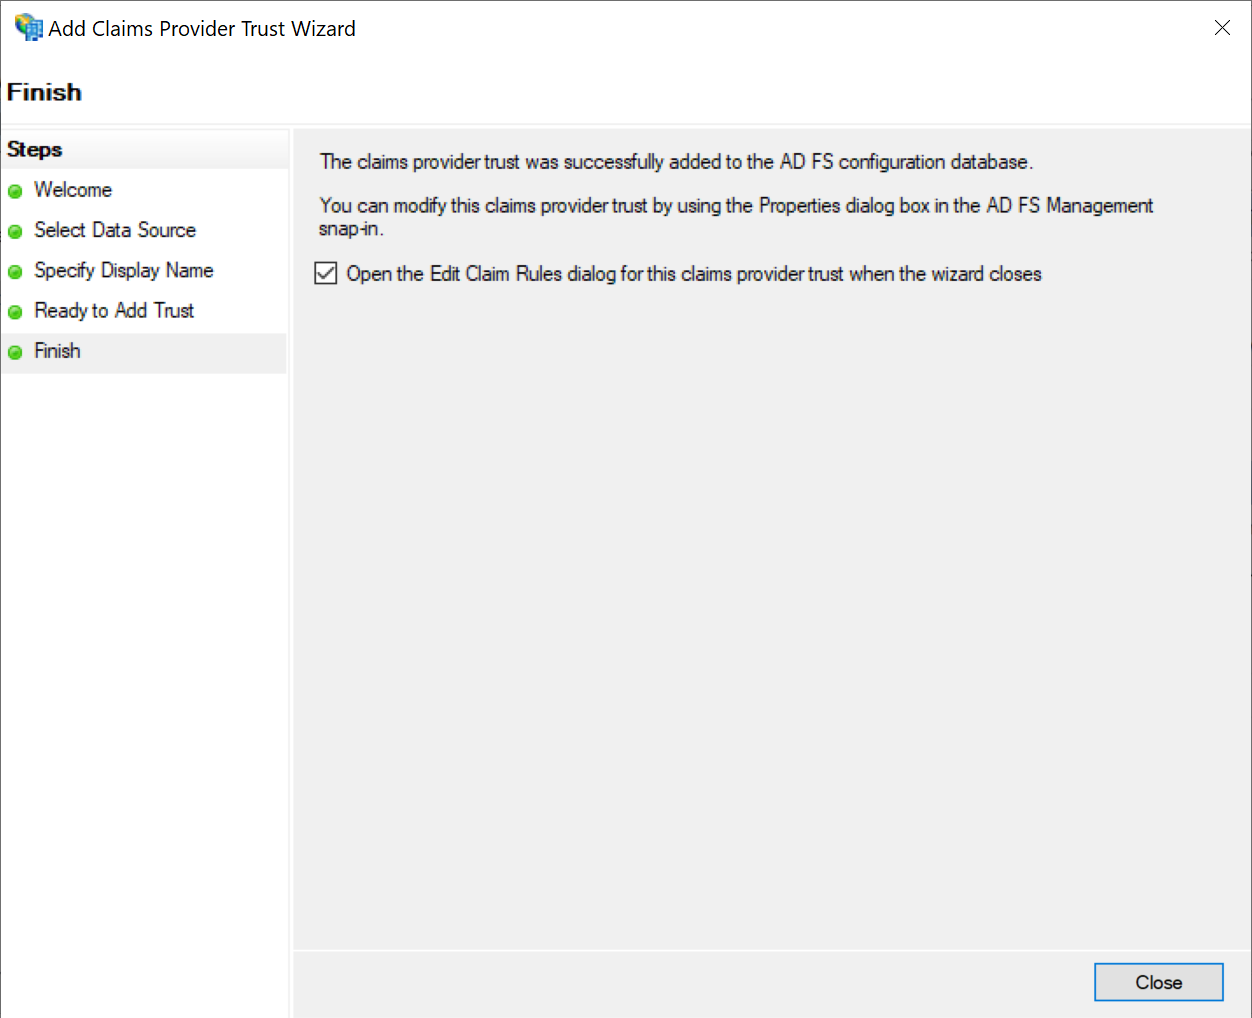
Click "Close" to finish.
Right click on the newly created claims provider, e.g. "DualShield"
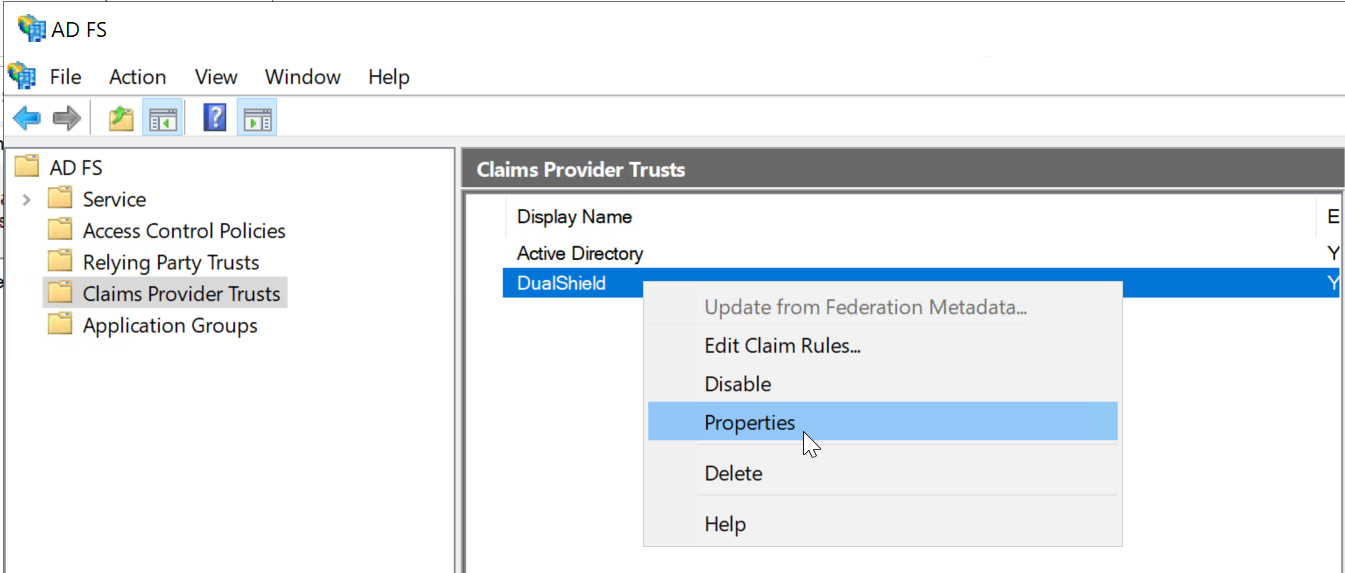
Select "Properties"
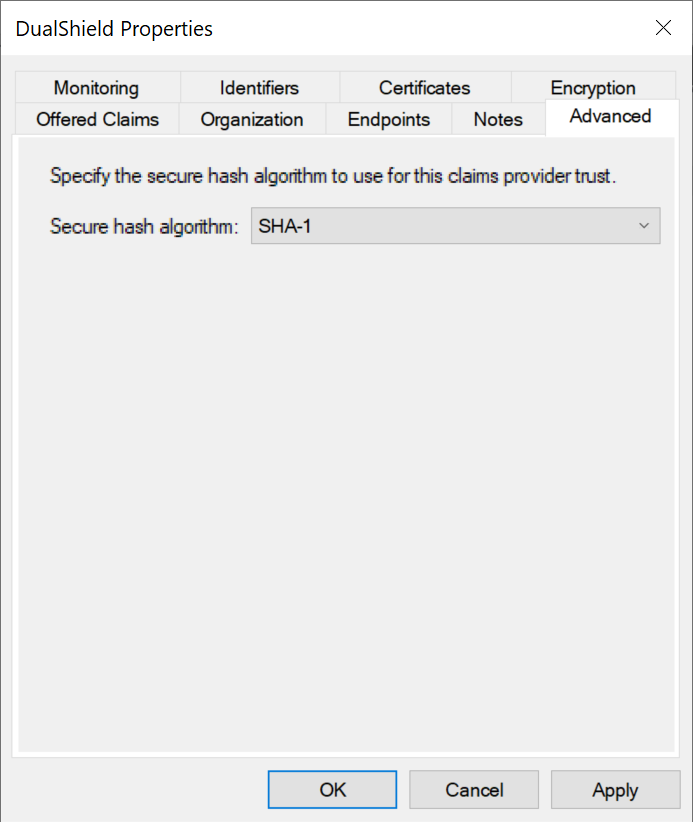
Select the "Advanced" tab
In "Secure hash algorithm". select SHA-1
Click OK.