Follow the steps below to create an Intune deploy package file for the Deepnet Computer Logon for Entra ID
Download the Microsoft Win32 Content Prep Tool
https://github.com/Microsoft/Microsoft-Win32-Content-Prep-Tool
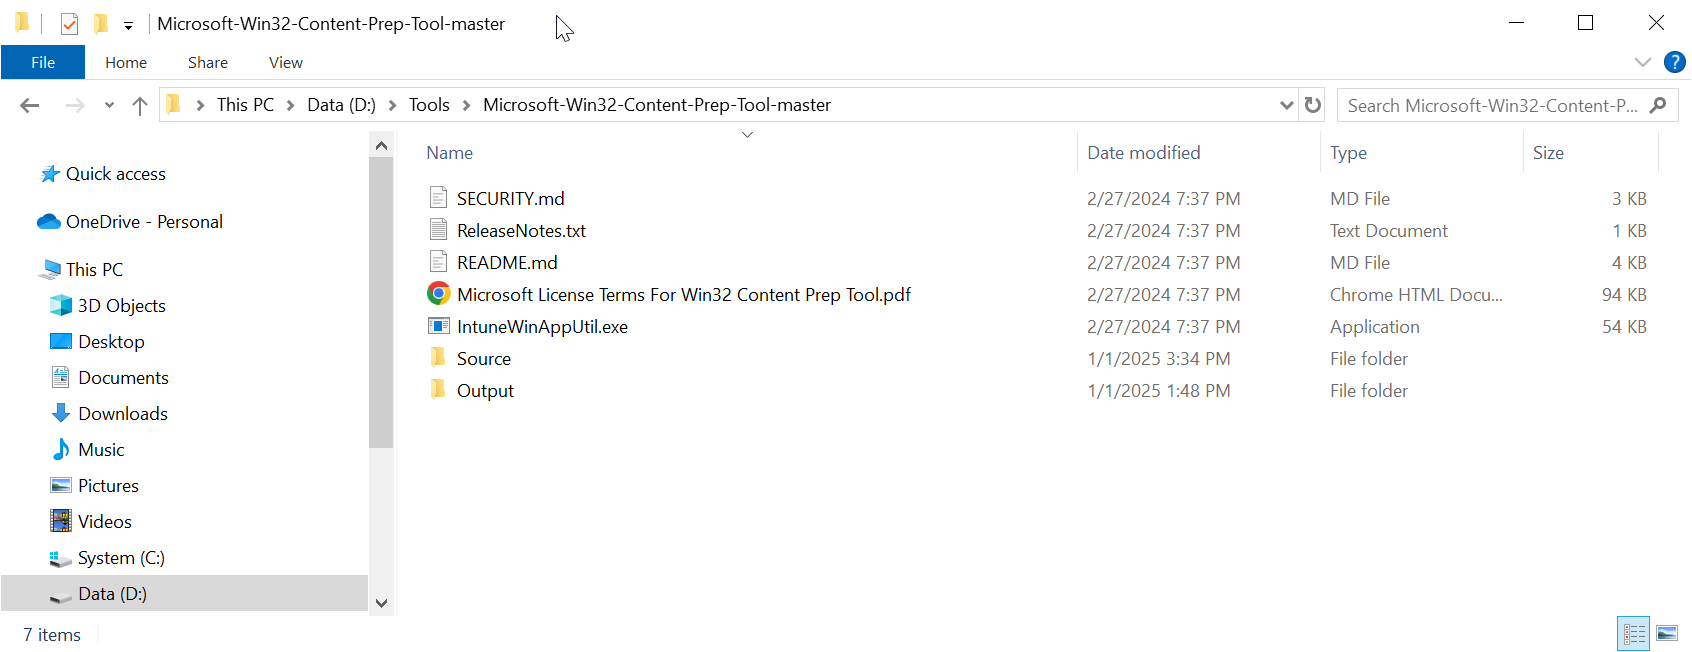
Unpack the tool to a local file folder. e.g. D:\Tools\Microsoft-Win32-Content-Prep-Tool-master
Copy the Deepnet Computer Logon MA files
Create a subfolder called "Source" in the folder where you have unpacked the Microsoft Win32 Content Prep Tool, e.g. D:\Tools\Microsoft-Win32-Content-Prep-Tool-master\Source
Now, copy the following files to the "Source" folder
- Installer File
- Config Files
- Intune Deployment Files
Install File
Navigate to "https://support.deepnetsecurity.com"

Download the Computer Logon MA Installer file:
computer-logon-modern-authentication-x.y.z.msi
(where x.y.z. is the version and build number, e.g. computer-logon-modern-authentication-1.3.0.20260410.msi)
Copy the installer file "computer-logon-modern-authentication-x.y.z.msi" to the "Source folder
Rename "computer-logon-modern-authentication-x.y.z.msi" to "computer-logon-ma.msi"
Config Files
Navigate to the project directory of the Computer Logon MA created by the Deepnet Configuration Editor

Open the "config" folder

Copy all JSON files to the "Source" folder.
Intune Deployment File
Navigate to "https://support.deepnetsecurity.com"

Unzip all PS1 files in the Deployment.zip to the "Source" folder
Now, the "Source" folder should have the following files:

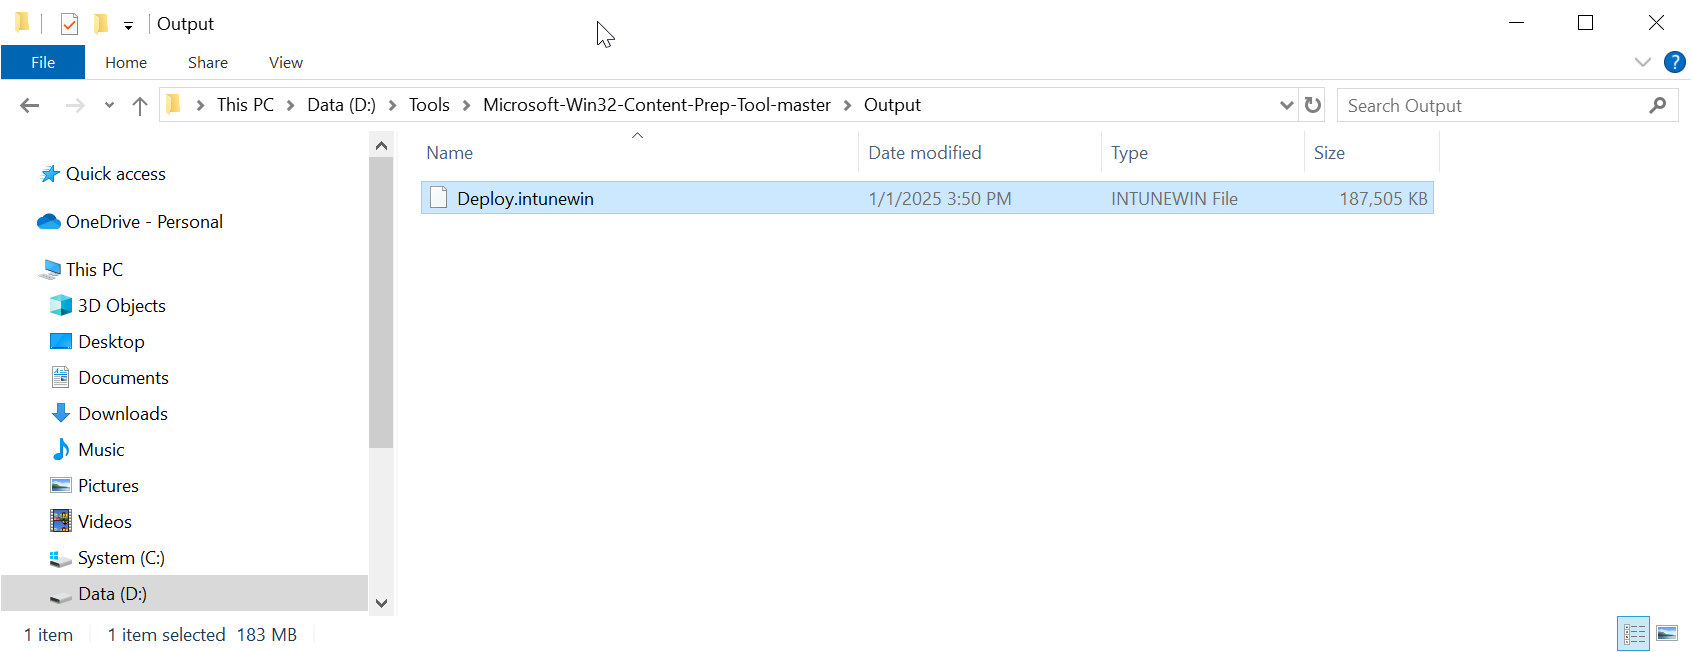
Build an Intune deploy package
Open a Windows command shell, and run the command
IntuneWinAppUtil.exe -c "Source" -s "Deploy.ps1" -o "Output"
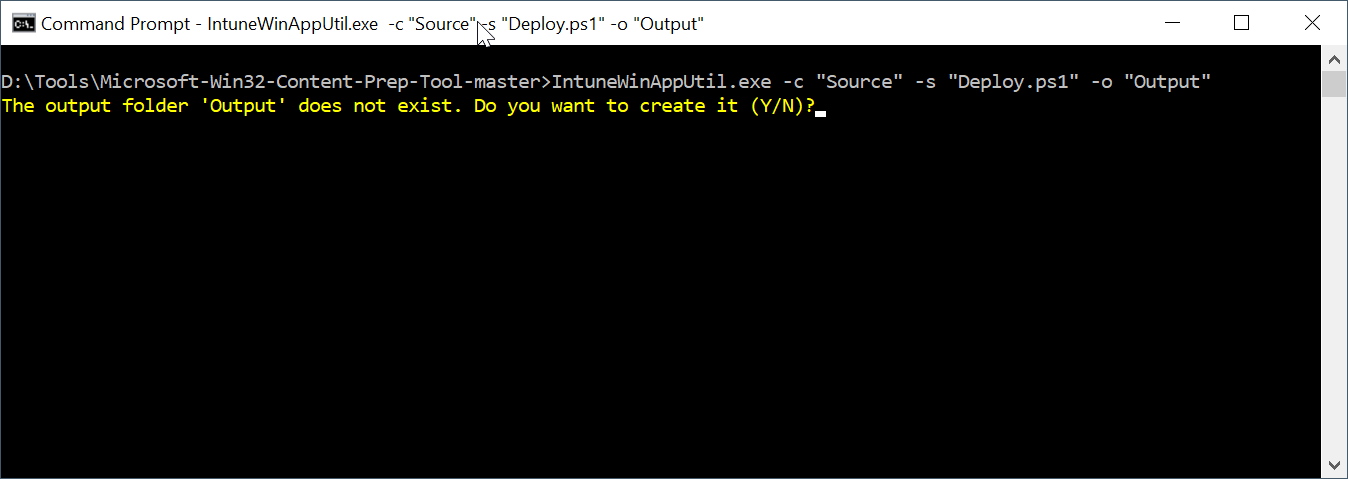
Enter "Y" to continue
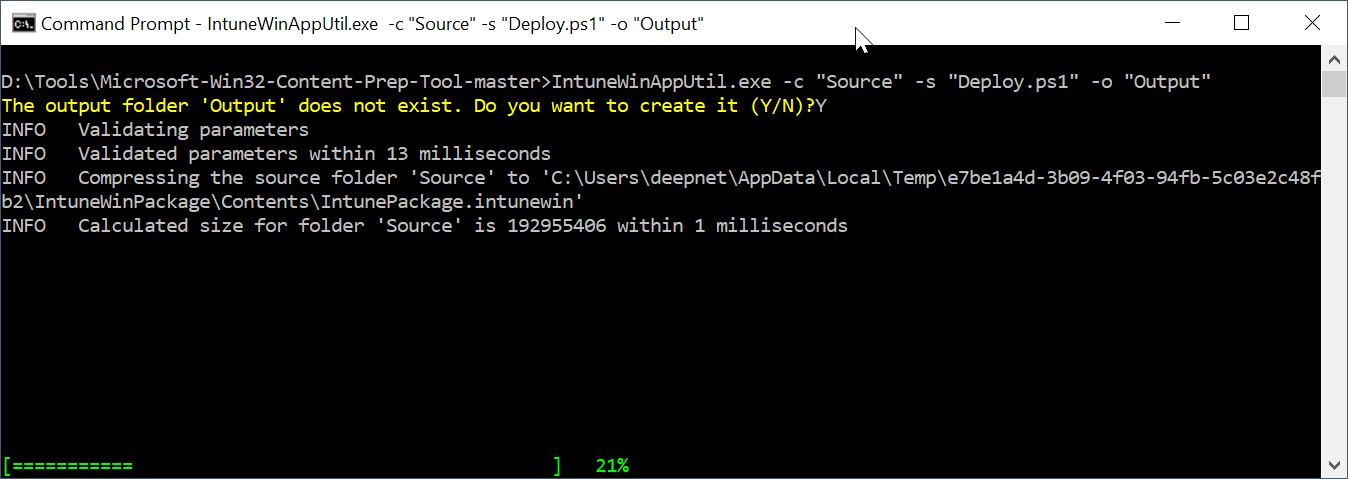
Wait for it to complete
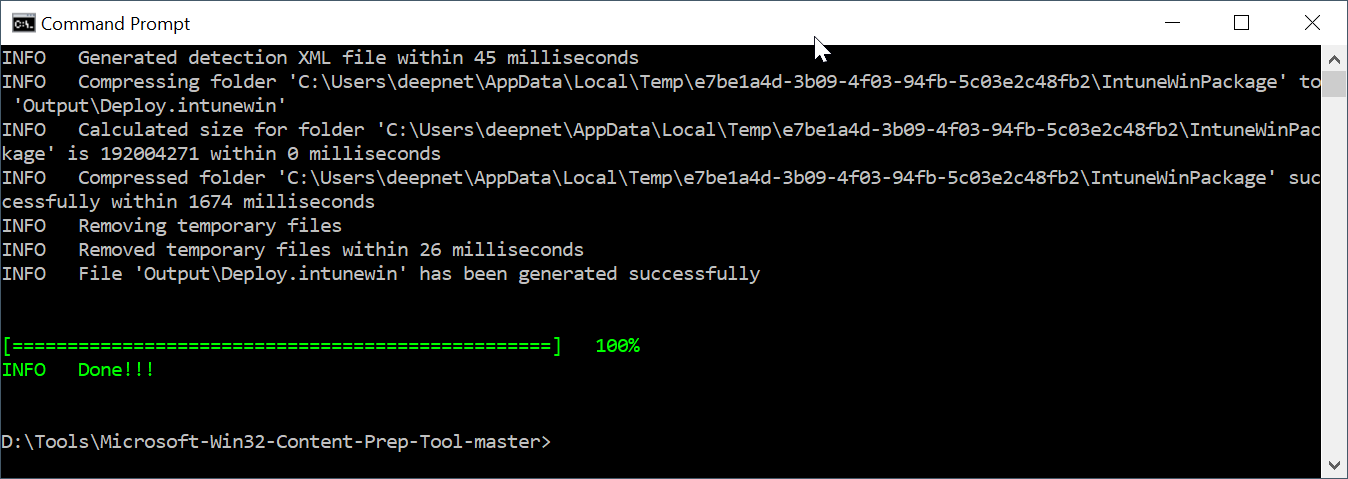
The package is named "Deploy.intunewin"