Prerequisites
DualShield Windows Logon Agent is a bridge that connects DualShield Windows Logon clients and the DualShield Authentication Server. The Logon Agent can be installed on any Windows server machine in the network.
Before you run the setup wizard, you must have your DualShield Authentication Server installed and operating, and make sure that the computer on which you are going to install the Windows Logon Agent meets the following minimum hardware and software requirements:
- A Windows 2008 R2, 2012 R2, 2016 or 2019 Server with the latest service pack installed.
- TCP/IP Networking
- TCP port 14282 and/or 14284 must be available on the Windows server for use by the DualShield Computer Logon Agent.
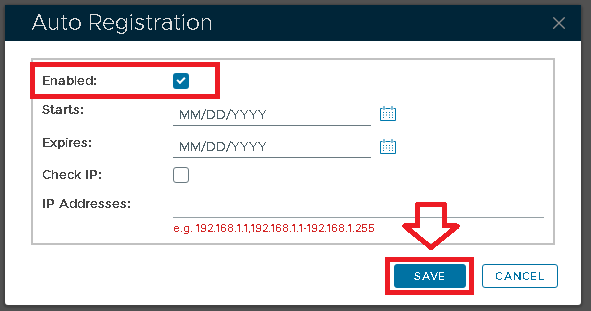
Enable Agent Registration
In order to install a DualShield Computer Logon Agent, we need to first enable the Agent Registration option.
Install DualShield Windows Logon Agent
To install the DualShield Windows Logon Agent, launch the installer
To install the DualShield Windows Logon Agent, launch the installer SetupDSAgent-xxx.yyyy.exe (where xxx is the version number and yyyy the build number) and go through the following steps:
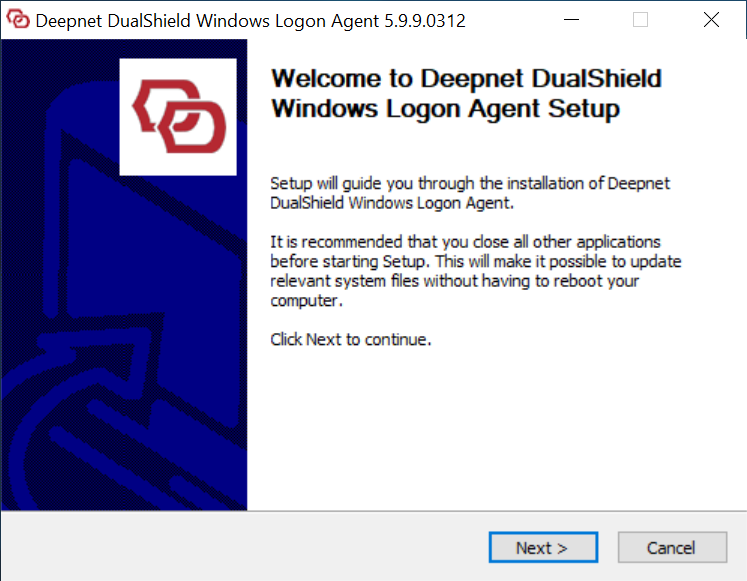
- Welcome
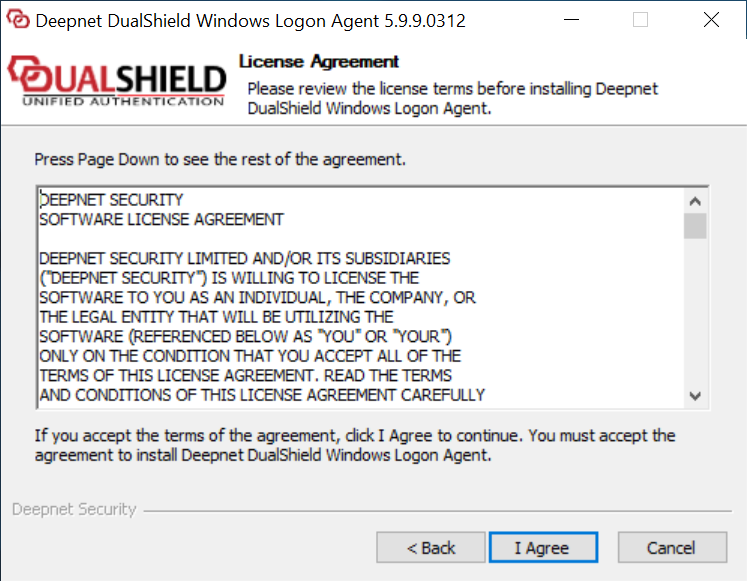
- License Agreement
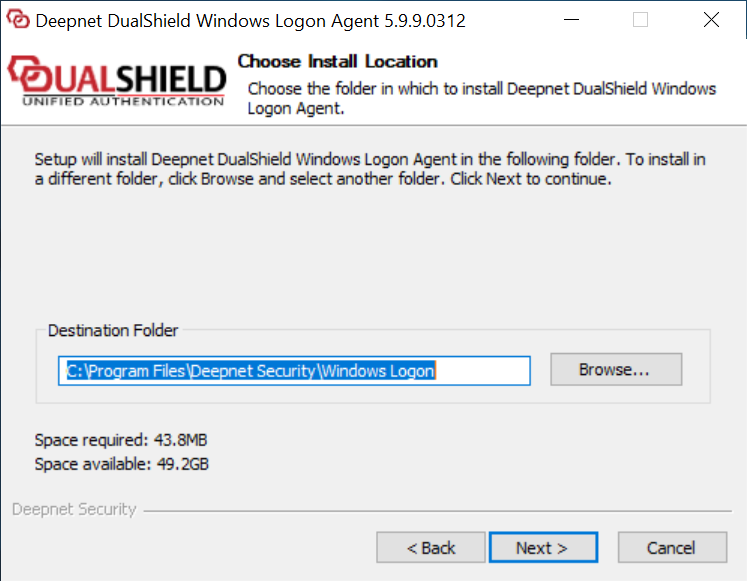
- Installation Path
- Install Gina or Credential Provider
- Import Agent Configure File
- Installing
- Connect to Authentication Server
- Installation Completed
Step 1: Welcome
Step 2: License Agreement
Step 3: Installation Path
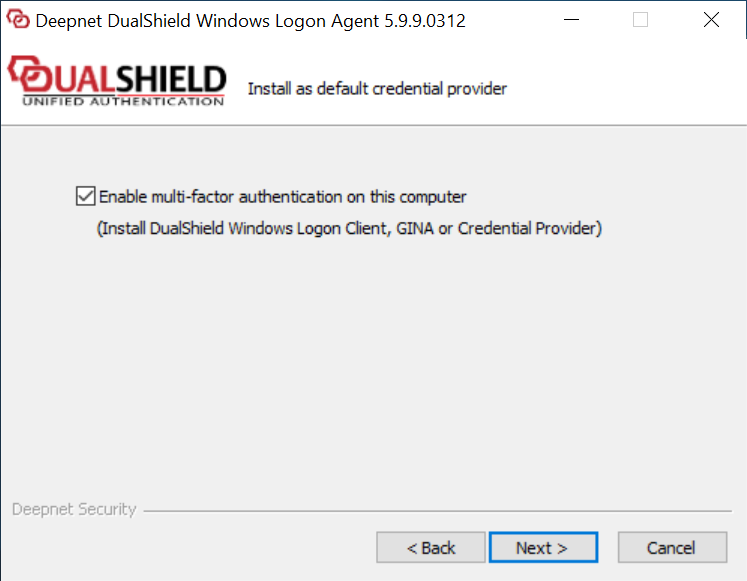
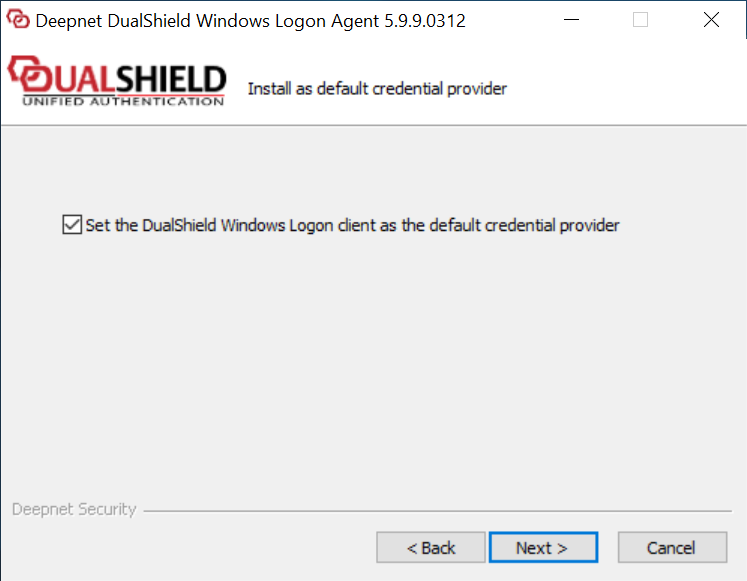
Step 4: Install GINA or Credential Provider
Enable the option: “Enable multi-factor authentication on this machine” only if you wish to protect the server machine on which the Windows Logon Agent is being installed. Otherwise, do not check this option.
Enable the option: “Protect local computer logon with multi-factor authentication" only if the server machine on which the Windows Logon Agent is being installed is a terminal server and you want to add two-factor authentication to the logon to the local machine.
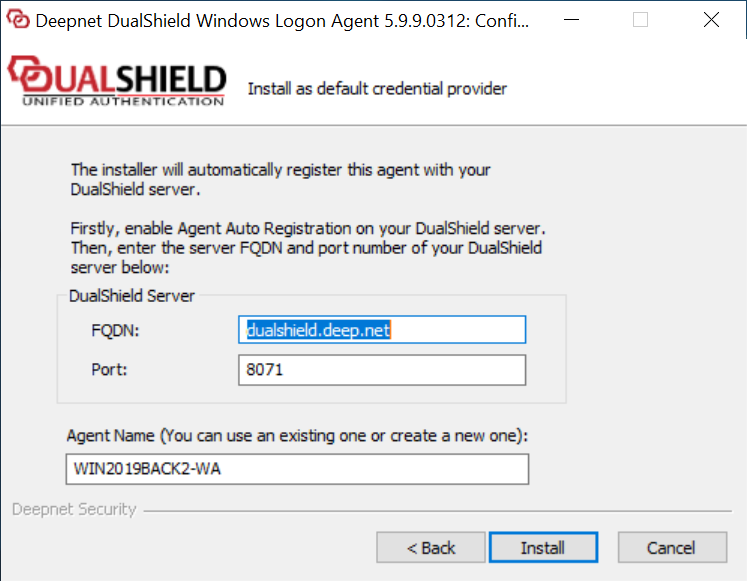
Step 5: Agent Registration
Check the FQDN and Port number of your DualShield Server. Change them if necessary. The default port of DualShield server is 8071.
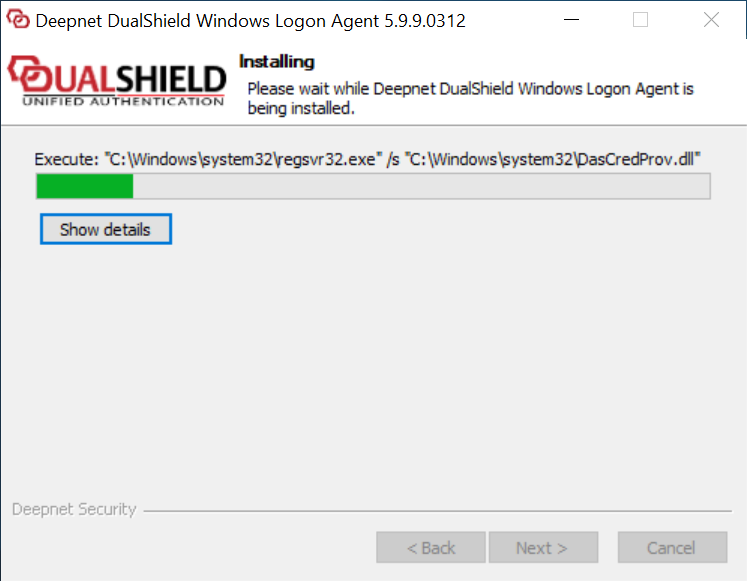
Step 6: Installing...
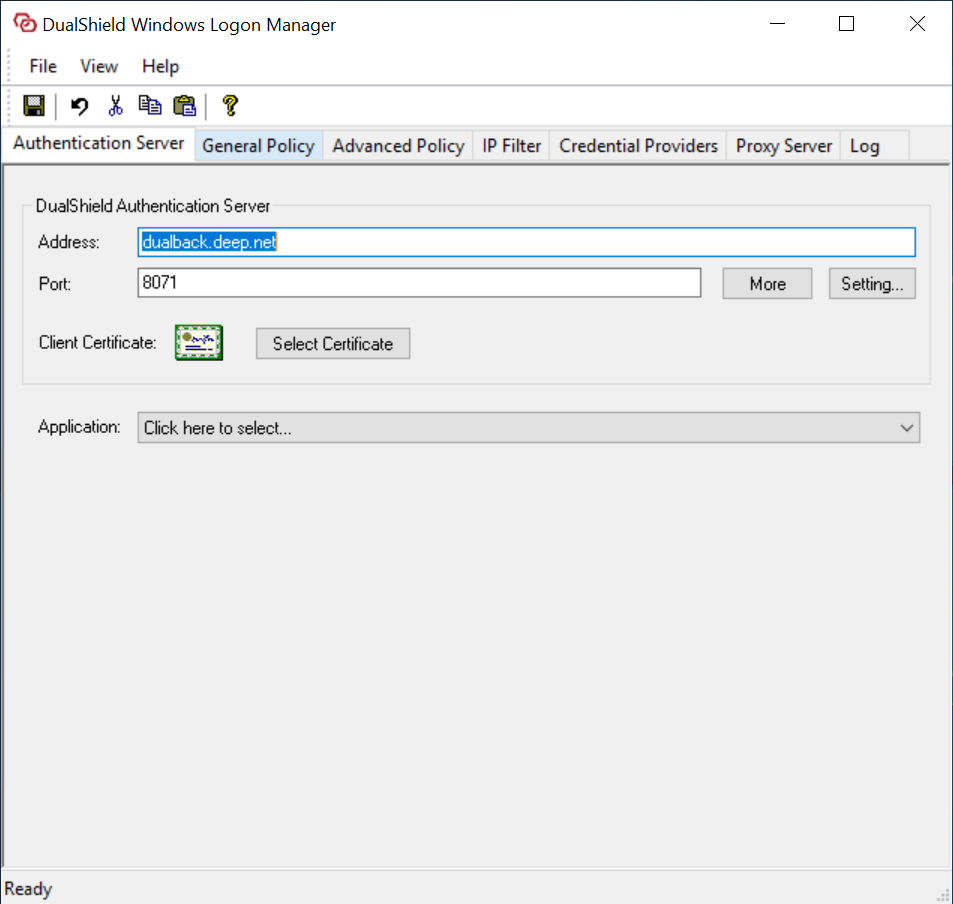
Step 7: Connect to Authentication Server
Upon the successful installation, the installer launches the DualShield Windows Logon Manager which enables you to connect the agent to the authentication server.
In the “Application” field, it displays “Click here to select”.
At this point, the agent has been successfully installed and registered with the DualShield server. It is waiting for an application to be published on this agent.
The next step is to publish a Windows application on this agent.


