Customers using a version older than 6.5 of DualShield Authenticator Server, will need to set up a Google Firebase Account.
In order to use Google Firebase Cloud Messaging service, you need to sign up for a Google account, then configure your account to be used for messaging.
- Login to Google Firebase Console at: https://console.firebase.google.com
- If you have already been using Google Firebase service with Deepnet DualShield, then you would already have a Firebase project. You should continue to use the current project Firebase project to re-configure the OOBA settings in your DualShield server. Do NOT create a new project.
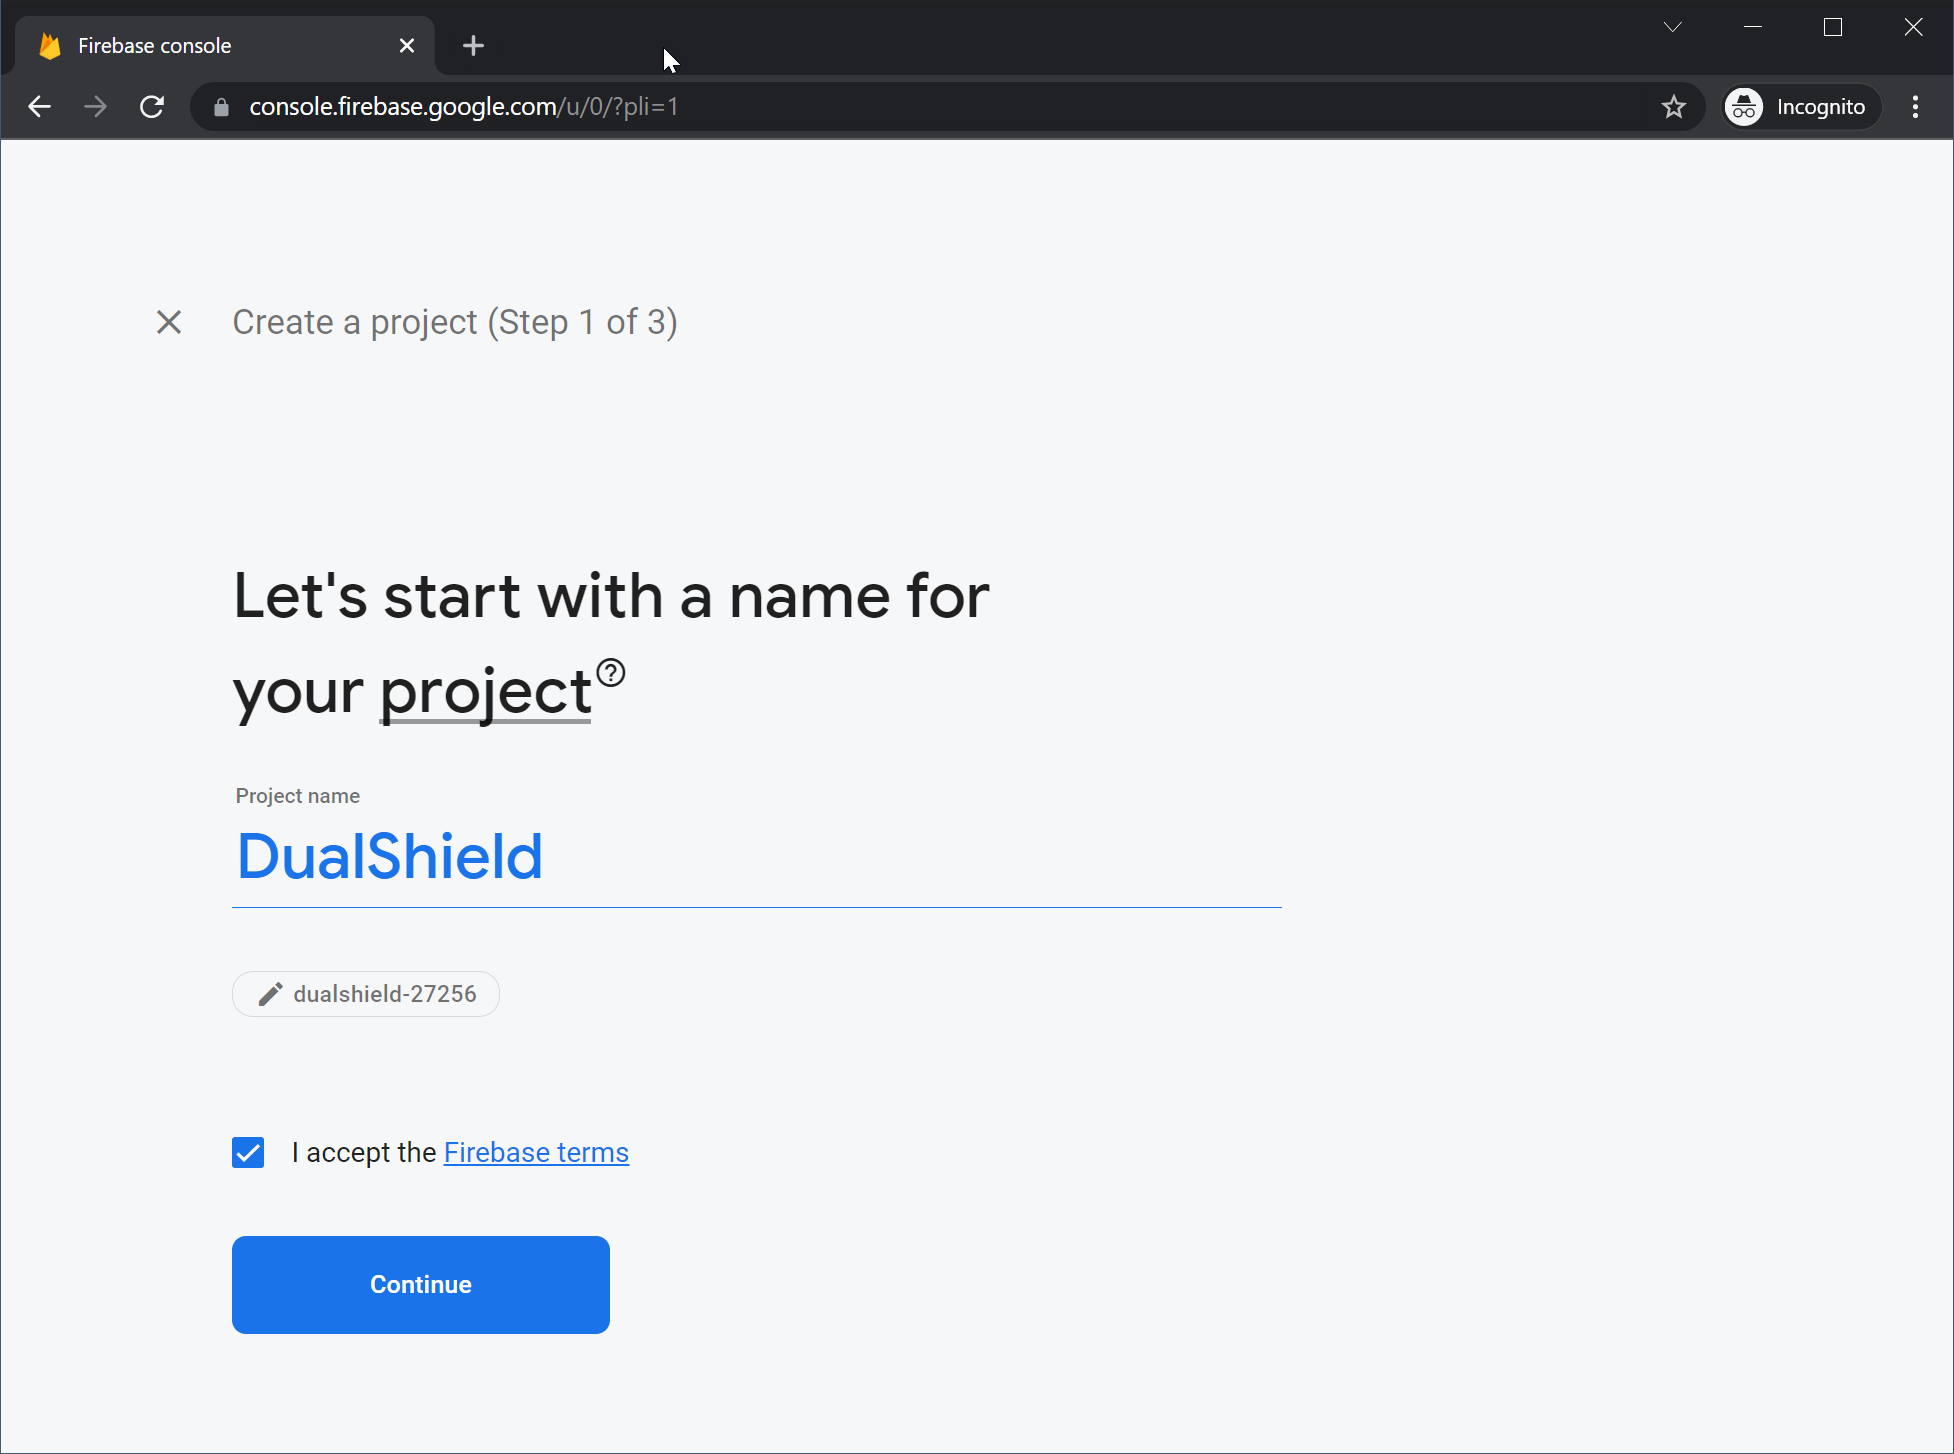
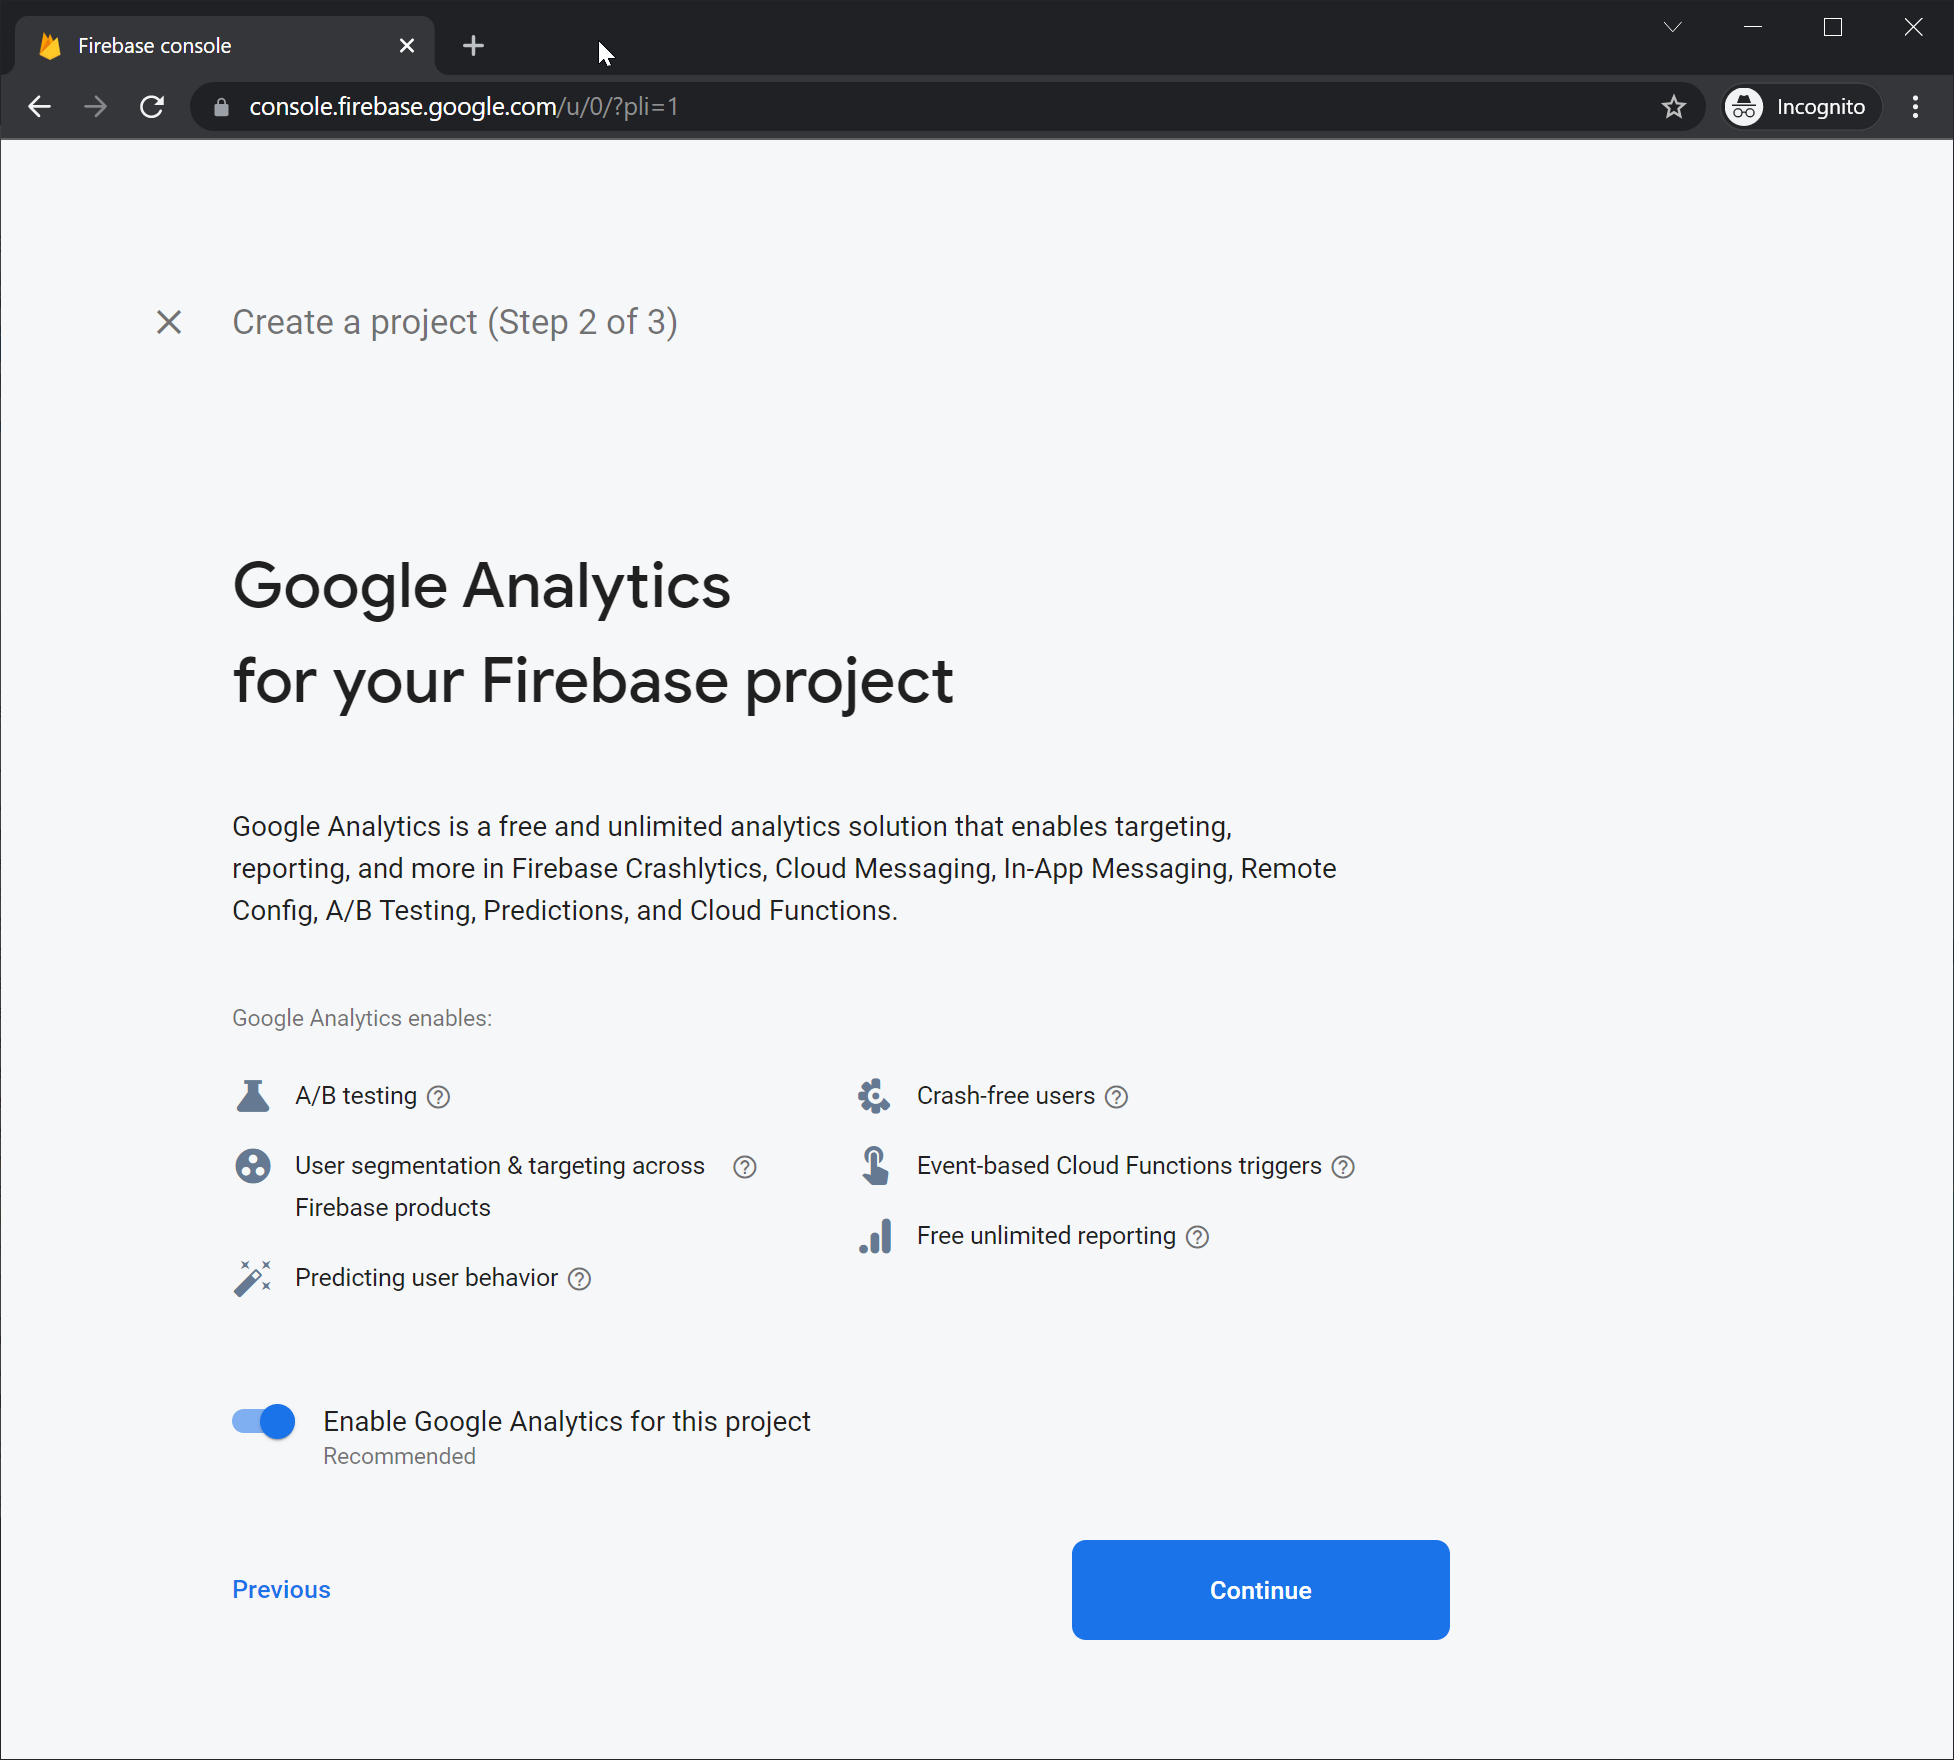
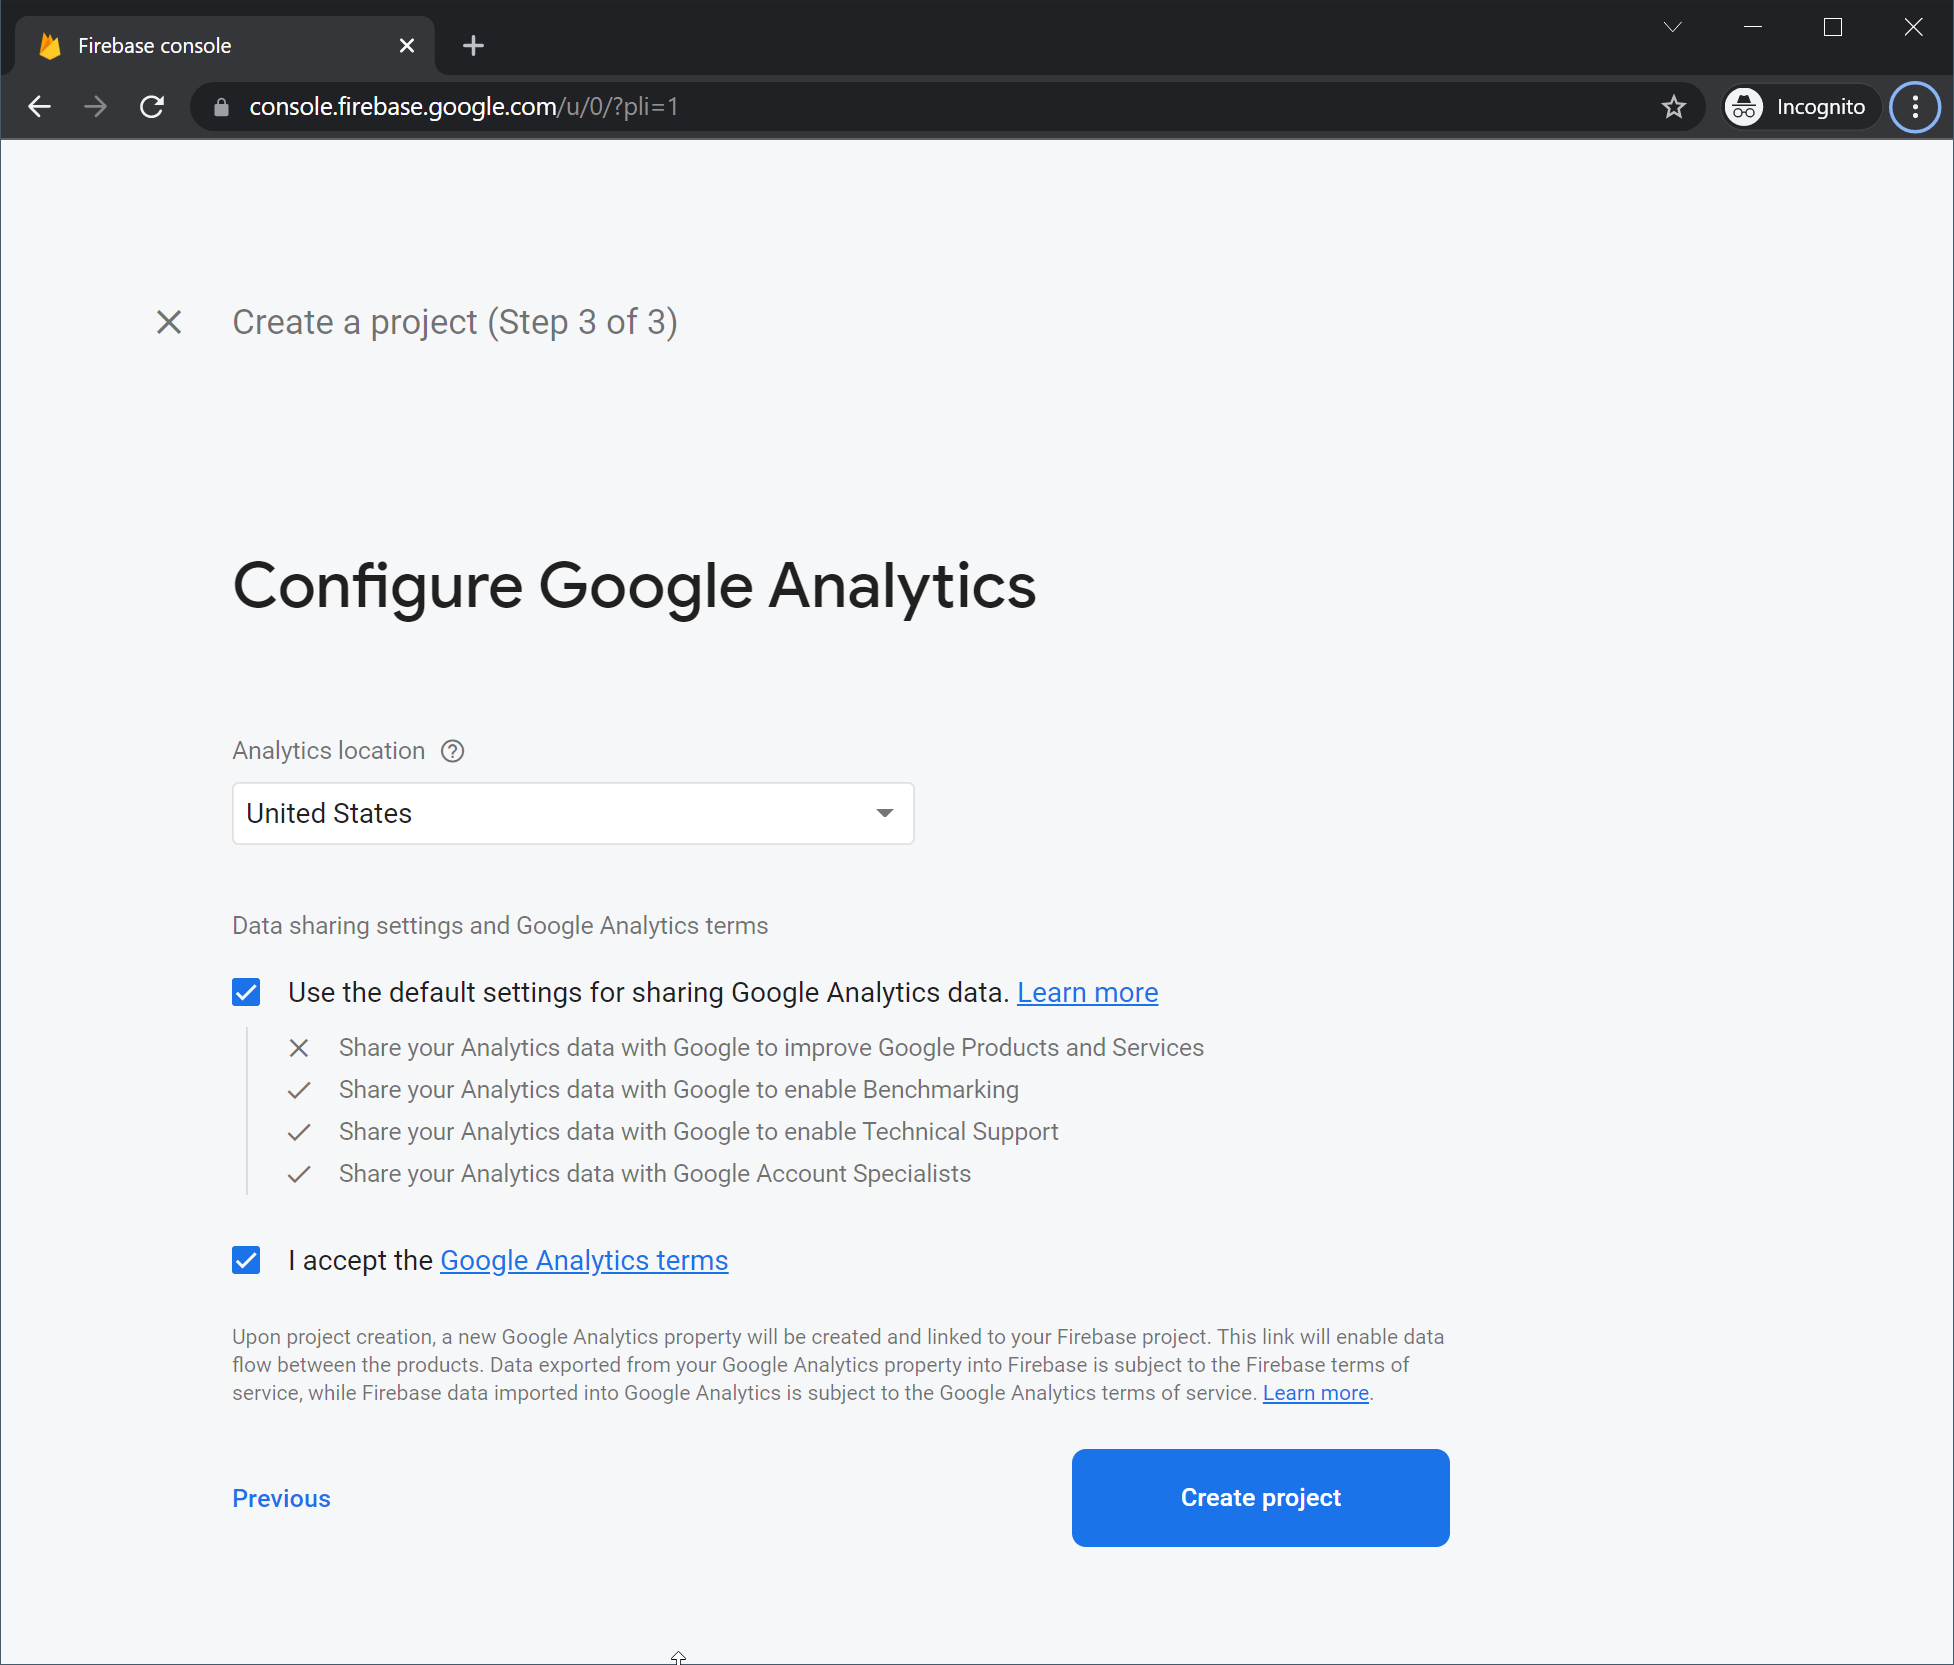
If you are a new customer of DualShield, or a new customer of Firebase, then create a new project in Firebase.

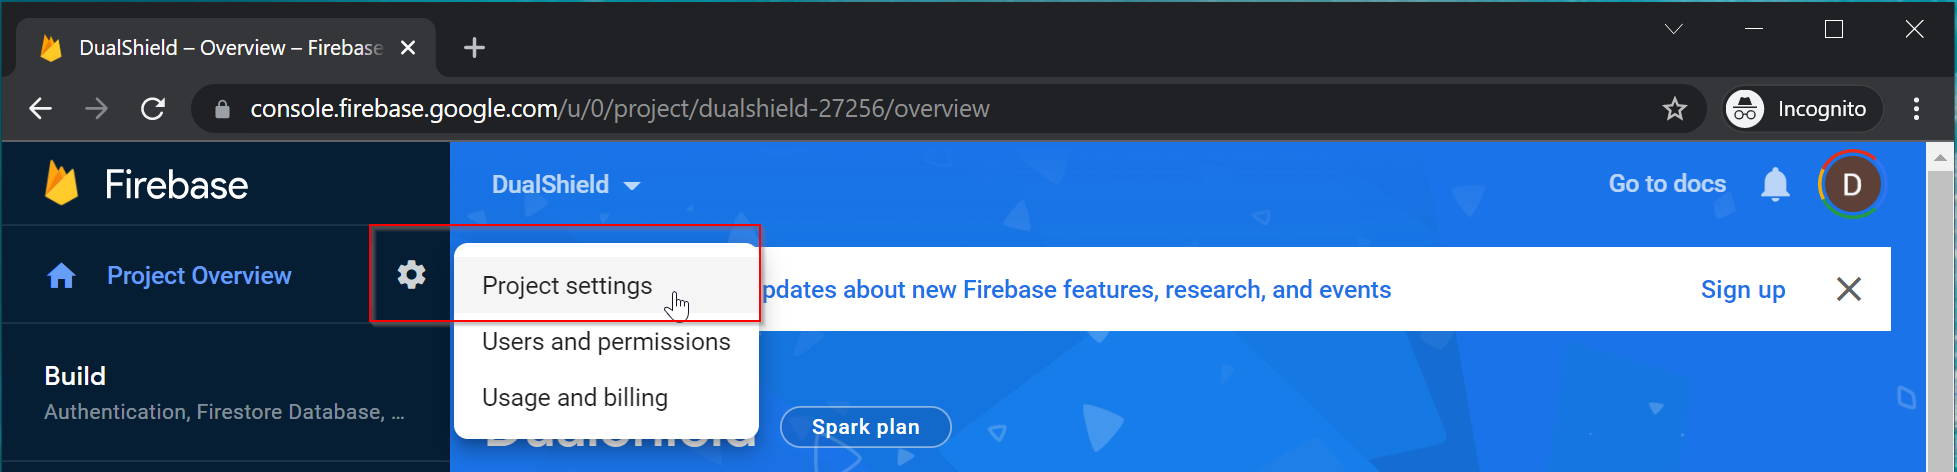
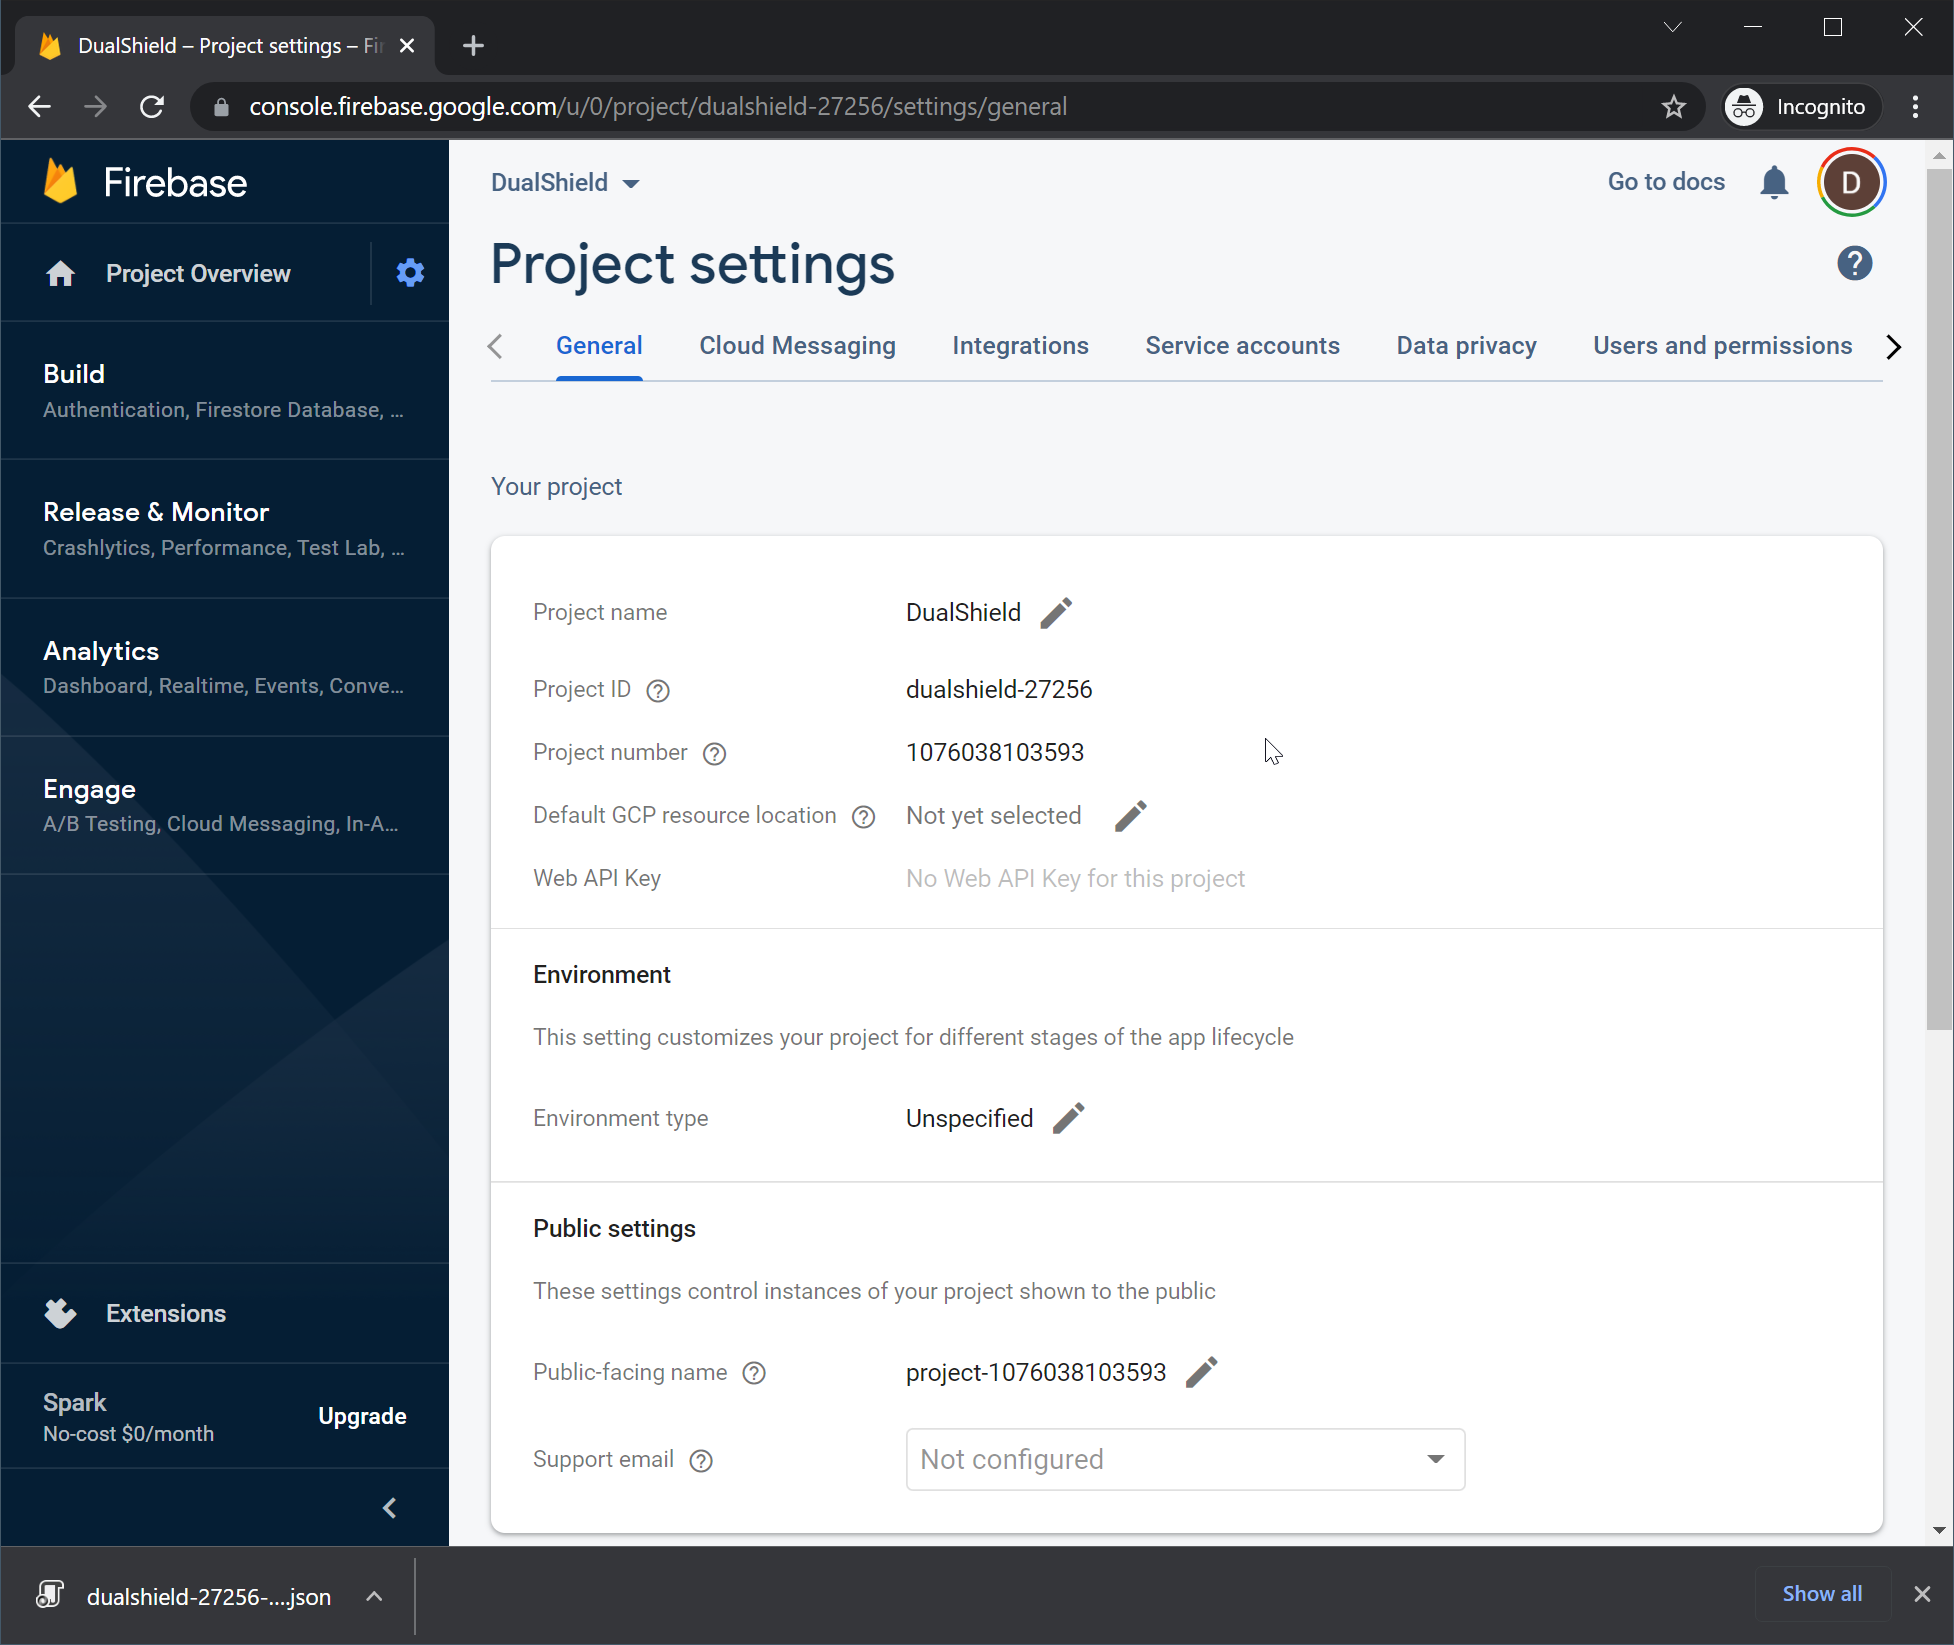
- Open your Firebase project. Click the Settings icon next to "Project Overview", then click "Project Settings"
- Click the "Cloud Messaging" tab
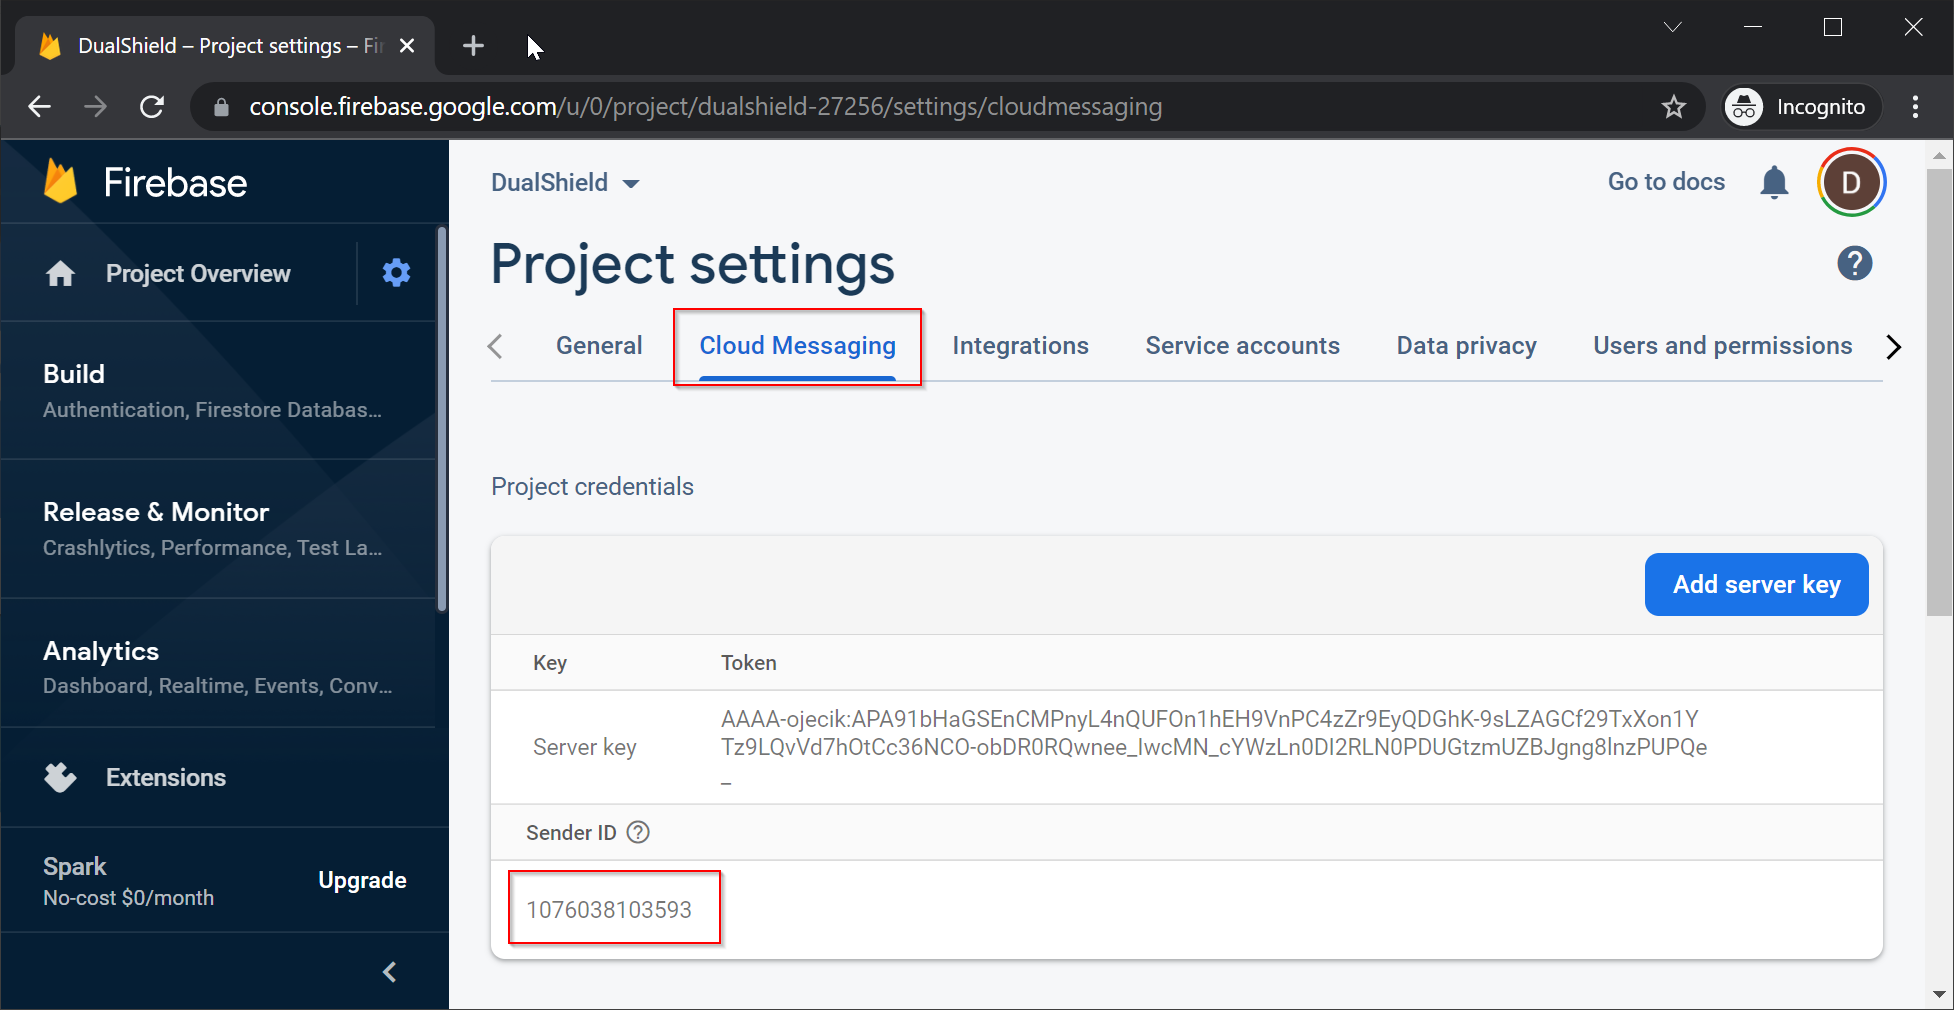
- Make a note of "Sender ID"
- Now, click the "Service accounts" tab
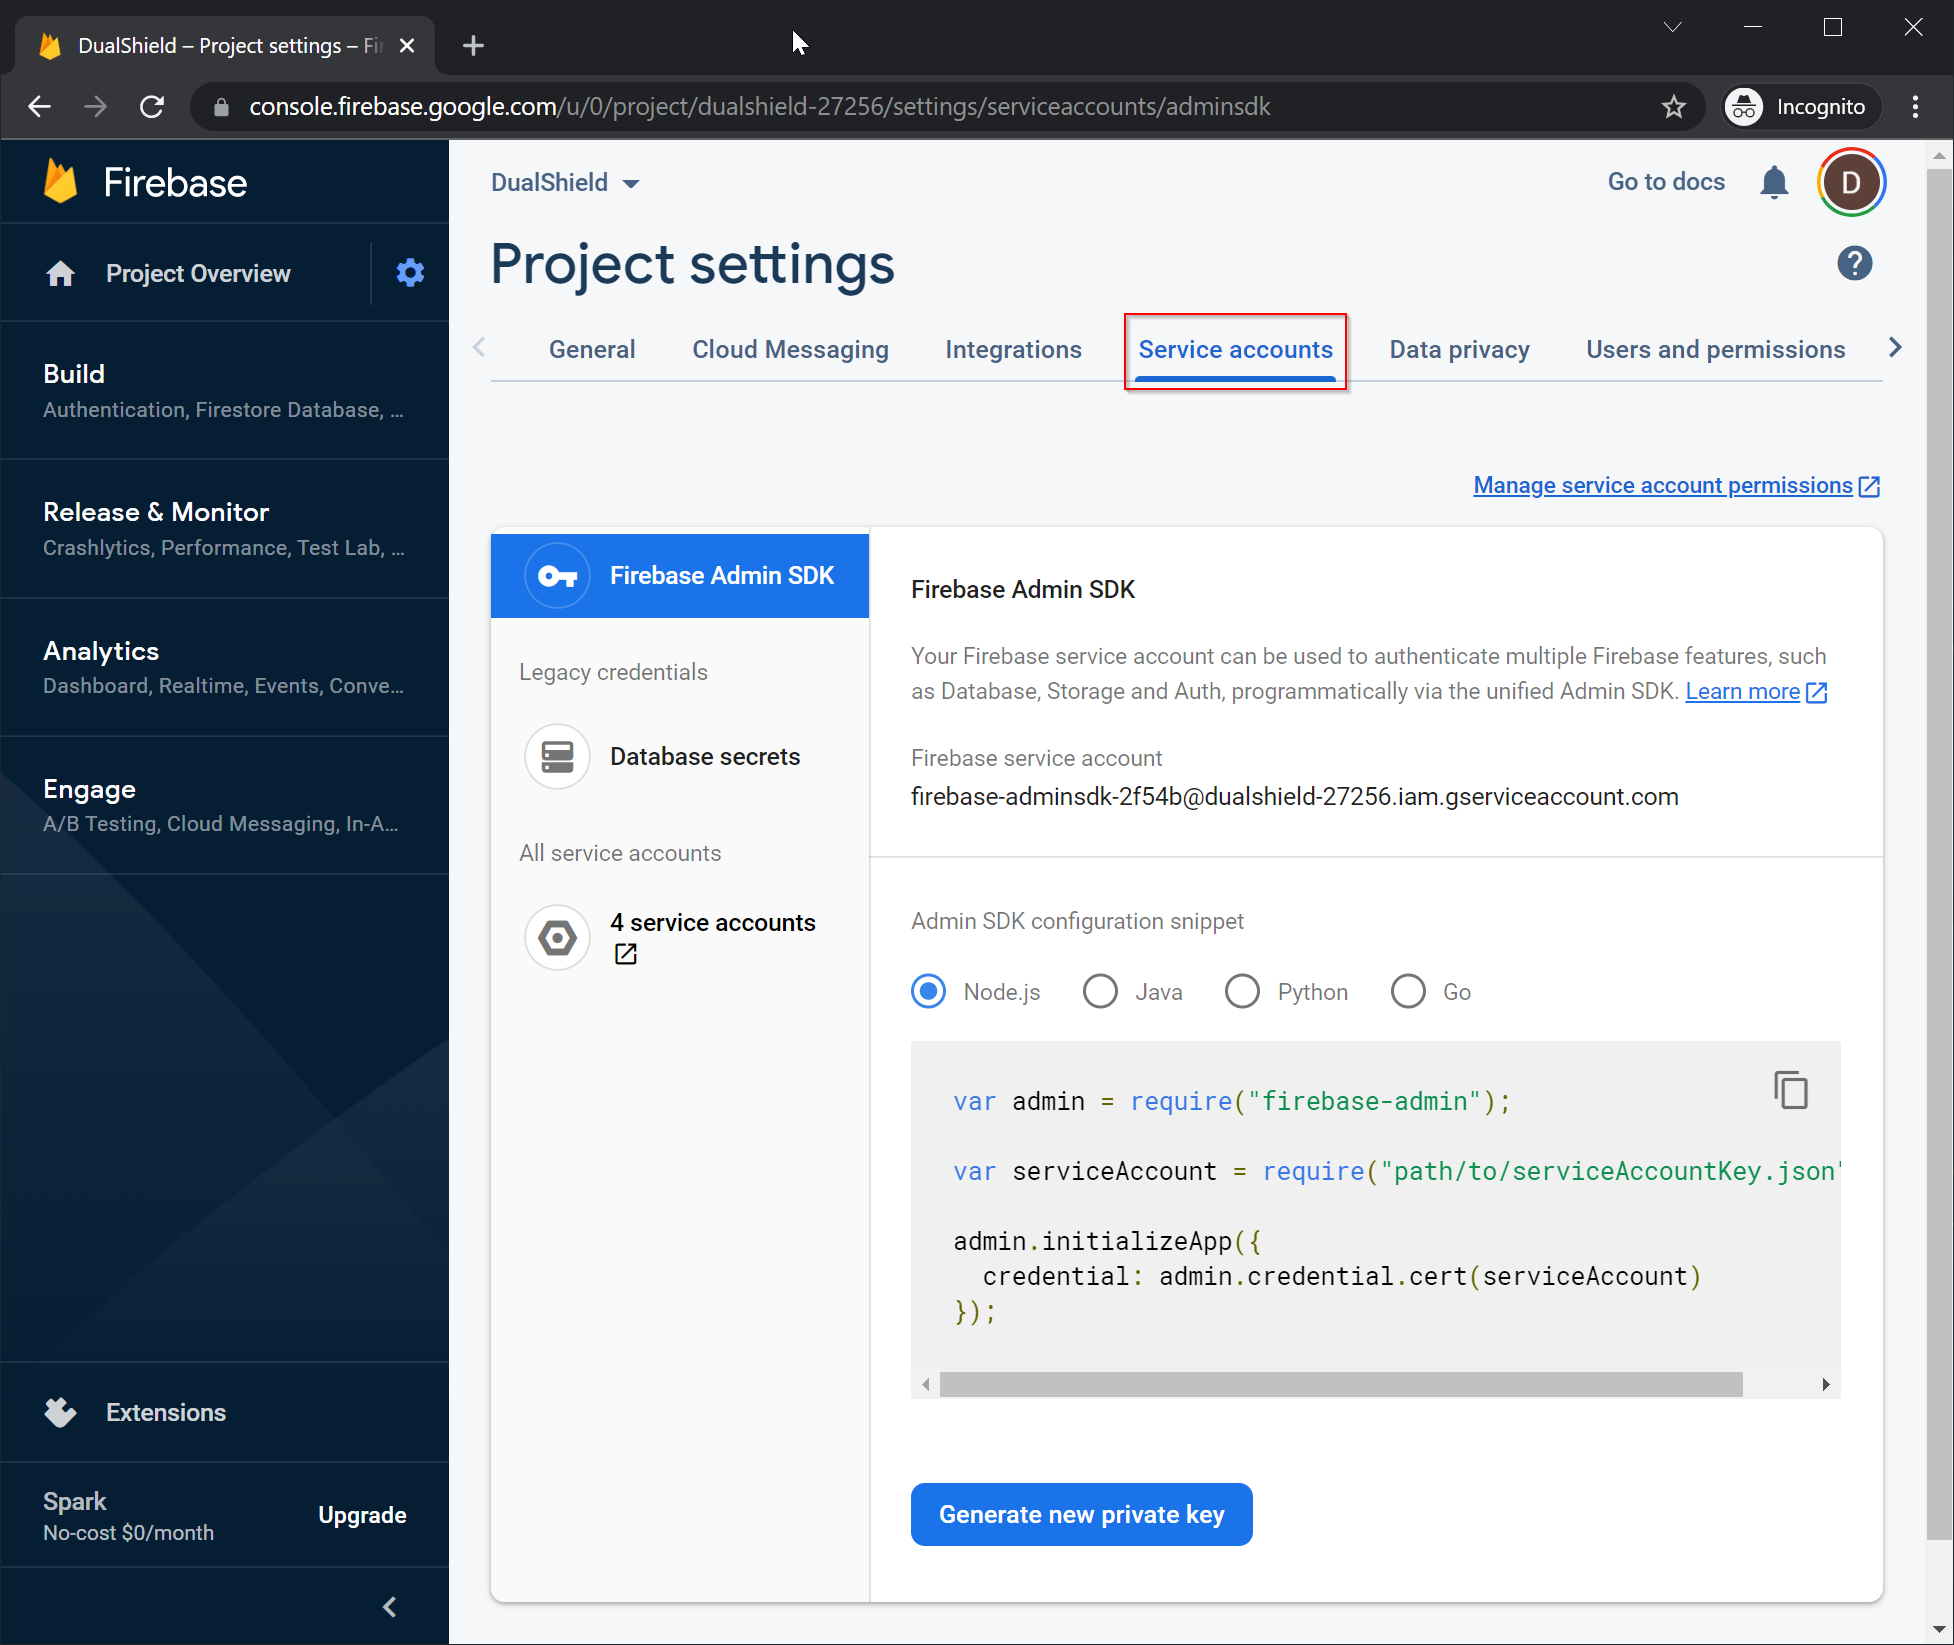
- Then, press the "Generate new private key" button on the bottom
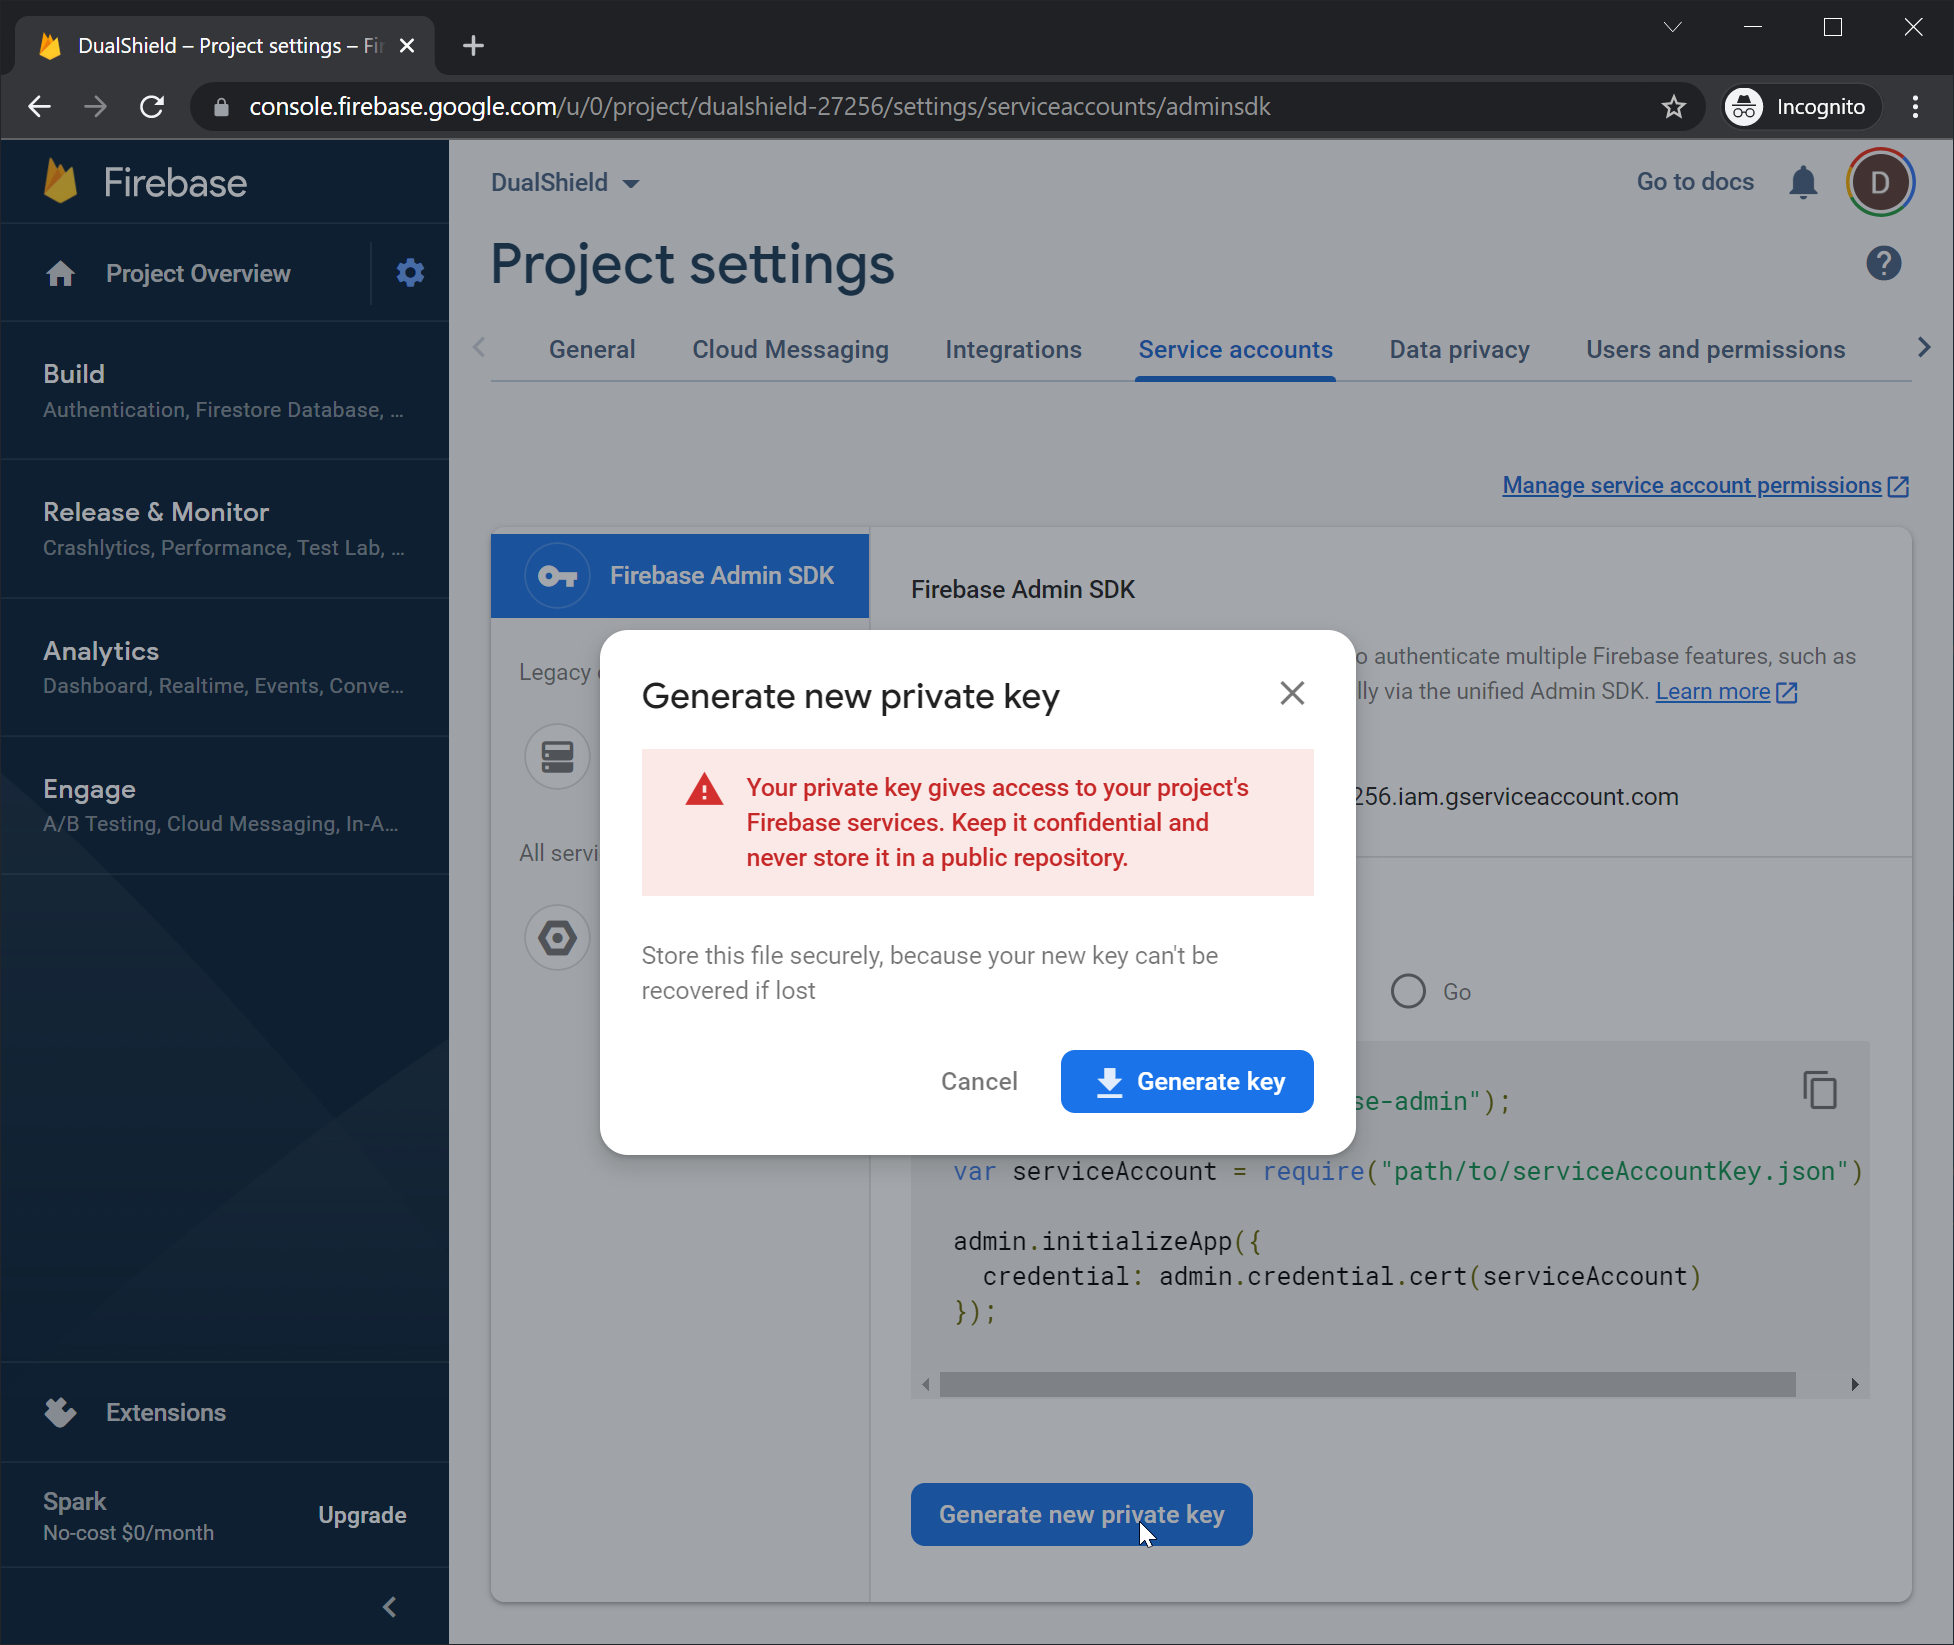
- Press "Generate key", then a private key will be generated in the format of a "json" file, and automatically downloaded by your browser
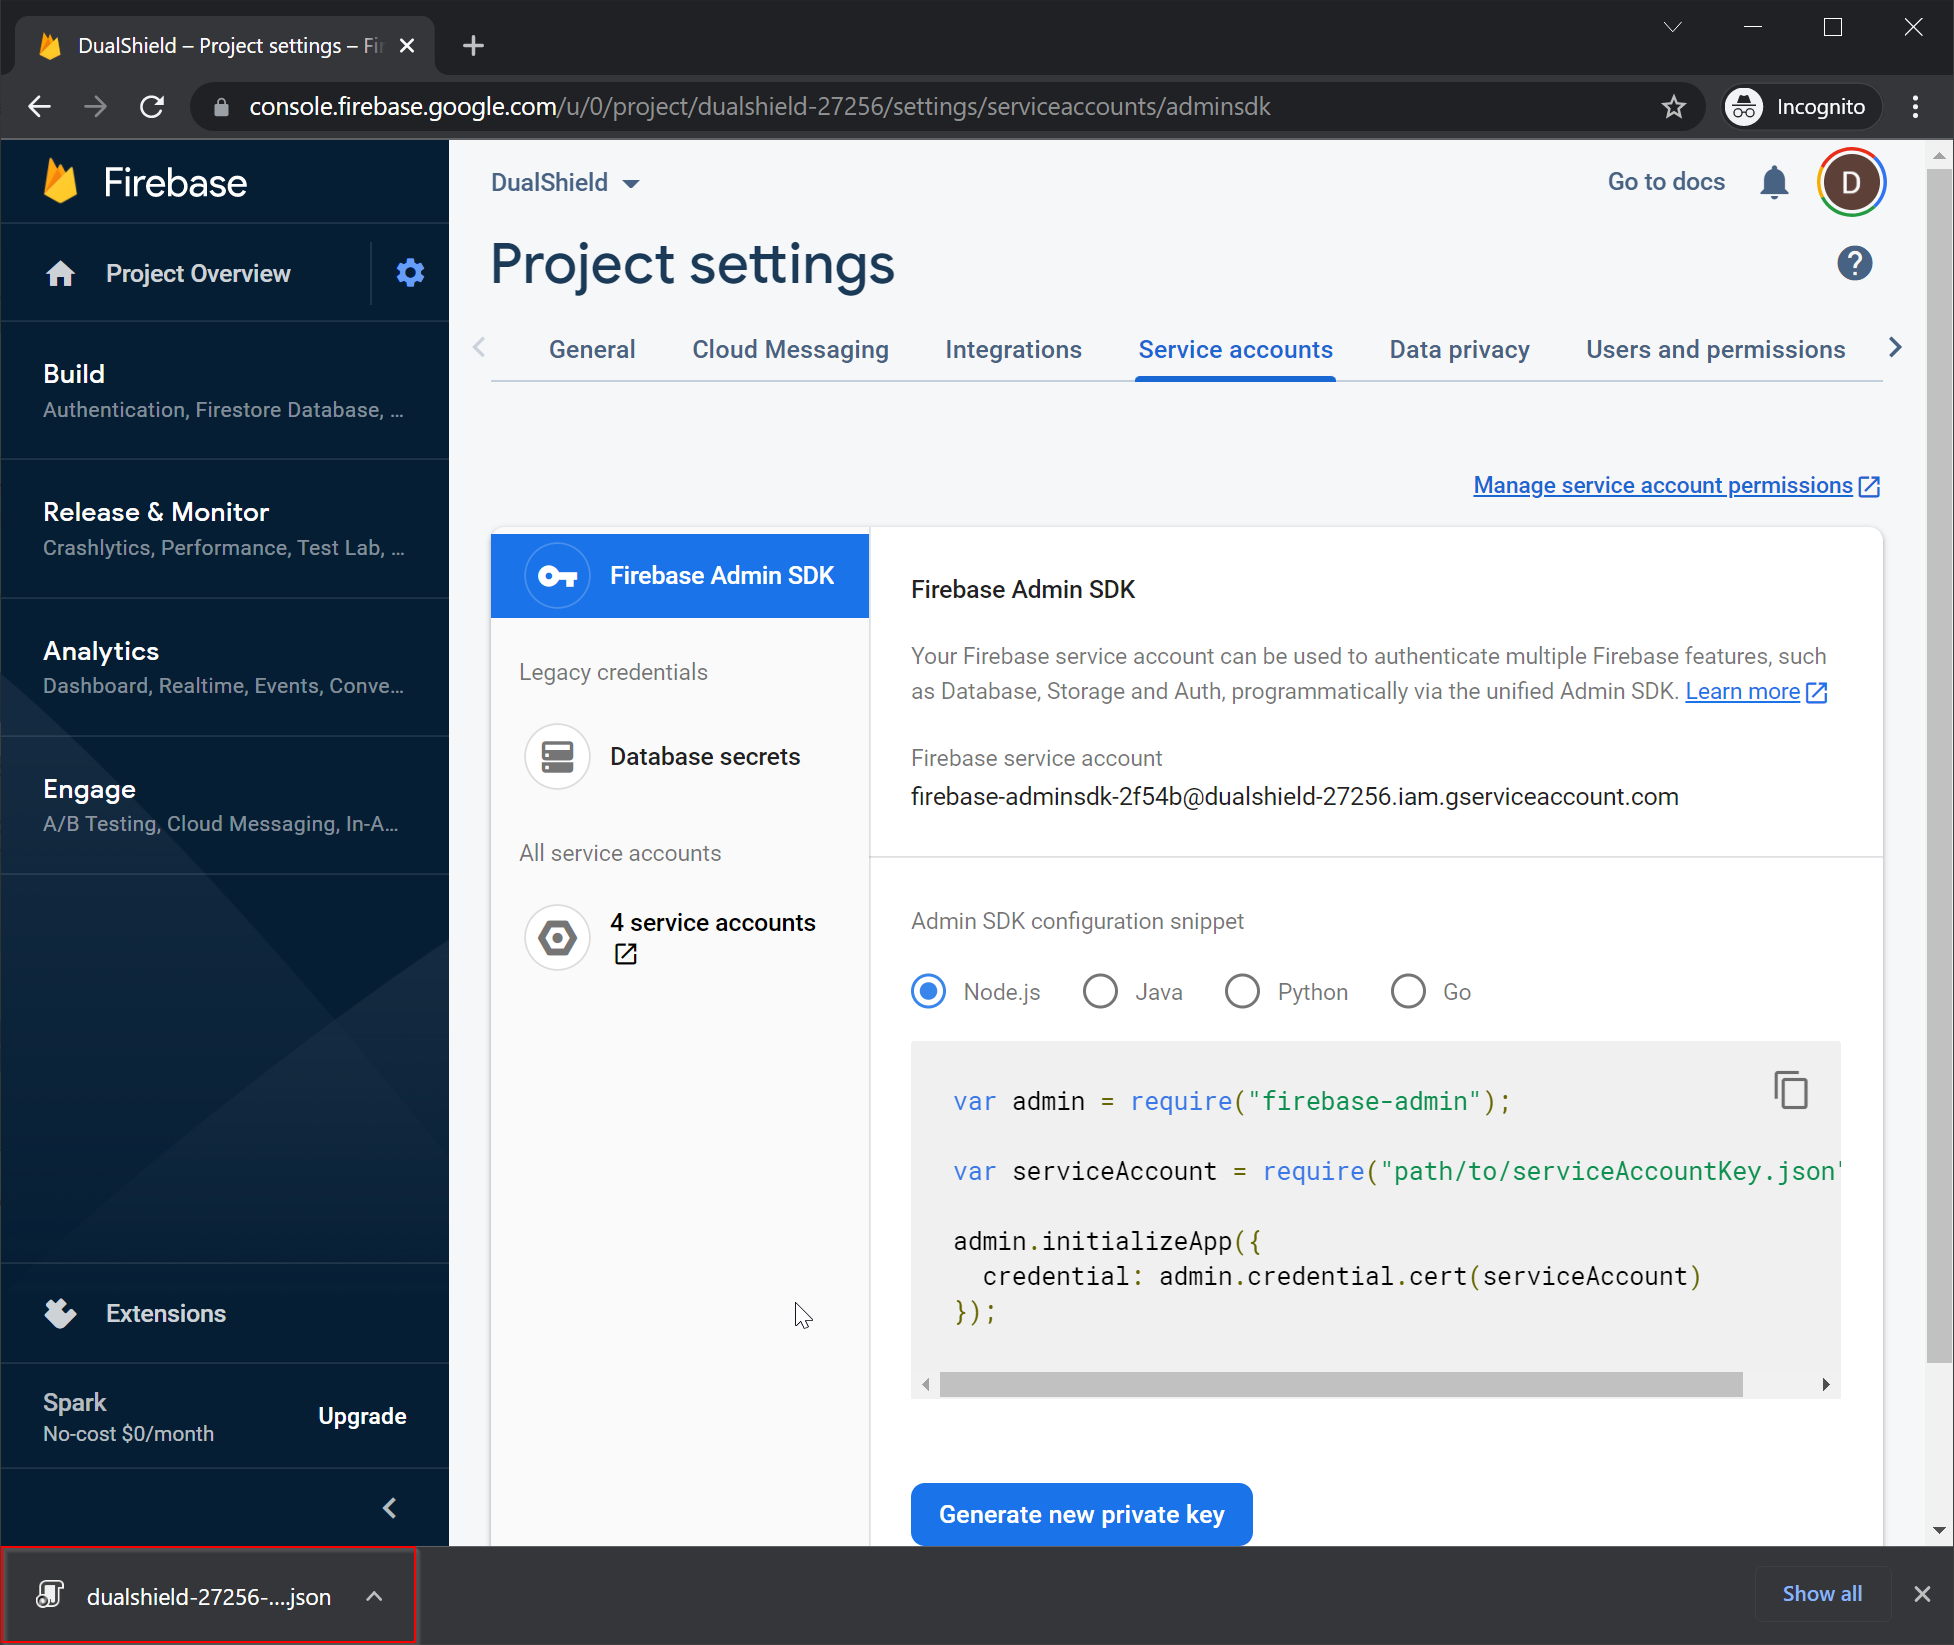
- Make sure that you keep a copy of the private key file in a safe place
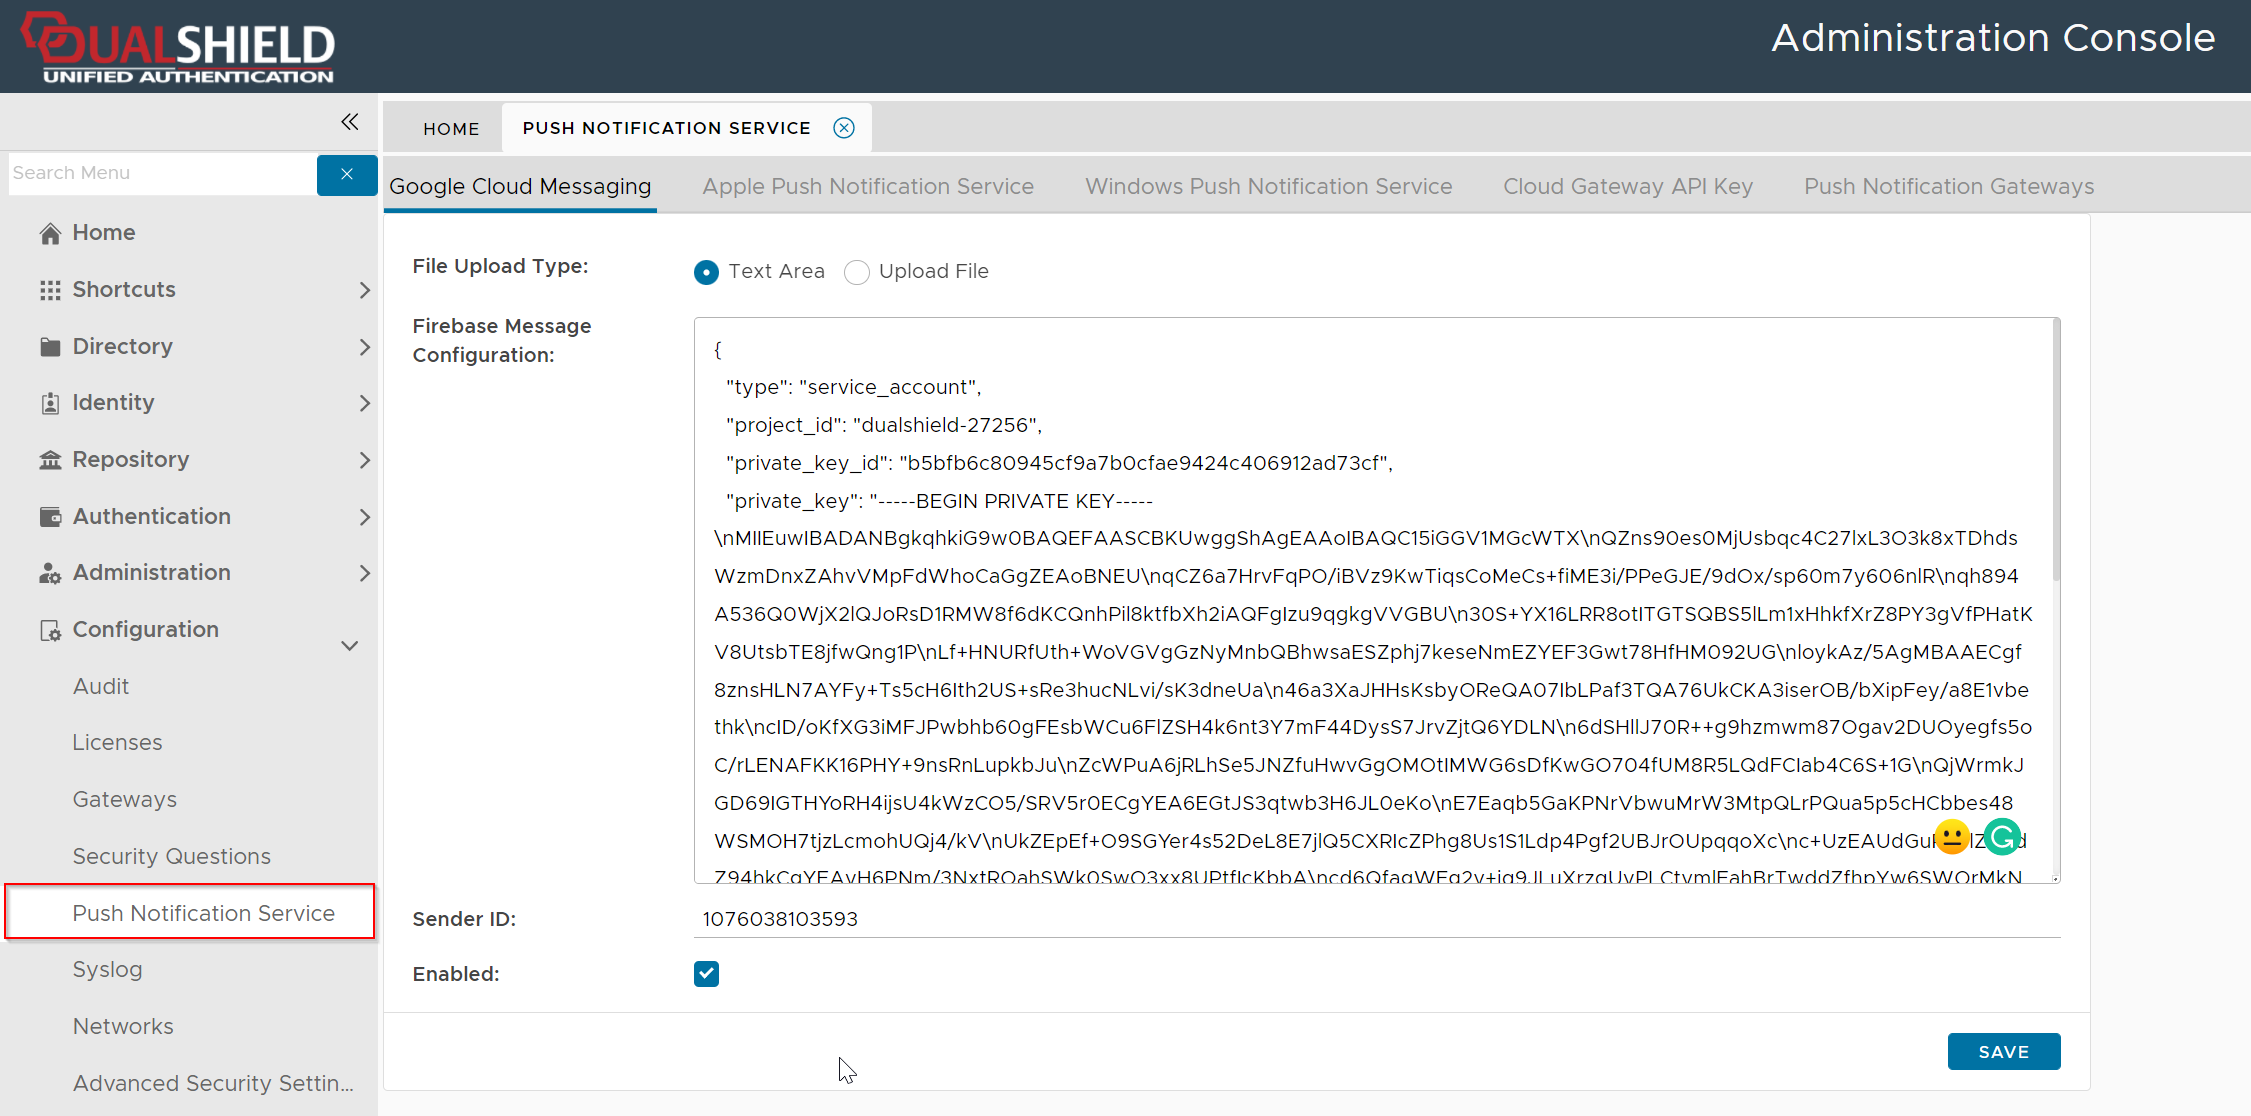
- Now, login into your DualShield's Admin Console
- Select "Configuration | Push Notification Service", then select "Google Cloud Messaging";
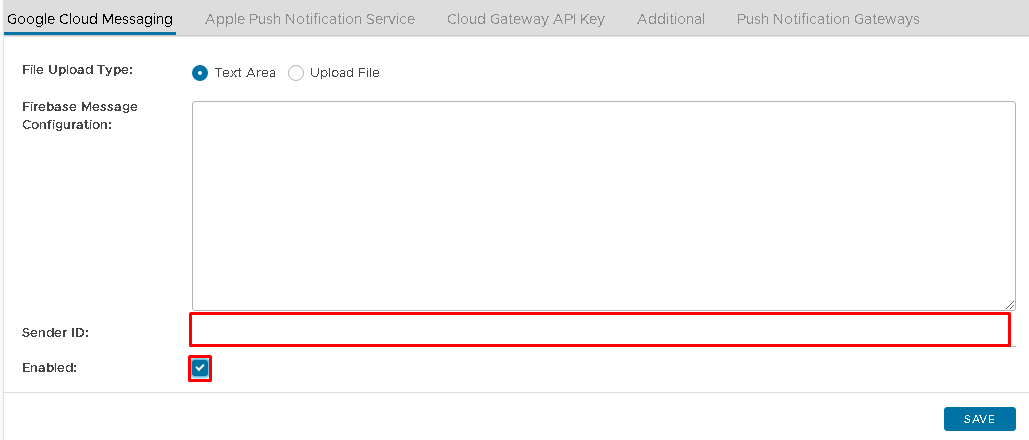
- Check "Enabled" and enter the "Sender ID" from your Firebase project.

- Click on the upload file option button and "Select File".
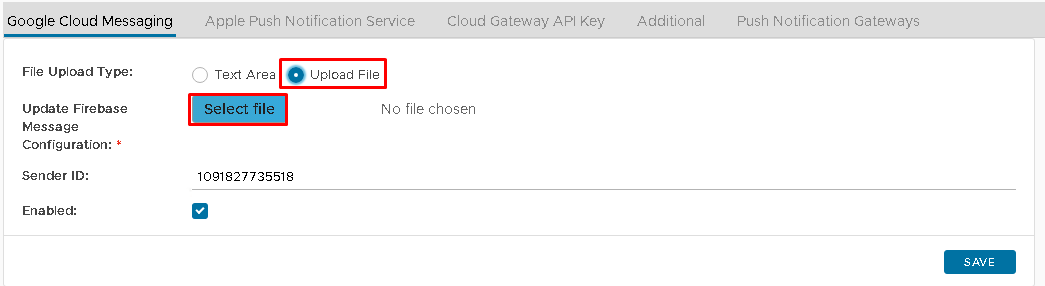
- Select the Firebase private key file to upload

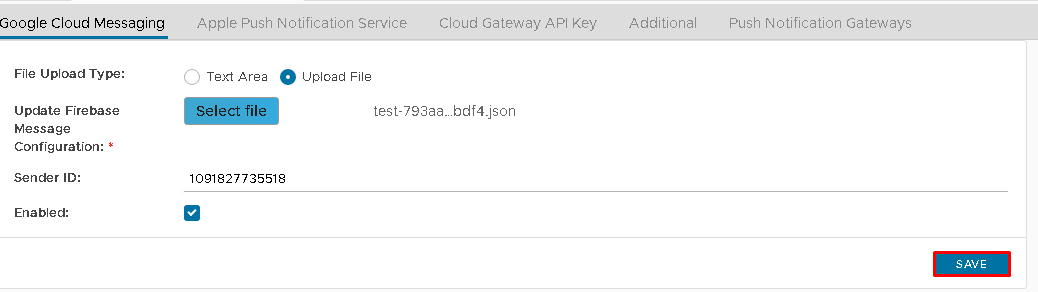
- Click "Save"
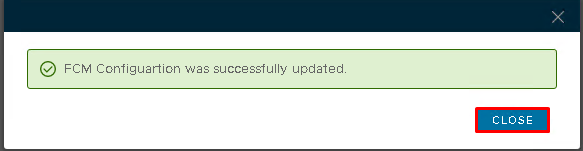
- Click "Close"
- Click back in "Text Area" and you will see the Firebase Messaging Configuration has been populated: