Create a RADIUS logon procedure
- Login to the DualShield management console
- In the main menu, select "Authentication | Logon Procedure"
- Click the "Create" button on the toolbar
- Enter "Name" and select "RADIUS" as the Type
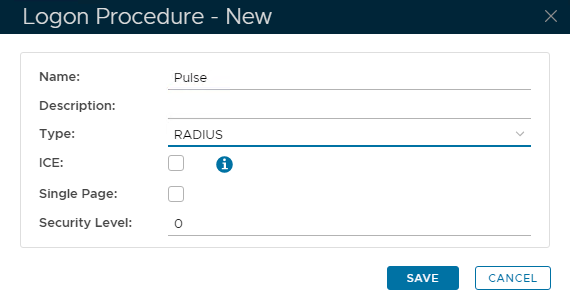
- Click "Save"
- Click the Context Menu icon of the newly create logon procedure, select "Logon Steps"
- In the popup windows, click the "Add" button on the toolbar
- Select the desired authentication method, e.g. "Static Password + One-Time Password"
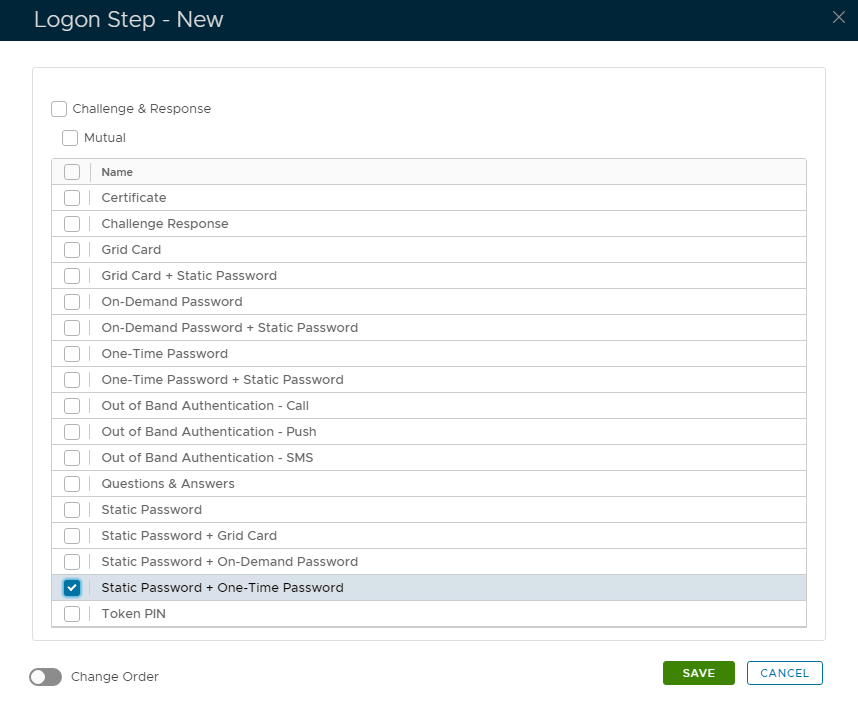
- Click "Save"
Create a RADIUS application
- In the main menu, select "Authentication | Applications"
- Click the "Create" button on the toolbar
- Enter "Name"
- Select "Realm"
- Select the logon procedure that was just created
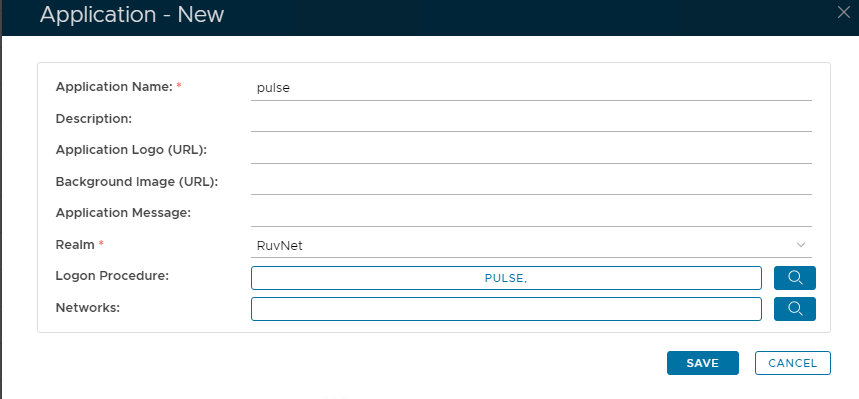
- Click "Save"
- Click the context menu of the newly created application, select "Agent"

- Select the DualShield Radius server, e.g. "Local Radius Server"
- Click "Save"
- Click the context menu of the newly created application, select "Self Test"

Register the Juniper SA as a Radius client
- In the main menu, select "RADIUS | Clients"
- Click the "Register" button on the toolbar
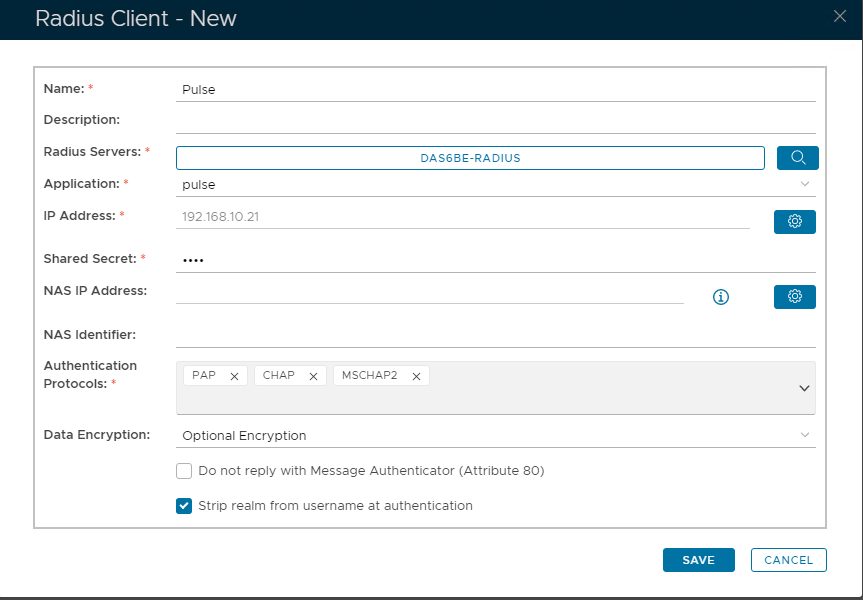
- Select the application that was created in the previous steps
- Enter Juniper SA's IP in the IP address
- Enter the Shared Secret which will be used in Juniper.
- Click "Save"
Register the DualShield RADIUS server
Log into the Juniper SA Administrator Console. The administrator console can be reached via a web browser, e.g. https://juniper.deepnetlabs.com/admin
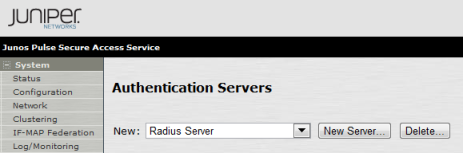
- Click "Auth.Servers" in the "Authentication" section
(Classic UI)
(New UI)
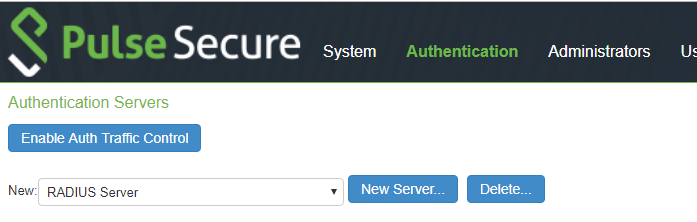
- Select "Radius Server" in the dropdown list, and click "New Server"
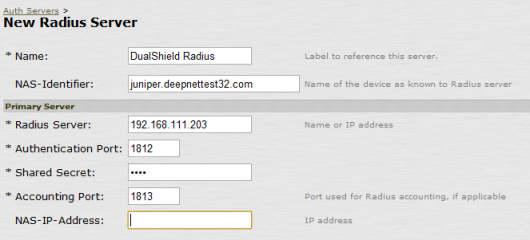
- Populate the fields
(Classic UI)
(New UI)
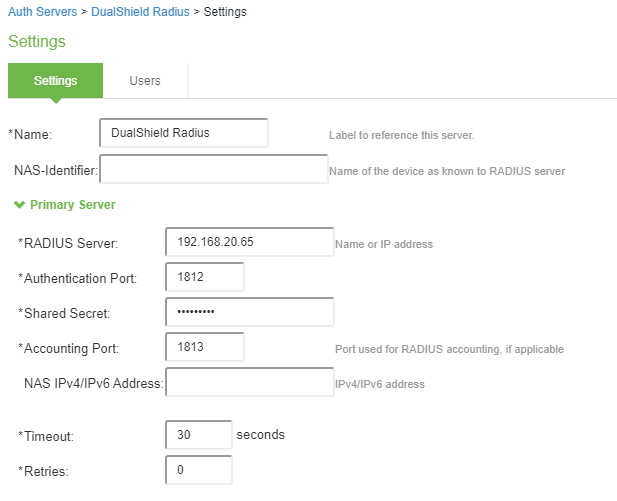
Name | a label for the DualShield RADIUS server |
Radius Server | IP address or the FQDN of the DualShield RADIUS server |
Authentication Port | Authentication Port of the DualShield RADIUS server |
Accounting Port | Accounting port of the the DualShield RADIUS server |
Share Secret | The Shared Secret set up in the DualShield Radius client |