Create a Logon Procedure for ADC Citrix Gateway
- Login to the DualShield Administration Console
- In the main menu, navigate to "Authentication | Logon Procedures"
- Click the "+ CREATE" button on the toolbar
- Enter a friendly "Name" and select "Web SSO" as the Type:
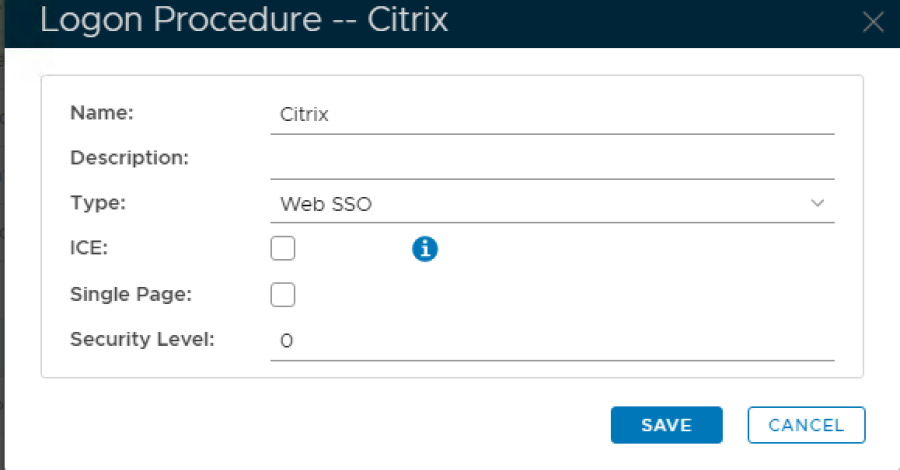
5. Click "SAVE" button to create.
6. Click the context "..." menu of the newly created Logon Procedure, then select "Logon Steps"
7. Click "+ ADD" to select and add a Logon Step. Repeat for both "Static Password" (AD Password) and "One-Time Password":

Create an Application for ADC Citrix Gateway
- In the main menu, navigate to "Authentication | Applications"
- Click "+ CREATE" button, to create the new Application
Name: Enter an appropriate friendly "Name"
Realm: Select your internal AD "Realm"
Logon Procedure: Select the Logon Procedure created in the previous step.

5. Click "SAVE" button to create the new Application
6. Click the context "..." menu of the newly created Application, then select "Agents":

7. From the list select "Single Sign-on Server / SSO Server":

8. Click "SAVE" button to confirm.
9. Click the context "..." menu of the newly created Application, then "Self Test"

Create a SAML Service Provider for ADC Citrix Gateway
- In the main menu, navigate to "SSO | Service Providers"
- Click "+ CREATE" to setup a new Provider
SSO Server: Select default "Single Sign-on Server"
Name: Enter an appropriate friendly "Name".
Type: Select from the drop-down "SAML 2.0".

6. Click the "CREATE METADATA" button.
7. In the Metadata box that appears, paste in the Metadata, exported from the Service Provider (*see template below)
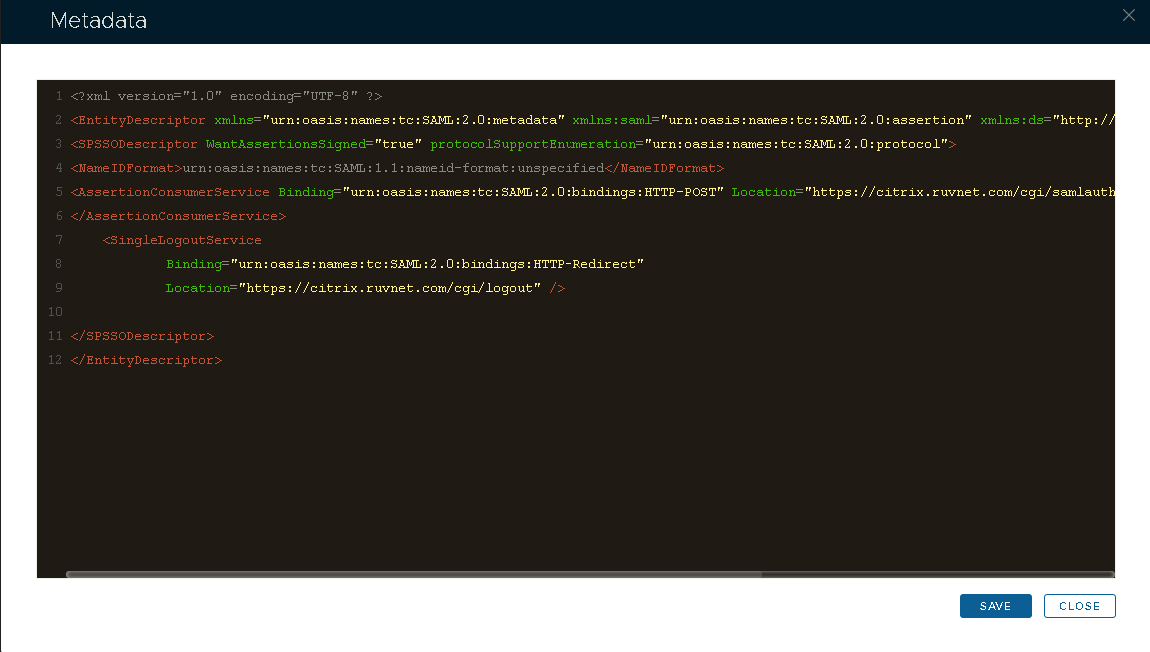
- Use the template below to create the metadata. Change the value of the entityID, ACS and SLO location attributes (highlighted in red) to the FQDN of your Citrix Gateway Virtual Server.
<?xml version="1.0" encoding="UTF-8" ?>
<EntityDescriptor xmlns="urn:oasis:names:tc:SAML:2.0:metadata" xmlns:saml="urn:oasis:names:tc:SAML:2.0:assertion" xmlns:ds="http://www.w3.org/2000/09/xmldsig#" entityID="https://citrix.gateway.fqdn">
<SPSSODescriptor WantAssertionsSigned="true" protocolSupportEnumeration="urn:oasis:names:tc:SAML:2.0:protocol">
<NameIDFormat>urn:oasis:names:tc:SAML:1.1:nameid-format:unspecified</NameIDFormat>
<AssertionConsumerService Binding="urn:oasis:names:tc:SAML:2.0:bindings:HTTP-POST" Location="https://citrix.gateway.fqdn/cgi/samlauth" index="0" isDefault="true">
</AssertionConsumerService>
<SingleLogoutService
Binding="urn:oasis:names:tc:SAML:2.0:bindings:HTTP-Redirect"
Location="https://citrix.gateway.fqdn/cgi/logout" /></SPSSODescriptor>
</EntityDescriptor>
Click Save.
8. Enable "Sign on SAML Assertion" and "Support SP Initiated Single Logout (SLO)" under 'SAML Options'.

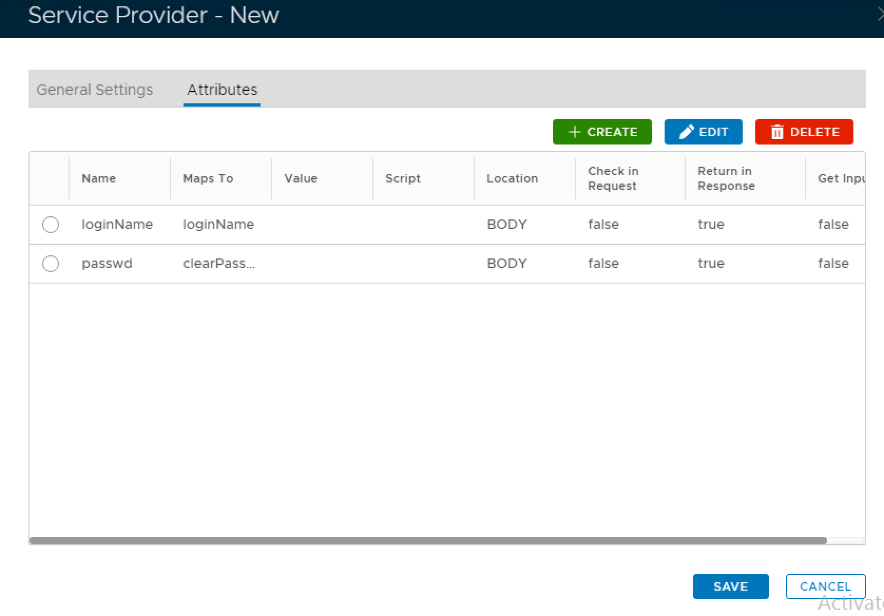
9. Click the 2nd "Attributes" tab in the menu:

10. Click the "+ CREATE" button, to add a new Attribute.
11. On the Attributes builder specify Location as HTTP Body and enter a name for this attribute. In this case I have used the name loginName .
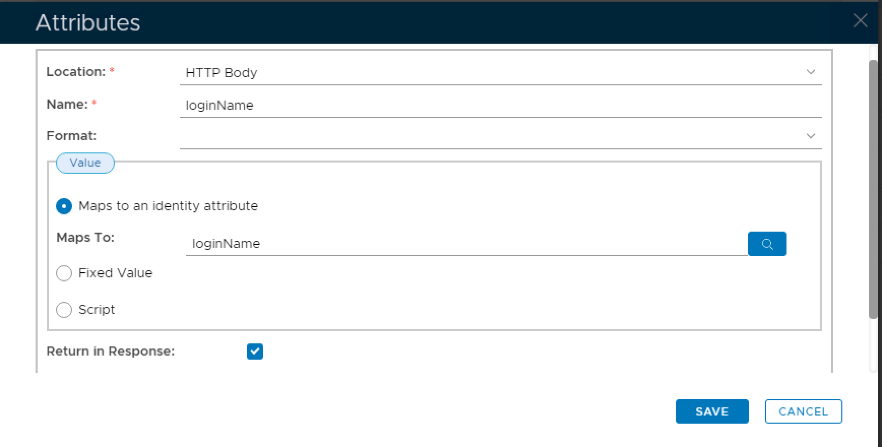
12. Click on the search symbol to the right of the Maps To field.
13. Select the identity source that will be used and select Login Name from the Maps to drop down list:
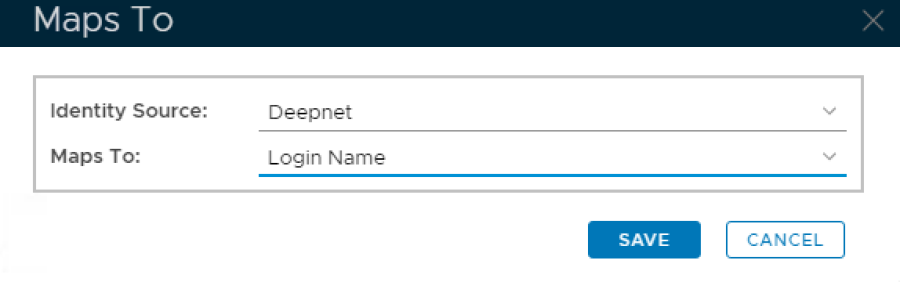
14. Click Save
15. Click Save again
16. Repeat steps 10 & 11 but this time name the attribute passwd
17. Copy this syntax clearPassword.encodeAsBase64() and paste it into the Maps To field
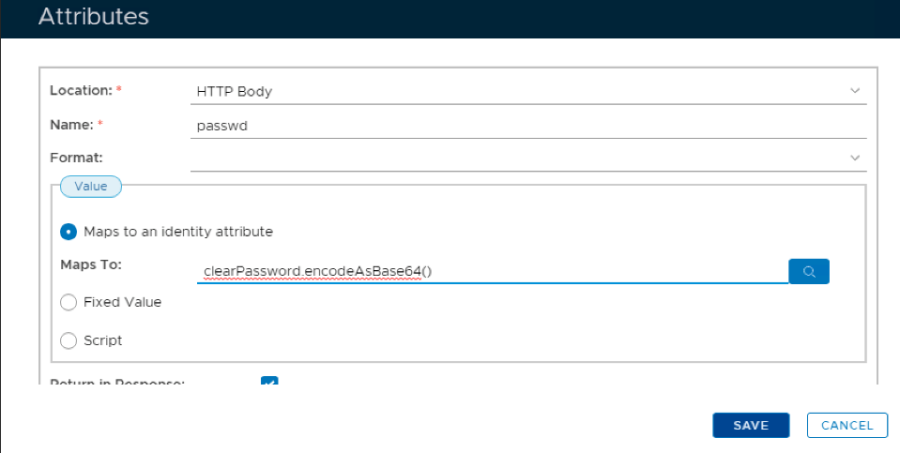
18. Click Save
19. Click Save again.