Because the Microsoft Certificate Server is known to Active Directory the trusted CA certificate is automatically installed on all domain-joined systems, the engineers then have to manually add the trusted CA certificate to non-domain-joined systems including domestic PCs, thin clients, tablets and smart phones
On the Microsoft Certificate Server (Usually the domain controller)
1. Run mmc and load the Certification Authority Snap-in. 
2. Right click the authority > All Tasks > Back up CA. 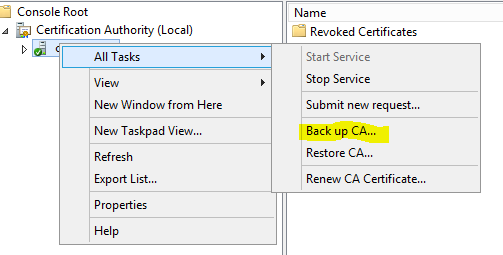
3. Back up the Private key and CA certificate to a convenient location. 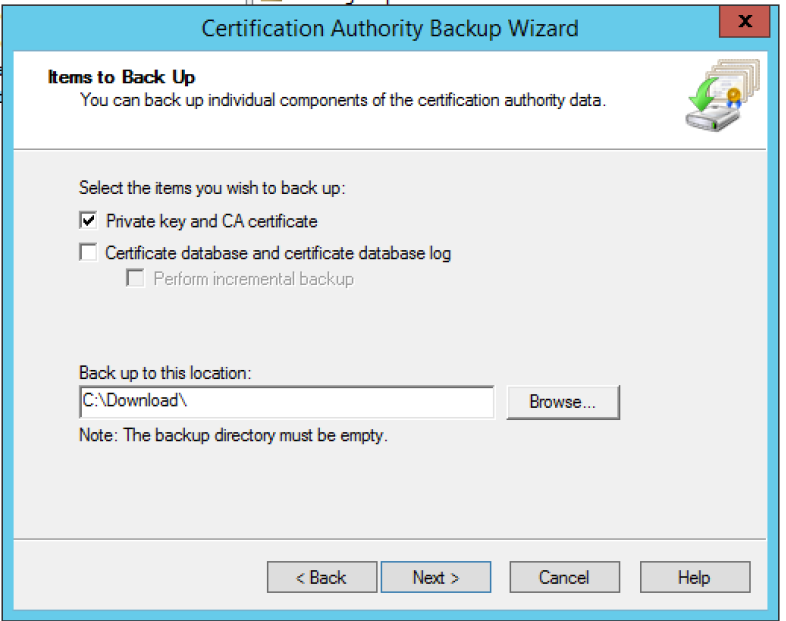
4. Create a password. 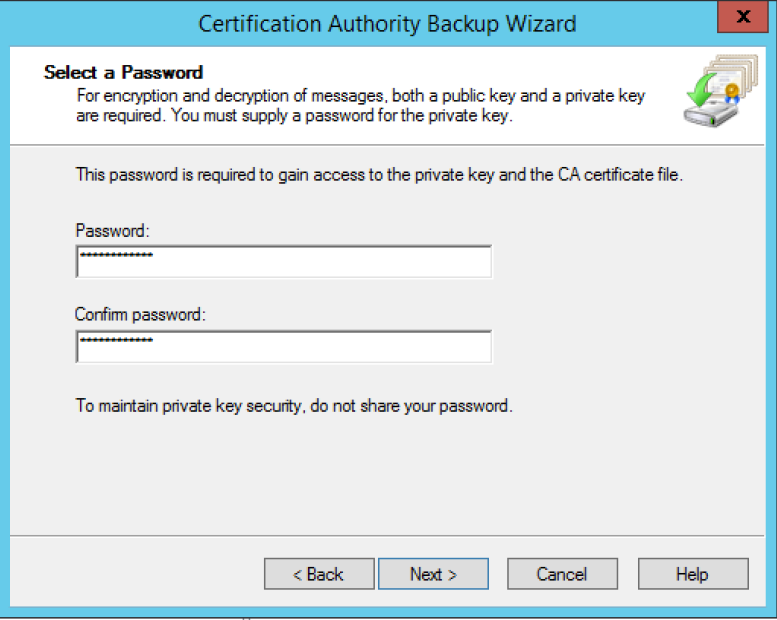
5. Click Next.
6. Click Finish.
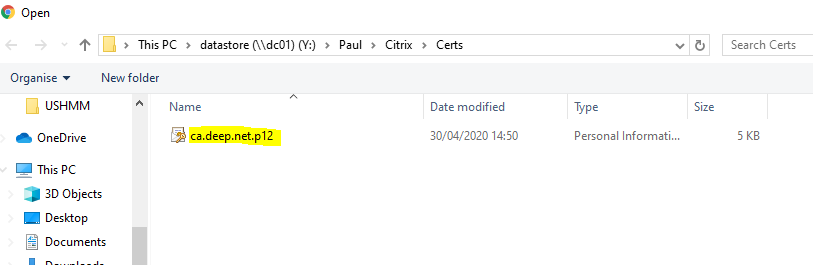
The backup creates a .p12 file with the name of your Certificate authority. 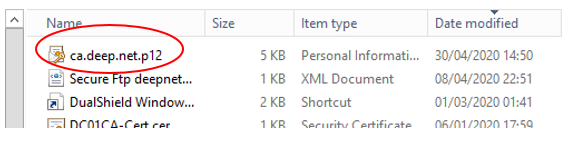
On the ADC GUI
Import the CA certificate
To import the backed up key and certificate, complete the following steps:
1. Go to Traffic Management > SSL > Tools > Import PKCS#12. 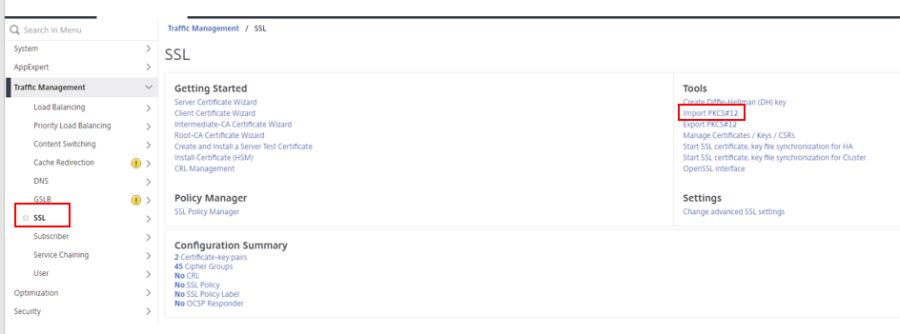
2. Output file name is xxxxx.pem in the /flash/nsconfig/ssl folder on the appliance. PKCS12 File is the p12 backup file created.* Password is the password used during the backup 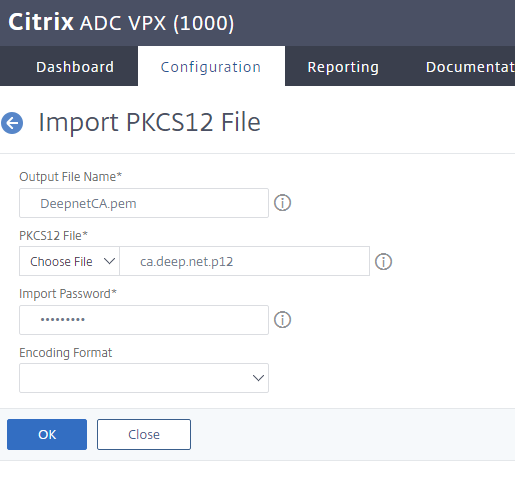
*NOTE: By using the dropdown arrows where it says Choose File, it is possible to read the .p12 file from the local PC/Server where you did the Backup. 
Install the CA certificate
Install the CA certificate if you want to use SSL to communicate from the NetScaler Gateway to your StoreFront:
1. Go to Traffic Management > SSL > Certificates > CA Certificates.
2.Click on Install at the top 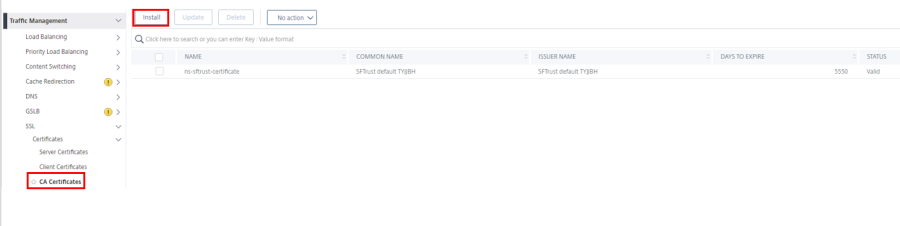
3. Type in the a name for the key-pair.
4.For the certificate file name, select the p12 file you had saved locally.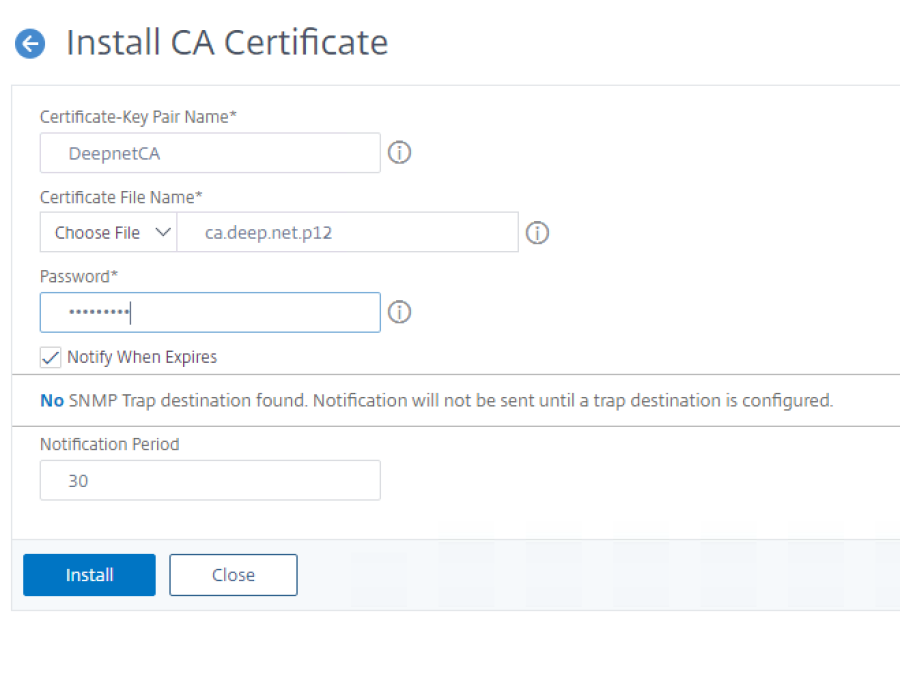
5. Click on Install
Create the server certificate
To create the server certificate, complete the following steps:
1. Go to Traffic Management > SSL > Getting Started > Server Certificate Wizard. 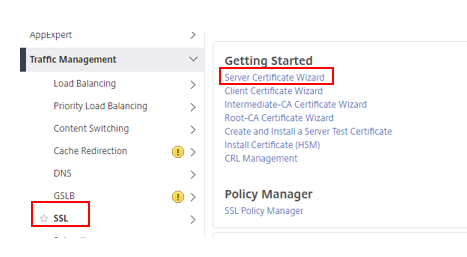
First part gets you to create an RSA encryption key.
- Enter the key name
- Enter the key size
For this example the Public Exponent Value and Key format is kept as the defaulted F4 and PEM.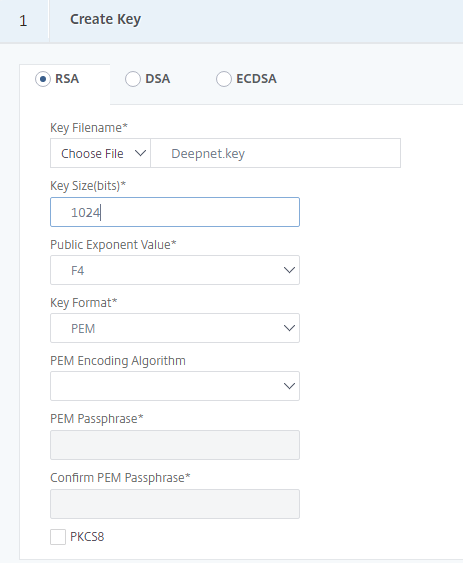
3. Enter a request file name
4. The Keyname file should be autopopulated
5. For the CSR I left Key Format defaulted to PEM and Digest Method as SHA1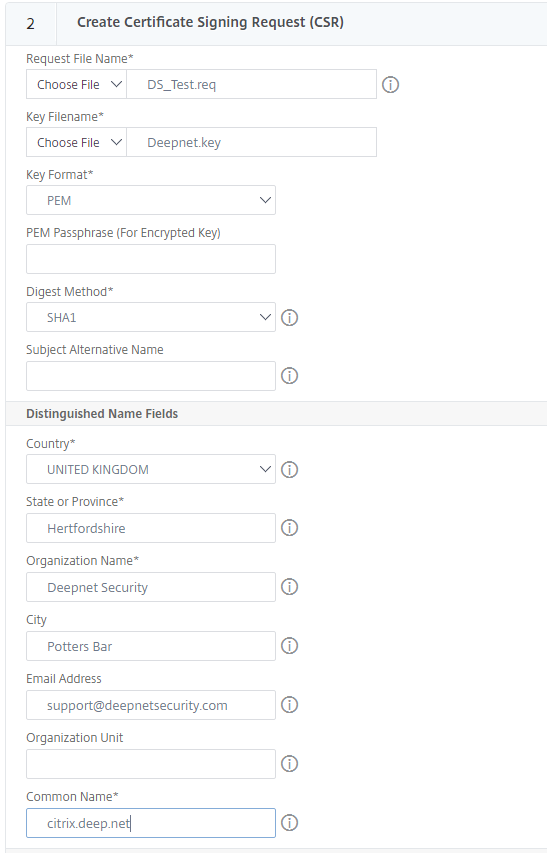
6. The common name will be the same as the FQDN for the Citrix Gateway name
7. Enter a Certificate file name
8. The Certificate Request File name should auto poplulate. If not click on Choose File > Appliance and select the req file you created from the list.
9. Here I left the Key Format and Validity Period as Defaults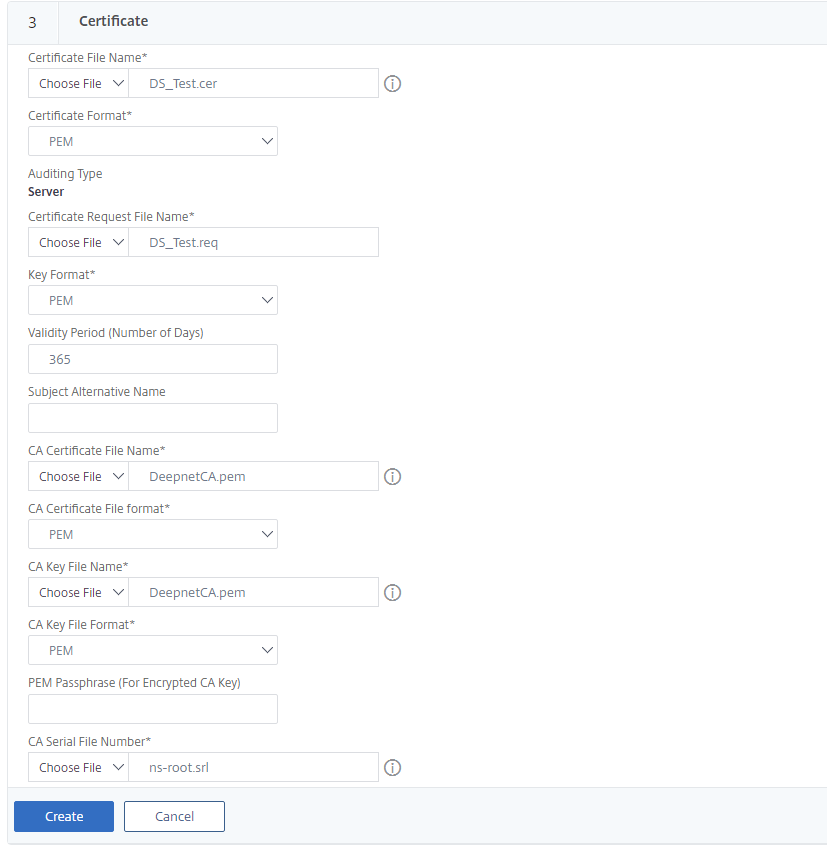
10. For Serial Key File Format browse appliance for ns-root.srl
11. Click on Create
12. Enter a key pair name.
13. The Certificate File name should auto poplulate. If not click on Choose File > Appliance and select the cer file you created from the list.
14. For Key File Name click on Choose File > Appliance and select the key file you created.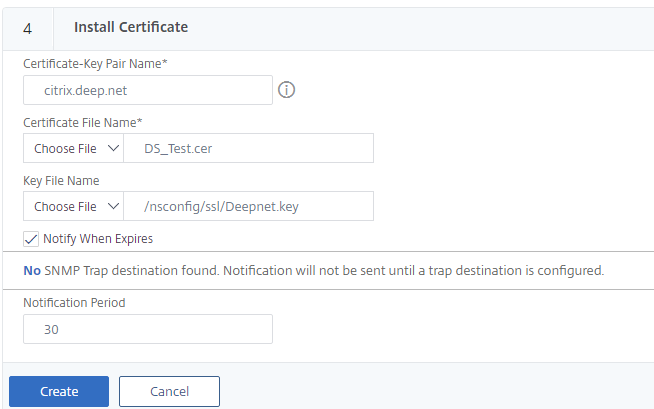
15. Click on Create
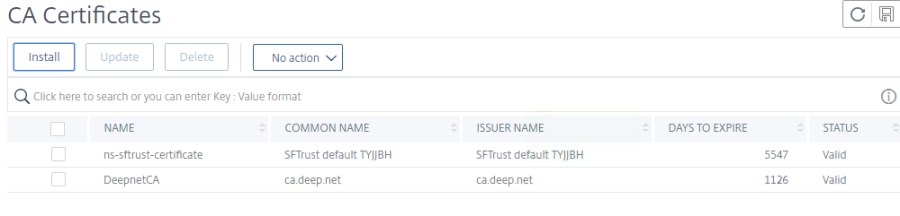
If you get the green tick it means you have installed the Server certificate successfully
You can check for it under Traffic Management > SSL >Certificates > Server Certificates