...
| Table of Contents | ||||
|---|---|---|---|---|
|
Step 1 - Agent Console FQDN
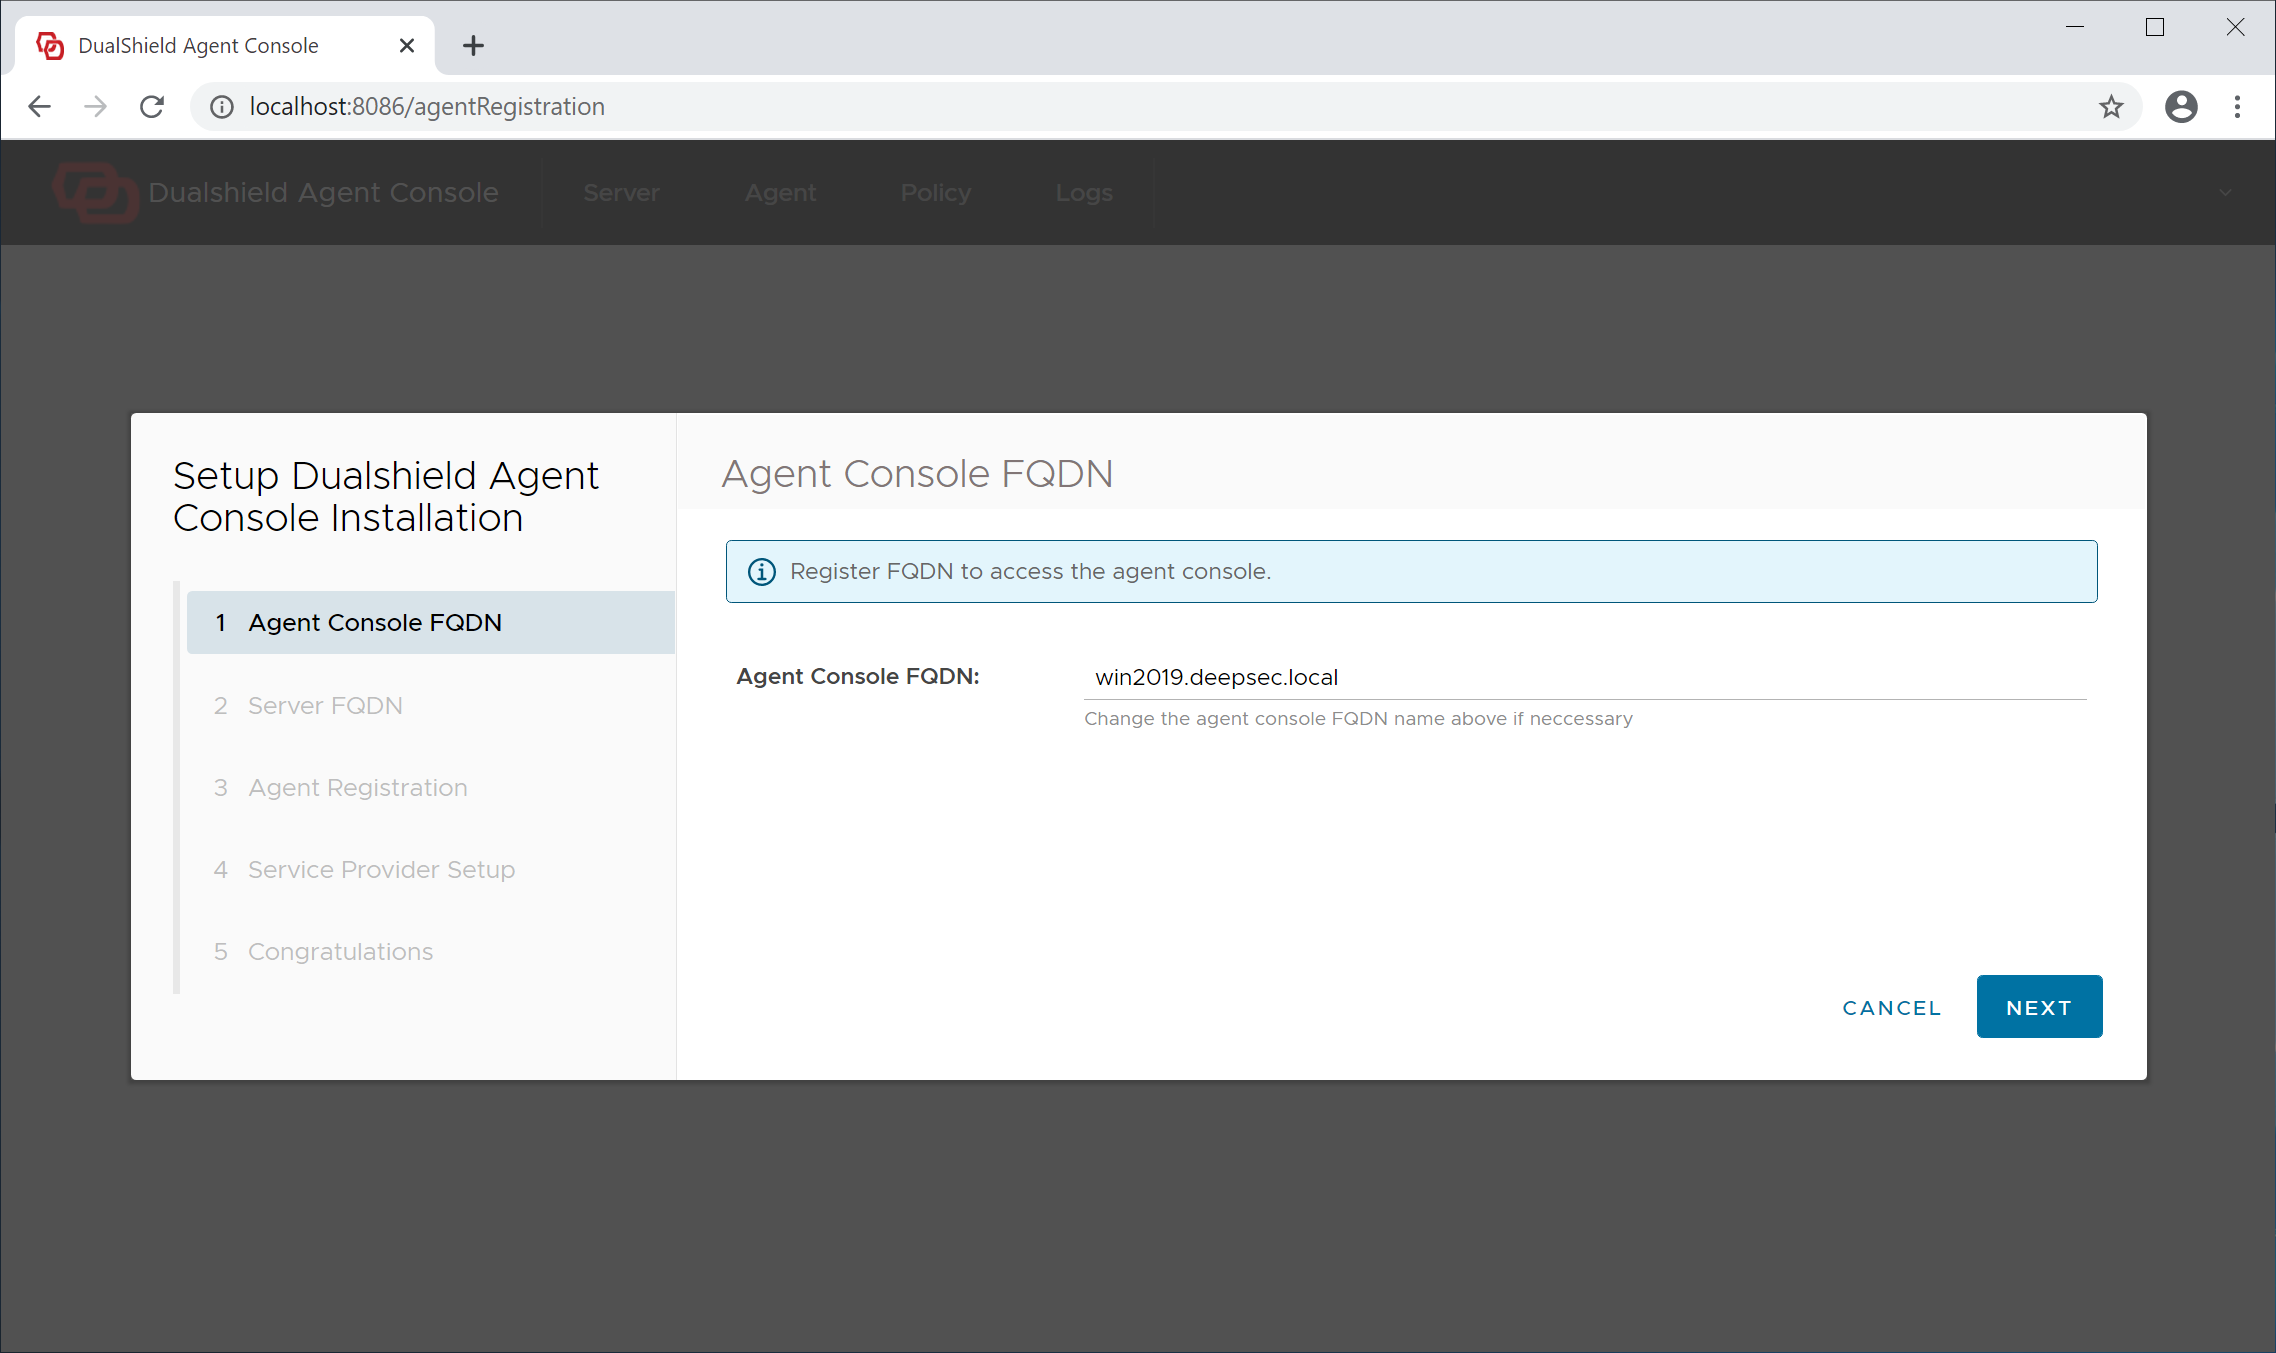
The admin console of the Logon Agent is a web portal, therefore it needs to have a hostname, or fully qualified domain name (FQDN). By default, the full computer name is suggested as the Agent's hostname.
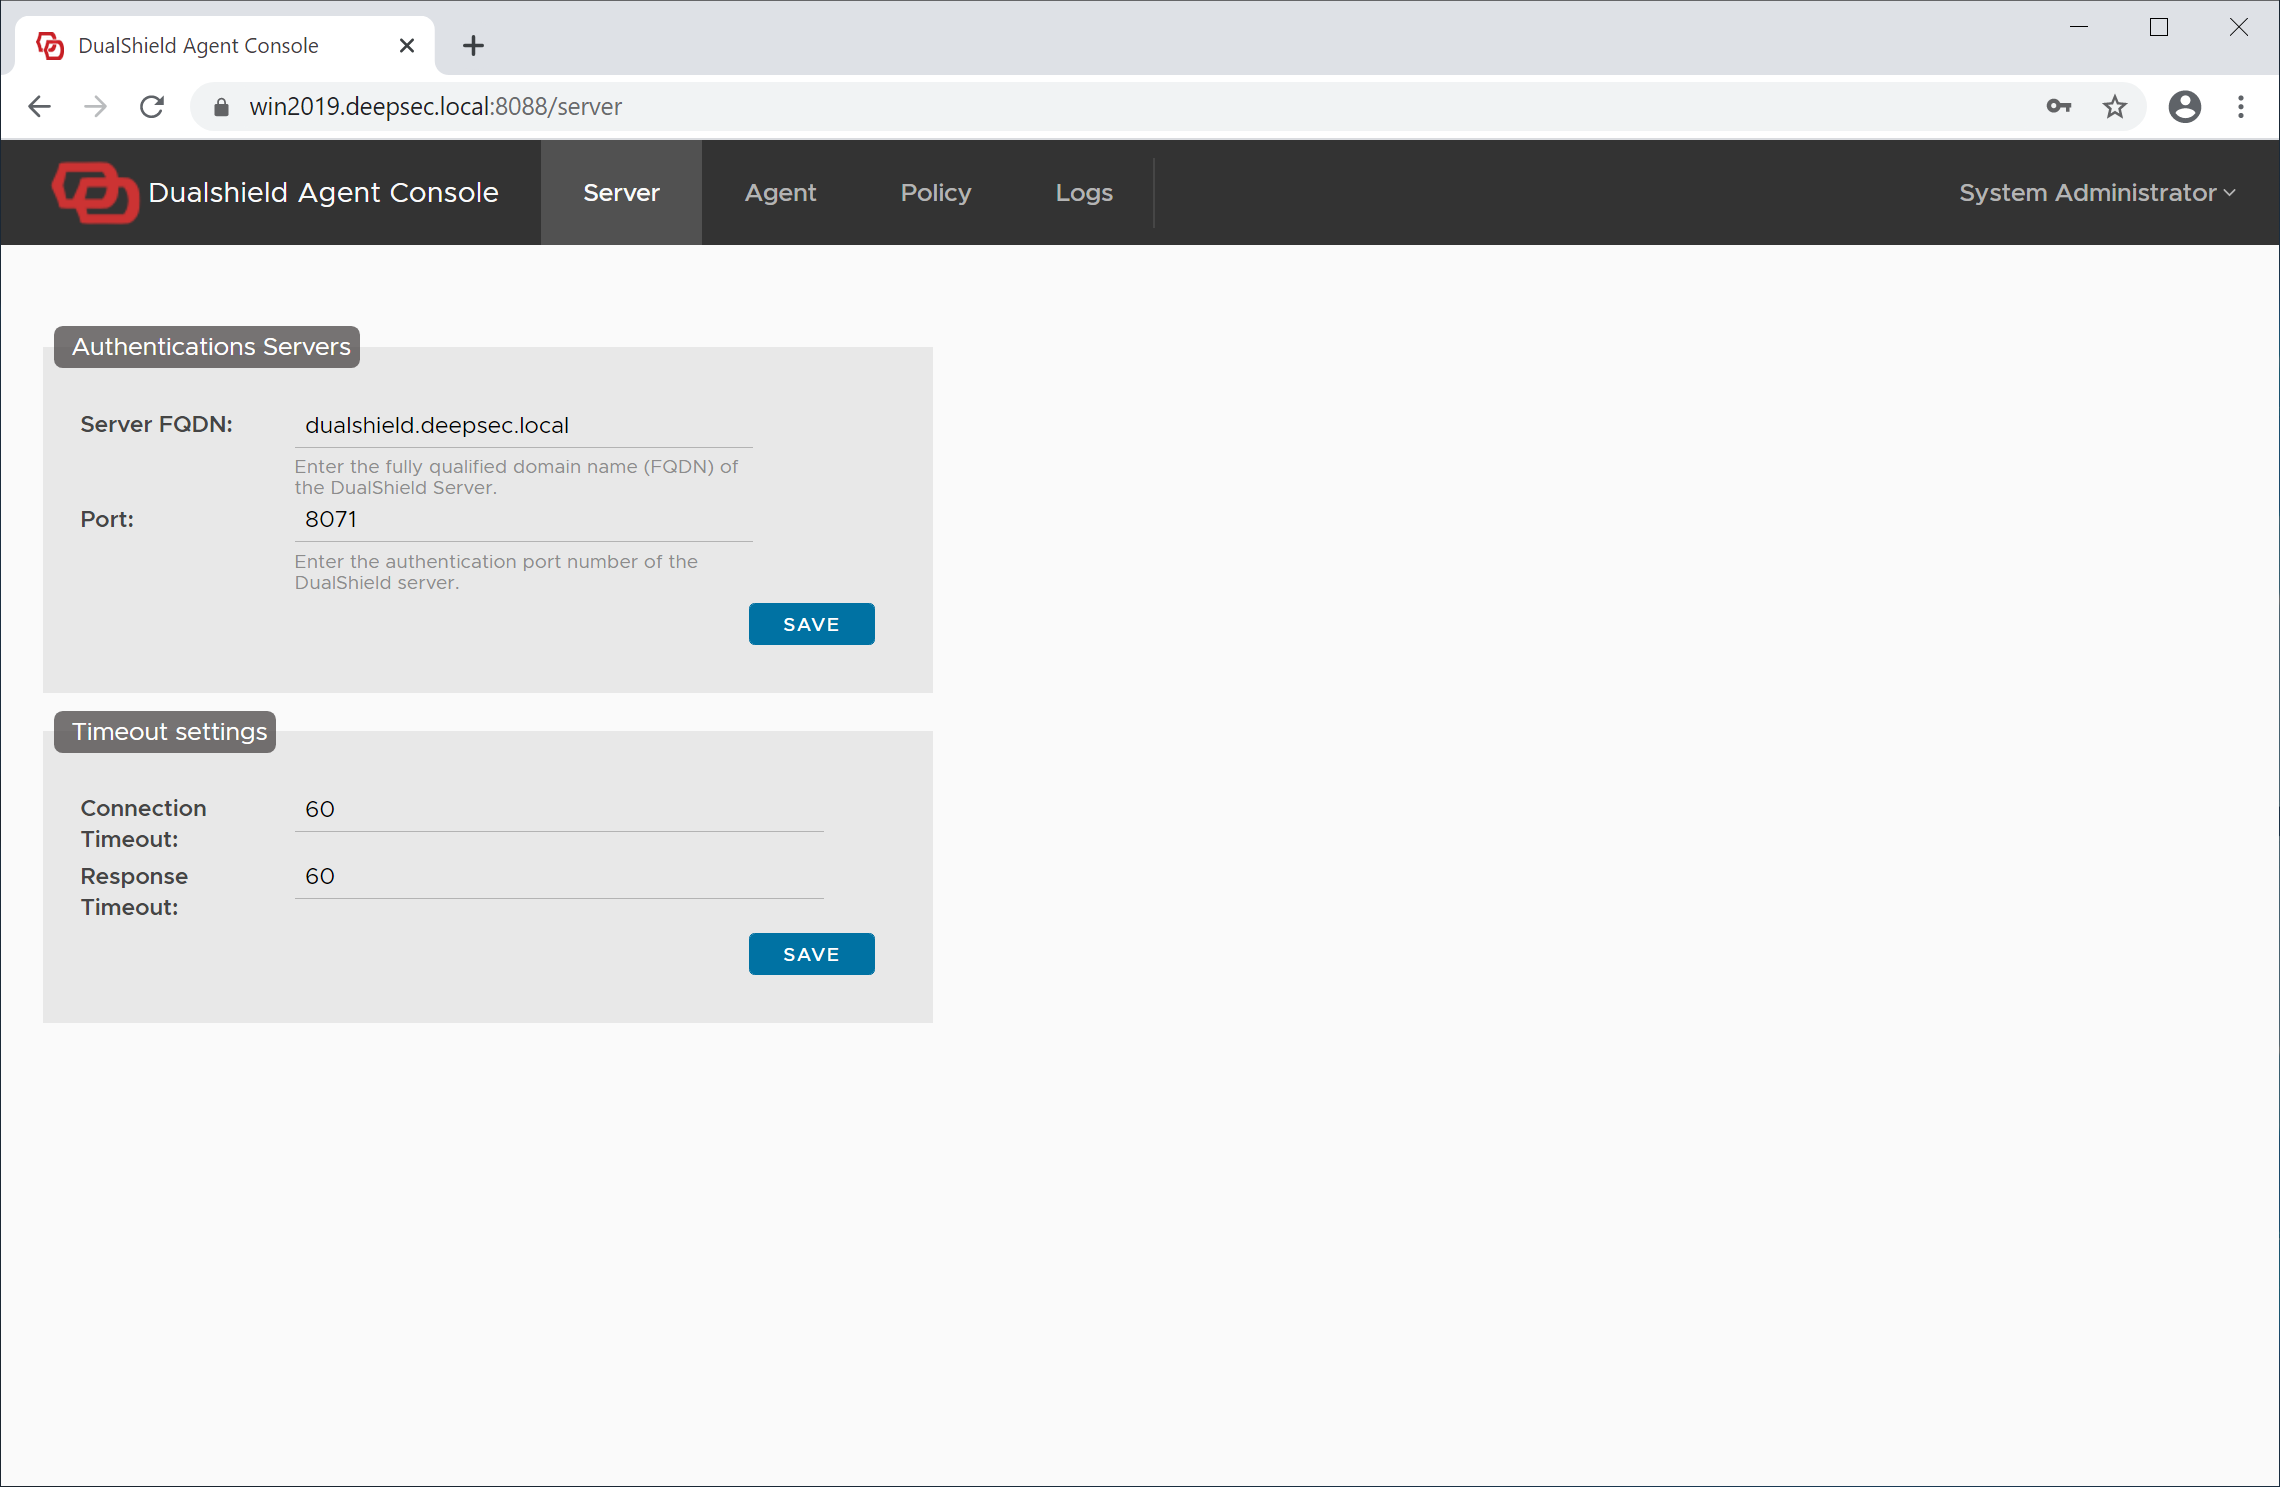
Step 2 - Server FQDN
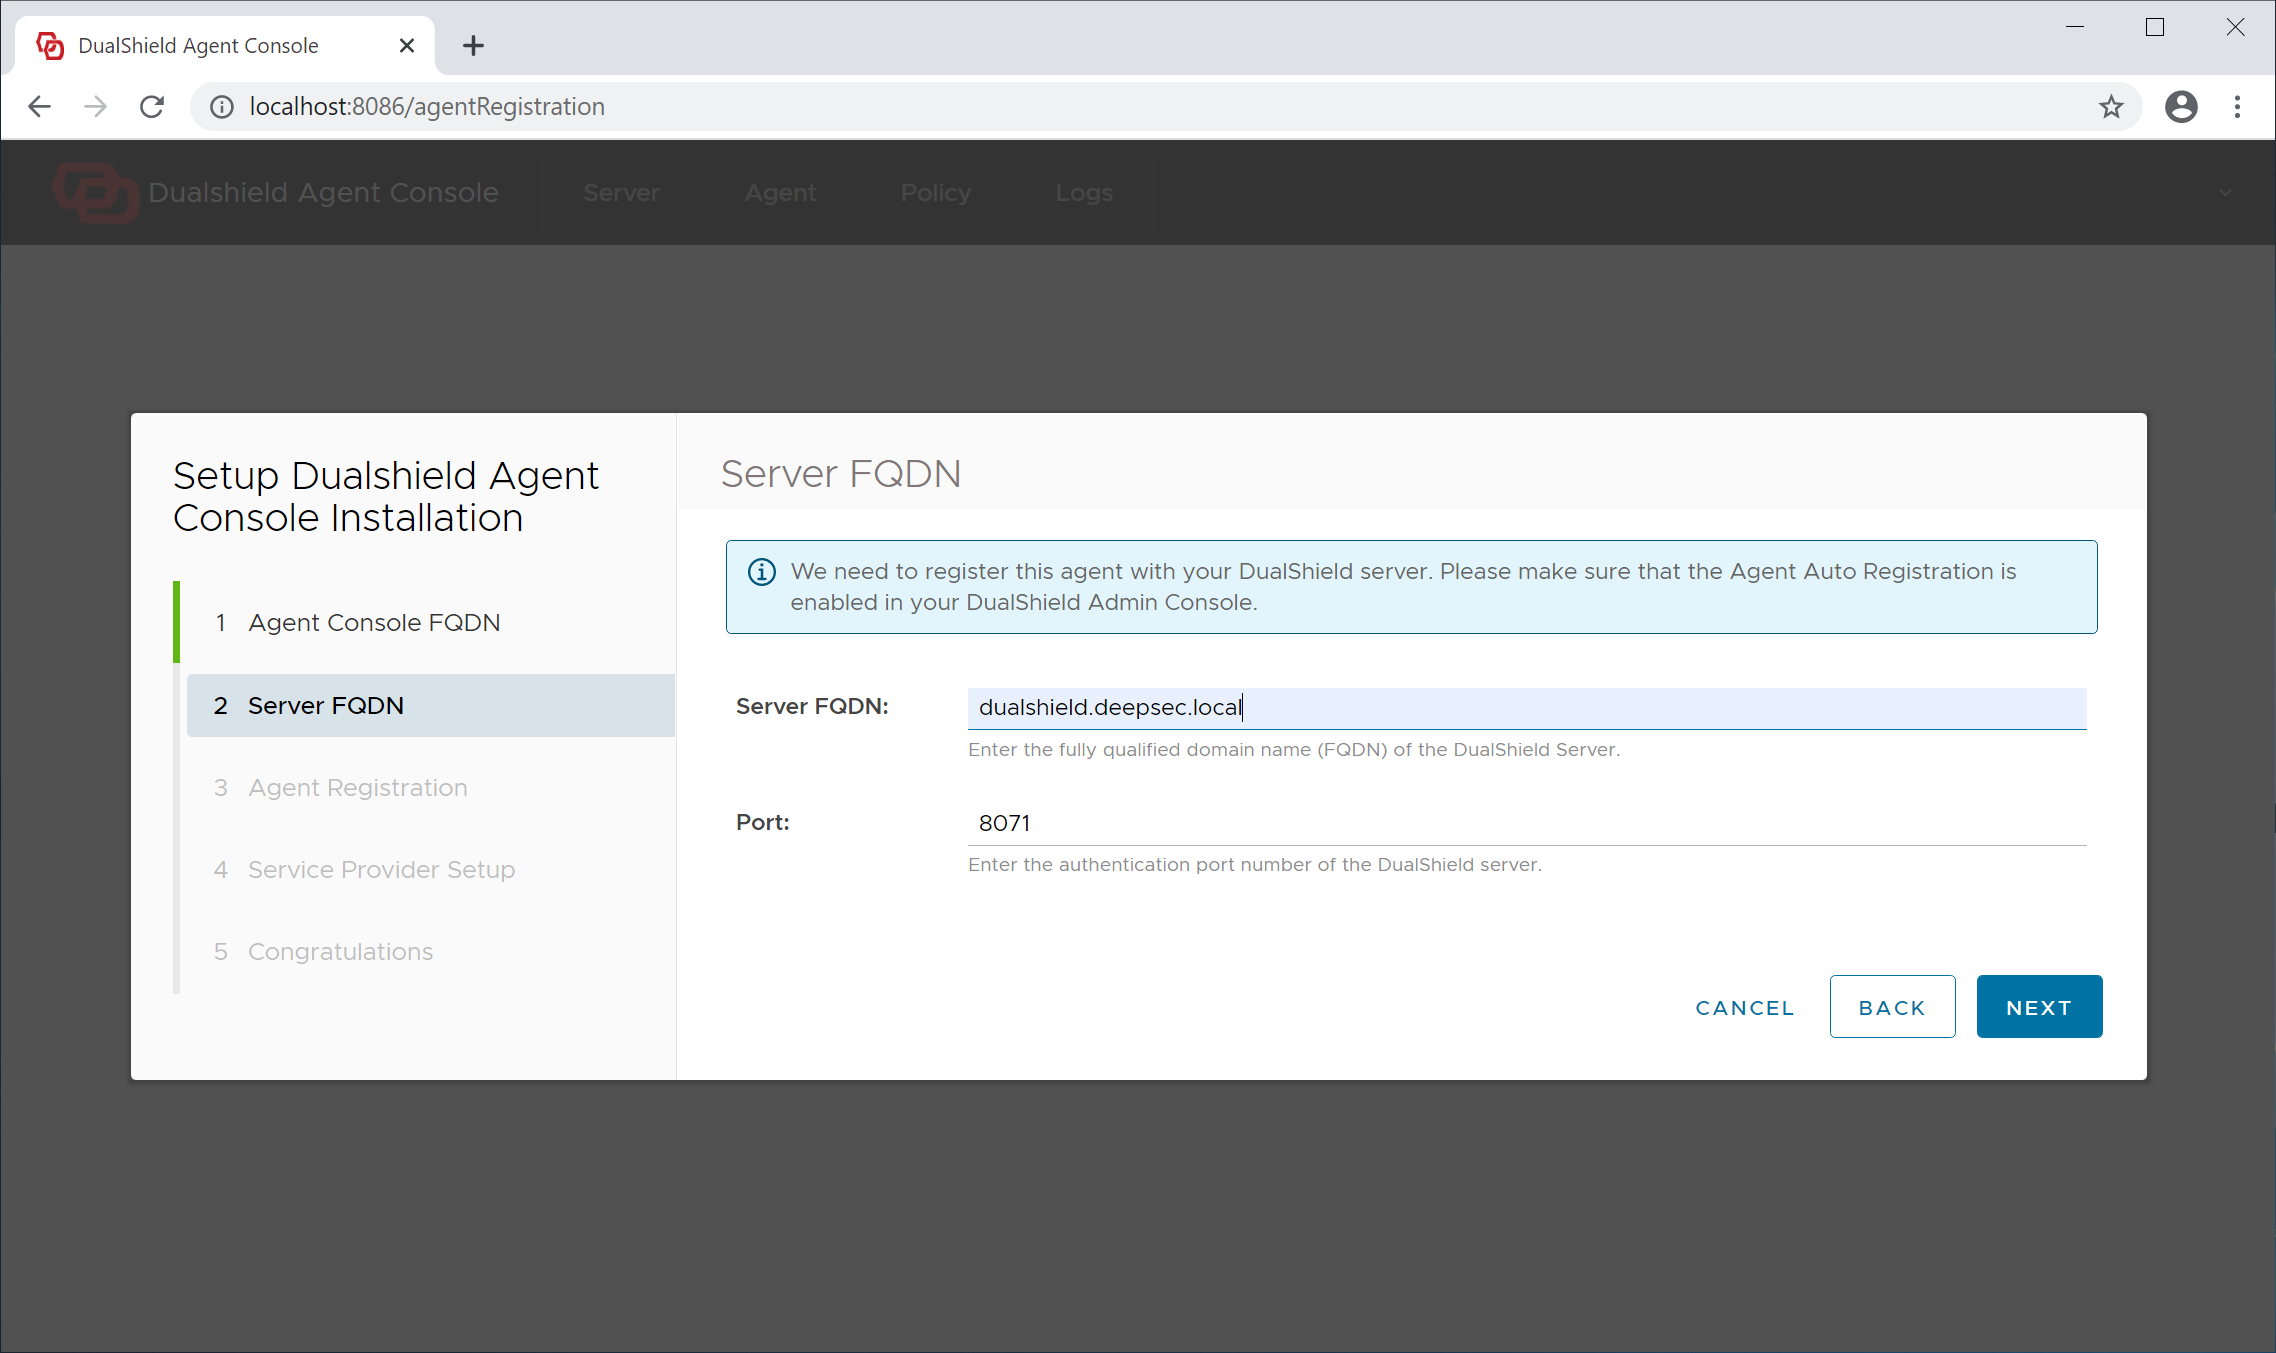
Server FQDN: Enter the FQDN of your DualShield authentication server
Click "Next" to continue
Step 3 - Agent Registration
In order to register the Logon Agent with the Authentication Server, we need to first enable the Agent Registration option.
...
Agent Name: A agent name is only used to describe the agent. If you are going to install multiple agents, make sure that you name each of the agent with a distinctive and easy to identify name.
Click "Next" to continue
Step 4 - Service Provider Setup

For security, the agent console will require user authentication, therefore it needs to be registered with your DualShield SSO as a service provider.
...
Now, click the "Create" button to create a new service provider for this agent
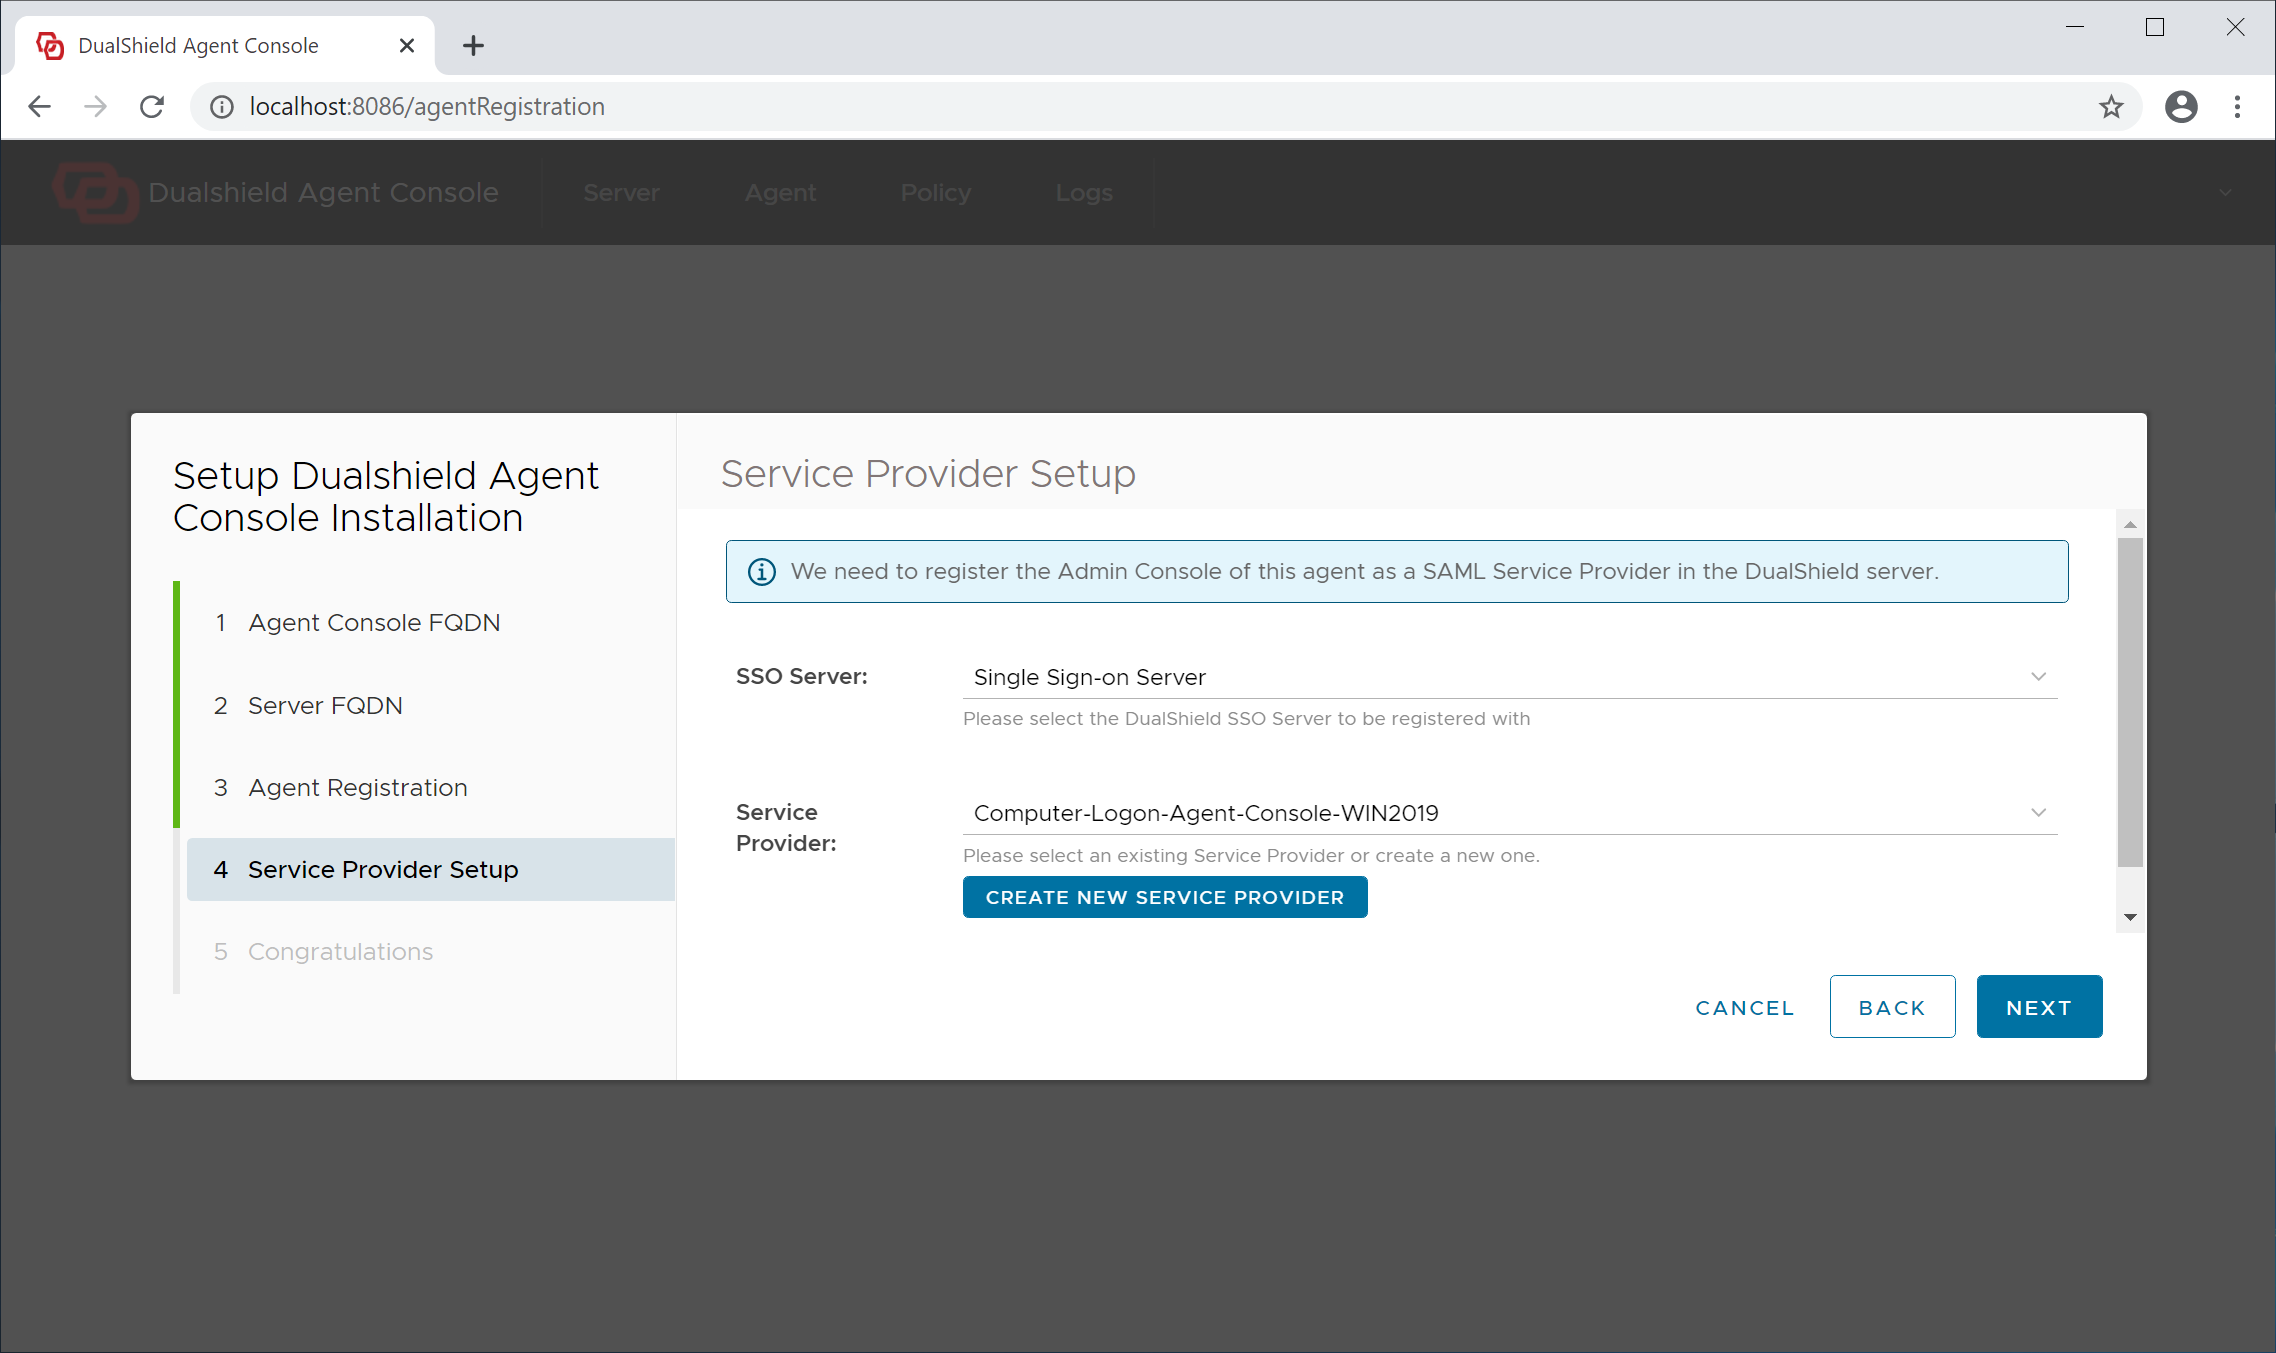
Click "Next" to continue
Step 5 - Completion

The agent has now been successfully registered.
Click "Finish" to continue. The agent admin console of the agent wil will be launched
Step 6 - Set up Agent Application
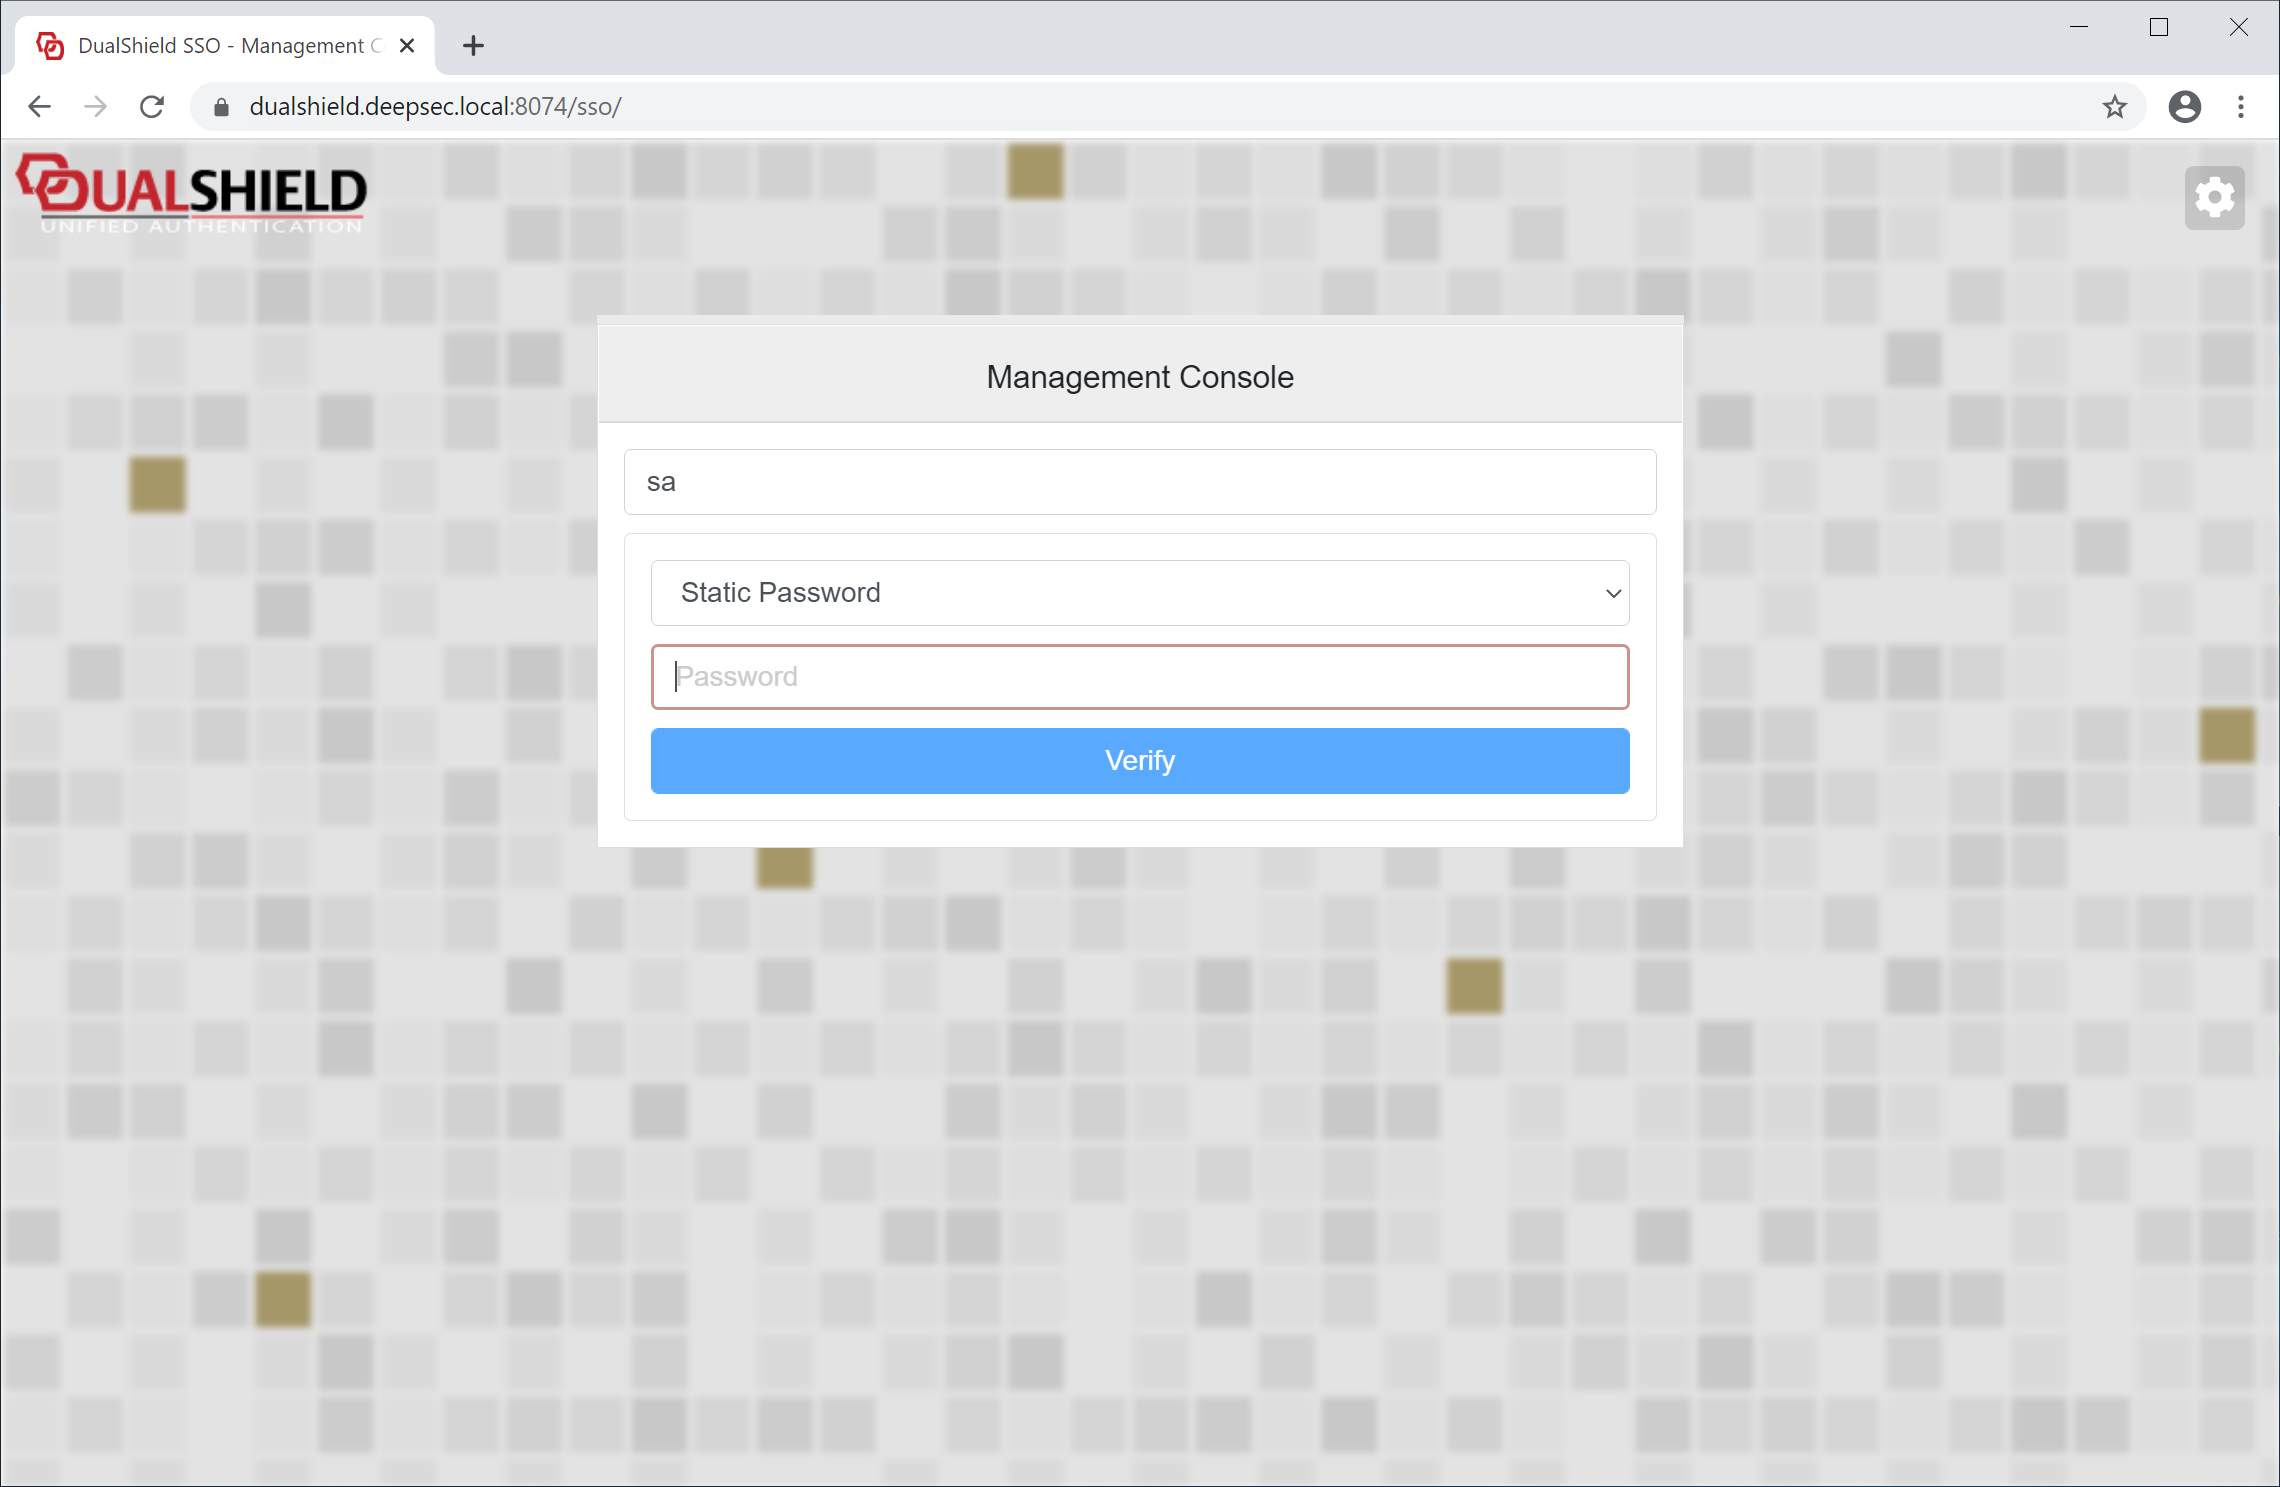
Sign into in to the admin console
Click "Agent" in the main menu on the top
...
In the Computer Logon section, from the application list, select the application that you have set up ealier earlier for computer logon, e.g. Computer Logon
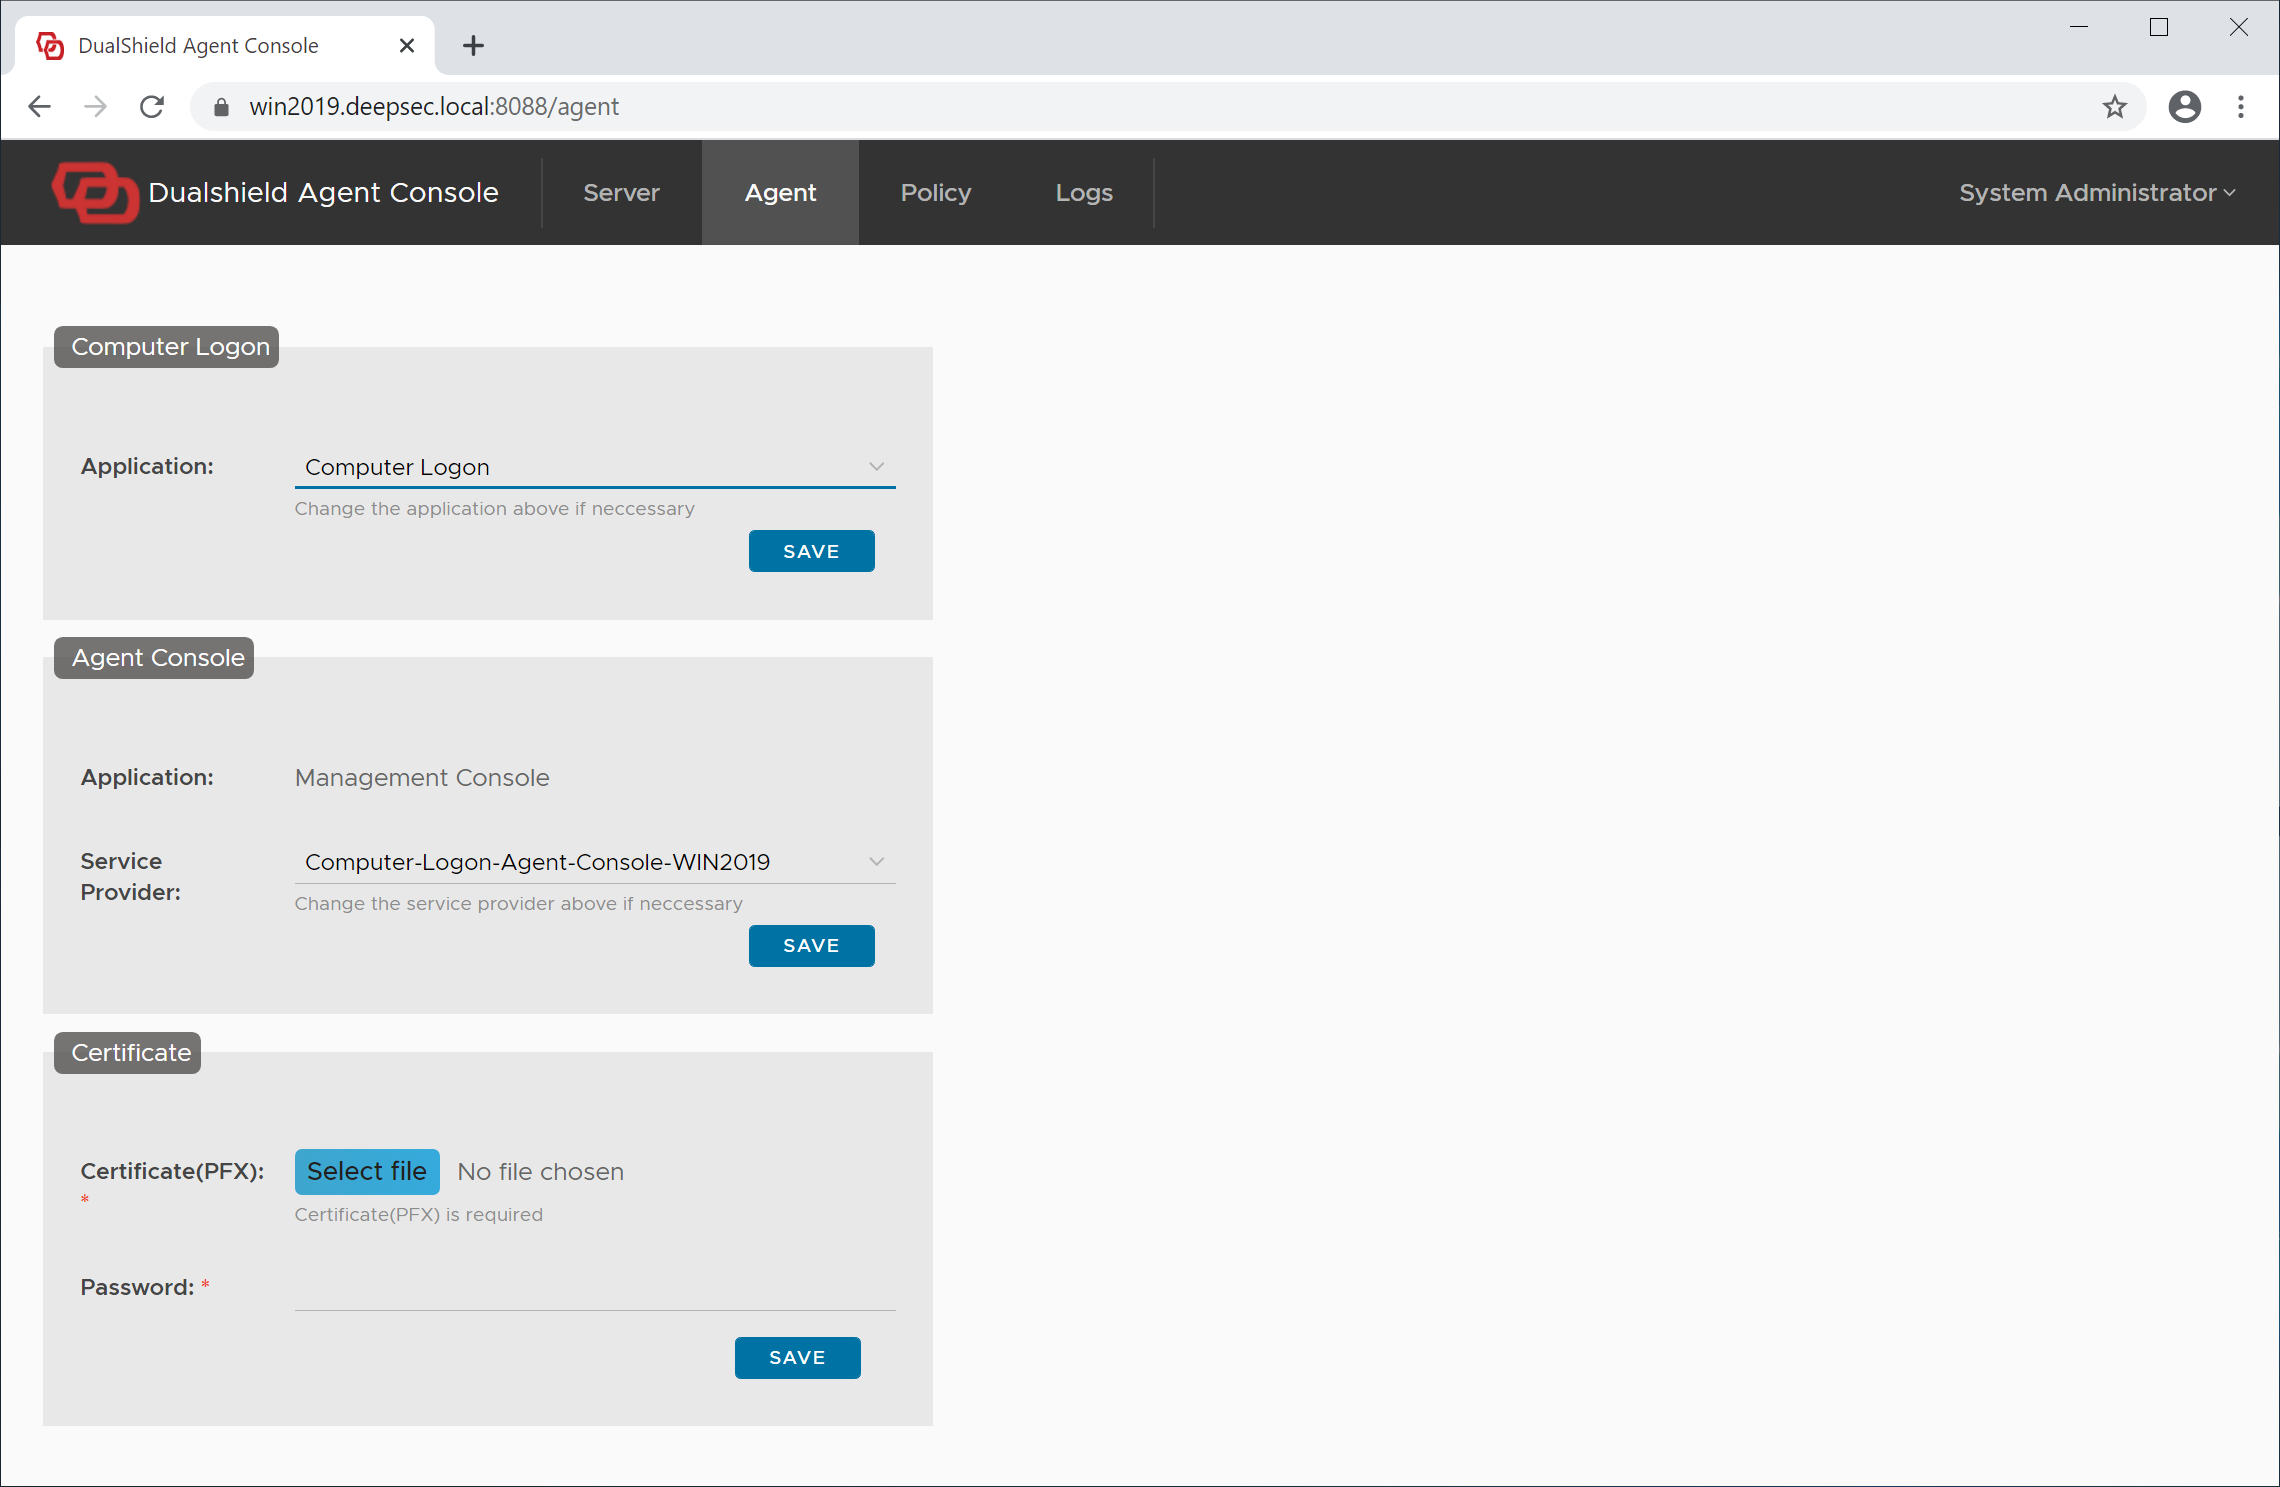
click Click the "Save" button in the Computer Logon section.

You have nowe now completed the agent registration and application setup.
...