...
The UI customisation is done on the application level. Every application can have its own look and feel.
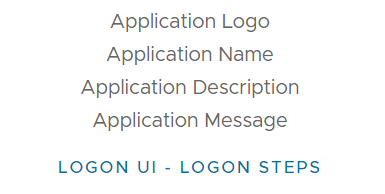
Application Name & Logo
The first step in UI customisation is to set the application's name and logo.
...
You can also provide a description and message for the application, if you wish.
User Interface
To customise the rest of the UI, navigate to "Customisation | User Interface"
...
Click the "Create" button to create a new customisation:

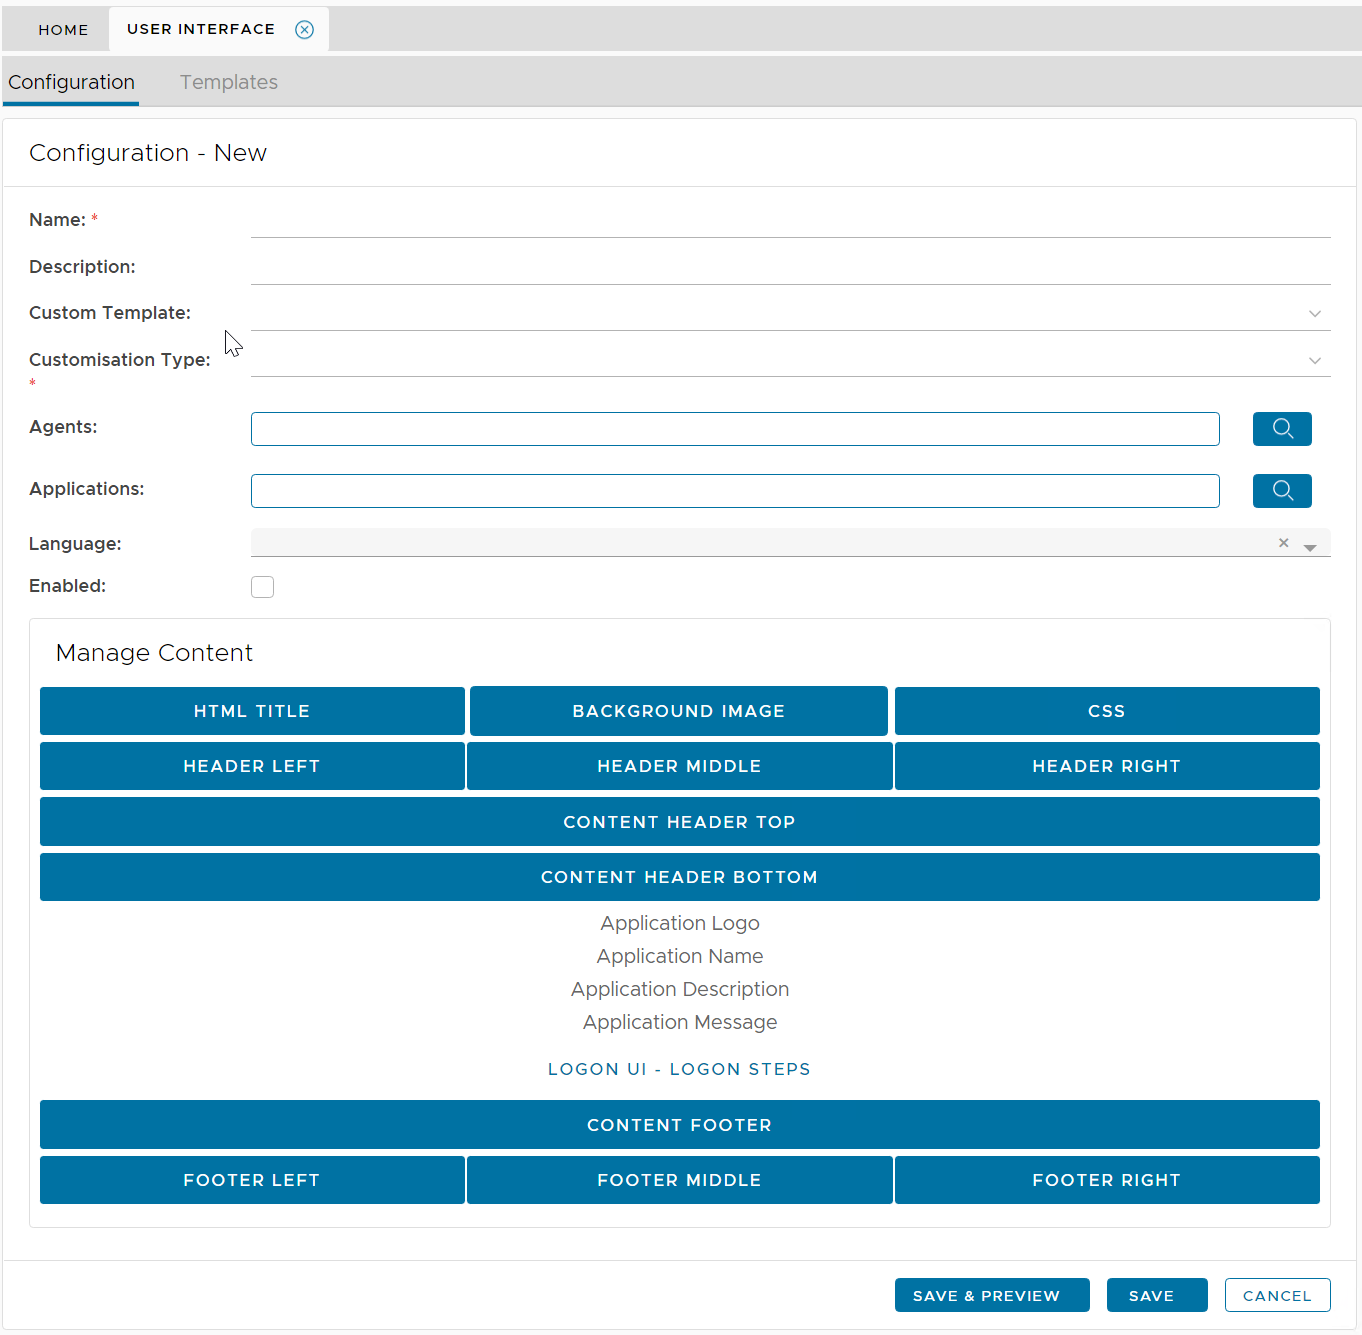
| Field | Description | Example |
|---|---|---|
| Name | Enter a descriptive name | Outlook Web Interface |
| Customisation Type |
| SSO Server |
| Agents | select the agents on which the applications are published | Single Sign-On Server |
| Applications | select the applications to be customised | Outlook Web Interface |


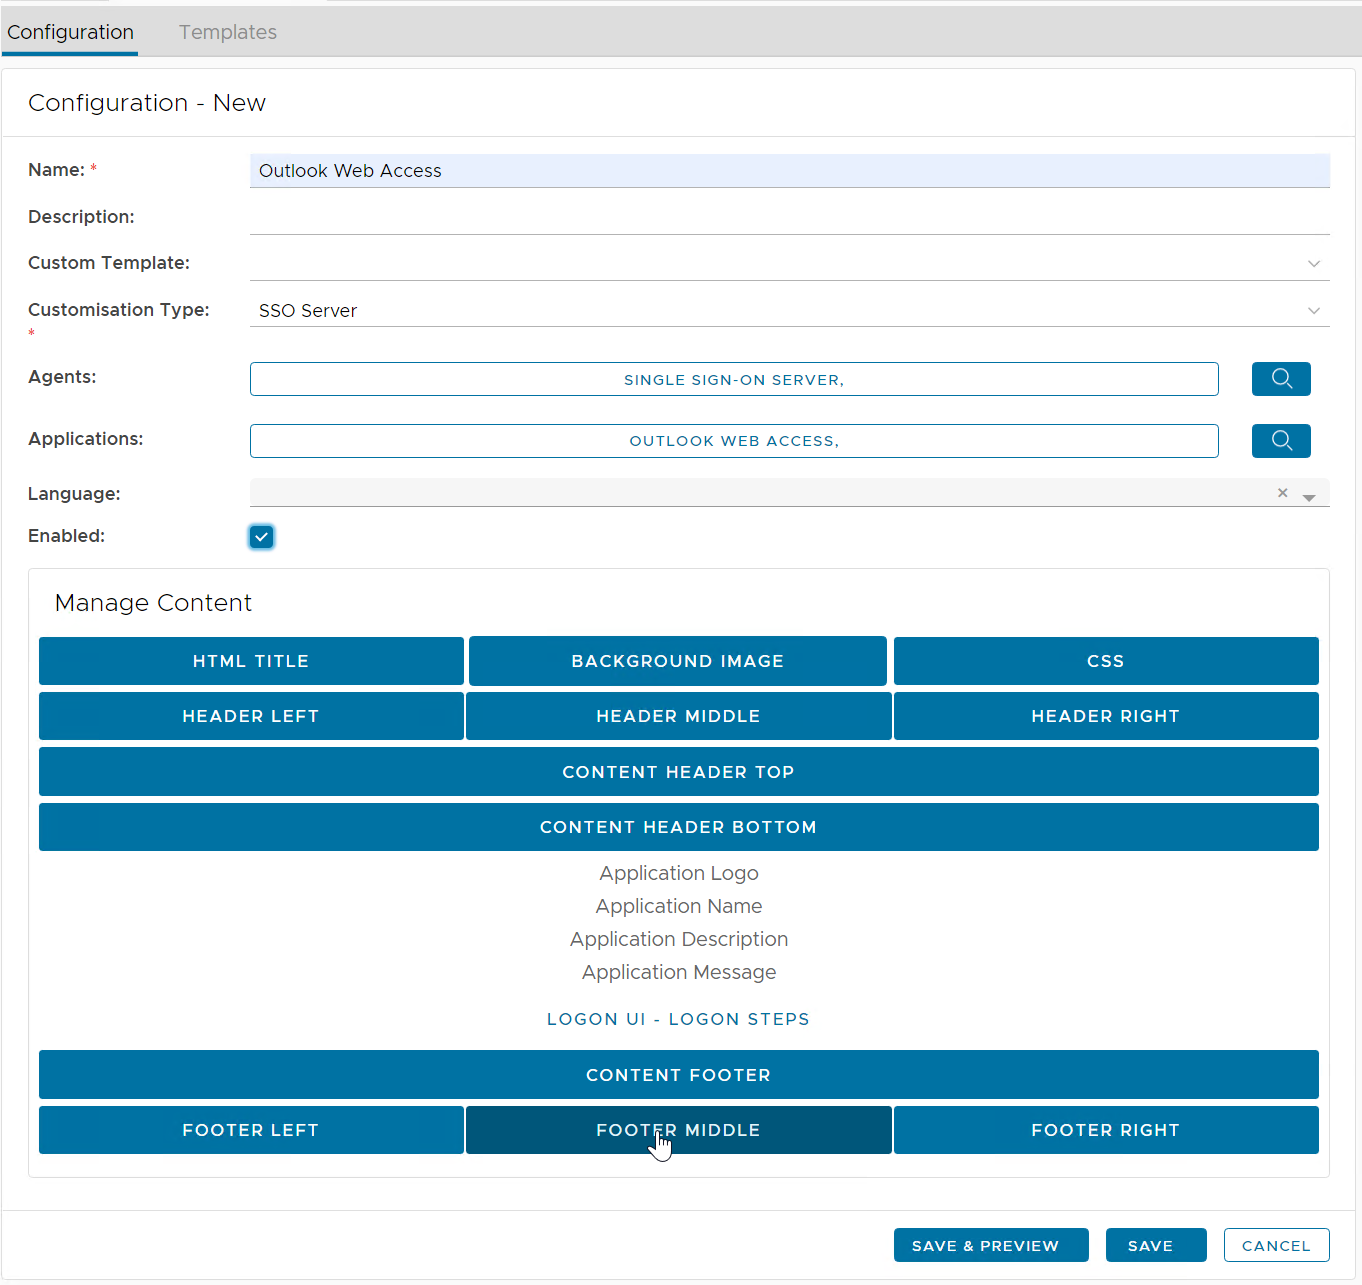
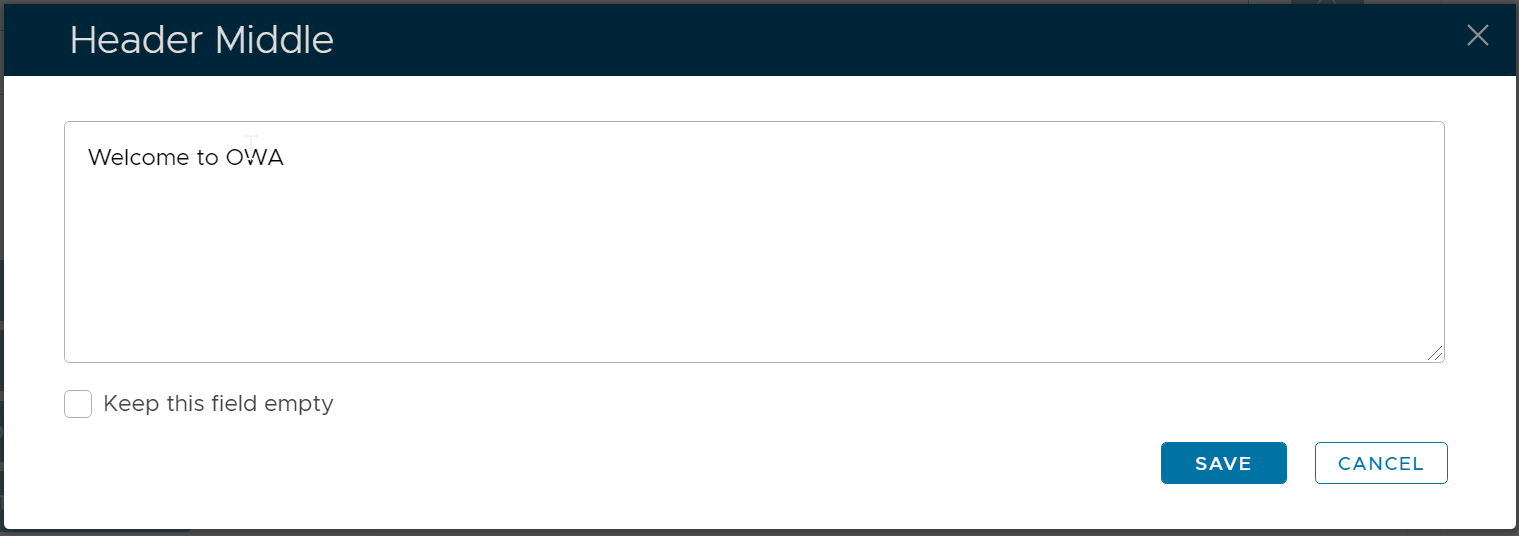
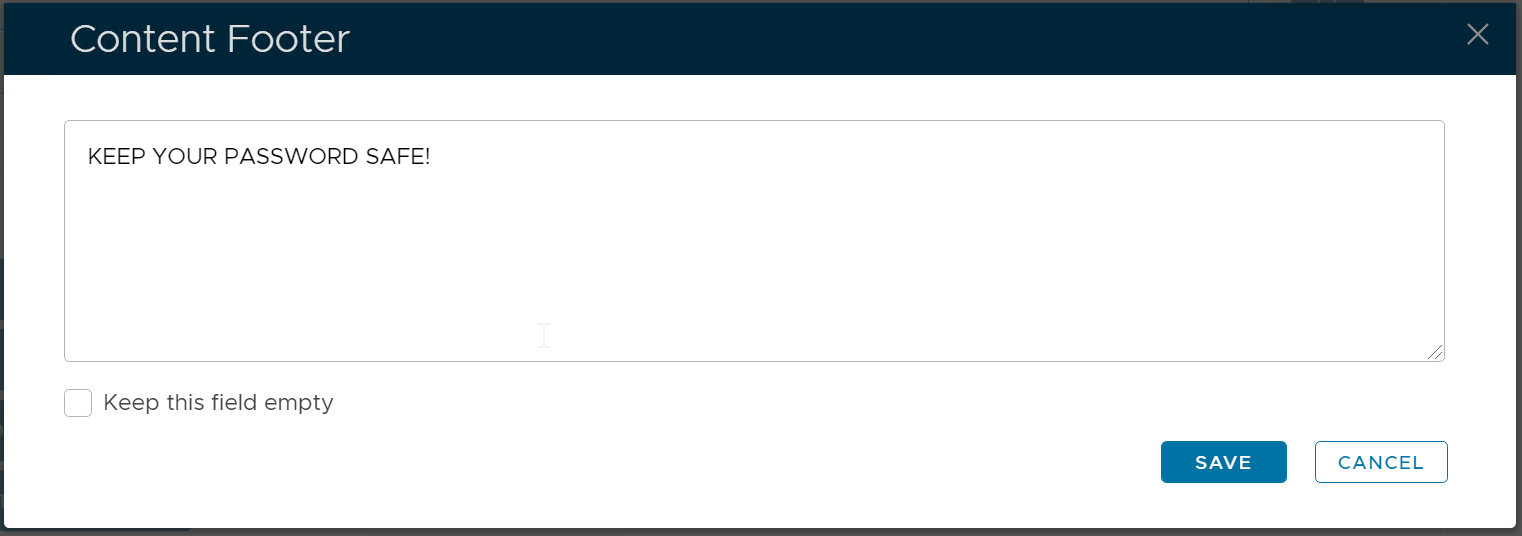
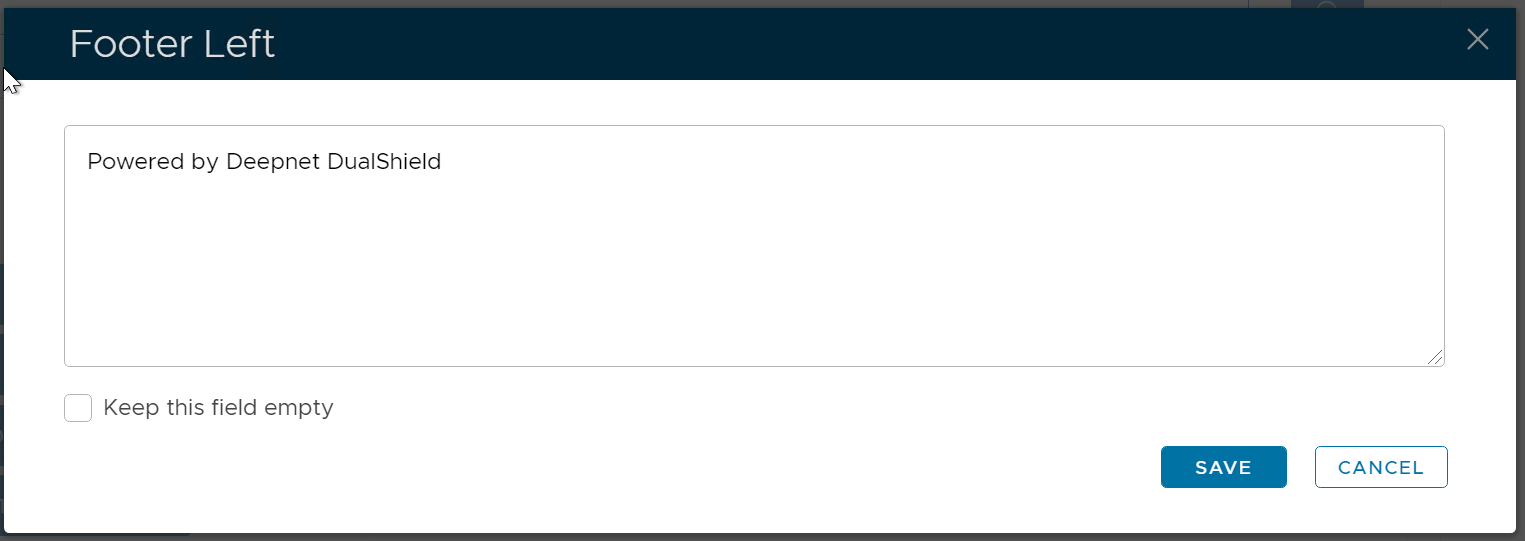
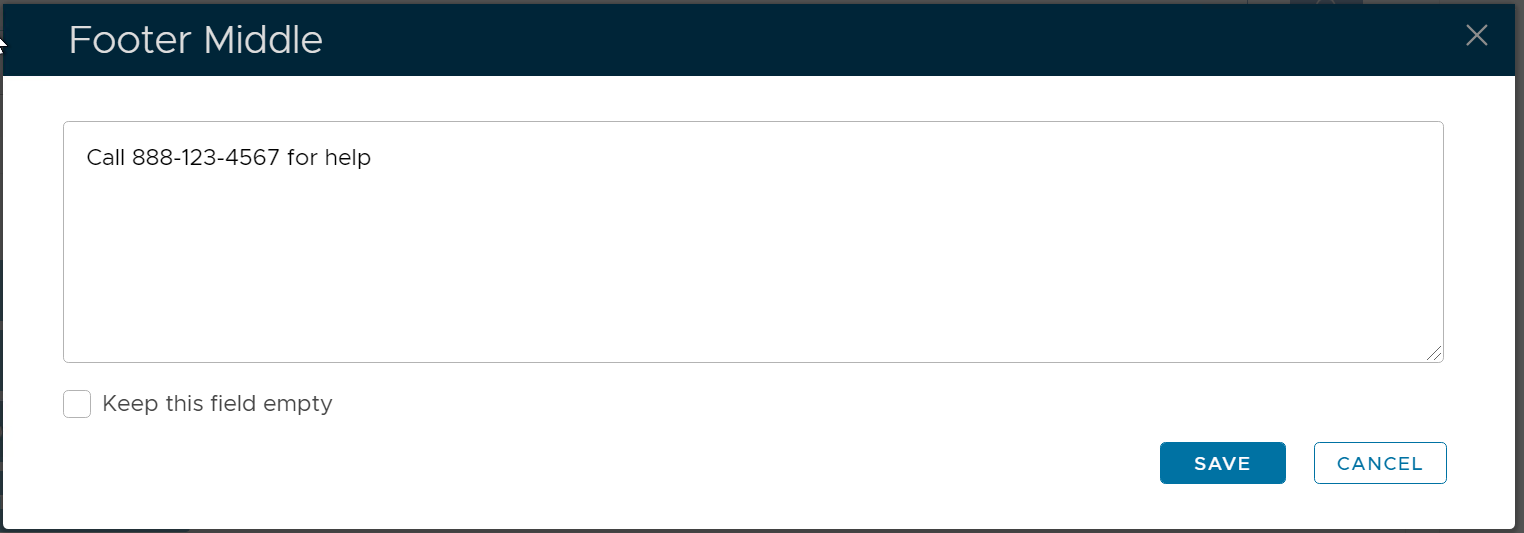
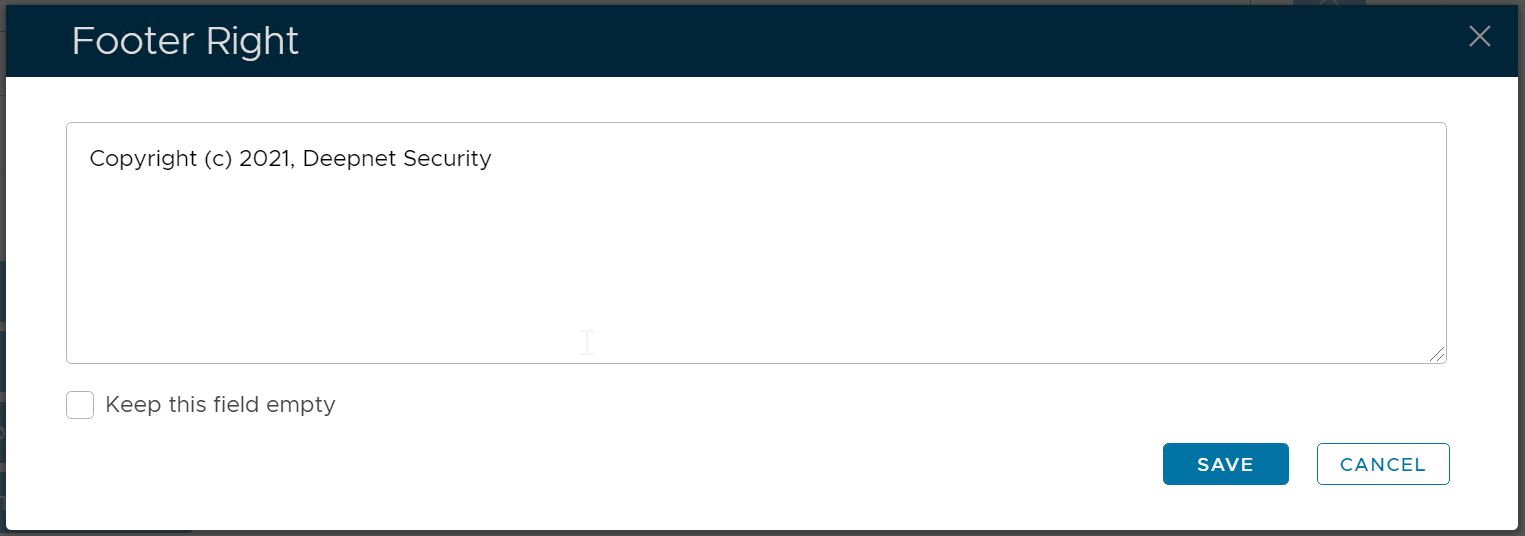
Now, you can customize any element in the body content. See the example below:
|
|
|
|
| Header Right |
Content Header Top | ||
| ||
| ||
| ||
|
|
|
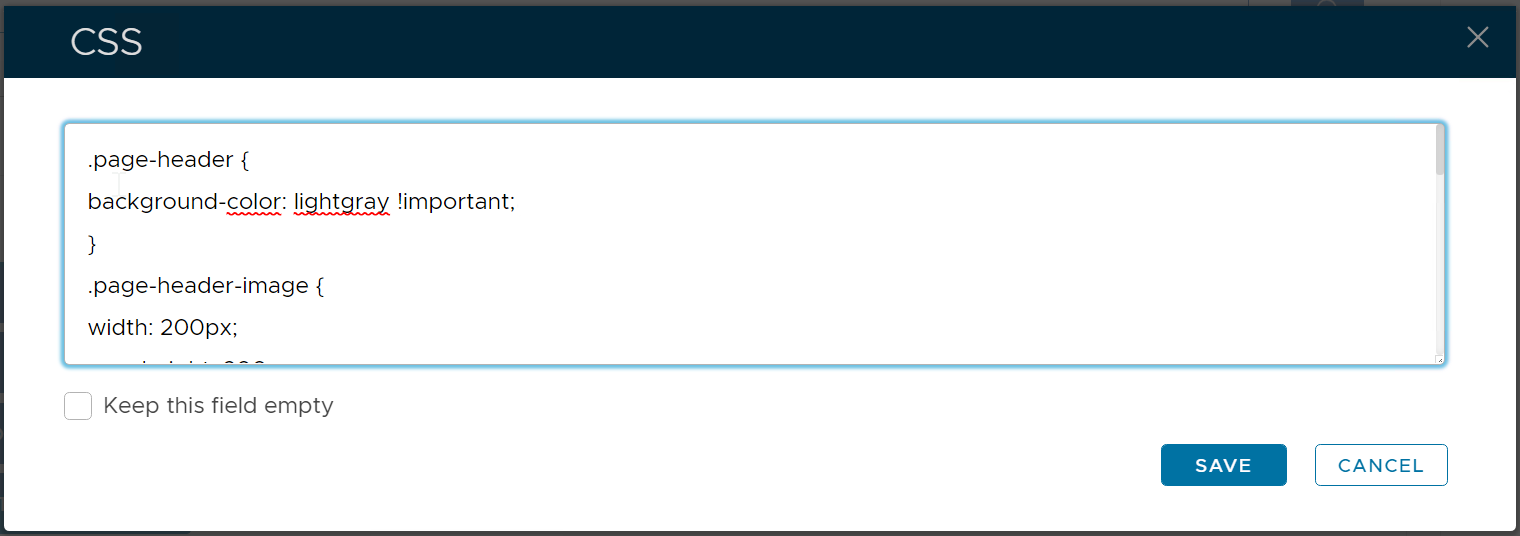
| Code Block | ||||
|---|---|---|---|---|
| ||||
.page-header {
background-color: lightgray !important;
}

.page-header-image {
width: 200px;
max-height: 200px;
}

.page-header-middle {
font-weight: bold;
color: red;
}

.content-footer {
margin-bottom:20px;
font-weight: bold;
color: red;
}

.page-footer {
background-color: lightgray;
font-size: 12px;
}
|
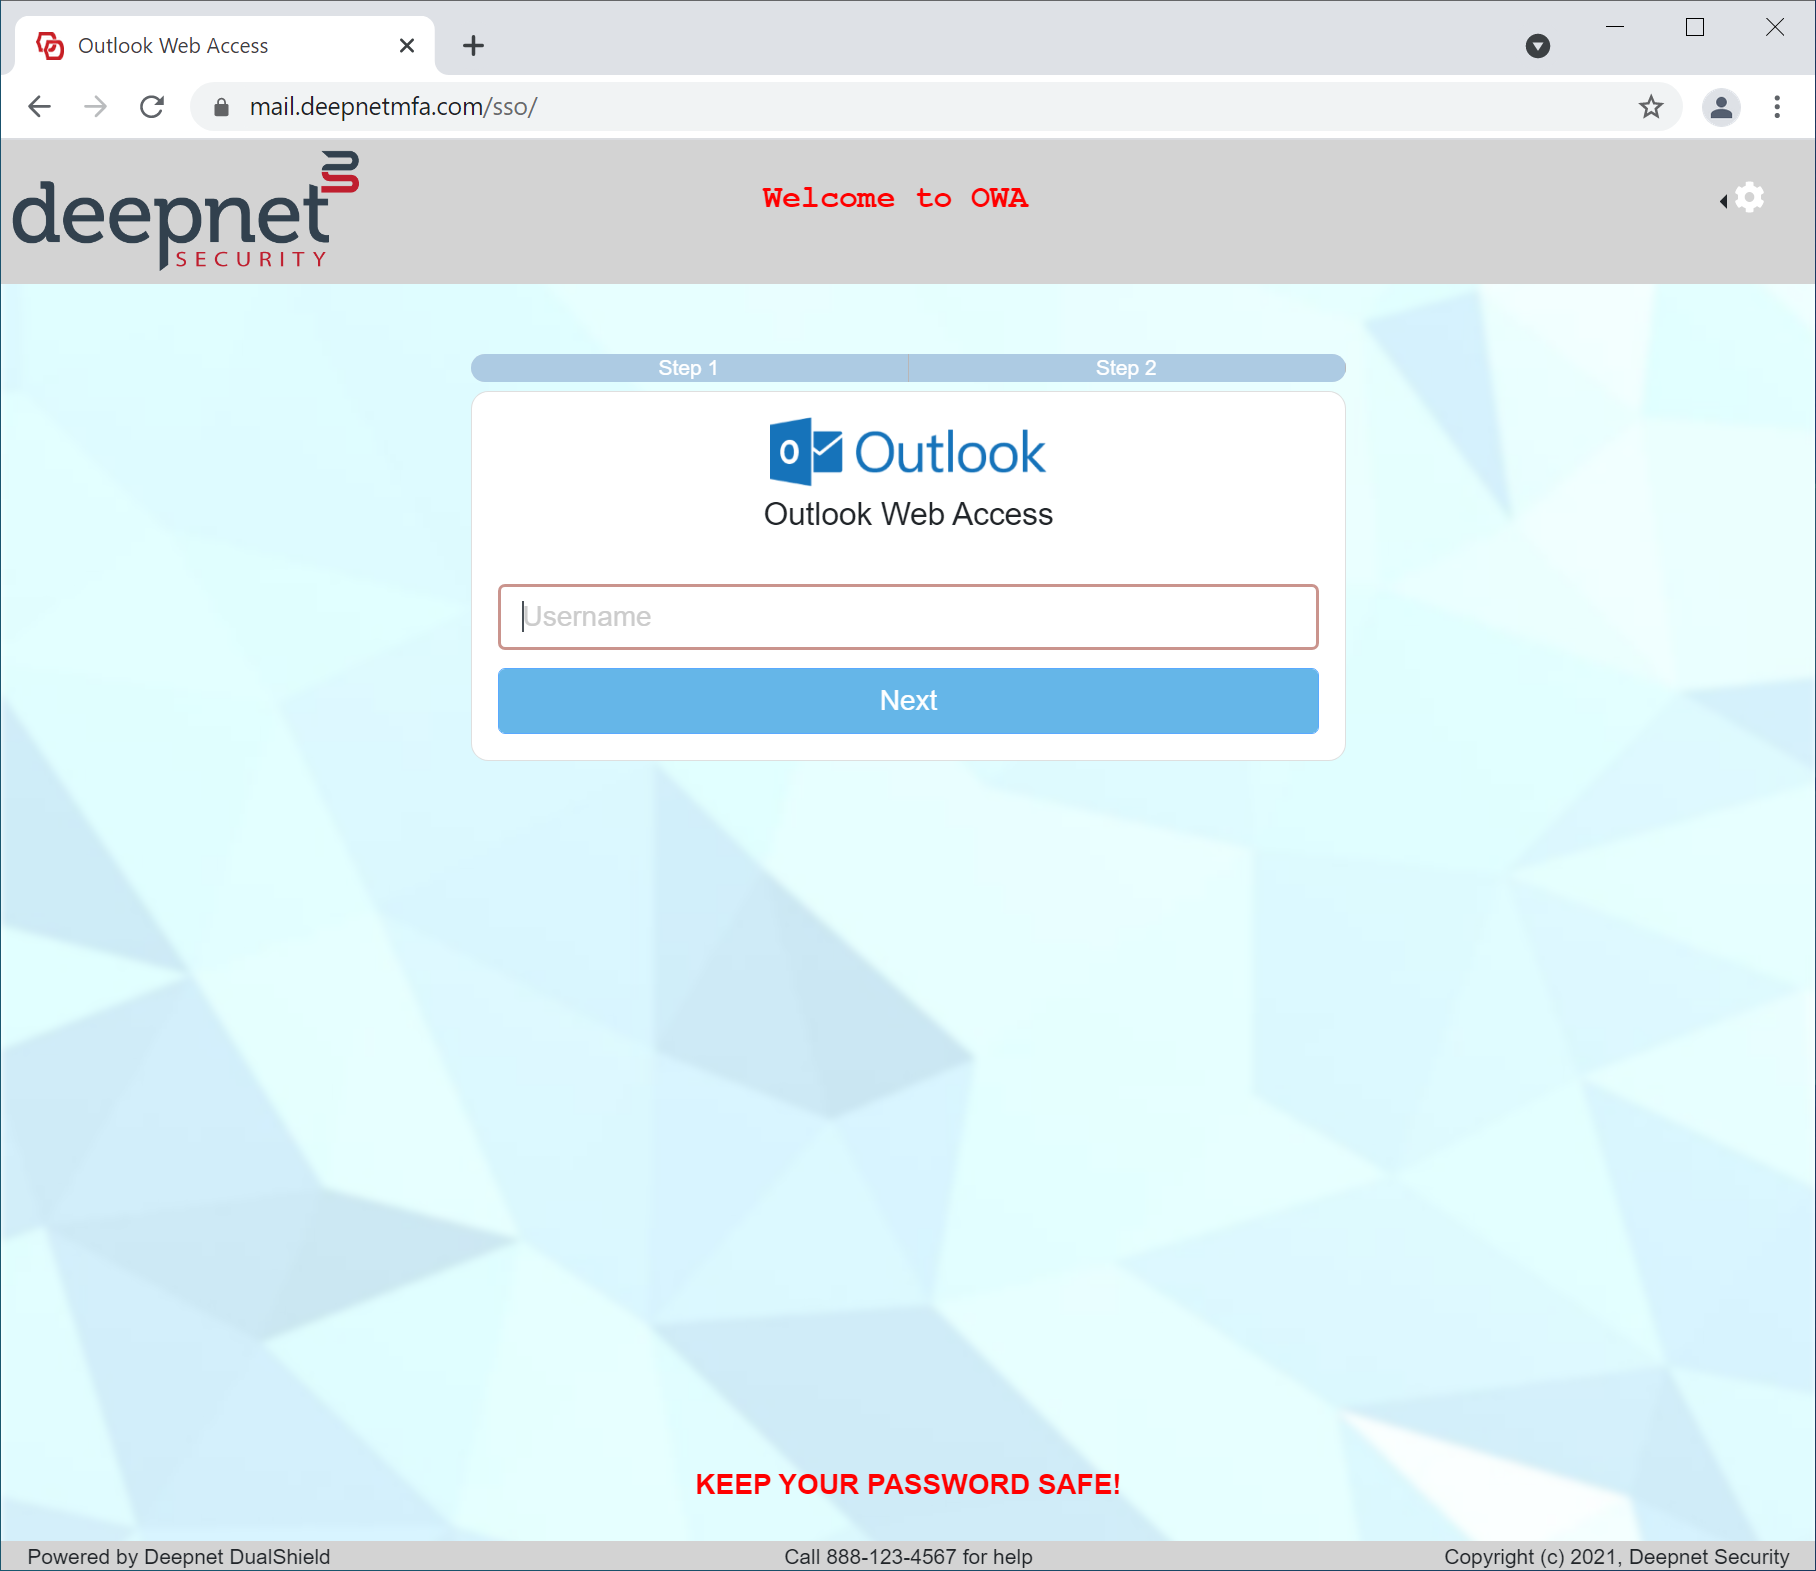
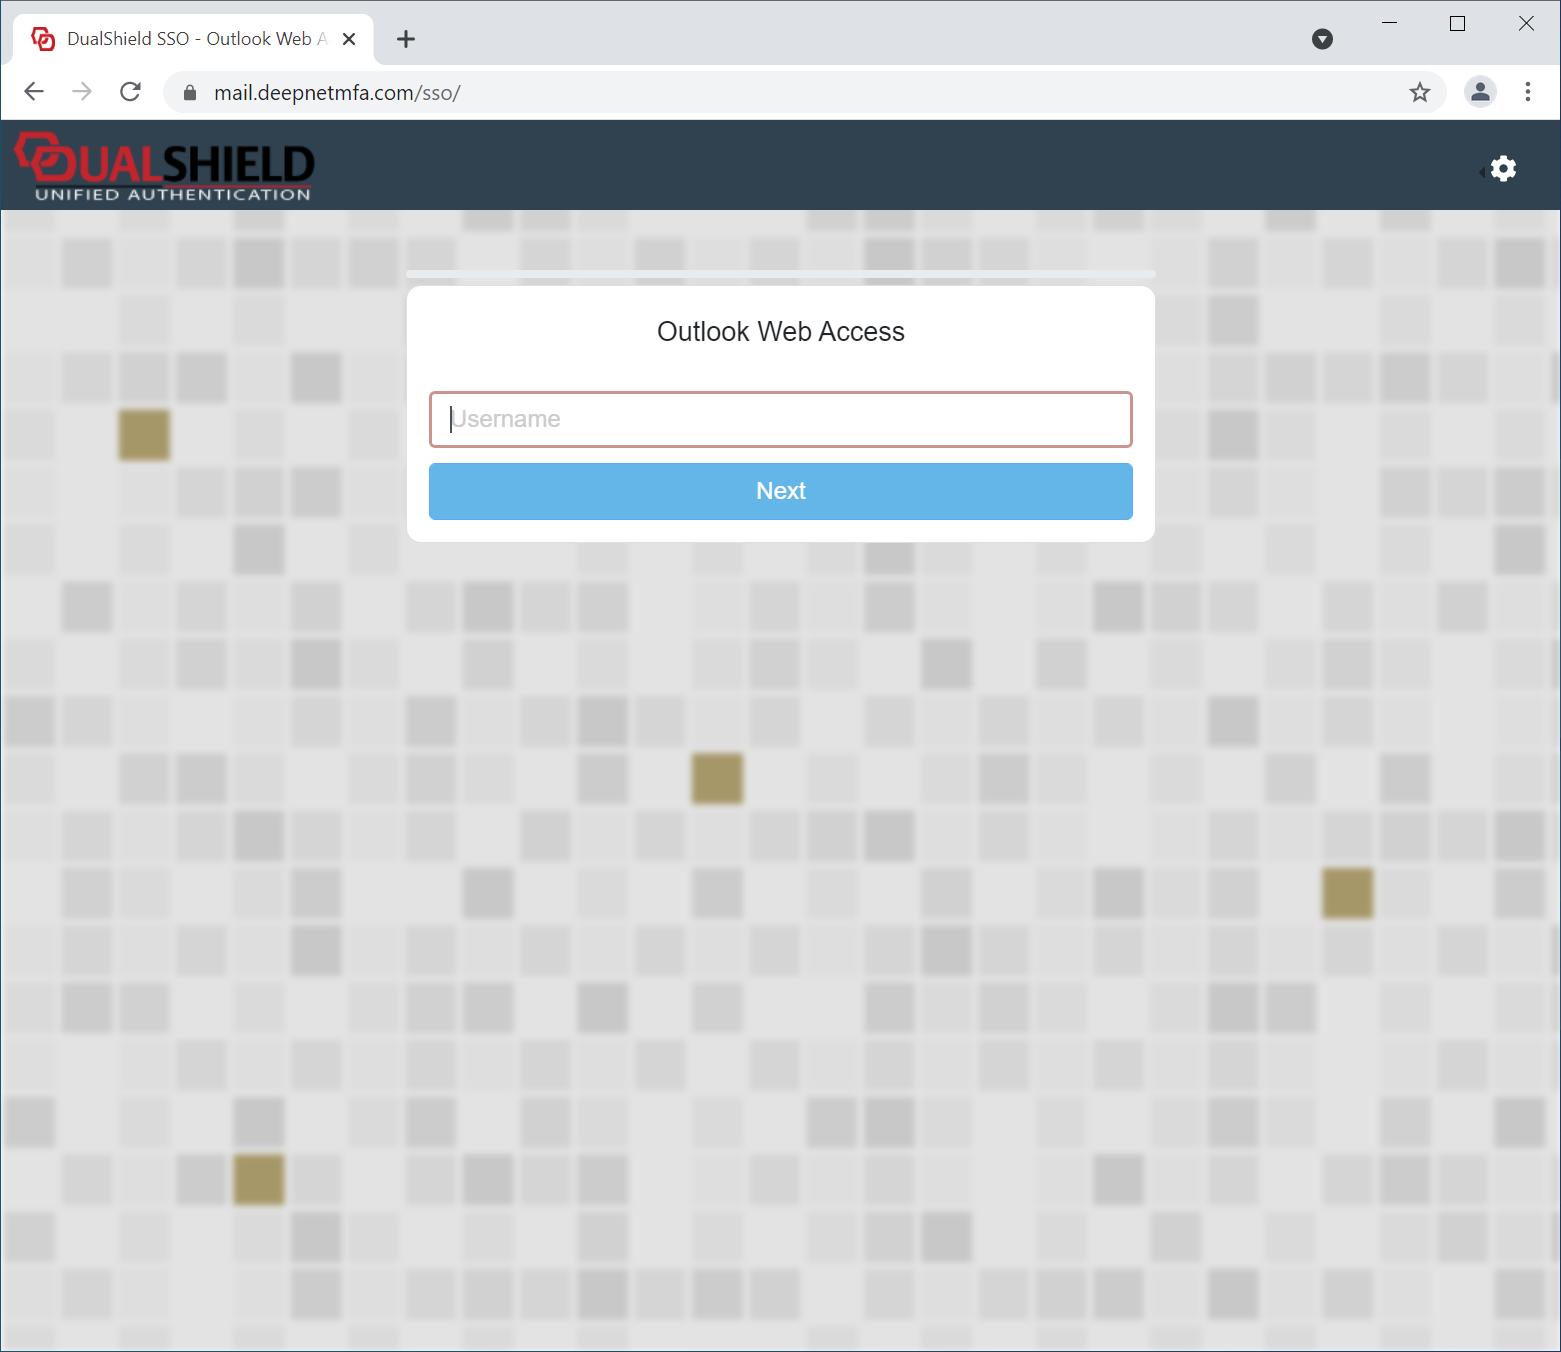
User Experience
| After Customisation | Before Customisation |
|---|---|
|
|