Step-by-step walkthrough of the desktop setup wizard, from signing in through a live, working portal — including granting other admins access and, later, repairing or removing a deployment.
Table of Contents
PHASE 1: Sign in
...
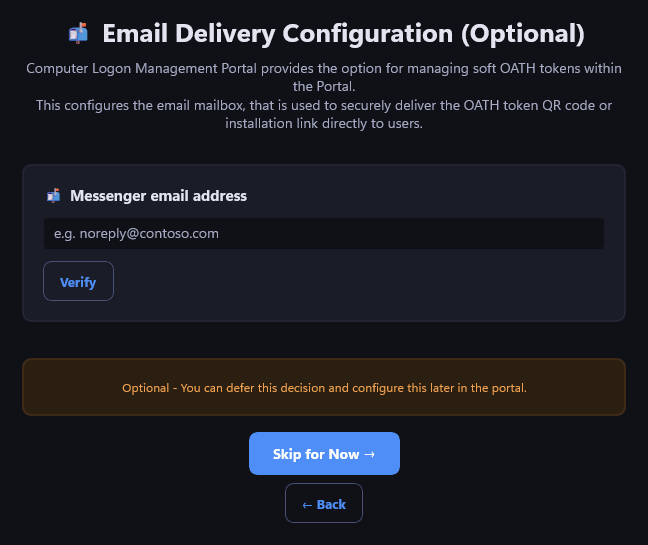
If the portal will manage soft OATH tokens, this configures the mailbox used to email a token's QR code or installation link directly to end users. Enter an address and Verify, or You can Skip for Now — and configure it can be configured later from inside the portal., or you can Enter an email address and Verify
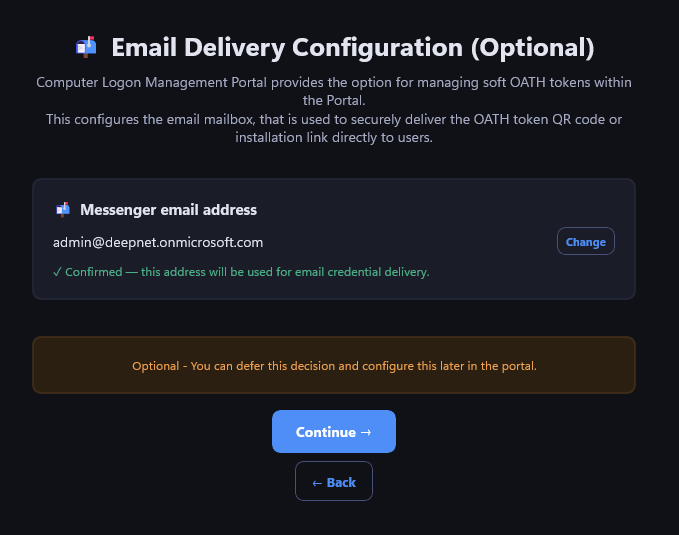
STEP 06: Confirm the verified address
...
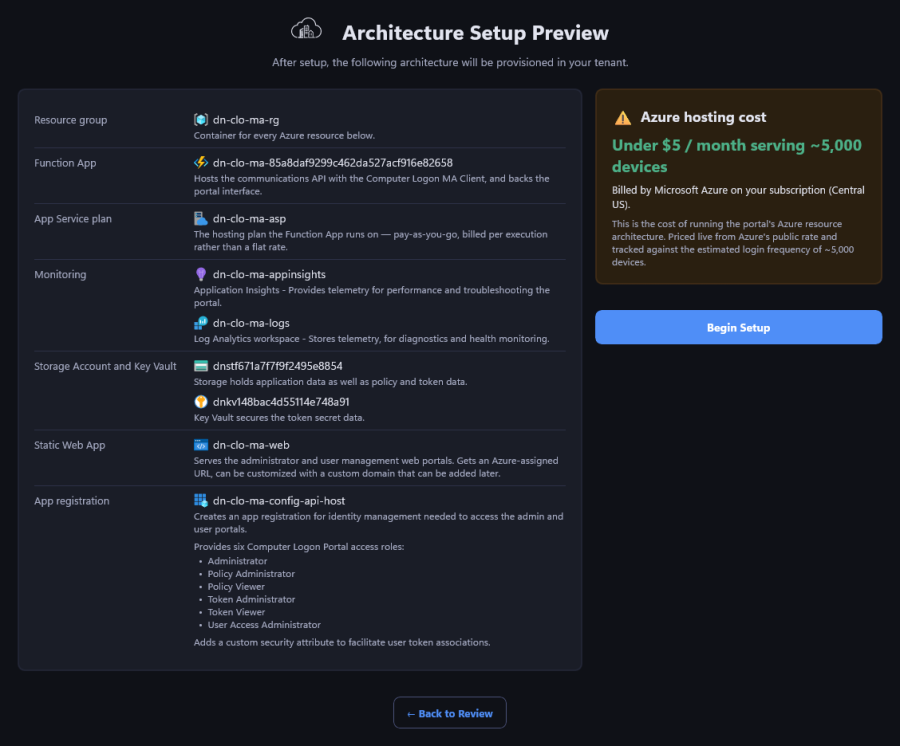
Every Azure resource the run will create — resource group, Function App, storage account, Key Vault, Static Web App, and the app registration behind sign-in — with a one-line explanation of what each one is for.
The cost panel is priced live from Azure's own retail rates for the selected region, modeled against roughly 5,000 devices — not a flat estimate. Begin Setup starts real provisioning.
STEP 09
...
: Setup progress
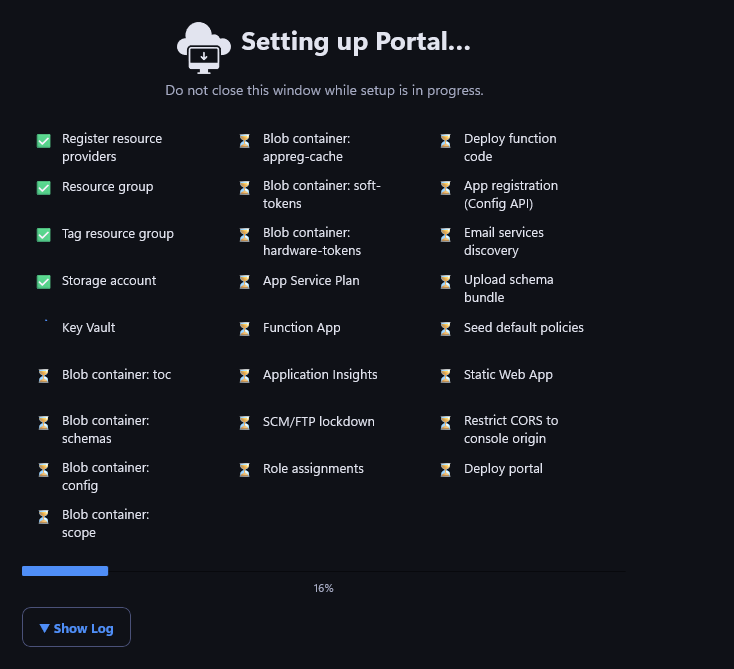
Every provisioning step runs in view, checked off as it completes. This typically takes several minutes — don't close the window while it's running. If it's ever interrupted, relaunching the wizard resumes from exactly where it left off.
PHASE 4: Set up administrators
...
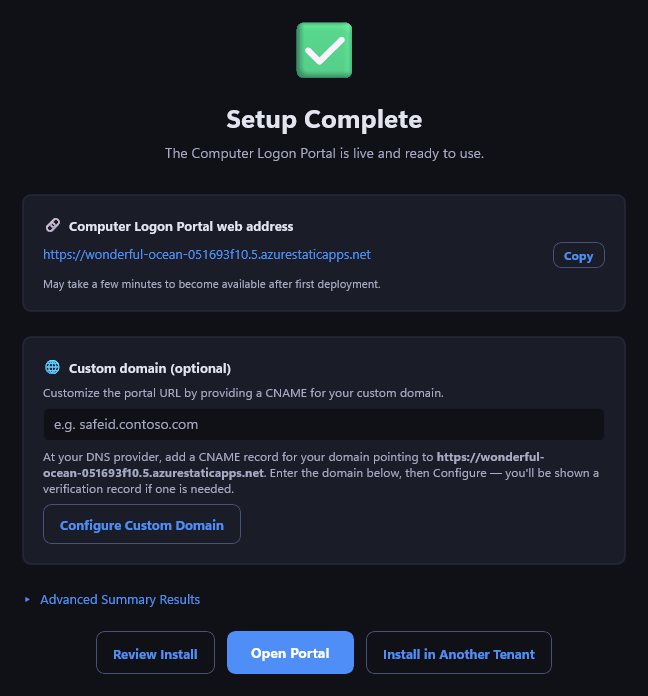
The portal's web address is ready to share with end users — Copy grabs it directly. A
Setting up a custom domain is entirely optional and can be added here or any time later by pointing a CNAME record at the generated address and clicking Configure Custom Domain.
Open Portal launches it in the browser; Install in Another Tenant signs out and restarts the wizard clean for a second deployment. You can configure it now or later inside the portal. To configure it now, you need to create a CNAME in your own DNS server, then enter the CNAME and click Configure Custom Domain.