...
For DualShield users, please refer to the Renew DualShield Server Certificate article.
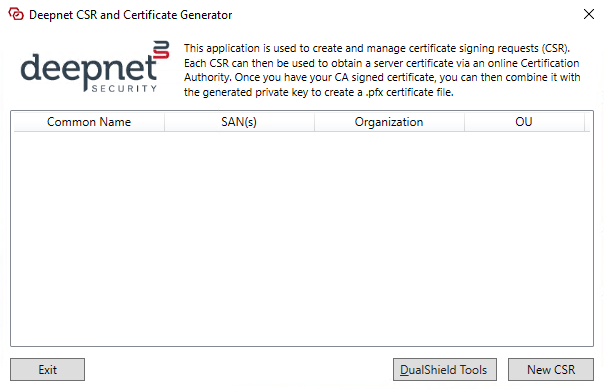
Download Here - Deepnet CSR & Certificate Generator
...
To Create a CSR, get started by pressing the New CSR button at the bottom-right. A form window will appear where you can fill in all the required certificate details which will need to be submitted to the CA. E.g.
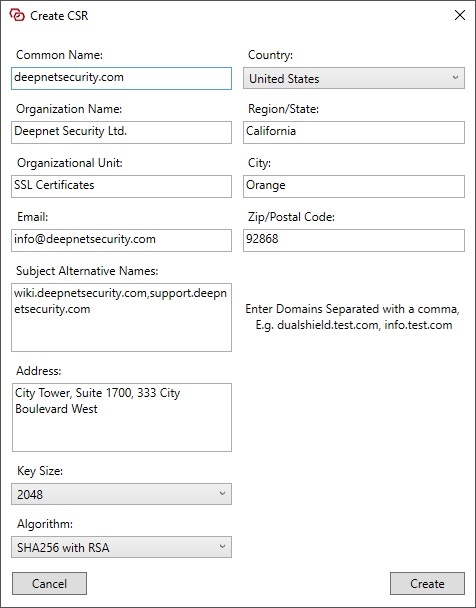
You can also change the length of the Public Key size to be more complex if you require it.
Once you are done filling in your Certificate attribute information, press the Create button to generate your CSR text. A new window will appear containing the CSR request Text which you can either copy directly into an online CA certificate request form or save to file for later use.

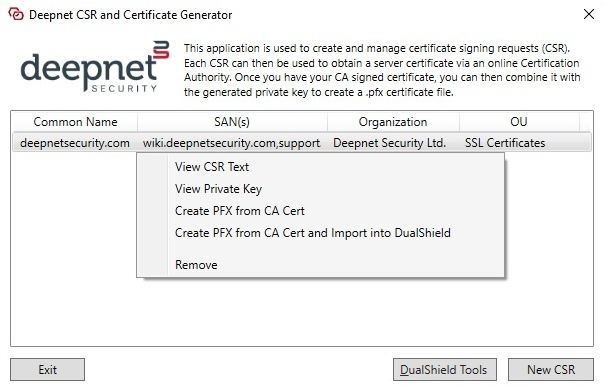
Note. Your CSR request along with the private key is now saved and can then be reviewed later from the main interface by Right-Clicking on the new entry that has appeared.
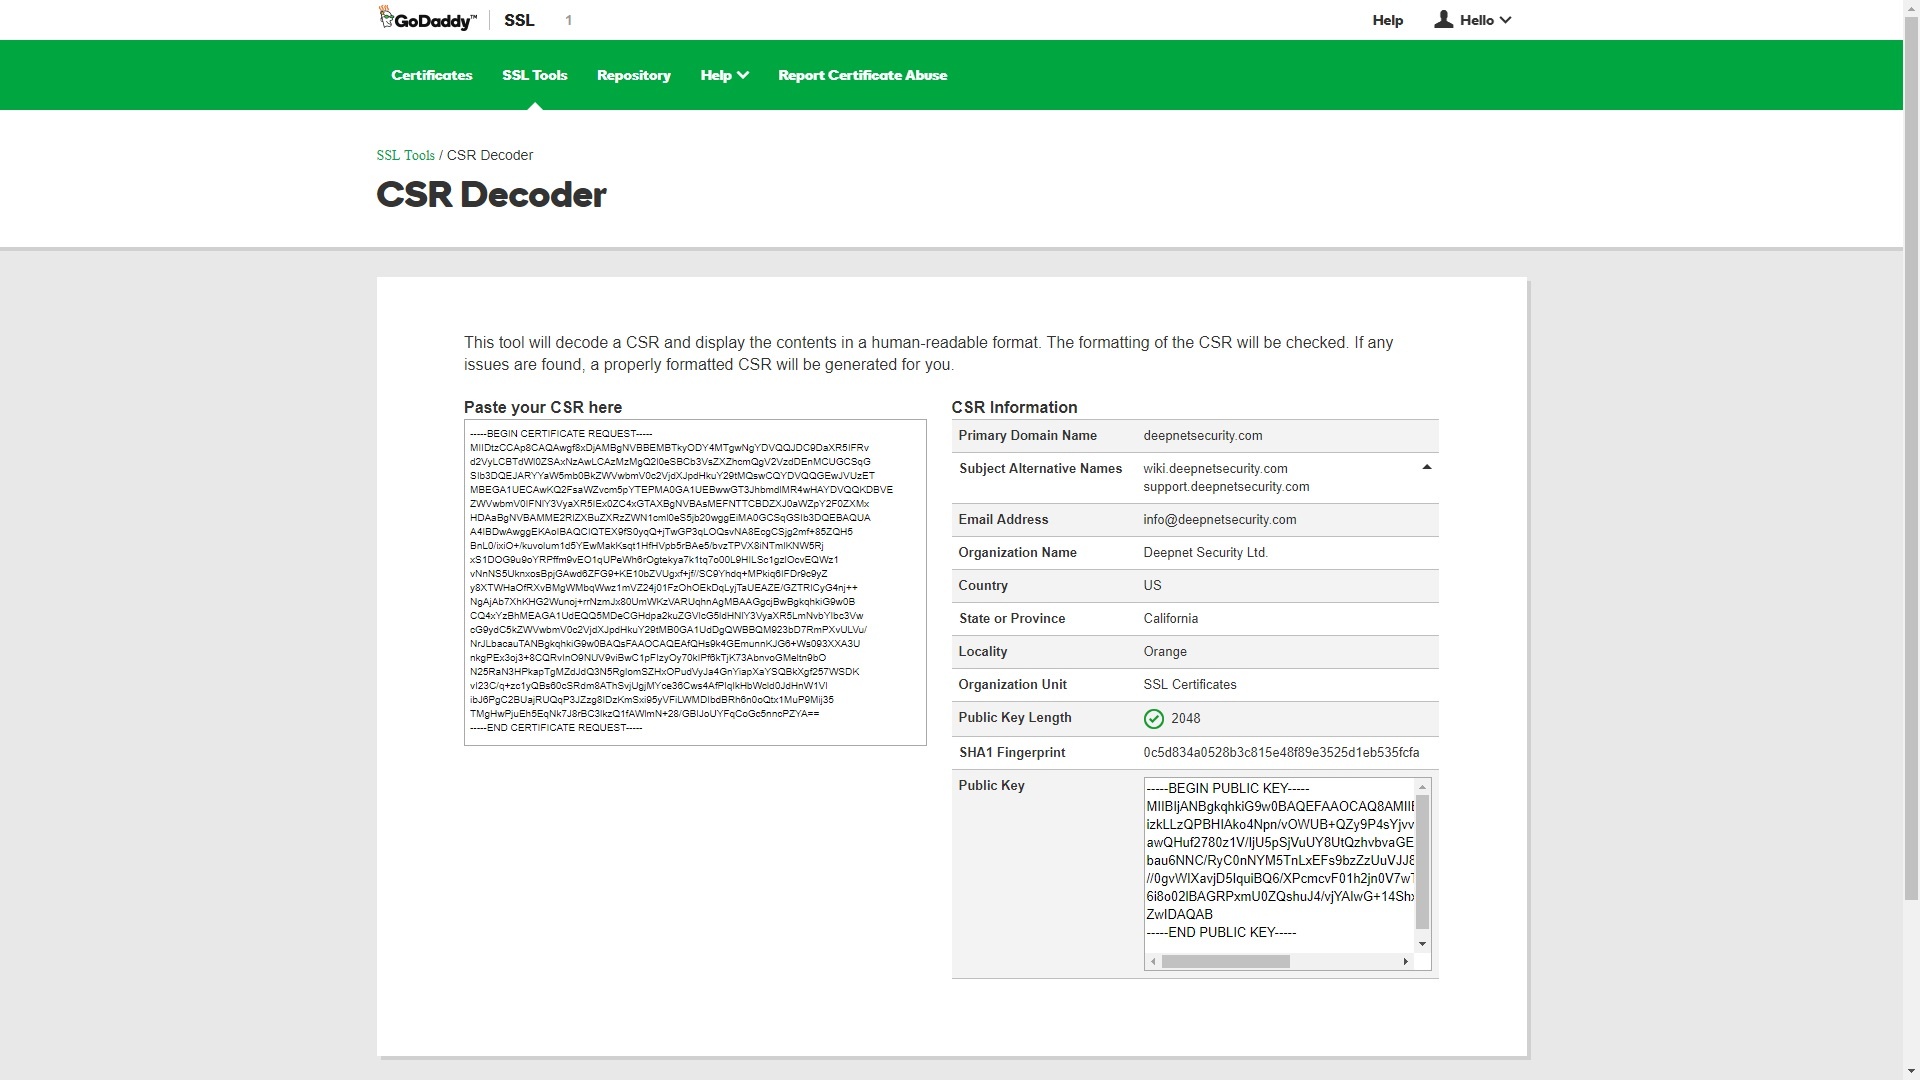
The CSR text can then be submitted to a CA to then obtain your server certificate. Here is an example of the output on GoDaddy when using their CSR decoder to read the request we have generated:
Once you have obtained your certificate file from your Certificate Authority, you can then use the application to merge your Private key from the original CSR with your new Certificate file into a PKCS12 format. On the CSR entry from the main interface, Right-Click on the desired CSR and select the Create PFX from CA Cert option. You will then be presented with a small form where you can select your new CA Signed Certificate file.
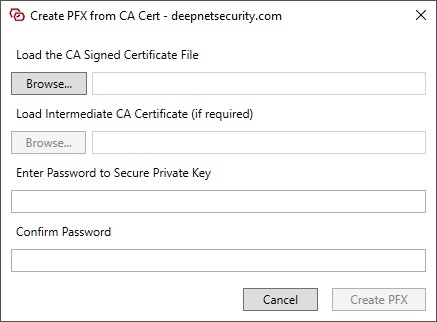
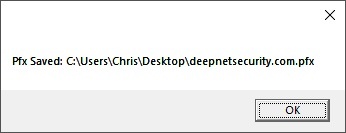
Some online CA's will provide you with more than one certificate if it is required to complete the Certificate Authority Chain. You can use this same interface to load these other Intermediate CA Certificates by using the second option to be inluded in the created .pfx. Once you have loaded your CA Signed Certificate and entered a password to protect the private key, you can now Create your PFX file by clicking the Create PFX button. A dialog will then appear which will ask you where you would like to save the .pfx file using the name you specify. Once saved, you will see a confirmation message confirming the .pfx creation was successful.