Select XenApp and XenDesktop, and click on Get Started 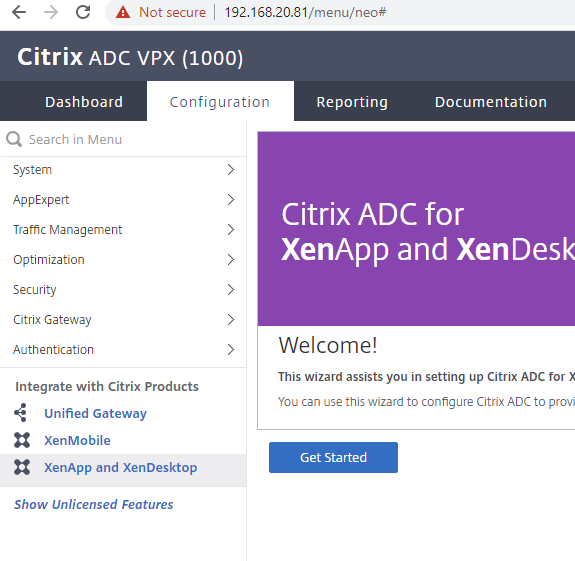
Select Storefront at the top of the Setup Wizard Page: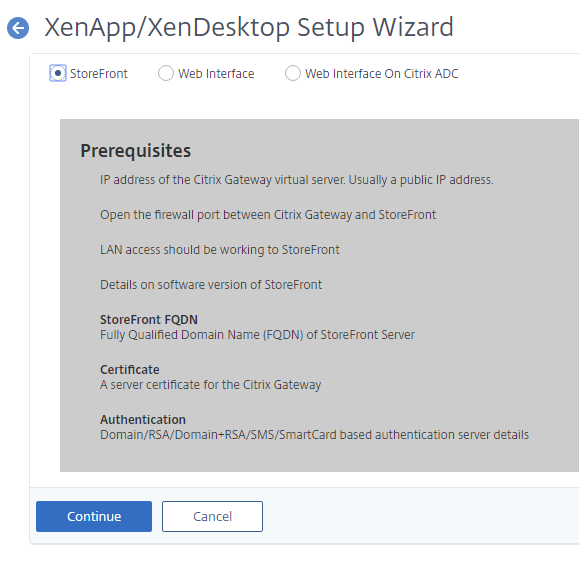
Type in the FQDN and IP address of your Citrix Gateway: (Also add this to your DNS records)
Select the Server certificate you created (in previous chapter) or one you have installed.
Next you will be ask for the details of your Storefront Server:
You only need to specify FQDN for the server at this point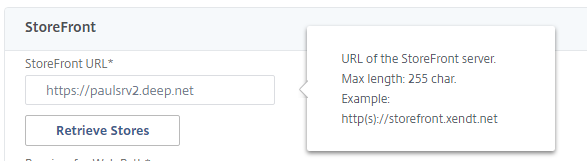
You can check the FQDN of your Storefront server under Stores > Receiver for websites on you Citrix StoreFront GUI.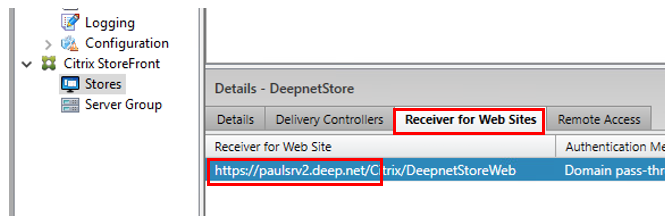
Click on Retrieve Stores.
If you are presented by this error message..![]()
Then you will need to enter the web path manually. Again you can get this information from here: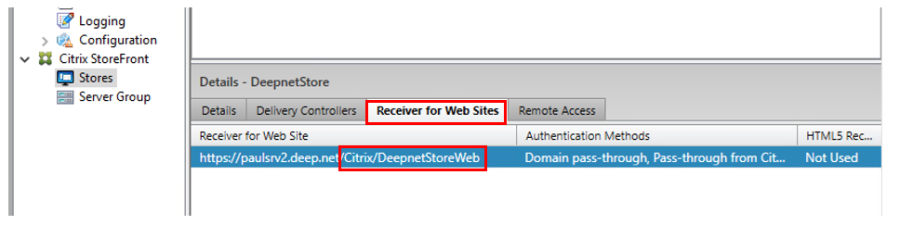
And enter under Receiver for Web Path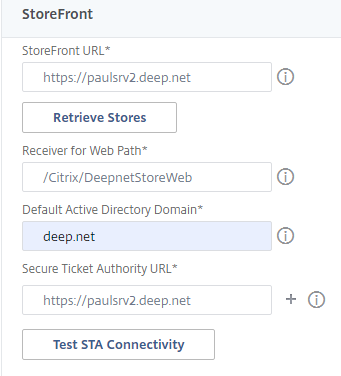
The Secure Ticket Authority (STA) is an XML web service that exchanges XenApp server information for randomly generated tickets. It is used to control access for a Citrix Secure Gateway server.
Click on Test STA.
The STA (Secure Ticket Authority) status should show as should show as up.
Troubleshooting STA
If the STA status is showing as down, check your STA server (This is the same server as your delivery controller) is up. Also check the Manage Citrix Gateway, on your Storefront GUI is configured correctly
Check the Gateway FQDN is correct,
Make sure the URL for the STA server is also correct.
And make sure you have correctly specified DNS Name server correctly on the ADC
Next you will be asked for the Authentication server details. This will usually be your domain controller details. 
Remember to test the connection to your LDAP server
Also set the Server Logon Name Attribute as sAMAccountName:
And your Citrix Gateway Virtual server should be up and running.
Bind the CA certificate to the Citrix Gateway Virtual Sever
Click on Citrix Gateway and then Citrix Gateway Virtual Sever:
Click on the Virtual Server to edit:
This will take you to the virtual server edit screen.
From here Locate Certificate
The server certificate is showing but not the CA
Click No CA Certificate.
Click on Add Binding:
Click to select CA Certificate:
And choose the CA certificate that we installed earlier:
And then Click on Bind:
With the CA cert now bound to the virtual server, click on Done at the bottom of the edit page.
Pre DualShield Test
Before adding DualShield authentication, methods, lets makesure you are able to access your Xenapps via Citrix Gateway access alone.
Simply launch a browser and type in the FQDN address of the Citrix Gateway server. 
Logon using your usual windows username and password.
And there we have it. You can see the Citrix Gateway URL in the address bar, followed by the receiver for web path.
Page History
Overview
Content Tools