...
| Table of Contents | ||||
|---|---|---|---|---|
|
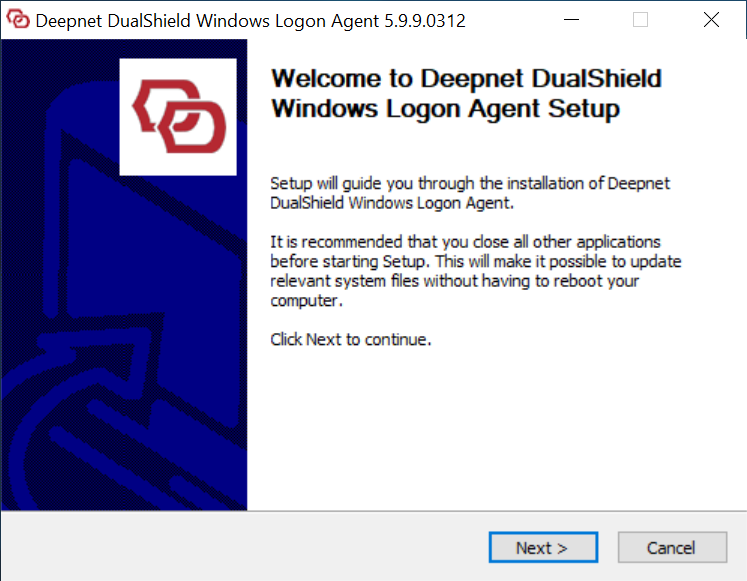
Step 1: Welcome
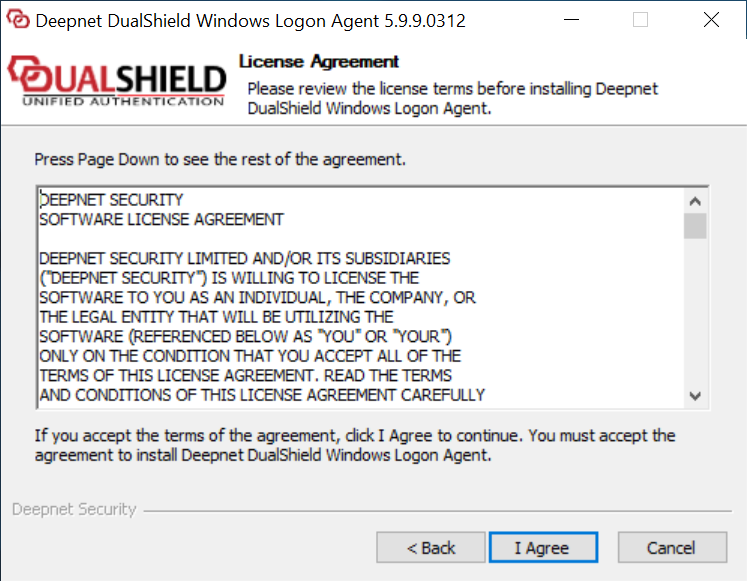
Step 2: License License Agreement
Step 3: Installation Path
...
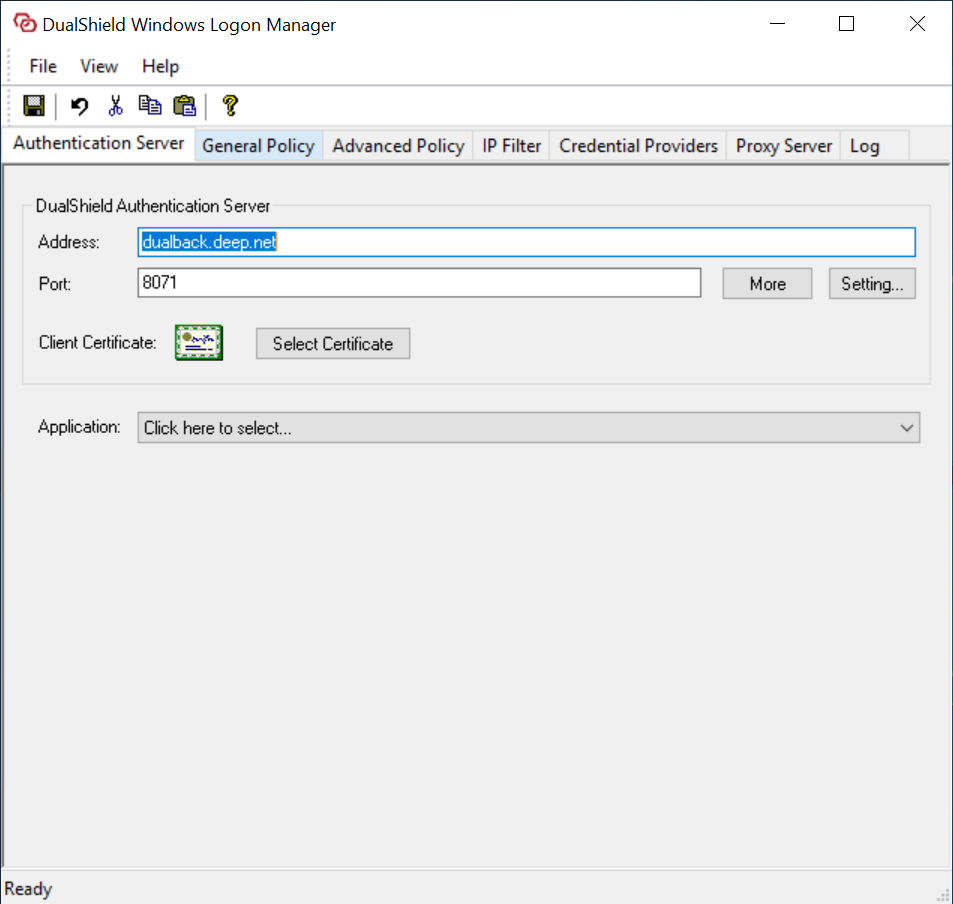
Check the FQDN and Port number of your DualShield Server. Change them if necessary. The default port of DualShield server is 8071.
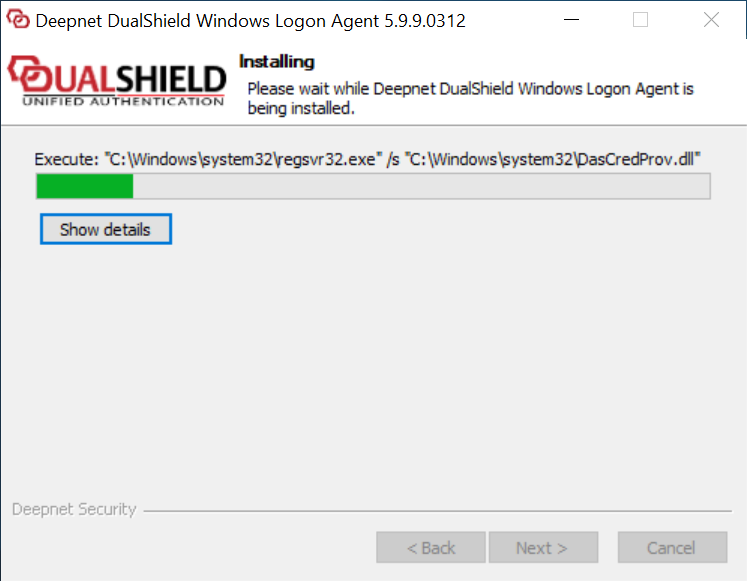
Step 6: Installing...
Step 7:
...
Upon the successful installation, the installer launches the DualShield Windows Logon Manager which enables you to connect the agent to the authentication server.
...
Connect to an application
At this point, the agent has been successfully installed and registered with the DualShield server. It , and is waiting for an application to be published on this agent.
In the “Application” field, it displays “Click here to select”.
The next step is to publish a Windows application on this agent.
Step 8: Publish an application
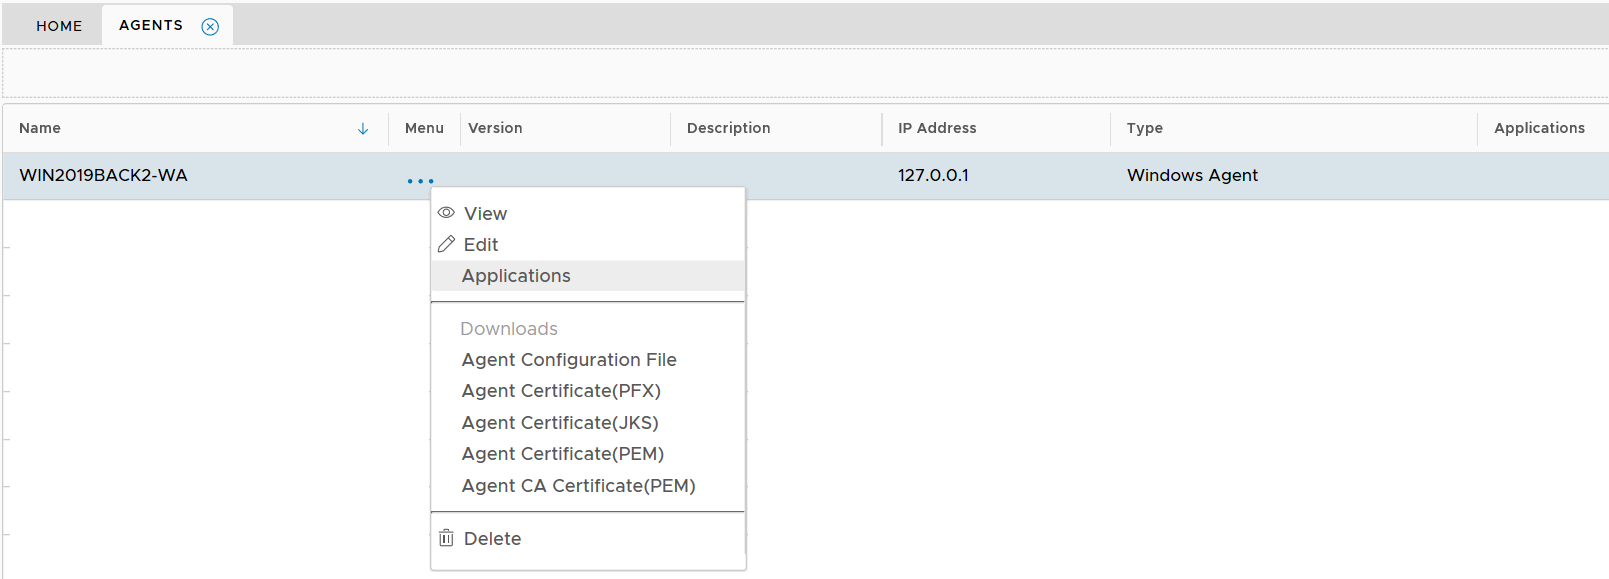
Login to your DualShield Admin Console, select "Authenticaiton | Agents" in the side panel.
You will see that the agent you are installing is listed.
Open the Agent's context menu.
Select "Applications" to launch the application list
Step 8: Complete installation
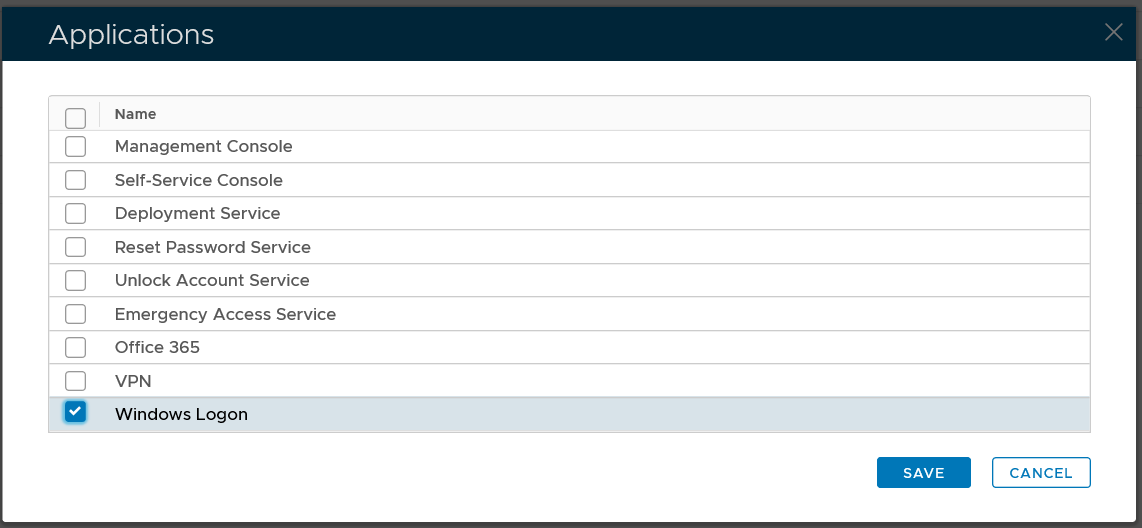
Select the application that you want to publish on this agent, e.g. Windows Logon, then click the "SAVE" button.
The application is now published on the agent.
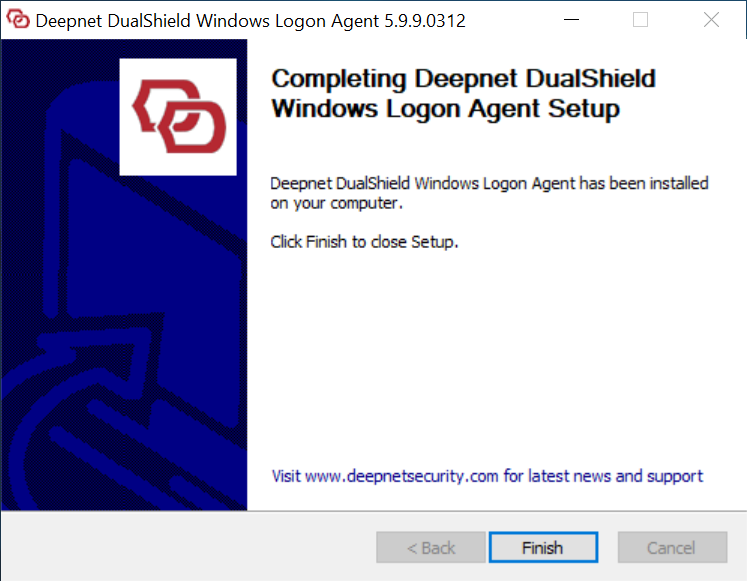
Step 9: Complete installation
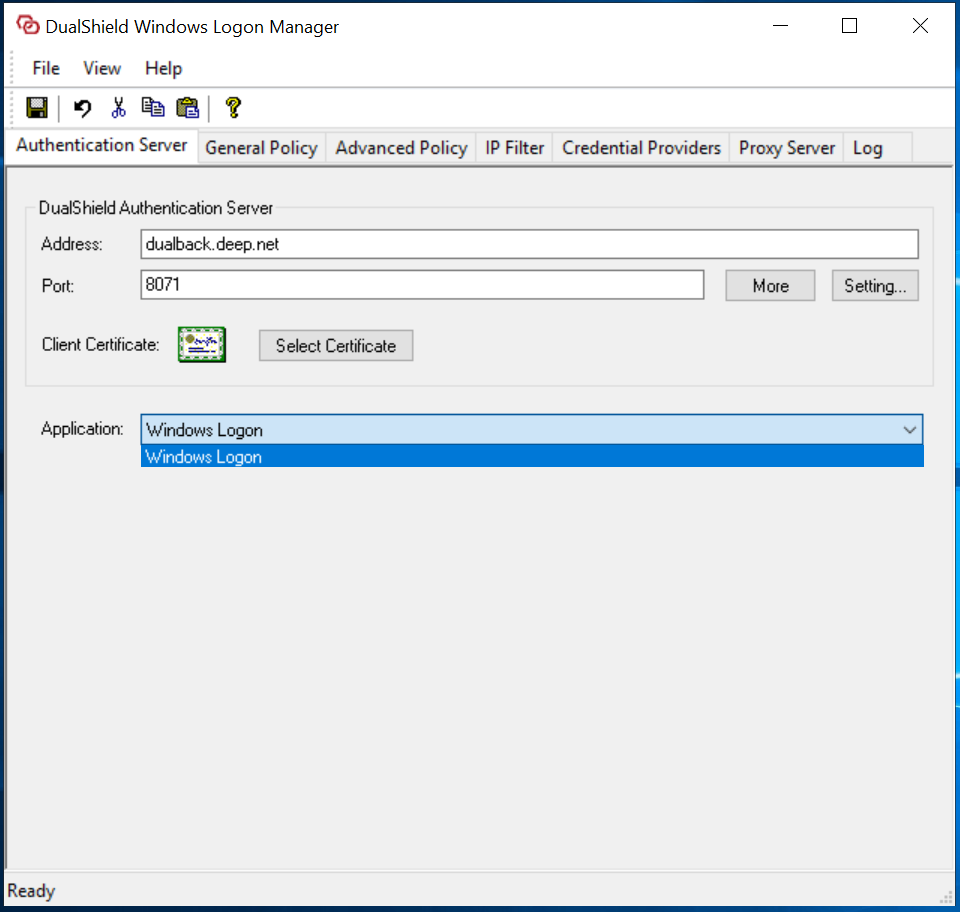
Now, go back the agent installation process, click the Application drop down:
You will see that the application is now available in the list.
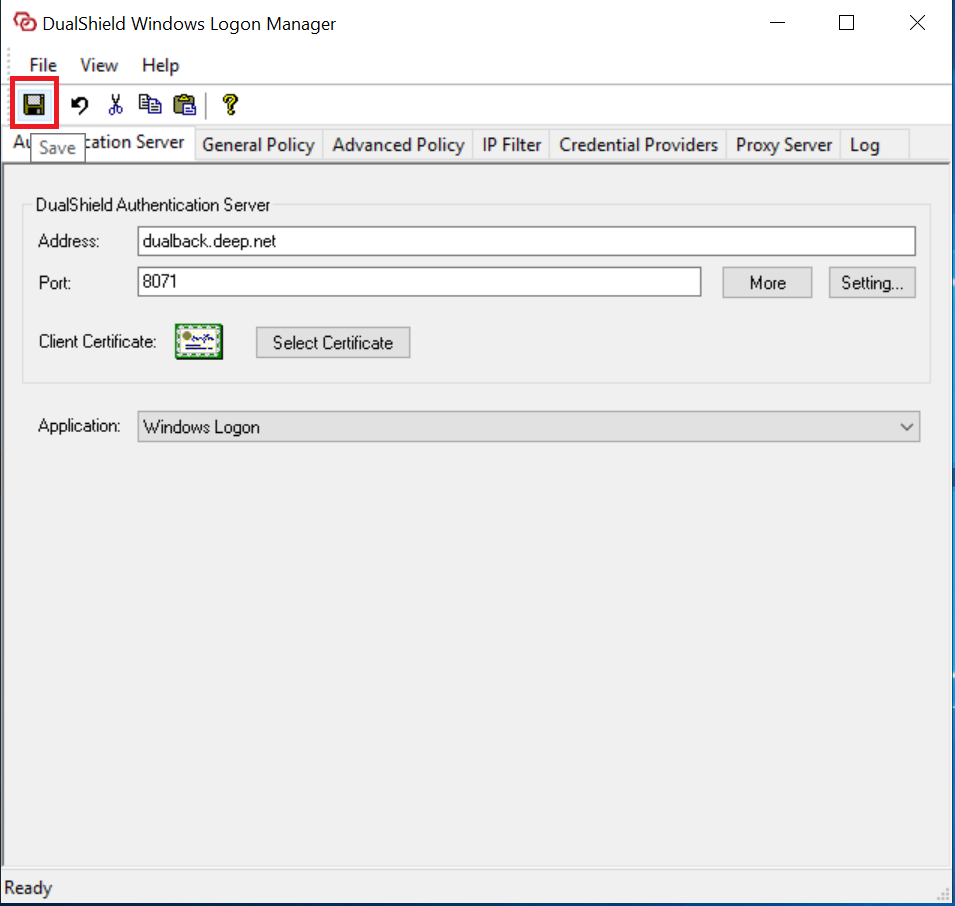
Select the application, then click the Save icon on the toolbar:
Finally, click the close icon to close the window
The Windows logon agent has now been successfully installed, registered and linked to an logon application.
