...
1. Select Roles in the left pane

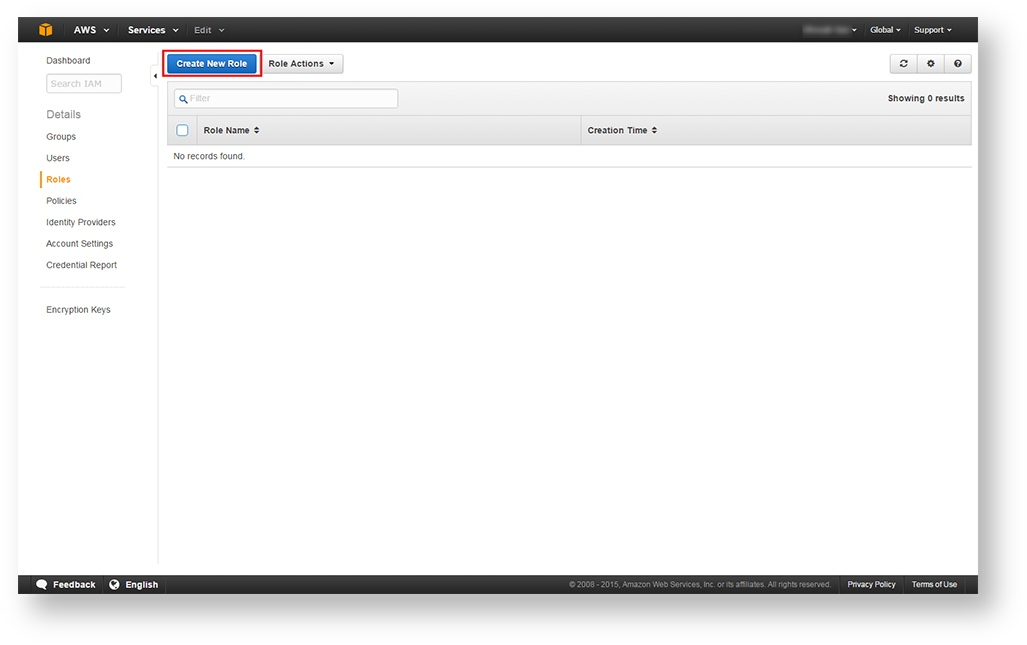
2. Click Create New Role at the top of the target pane
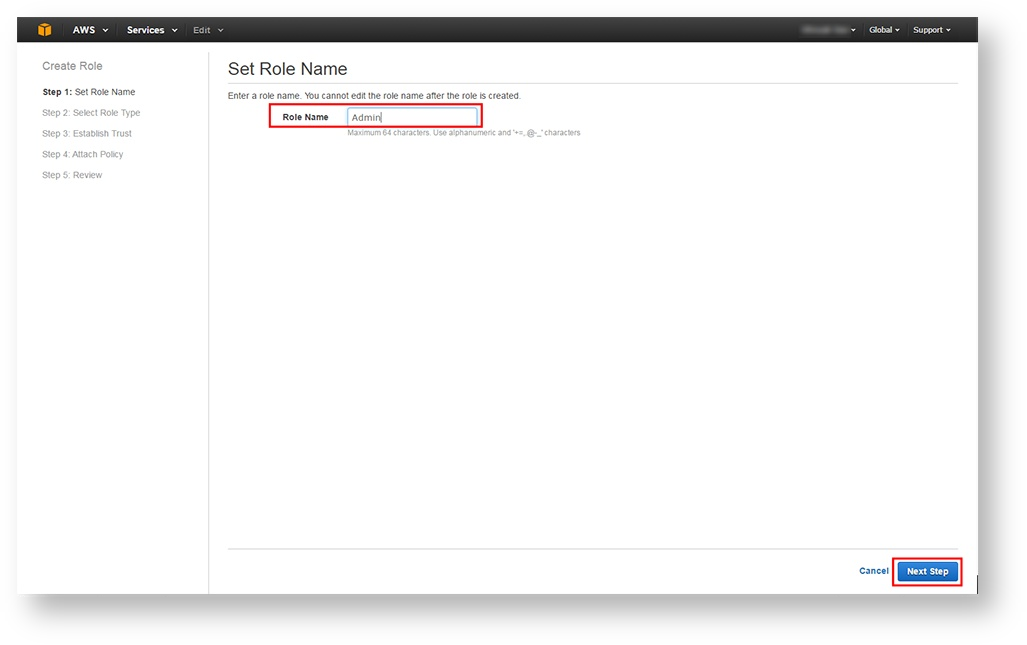

3. Enter the Role Name and click Next Step

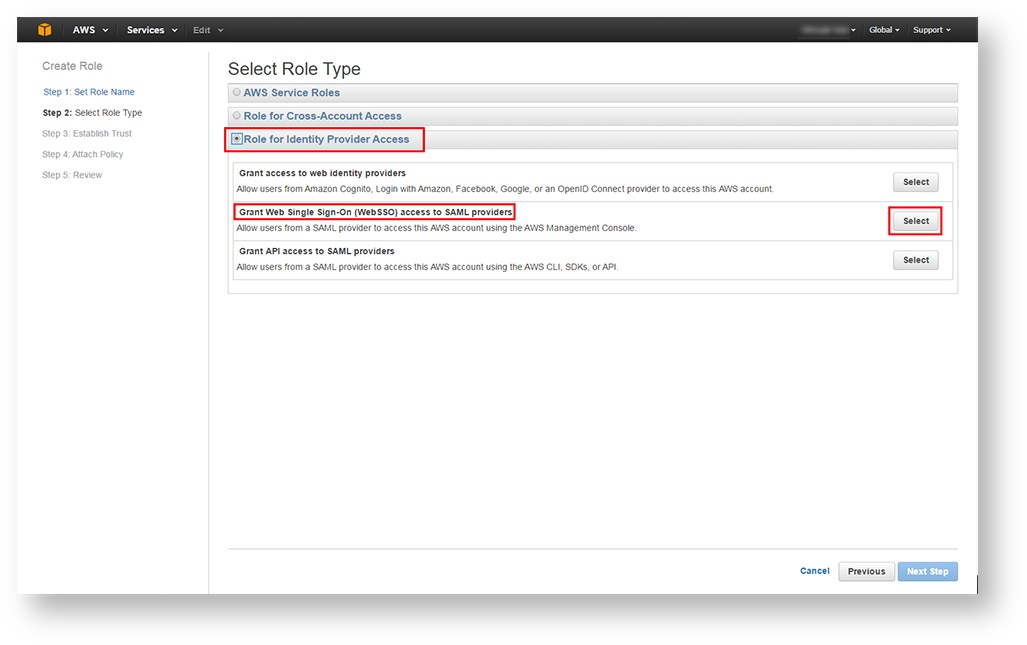
4. Select Role for Identity Provider Access and click Select to Grant Web Single Sign-on (Web SSO) access to SAML providers
5. Click Next Step
...
7. Verify the Role's trust relationship and click Next Step

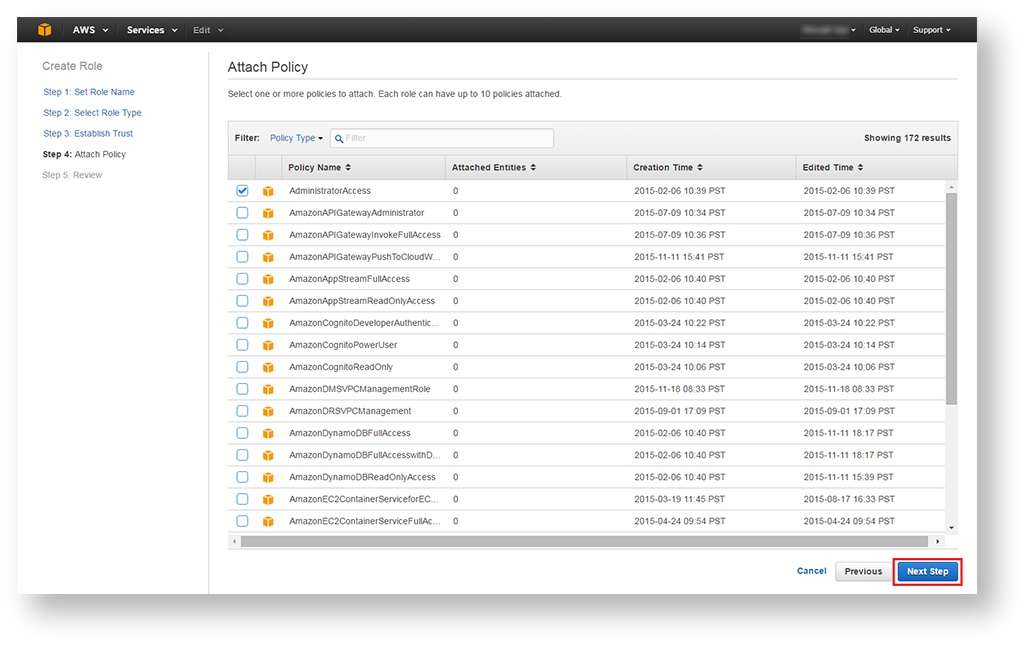
8. Select one or more policies to attach to the Role and click Next Step

9. Review information assigned to the Role, make any necessary edits, and then click Create Role