...
Download Zulu Java OpenJDK from https://www.azul.com/downloads/zulu
Install the Java Open SDK
Download Salesforce Data Loader from https://developer.salesforce.com/tools/data-loader
Extract files from the zip to a temp folder

Launch the Windows Command Shell
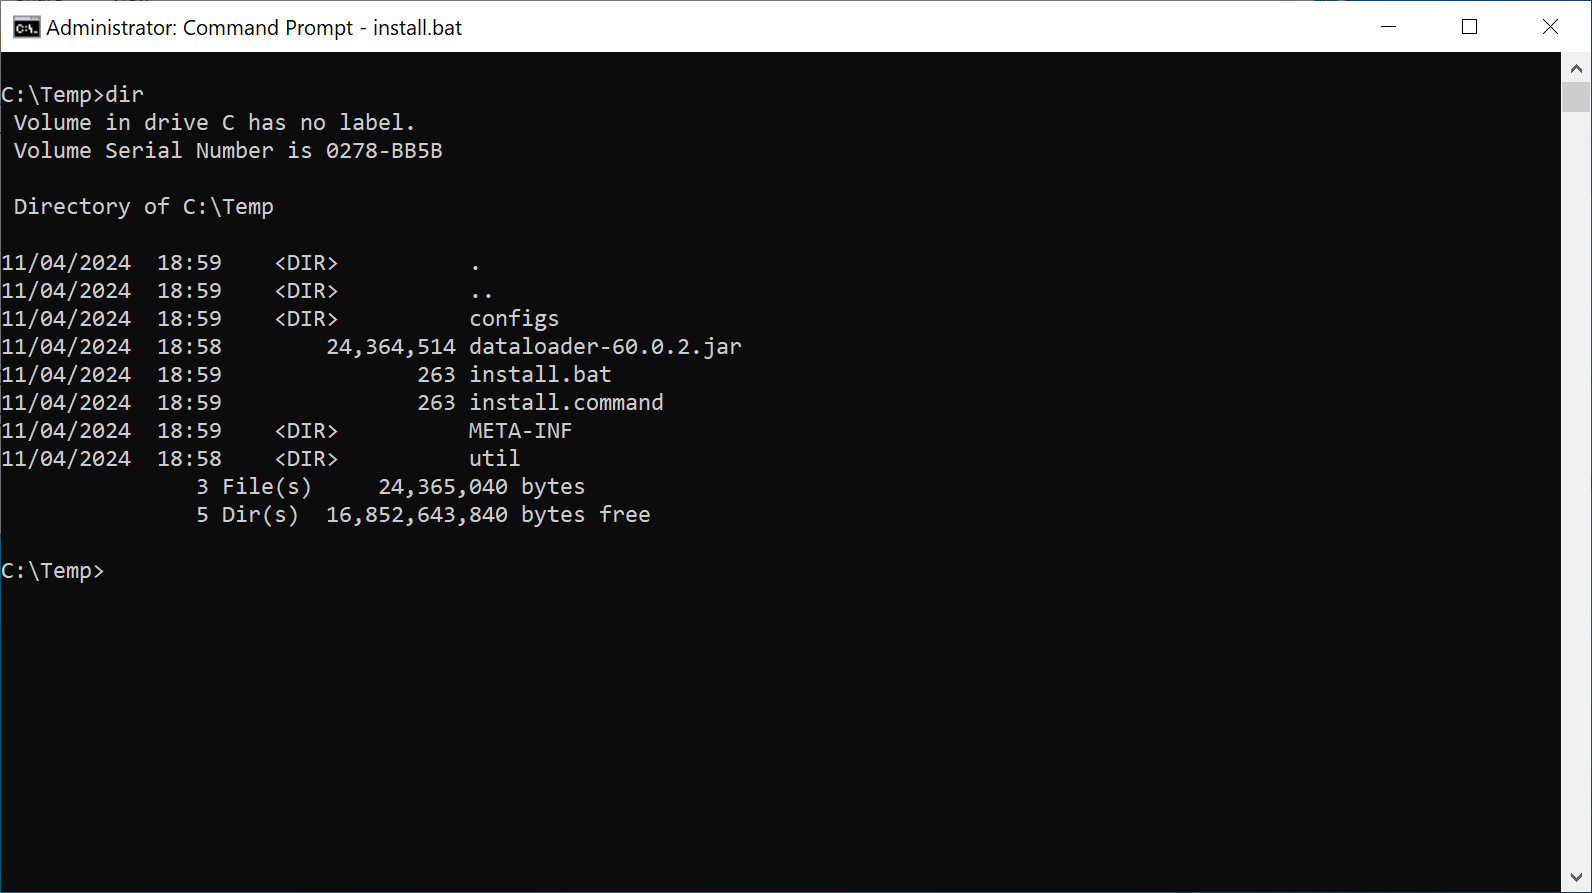
Run "install.bat"

Follow the on-screen instructions to install the Data Loader

...
Upload the Token Assignments CSV File
Launch the Salesforce Data Loader application

Press the "Insert" button

Press the "Log in" button
A web browser will open asking you to enter a code which has been prefilled

Press the "Connect" button

You will now need to log in to Salesforce
Enter your username and password, then press "Log in"

Click the "Allow" button to allow the Data Loader application access to your SalesForce account

Press "Continue"
Now, switch back to the Salesforce Data Loader application

Tick the option "Show all Salesforce objects"
Enter "twofactorinfo" in the search box

Select "Two Factor Info (TwoFactorInfo)
Click "Browse..." to select the Token CSV file you have prepared

Press "Next"
You should be presented with a data selection window confirming the number of rows

Click "OK"

Select "Username" in the Lookup Field of Related Object drop-down list

Press "Next"
You will now be presented with the page below

Click “Create or Edit a Map”
You will now be presented with the page below

Drag the Salesforce object fields down below to the CSV Column, so that the result looks the same as the one below.

Click "OK"

Click "Next"
You will then be asked to select a folder where the log of the Data Loader activity should be written to

Click "Browse..." to select a folder, e.g. C:\Temp

Click "Finish"

Click "Yes" to confirm you wish to proceed with inserting the data
You should now be presented with a window confirming that the records have been inserted into Salesforce

Click "OK"

You can now close the Data Loader