...
Create a SSO logon procedure
- Login to the DualShield management console
- In the main menu, select “Authentication | Logon Procedure”
- Click the “Create” button on the toolbar
- Enter “Name” and select “Web SSO” as the Type
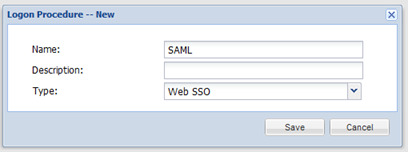
- Click “Save”
- Click the Context Menu icon of the newly create logon procedure, select “Logon Steps”
- In the popup windows, click the “Create” button on the toolbar
- Select the desired authentication methods, e.g. “Static Password”
- Click “Save”
- Repeat step 7 - 9 to add more logon steps if desired, e.g. “One-Time Password”

- Click "Close"
Create a SAML application
- In the main menu, select “Authentication | Applications”
- Click the “Create” button on the toolbar
- Enter “Name”
- Select “Realm”
- Select the logon procedure that was just created
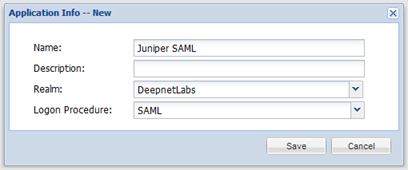
- Click “Save”
- Click the context menu of the newly created application, select “Agent”
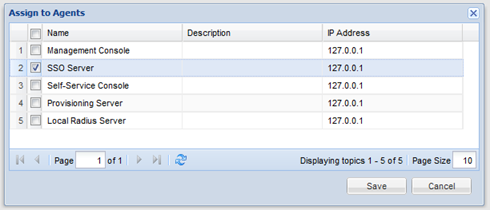
- Select “ SSO Server”
- Click “Save”
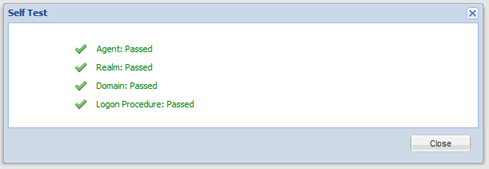
- Click the context menu of the newly created application, select “Self Test”
Download IdP Certificate
- Click the context menu icon of the SSO server and select “Download IdP Certificate”
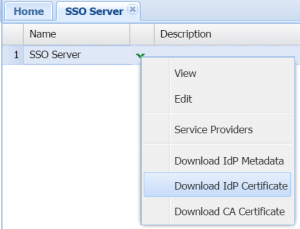
- Save the certificate file into your hard disk
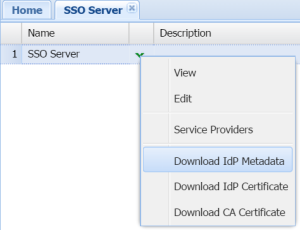
Download IdP Metadata
- Click the context menu icon of the SSO server and select "Download IdP Metadata"
 &net
&net - Save the file into your hard disk
Import IdP Metadata
Log into your Juniper SA Management Console.
- Select “Configuration” in the “System”section
- Select the “SAML” tab
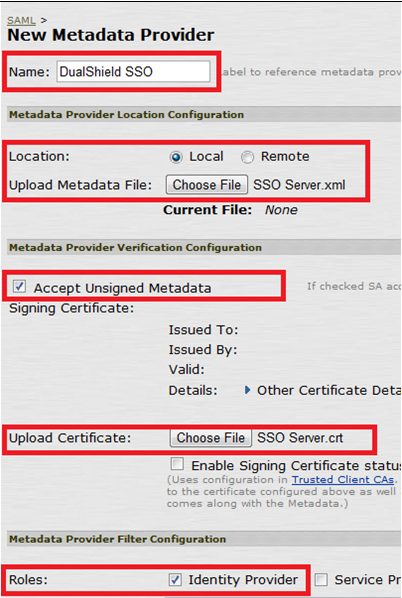
Click “New Metadata Provider”
Enter Name
- Select "Local"
- Click "Choose File" to select the IdP Metadata file downloaded & save in the previous step
Select "Accept Unsigned Metadata"
- Click "Choose File" to select the IdP Certificate file downloaded & save in the previous step
- Select "Identity Provider"
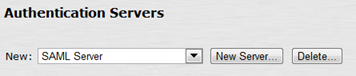
Create a SAML Authentication Server
- Click “Authentication Servers” in the “Authentication” section
- Select “SAML Server” in the dropdown list, and click “New Server”
- Populate the fields
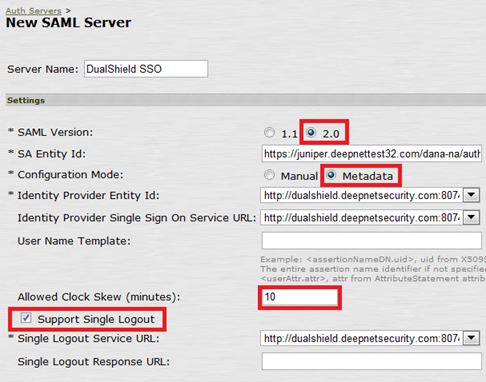
- Click “Save Changes”
We need to make some changes to the newly created SAML server. Change the “Configuration Mode” to “Manual”

- Append "?DASApplicationName=[Application Name]" to the end of "Identity Provider Single Sign On Service URL"

Where [Application Name] is the name of the application that you created in DualShield for the Juniper SA. Append "?DASApplicationName=[Application Name]" to the end of "Single Logout Service URL"

Click "Save Changes"
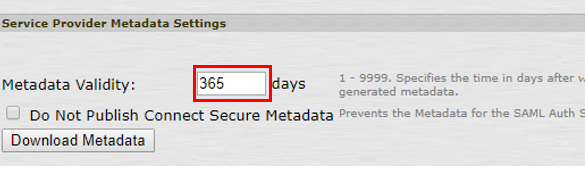
Download & Import SP Metadata
In the Juniper SA management console, open the newly created SAML authentication server.
Click “Download Metadata”

Save it to your hard disk
Open the file in a text editor
Copy the entire content to the clipboard
In the DualShield management console, select “SSO | SSO Servers”. In the context menu of the SSO server, select “Service Providers”
- Click "Create" on the toolbar
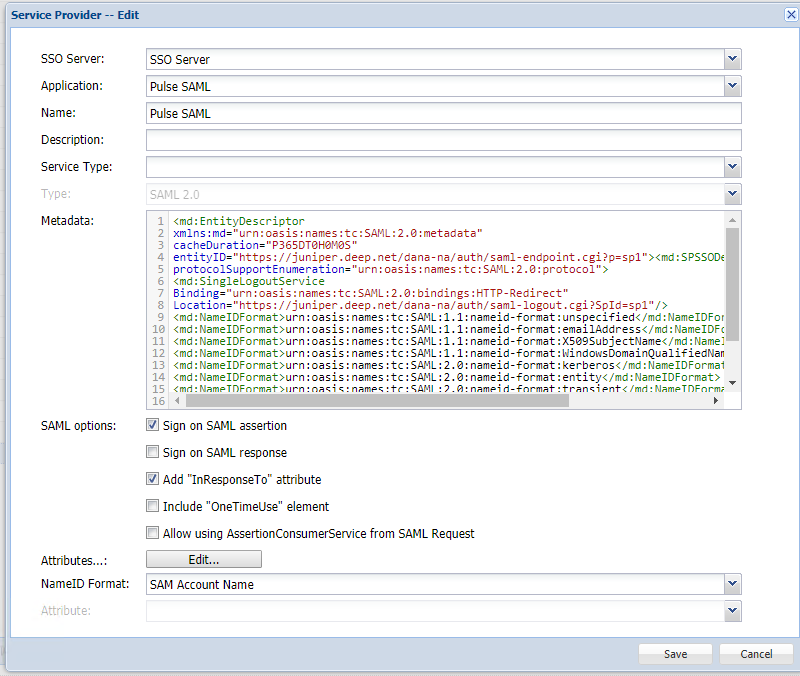
- Select the SSO Server, the SSO Application, and a name to identify the Service provider.
- Set 'Type' to SAML 2.0
- Paste the contents of the metadata file you had save to clip board inside the Metadata dialogue box.
- Click "Save"
...