This section describes the steps users will need to follow to auto-enroll their key for Login.
- Log into a user account on a Windows 10 PC connected to the domain. A Certificate Enrollment notification appears above the System Tray.
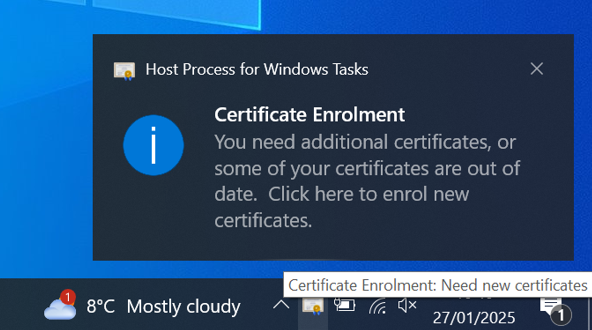
- Click the Certificate Enrollment notification to open the Certificate Enrollment wizard. If the popup has disappeared (or didn't initially appear) click the arrow in the System Tray to expand the list of options and click on the certificate icon.
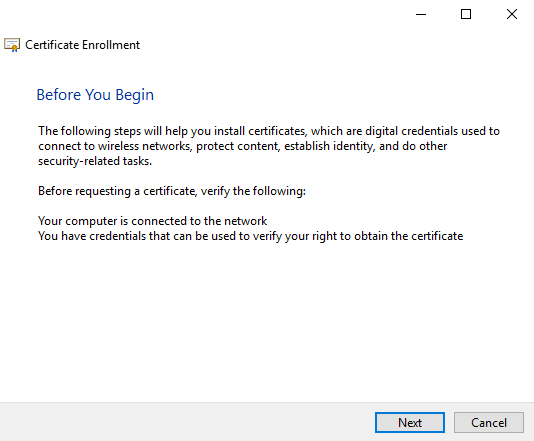
- On the initial screen, click Next.
- Select the newly created certificate template and click Enroll.
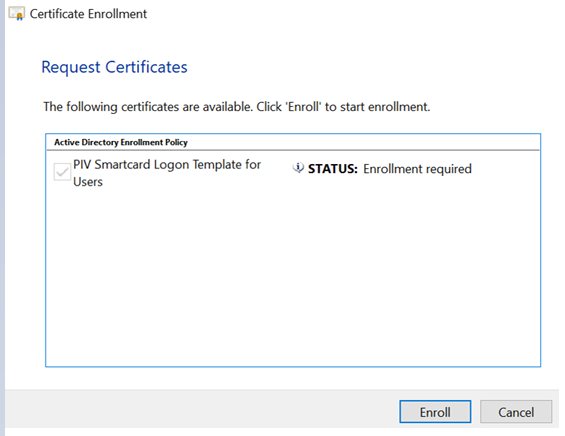
- Enter your key 's PIV PIN and then click OK. If that PIN has not been set, enter the default PIN:123456.
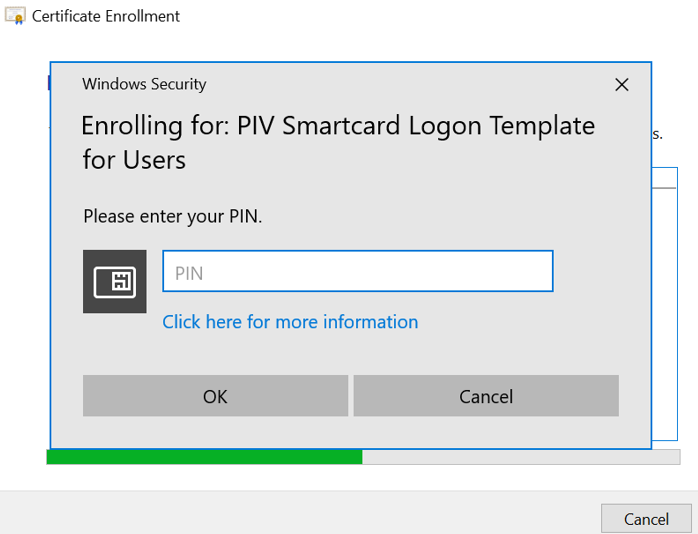
Note: Mini drier: 'EsMiniTokenStepup' is required in this stage, otherwise, it will be 'read-only'.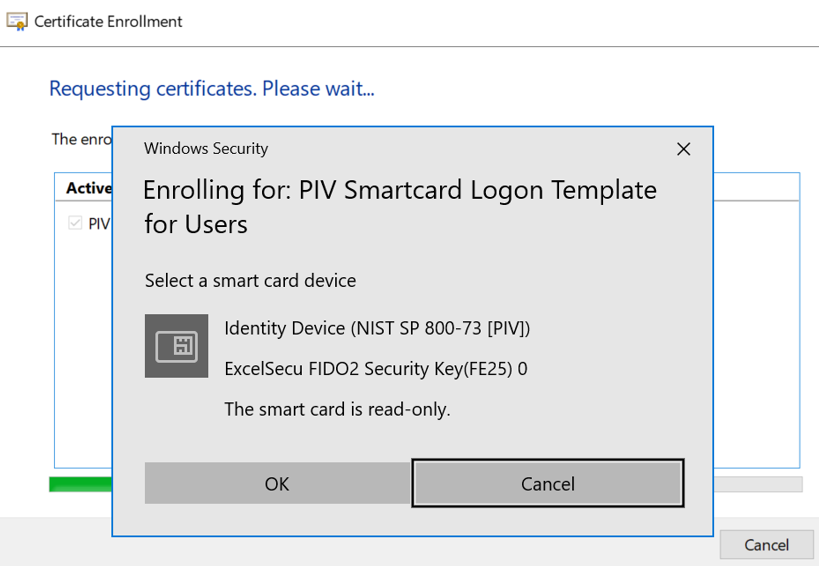
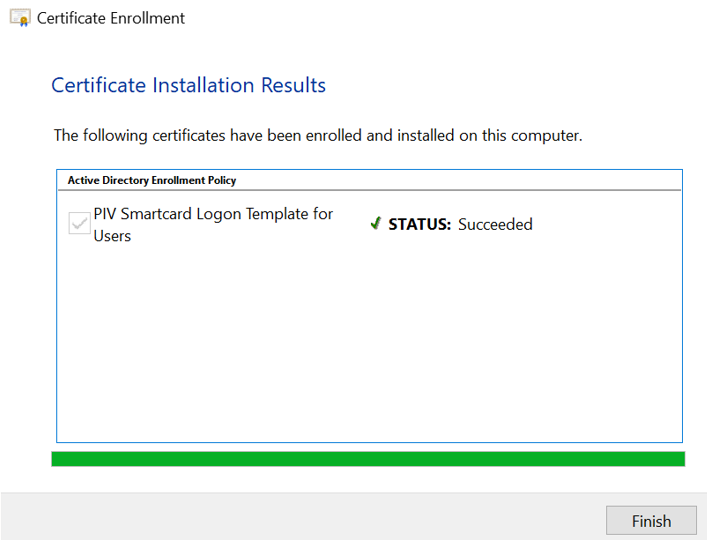
- Windows will enroll the for Windows login. After the process succeeds, click Finish.
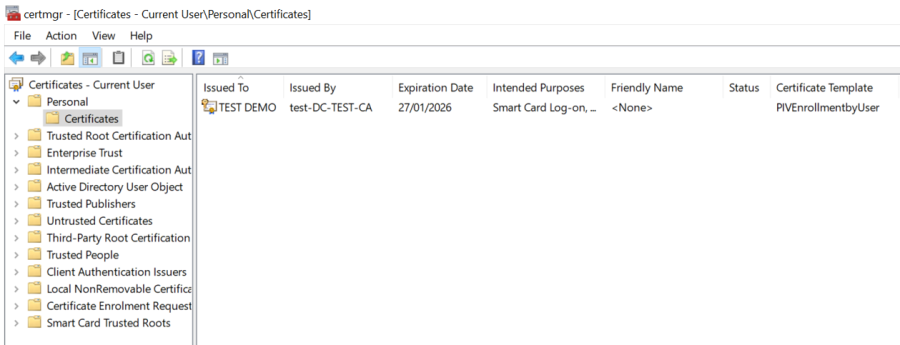
- Check the windows certificate store, the new cert is also stored in the cert store, as well as the smart card token.

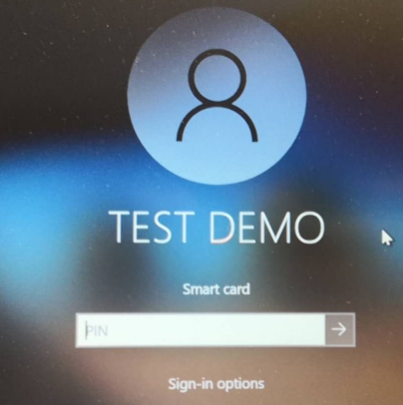
- When you login to this machine next time, you can select Smart Card method to logon.
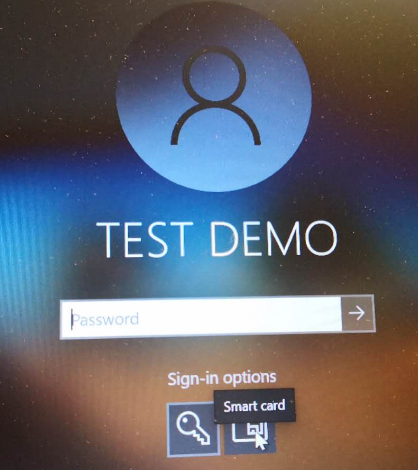
Enter Smart Card Pin, default '123456', and then you are logged in.