Run the SafeID Token Server installer (SafeIDServiceInstaller.exe) as an administrator
You will be presented with the box below
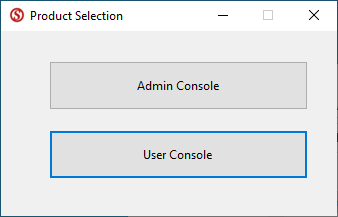
Select "User Console"
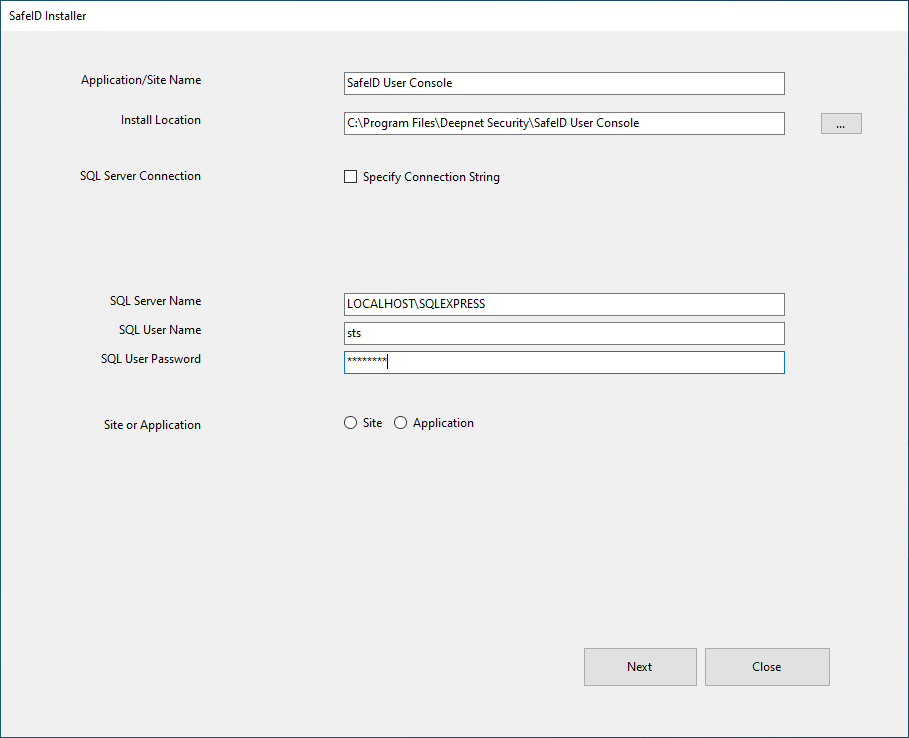
You will then be presented with a window like the one below
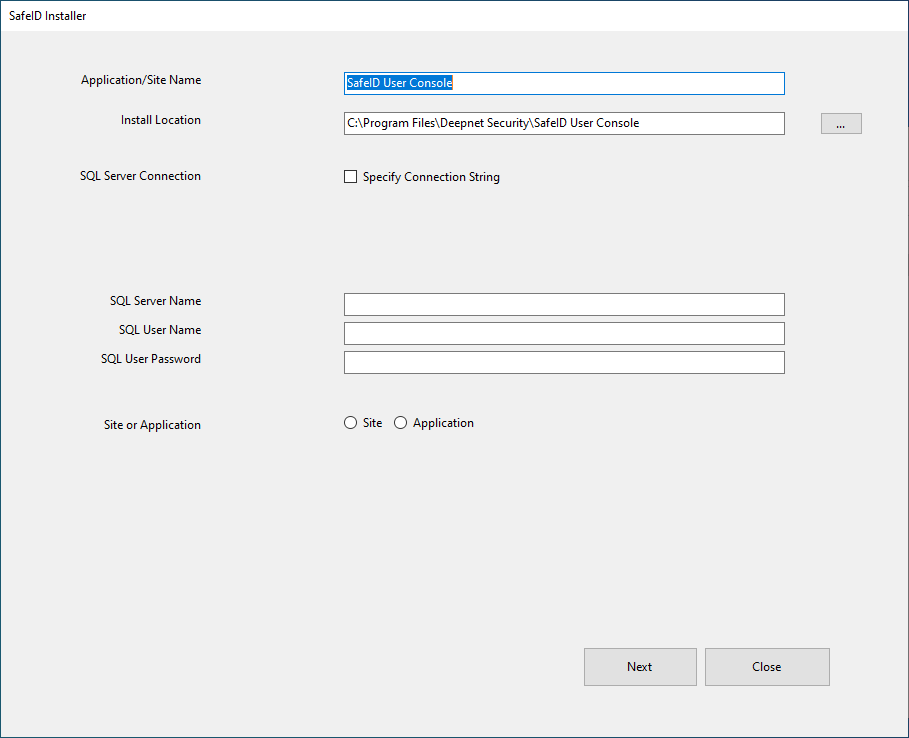
You can change the "Application/Site Name", and the "Installation Location", if you wish.
The software needs to connect to an MS-SQL server.
You can either specify the SQL connection string or enter the SQL connection properties.
To specify the SQL connection string, enable the option "Specify SQL Connection String"
If you are using this option, then in the connection string you must use the same database name that was used in the installation of the SafeID Admin Console.
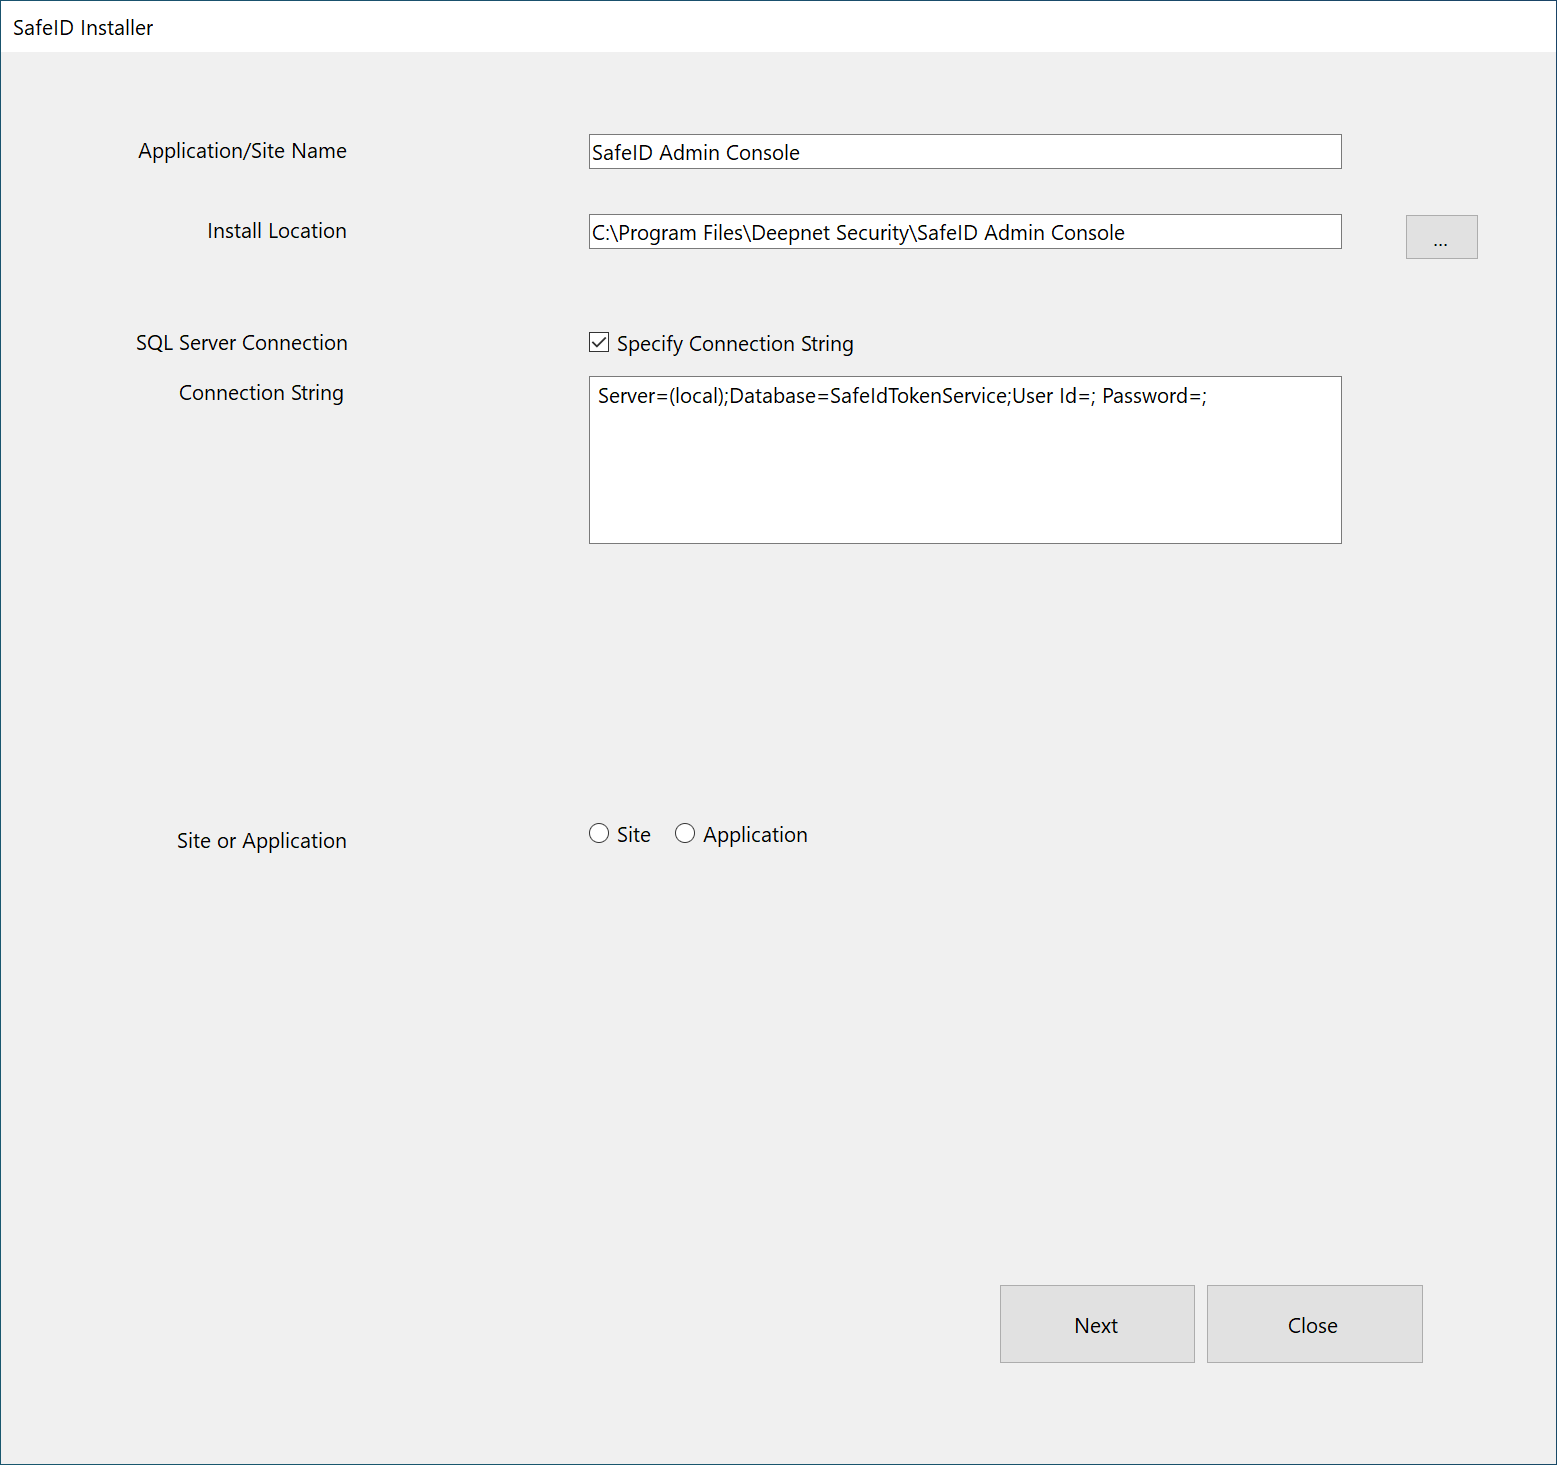
Modify the "SQL Server Connection String", e.g. "Server=localhost\SQLEXPRESS; Database=SafeIdTokenService;User Id=STS; Password=xxxxxxxx;"
Select the option "Site"
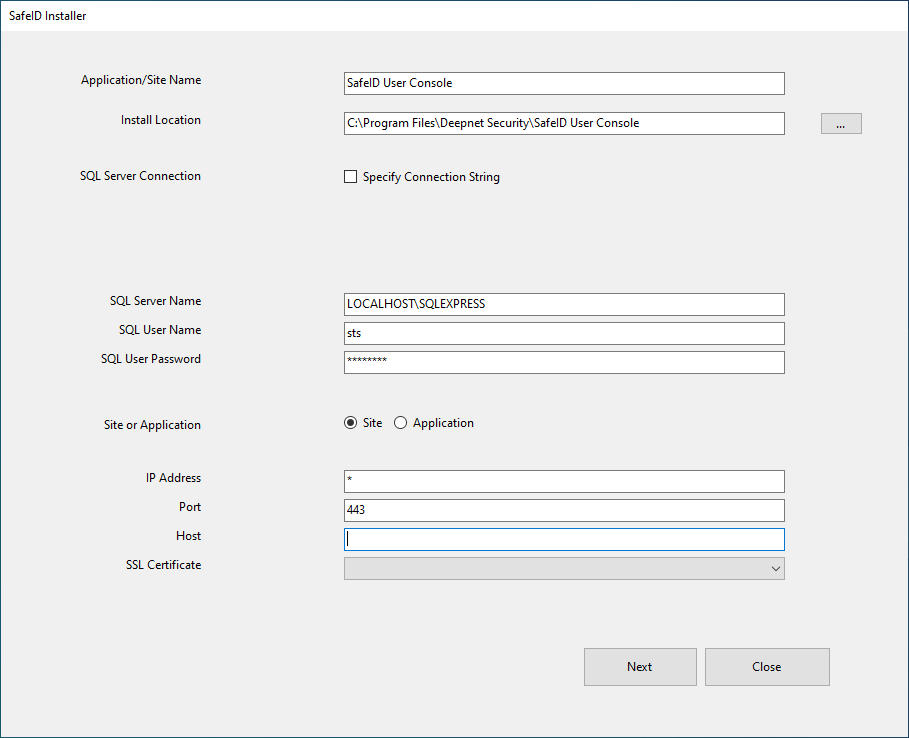
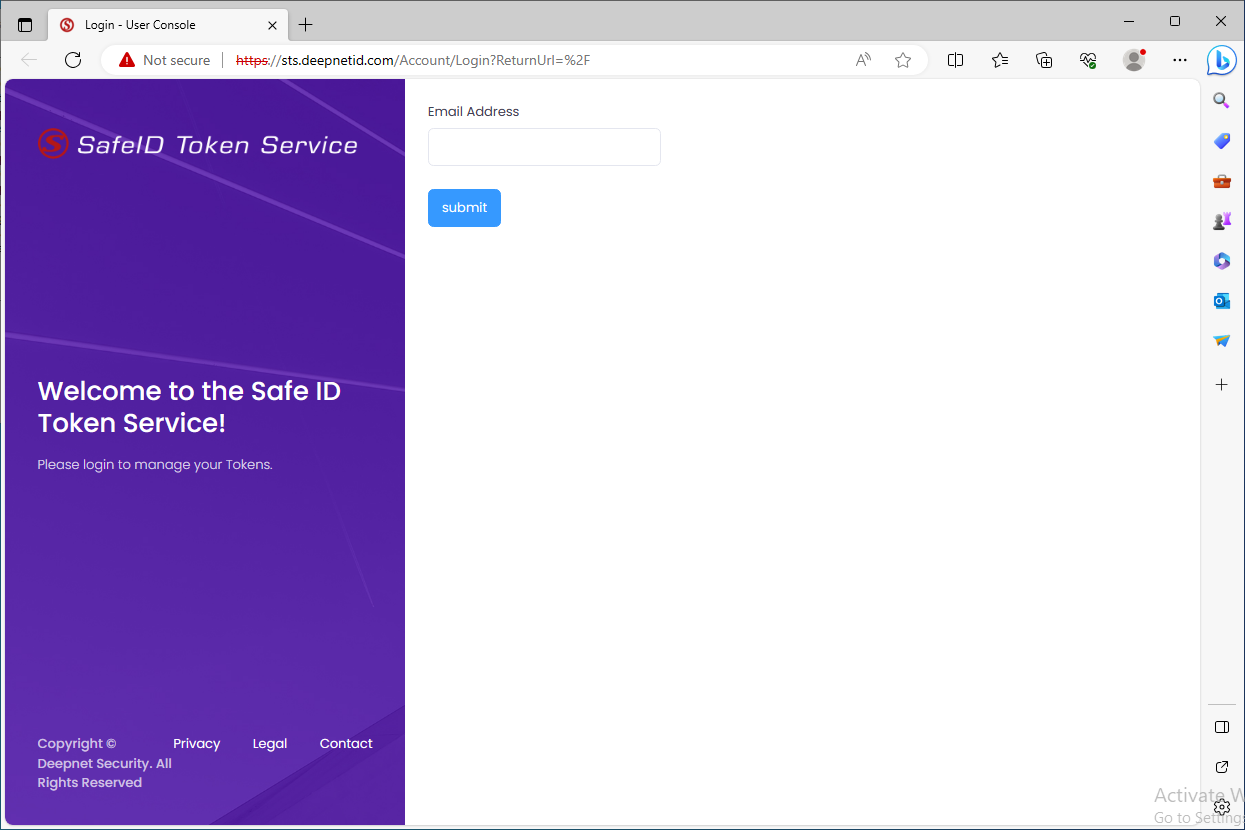
In "Host", enter the hostname of your SafeID User Console.
As the SafeID User Console will be accessed by your users, you need to provide an FQDN (Fully Qualified Domain Name) as its hostname.
In this example, we use "sts.deepnetid.com" as the hostname of the SafeID User Console.
Select an SSL Certificate to be used for the SafeID User Console.
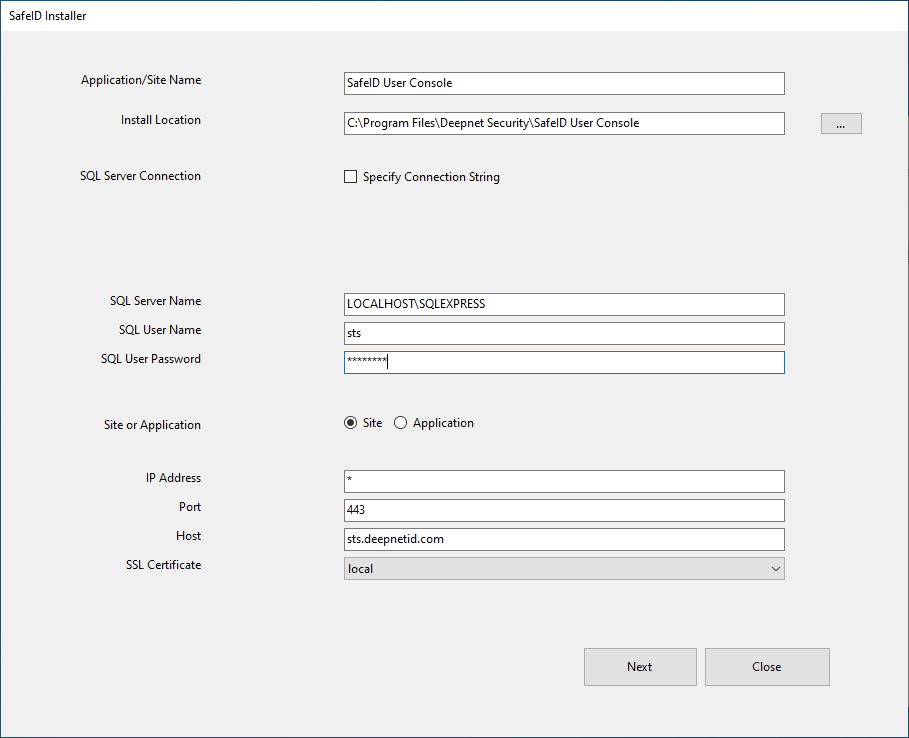
Click next.
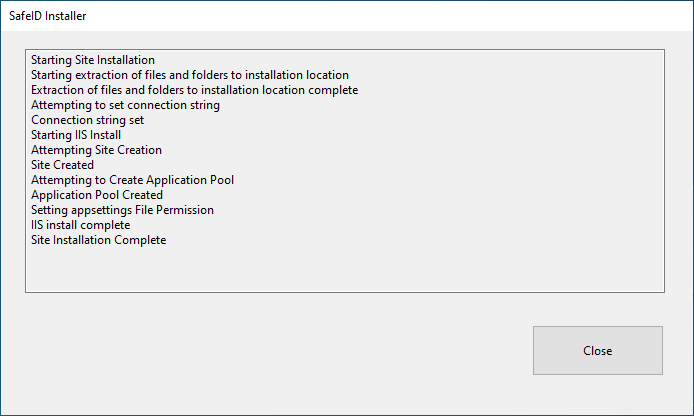
The SafeID user Console has been successfully installed.