To setup MFA for computer logon, complete the following steps.
Build Application
Complete the following steps to build an application for windows MFA logon.
Create logon procedure for Windows Logon
Below is the general guide for creating a logon procedure in DualShield
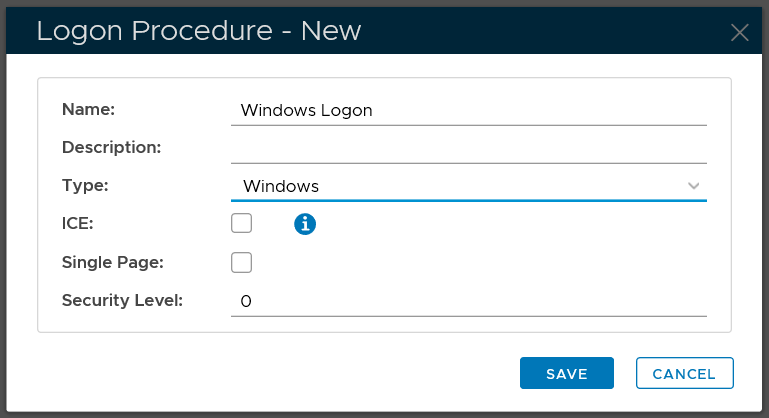
Click the "CREATE" button on the toolbar
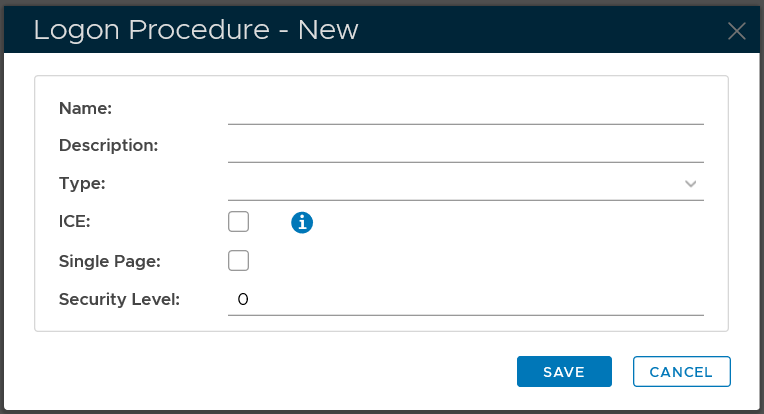
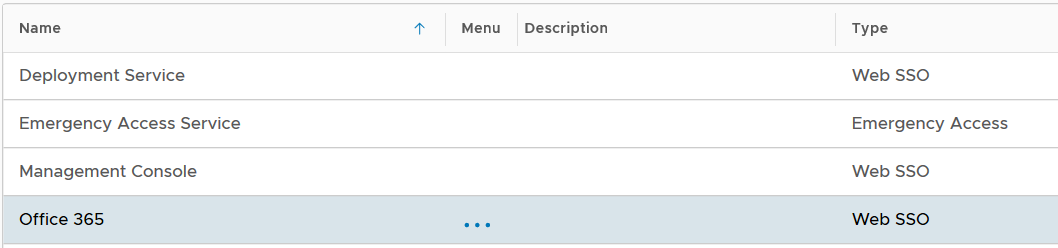
In the "Name" field, enter a name for this new logon procedure, e.g. "Office 365"
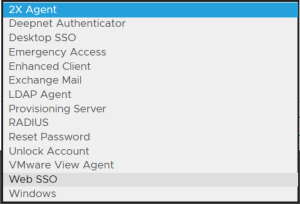
In the "Type" field, select the type of the logon procedure from the drop list, e.g. "Web SSO"

Click the "SAVE" button to save it.
Now that a new logon procedure is created, you want to add logon steps.
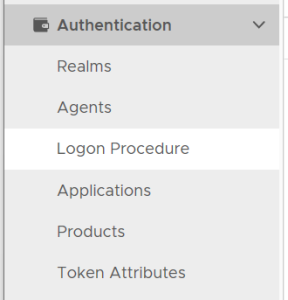
Navigate to Authentication | Logon Procedures
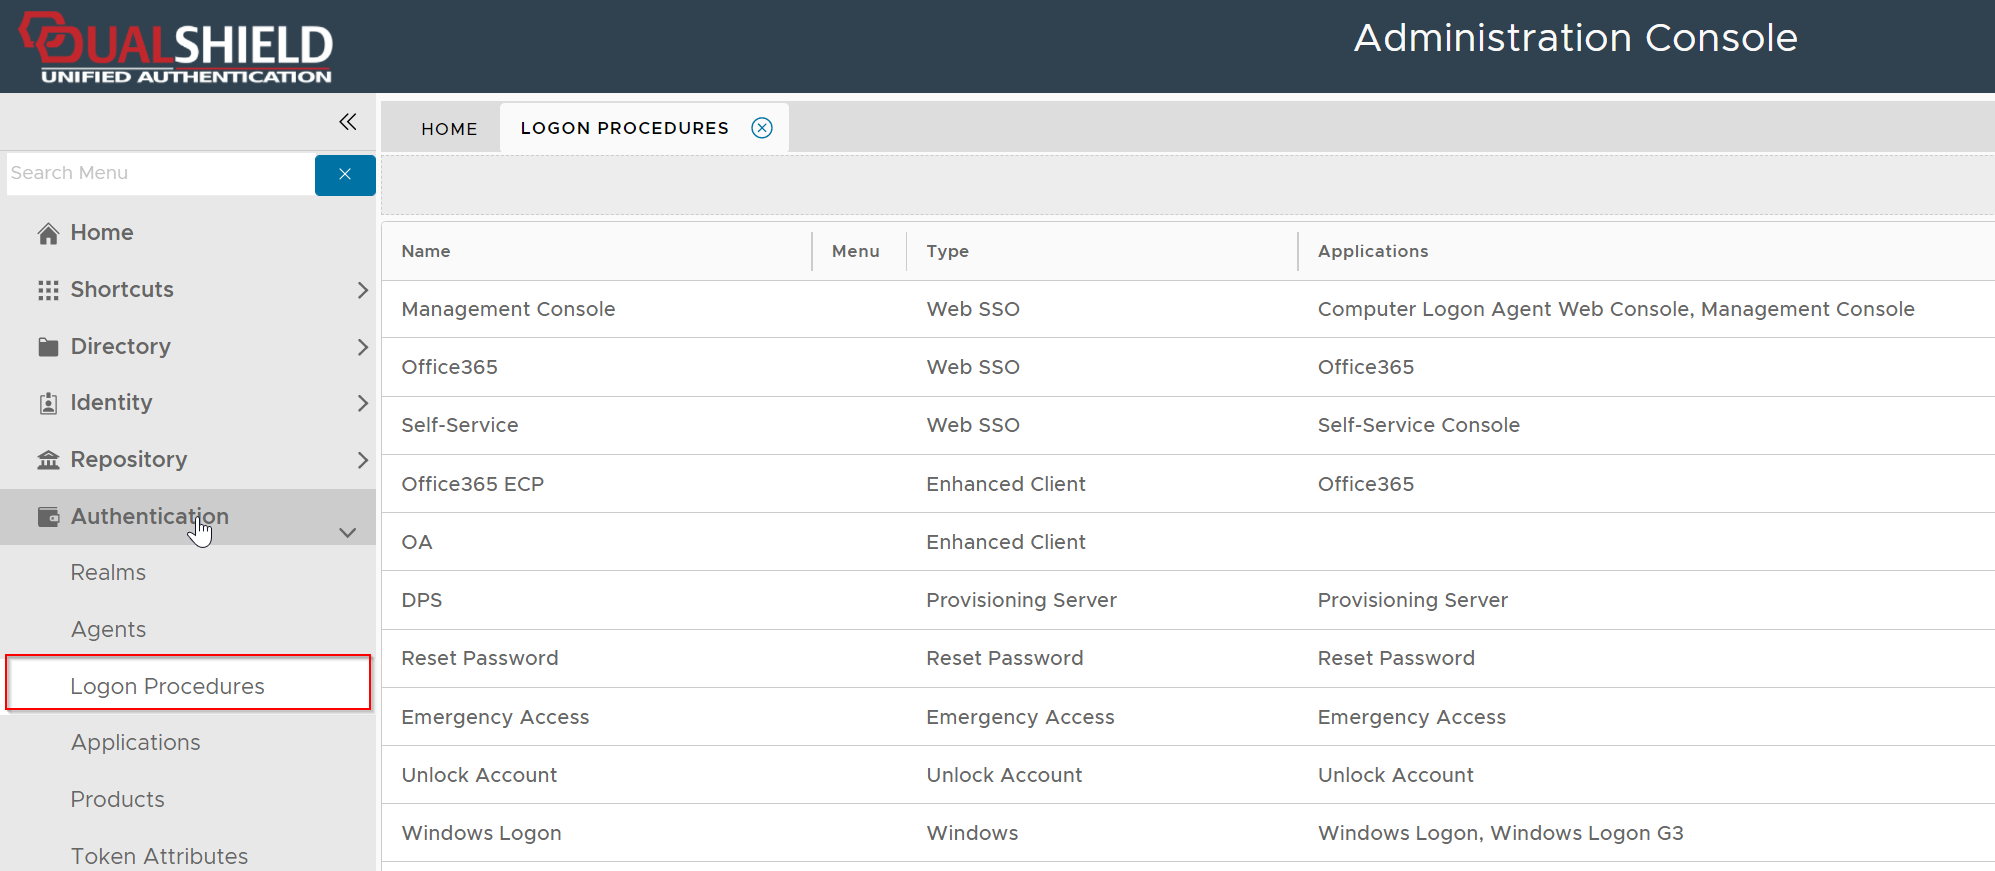
Click the context menu icon "..." of the application to be edited, e.g. "Office 365"
select "Logon Steps" to bring up the logon steps editor

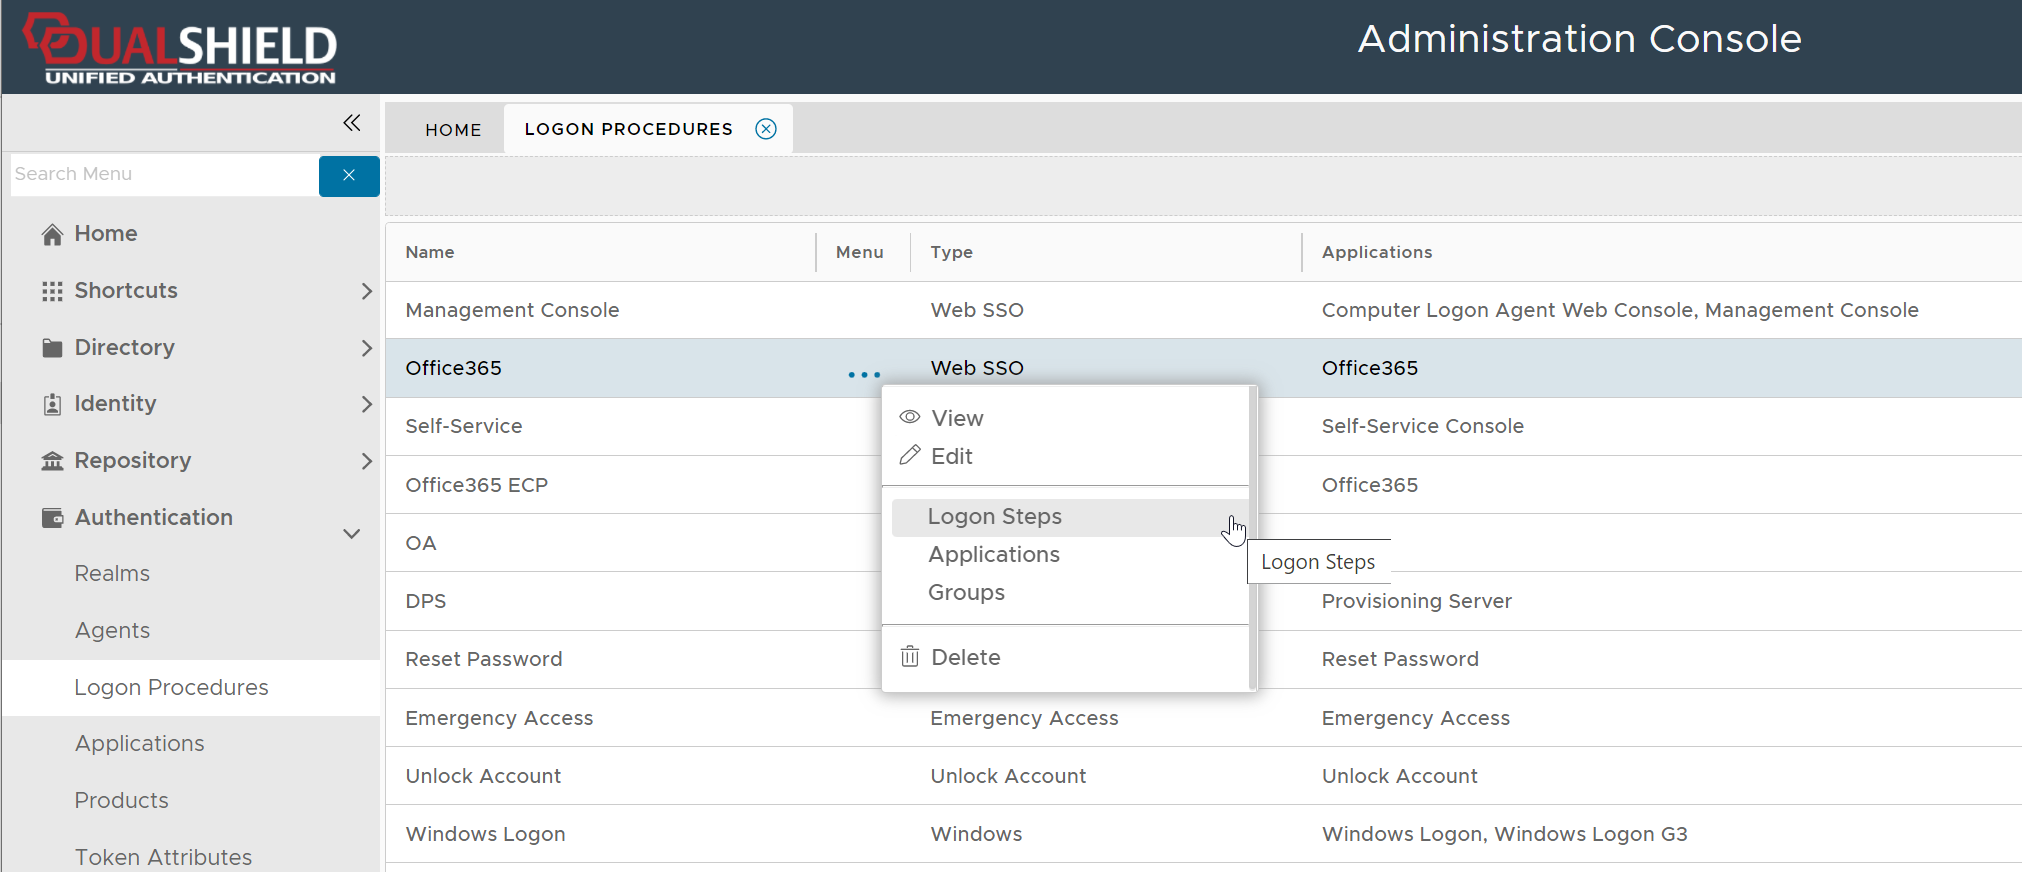
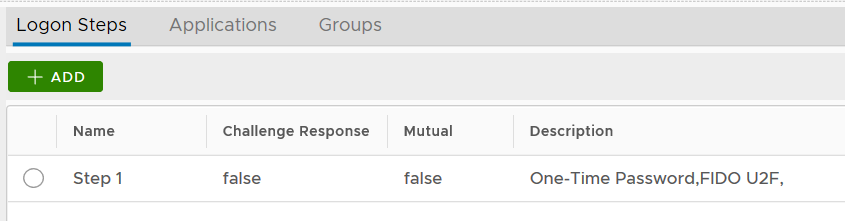
To add a logon step, click the "ADD" button
Select the one or multiple authentication methods that you want to add to this step, e.g. "One-Time Password"
Click the "SAVE" button to save it

You can change the order of the steps by clicking the "UP" and "DOWN" buttons.
Make sure that the type of the Logon Procedure you have created is Windows
Once a logon procedure has been created, you need to add logon steps into the newly created logon procedure.
Logon Step for Windows Logon
The computer MFA logon process, including both Windows and Mac OS, is implemented in such a way that both the first factor (i.e. AD password) and the second factor (e.g. one-time password) are entered within one single step on the same screen. The first factor, i.e. AD password, is always required and actually verified by the AD itself, and the second factor, such as an OTP token or FIDO key, is verified by the DualShield MFA server. Therefore, you only need to add one logon step into the logon procedure and you only need to add a second factor into the logon step.
The example below is a logon step that includes 2 authentication options, one-time password and FIDO U2F, which means that the users will be allowed to authenticate themselves using either of the credentials.
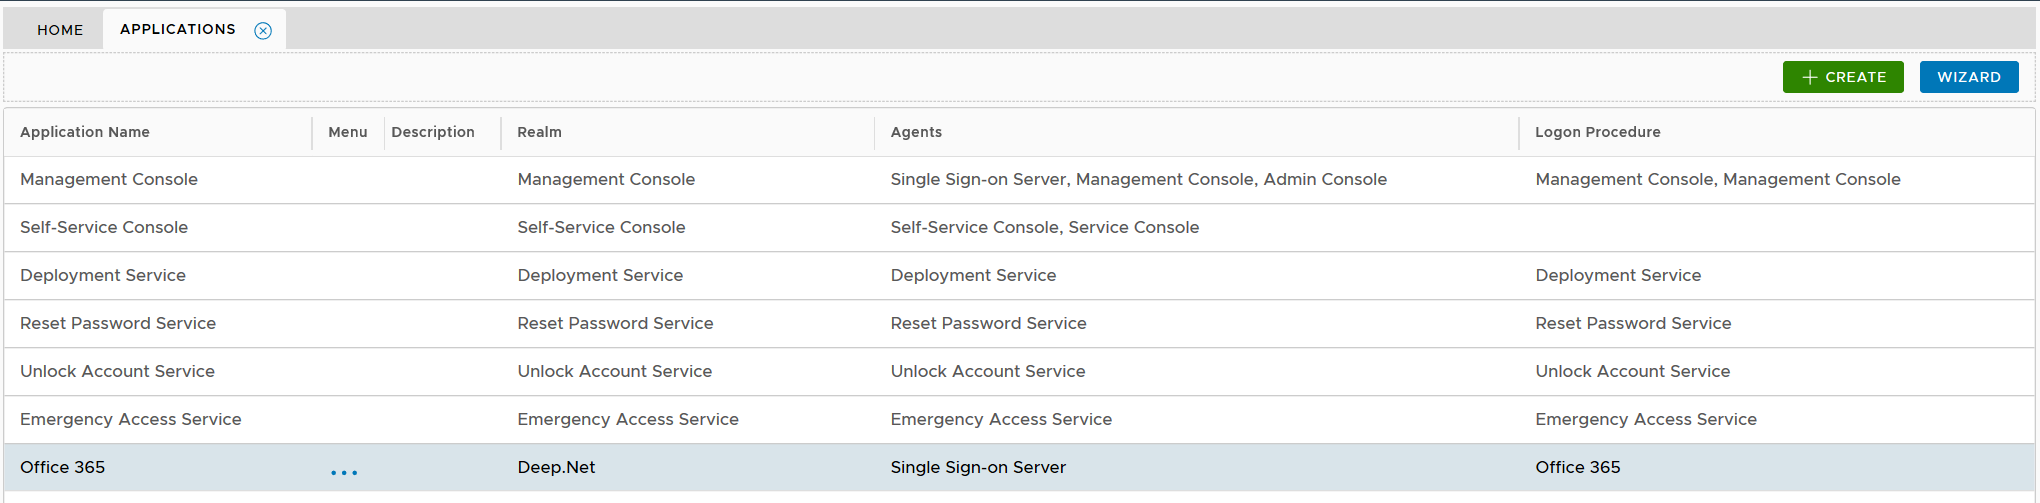
Create application for Windows Logon

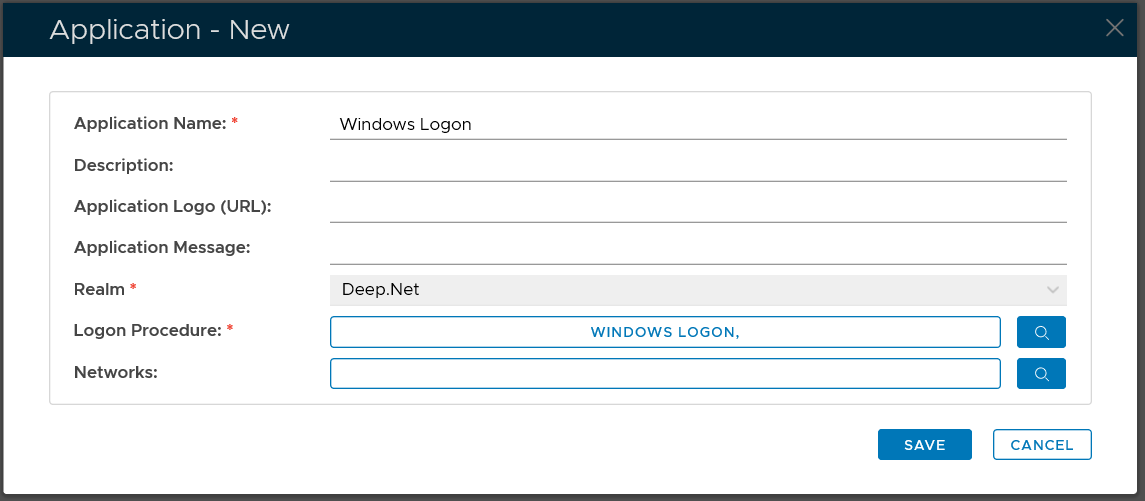
Select "CREATE" on the toolbar

Select the Realm to be linked to this application, e.g. Deep.Net
Select the Logon Procedure to be used by this application, e.g.. Office 365
Click "SAVE" to save the application.

However, you must select a Logon Procedure that is of the type of Windows. In the example below, we are create an application with a name called "Windows Logon" and the logon procedure we select is a Windows logon procedure.

Publish application for Windows Logon
Below is the general guide on how to publish an application.
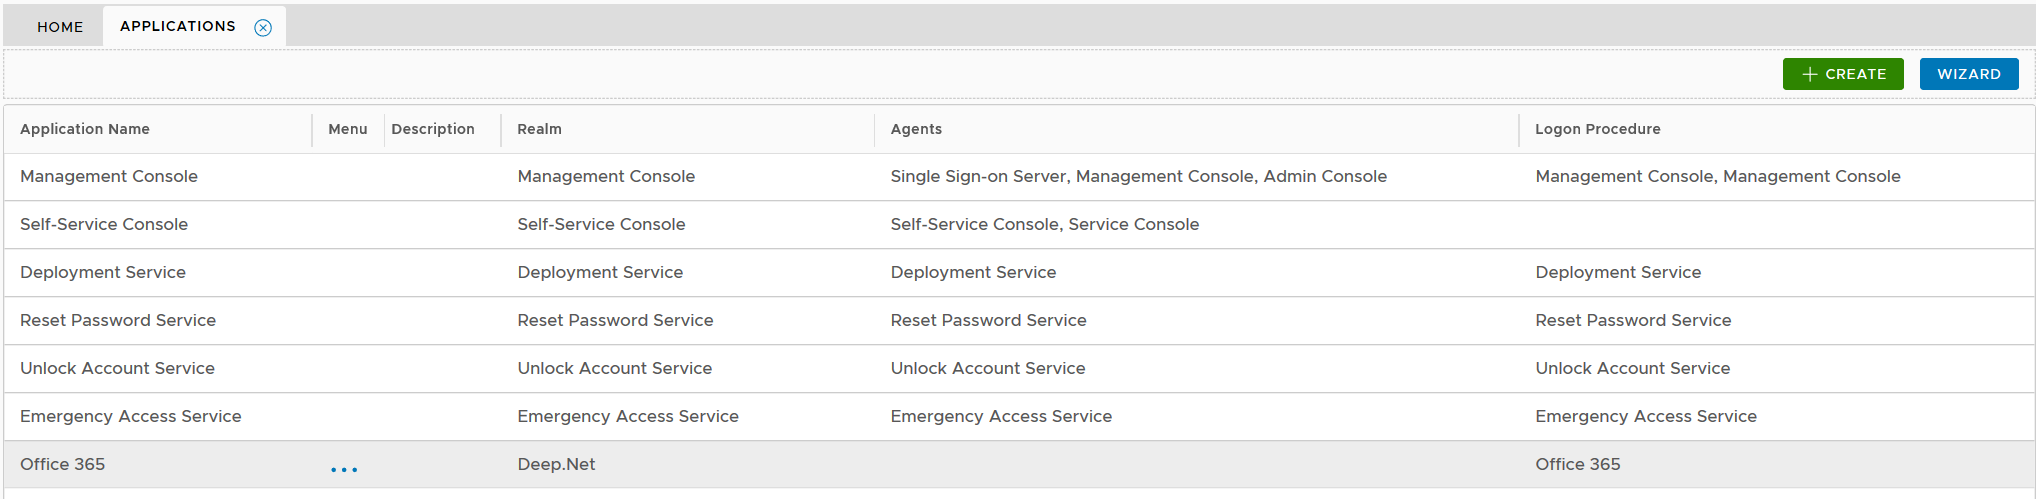
Click the context menu icon "..." of the application, e.g. "Office 365" to access its context menu

select "Agents" in the context menu
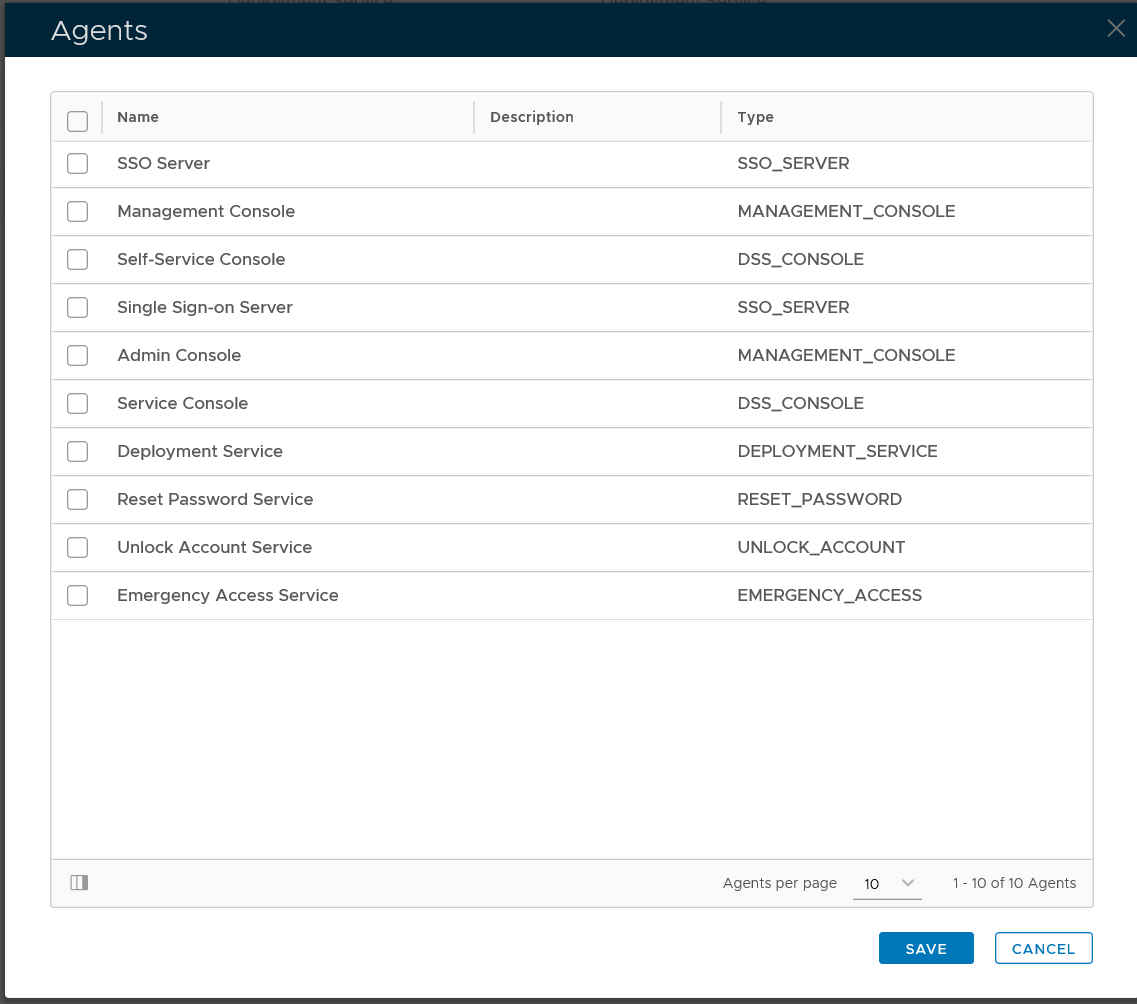
select the authentication agent on which the application is to be published, e.g. "Single-Sign-on Server"

Click "SAVE" button to save the settings
A computer logon application has to be published on one or many Windows logon agents. If there is no Windows logon agent found in your DualShield platform, then you must first install a Windows logon agent.
Setup Policies
The strategy is that MFA will only be enforced on users who are a member of the DualShield MFA group. All other domain users will be able to continue to login into the domain with password only.
The first step is to create the DualShield MFA group in your AD server.
Then, create 2 logon policies in your DualShield server. A domain policy and a group policy.
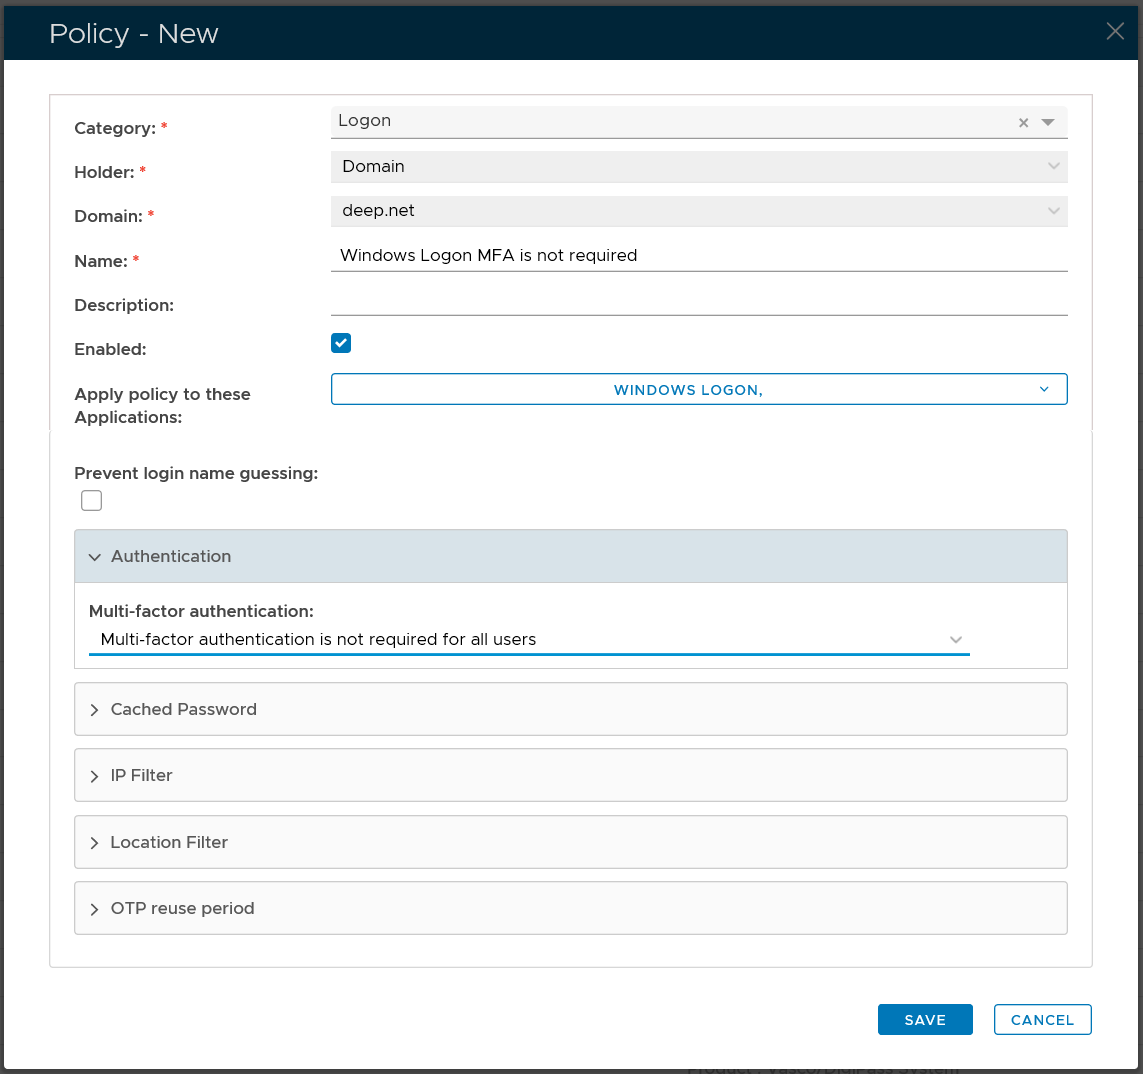
The domain policy is bound to the entire domain, and multi-factor authentication is not required on all users.
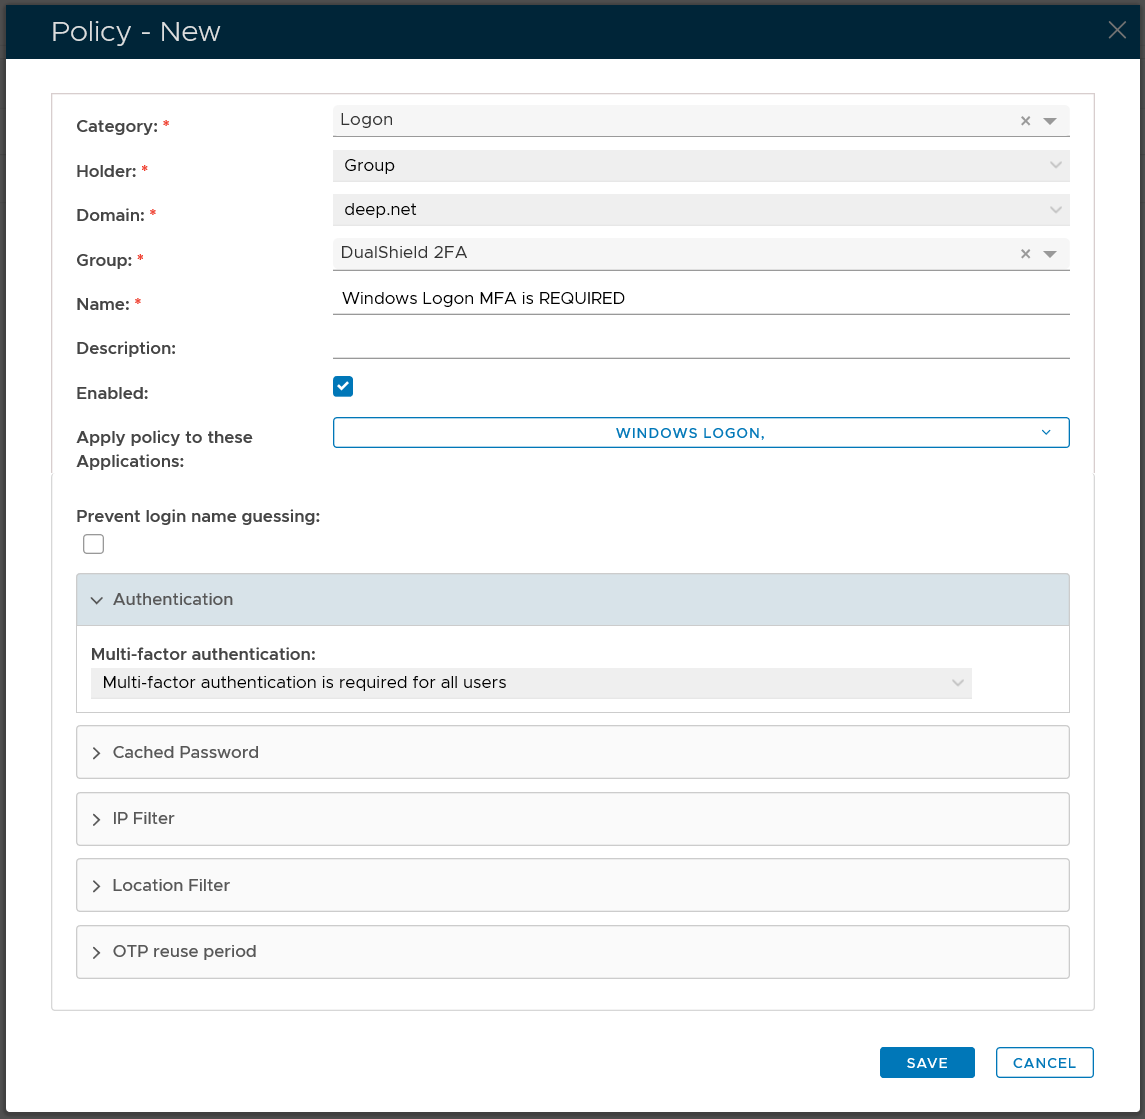
The group policy is bound to the DualShield MFA user group, and multi-factor authentication is required on all users.
Below is an example.

Domain Logon Policy
| Option | Value |
|---|---|
| Category: | Logon |
| Holder: | Domain |
| Domain: | Select your AD domain |
| Name: | Describe the purpose of this policy |
| Apply policy to these applications: | Select the application that this policy will be applied to |
| Authentication: | Select "Multi-factor authentication is not required for all users" |
Group Logon Policy
| Option | Value |
|---|---|
| Category: | Logon |
| Holder: | Group |
| Domain: | Select your AD domain |
| Group | Select the DualShield MFA group |
| Name: | Describe the purpose of this policy |
| Apply policy to these applications: | Select the application that this policy will be applied to |
| Authentication: | Select "Multi-factor authentication is required for all users" |
For the general guide to creating a logon policy, expand the link below
Select "Administration | Policies" on the side panel,
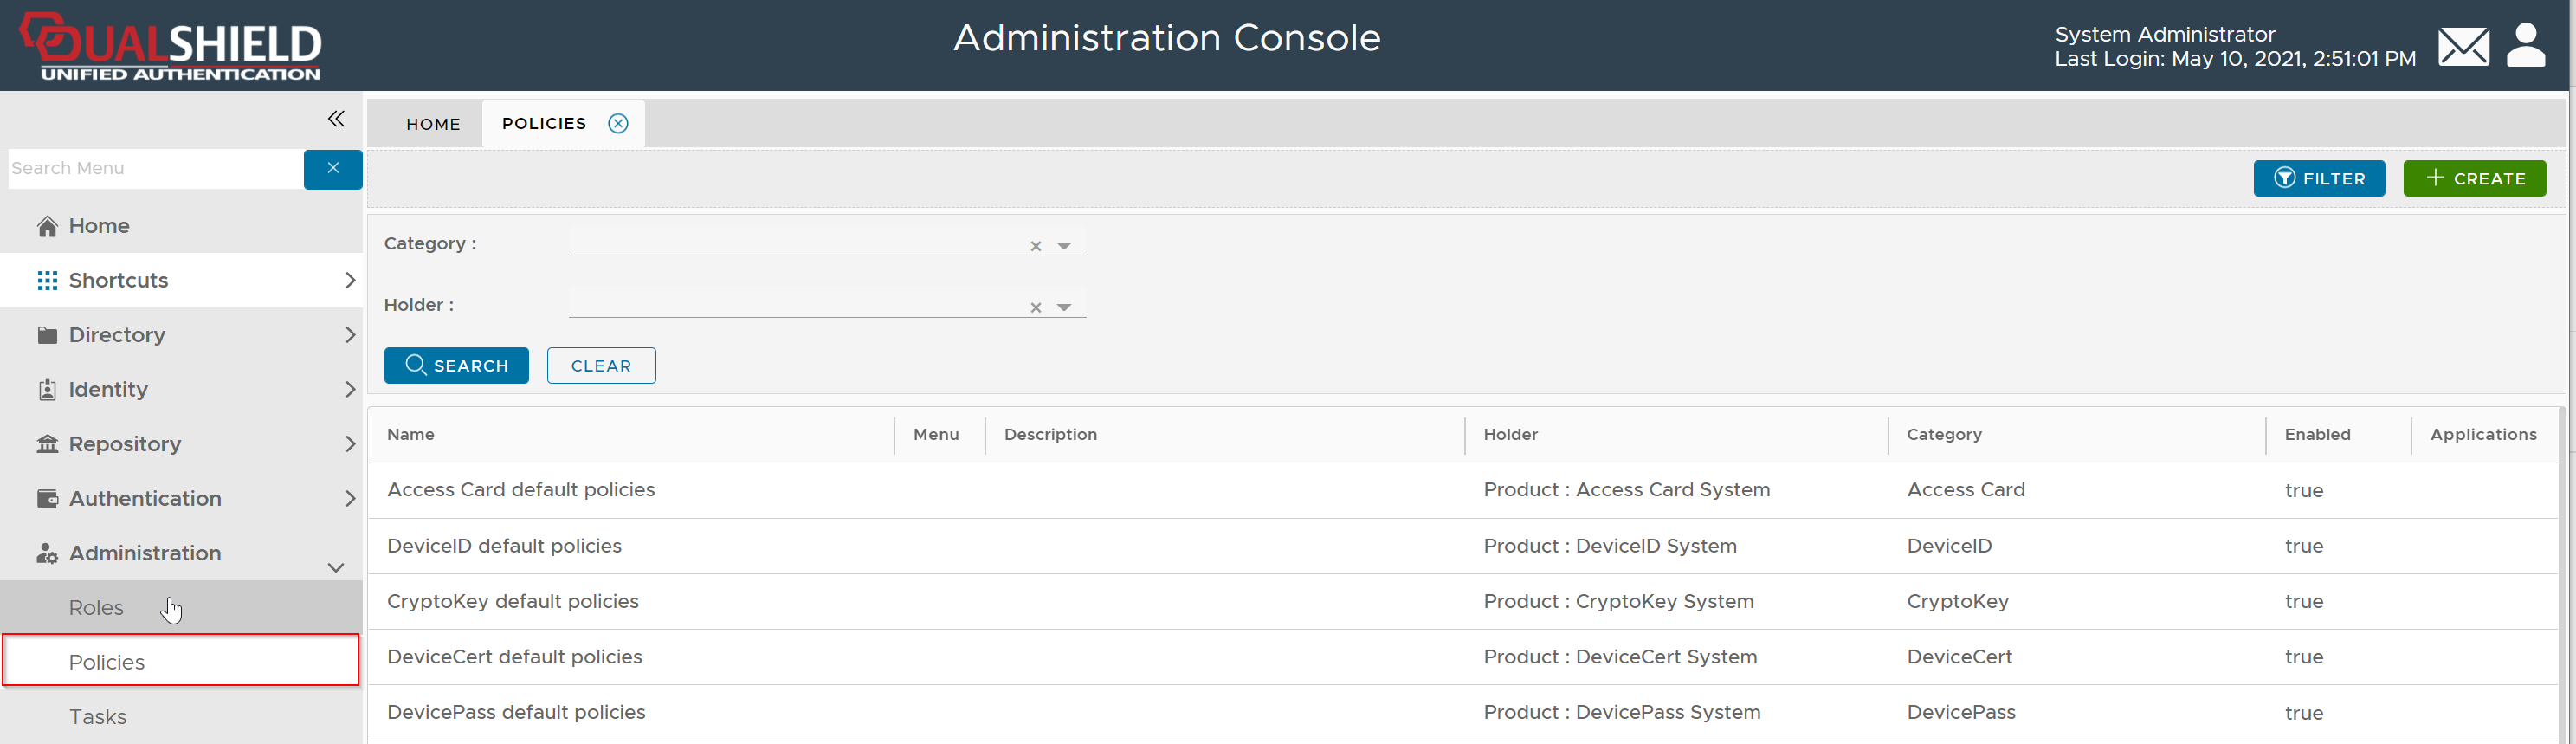
To create a new policy, click the "CREATE" button on the toolbar to open the policy editor window.
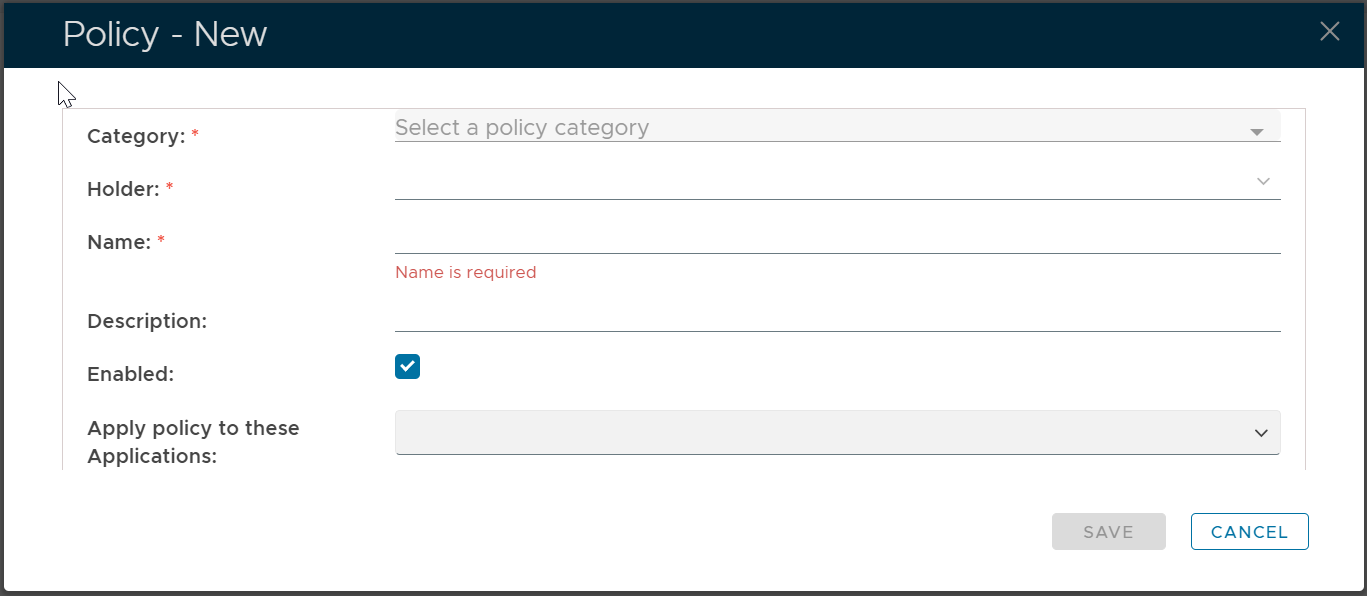
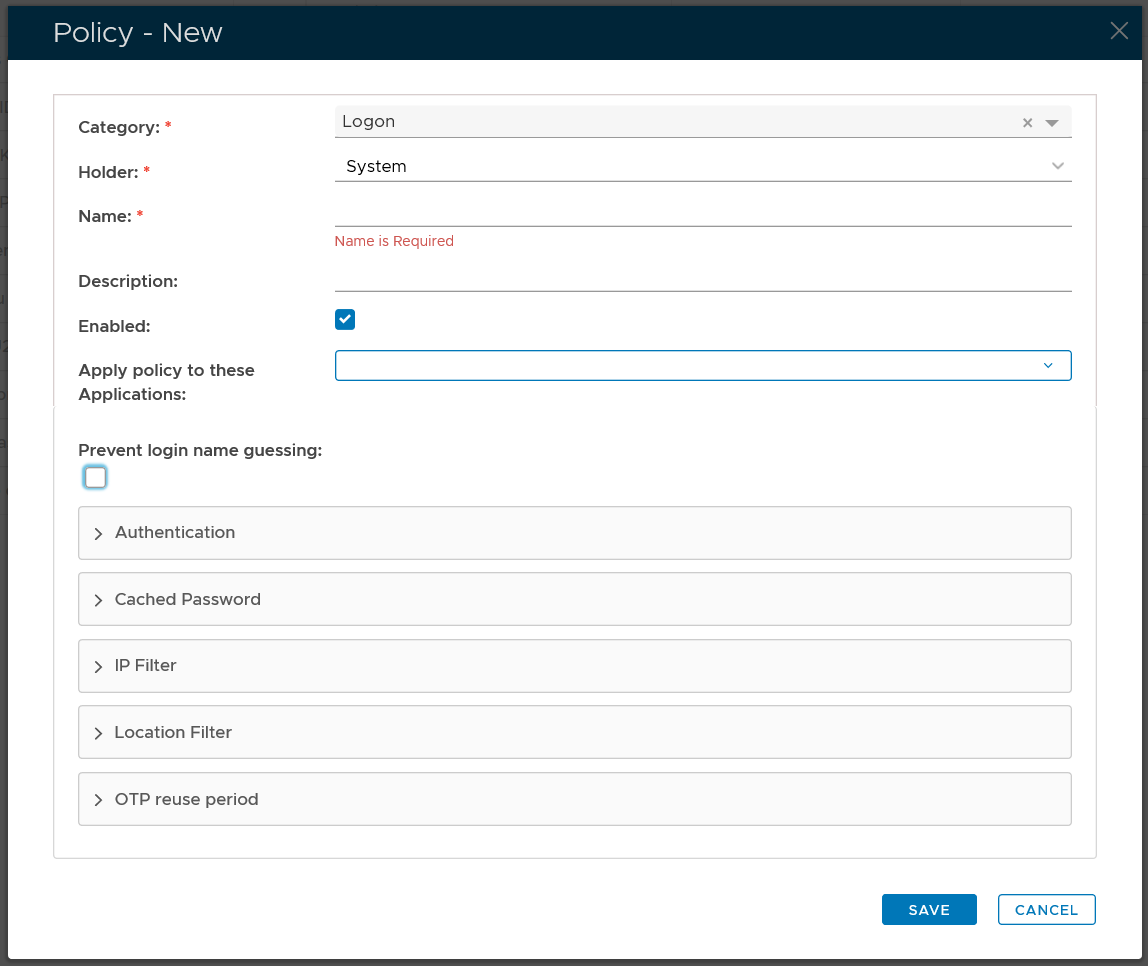
In the policy editor, firstly select Logon from the Category drop-down list
Policy Bindings
| Holder: | The policyholder defines the scope of the policy.
|
| Name: | A unique name that describes this policy |
| Applications: | Optionally, you can bind the policy to a specific application or a list of applications. To specify the application(s), select the field: Apply policy to these applications If the field Apply policy to these applications is left empty, then the policy will be applied to all applications. |

Policy Options
Editing the Logon Policy
Logon policy settings can be edited using the following procedure;
- From the Home page of the Management Console, left click on the menu item "Administration", select "Policies", then in the new tab "POLICIES", select the category "Logon", then click the
 button;.
The Logon policy settings can now be viewed (or edited) by left clicking on the context menu of the Logon policy, then selecting either "View" or "Edit";

After editing the policy setting, a new window titled "Policy - Edit" will open that can be used to edit the policy settings;

Expandable Sections
The remaining policy settings are grouped into the following expandable sections;
- The purpose of the section "Authentication" is to provide the system administrator with with policy settings that determine when multi-factor authentication is required.


This setting determines if user authentication is required when logging in;
- Multi-factor authentication is not required for all users
This option means that all users will be exempted from 2FA or MFA. This option is typically used to exempt a group of users from 2FA or MFA. - Multi-factor authentication is required for users with tokens only
This option means that users who have a 2FA/MFA token in their account will be enforced to login with 2FA/MFA, while those users who do not have a token 2FA/MFA token will be exempted from 2FA/MFA in the logon process. .
- Multi-factor authentication is required for all users
This option means that all users will be enforced to login with 2FA/MFA
Please note that users in the context of a policy include users in the scope of the policy only, i.e. the policy holder.

If authentication skipping is enabled, this setting will determine if the password is kept (and the second factor skipped), or if all factors are skipped;
- Skip the second factor and keep the password
The second factor is skipped, but the password is kept. - Skip Al factors including the password
All factors are skipped.
- Multi-factor authentication is not required for all users
- The purpose of the section "IP Filter" is to specify when to allow or deny logon based on the users' IP address.


This setting determines if user authentication is required when logon attempts are made from the specified IP address;
- required
If this option is selected, then the user will be asked to provide multi-factor authentication prior to logging on. - not required
f this option is selected, then the user will not be asked to provide multi-factor authentication prior to logging on..
- required
- The purpose of the section "User Agent Filter" is to specify when to allow or deny logon based on the agent used by the user agent.


This setting determines if user authentication is required when logon attempts are made the matching agent;
- required
If this option is selected, then the user will be asked to provide multi-factor authentication prior to logging on. - not required
f this option is selected, then the user will not be asked to provide multi-factor authentication prior to logging on..
This setting allows you to list the agents that this policy will apply to;;

The user agent are listed ass a text string (regular expressions are supported).
e.g. (MacOutlook|Apple-iPhone6C) will match both "MacOutlook" and "Apple-iPhone6C"
- required
- The purpose of the section "Geo Location Filter" is to specify when to allow or deny logon based on the geographic location of the user.


This setting determines if user authentication is required when logon attempts are made from the specified IP address;
- required
If this option is selected, then the user will be asked to provide multi-factor authentication prior to logging on. - not required
f this option is selected, then the user will not be asked to provide multi-factor authentication prior to logging on..

After clicking on the
 icon the following window will open;
Location details are then supplied that identify the which geographic locations the policy will apply to during logon. (based up IP addresses).
- required
- The purpose of the section "Geo Location Filter" is to specify when to allow or deny logon based on the geographic location of the user.
This setting determines if user authentication is required when logon attempts are made from the specified IP address;
- required
If this option is selected, then the user will be asked to provide multi-factor authentication prior to logging on. - not required
f this option is selected, then the user will not be asked to provide multi-factor authentication prior to logging on..
After clicking on the
icon the following window will open;Location details are then supplied that identify the which geographic locations the policy will apply to during logon. (based up IP addresses).
- required
- The purpose of the section "Others" is to provide logon policy settings that don't fit into the other main sections.

Install Logon Agent
Prerequisites
Before you run the setup wizard, you must have your DualShield Authentication Server installed and operating, and make sure that the computer on which you are going to install the Windows Logon Agent meets the following minimum hardware and software requirements:
- A Windows 2016, 2019 or 2022 Server with the latest Service Pack installed.
Note: For Windows Server 2016, it might be necessary to add an additional JAVA Option, that will generate a TripleDES legacy based PFX. If it is observed the Windows Logon Agent fails complete registration with the DualShield Server (no Application can be associated).
The Deepnet WIKI guide detailing how to add a JAVA Option is here: How to edit JAVA options in the DualShield framework
The JAVA Option / parameter to add: -Dkeystore.pkcs12.legacy=true
A restart of the DualShield Server Service is then required, for this change to take effect.
- TCP/IP Networking
- TCP port 14292 and/or 14294 must be available on the Windows server for use by the DualShield Windows Logon Agent.
Enable Agent Registration
In order to install a DualShield Windows Logon Agent, we need to first enable the Agent Registration option.
For security purposes, the agent registration function is disabled by default. You need to enable the Agent Auto Registration function in your DualShield authentication server.
From the management console, navigate to "Authentication | Agents", then click 
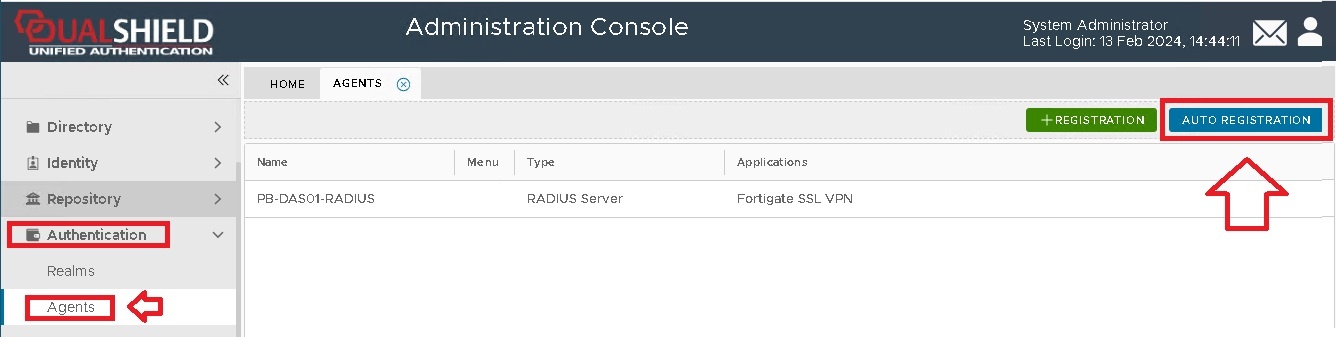
A new window will now open titled "Auto Registration", ensure the "Enabled" option is selected, then click ;
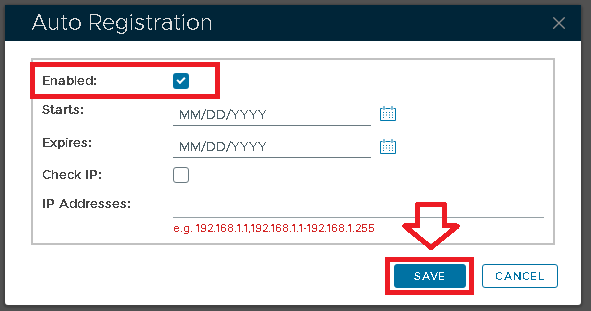
Tick the "Enabled" option first, then fill in the Starts and Expires date.
You may want to enable the "Check IP" option for extra security. If this option is enabled, then in the "IP Addresses" field you must enter the IP address of the machine where the authentication agent is being installed.
Click on the  button, and Auto-Registration will now take place during the installation of the RADIUS server.
Install DualShield Windows Logon Agent
To install the DualShield Windows Logon Agent, launch the installer SetupDSAgent-xxx.yyyy.exe (where xxx is the version number and yyyy the build number) and go through the following steps:
Step 1: Welcome

Step 2: License Agreement

Step 3: Installation Path

Step 4: Agent Registration

In the FQDN field, enter the correct FQDN of your DualShield server. The default suggestion is based on the host name of the machine and is often not the correct value.
In the Port field, keep the default value 8071, unless you have changed your DualShield Server's operating port numbers.
Step 5: Installing...

Step 6: Connect to an application
At this point, the agent has been successfully registered with the DualShield server., and is waiting for an application to be published on this agent.
Make sure the DualShield Authentication Server Address matches the FQDN of your DualShield Server.

In the “Application” field, it displays “Click here to select”.
The next step is to publish a Windows application on this agent.
Step 7: Publish an application
Login to your DualShield Admin Console, select "Authentication | Agents" in the side panel.

You will see that the agent you are installing is listed.
Open the Agent's context menu.

Select "Applications" to launch the application list
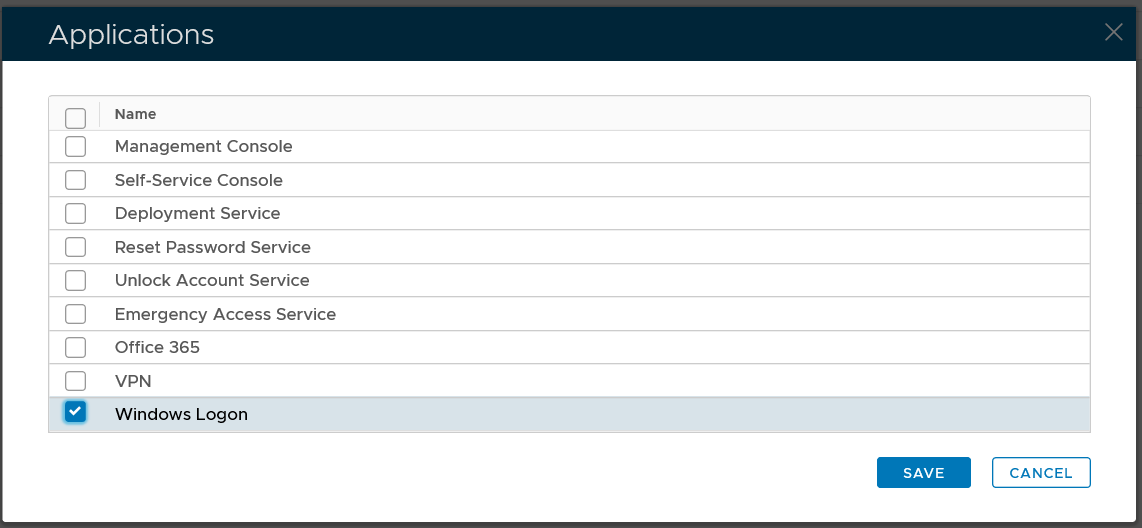
Select the application that you want to publish on this agent, e.g. Windows Logon, then click the "SAVE" button.

The application is now published on the agent.
Step 8: Complete installation
Now, go back the agent installation process where it is displaying "Click here to select” in the Application field:
Click "Click here to select", you will see that an application is now available in the list

Select the application, then click the Save icon on the toolbar:

You will then see the following message

It is recommended that you DualShield Windows Logon Agent service.

Finally, click the close icon to close the window

The Windows logon agent has now been successfully installed, registered and linked to an logon application.
Discover Logon Agent
The logon client will discover the logon agent by looking up a hostname called “dswagent2” or "dswsslagent2" in your DNS server. For instance, if the domain name of your organisation is “acme.org” then it will look for “dswagent2.acme.org” or "dswsslagent2.acme.org"
Therefore, you need to add these two hostnames to your DNS server.
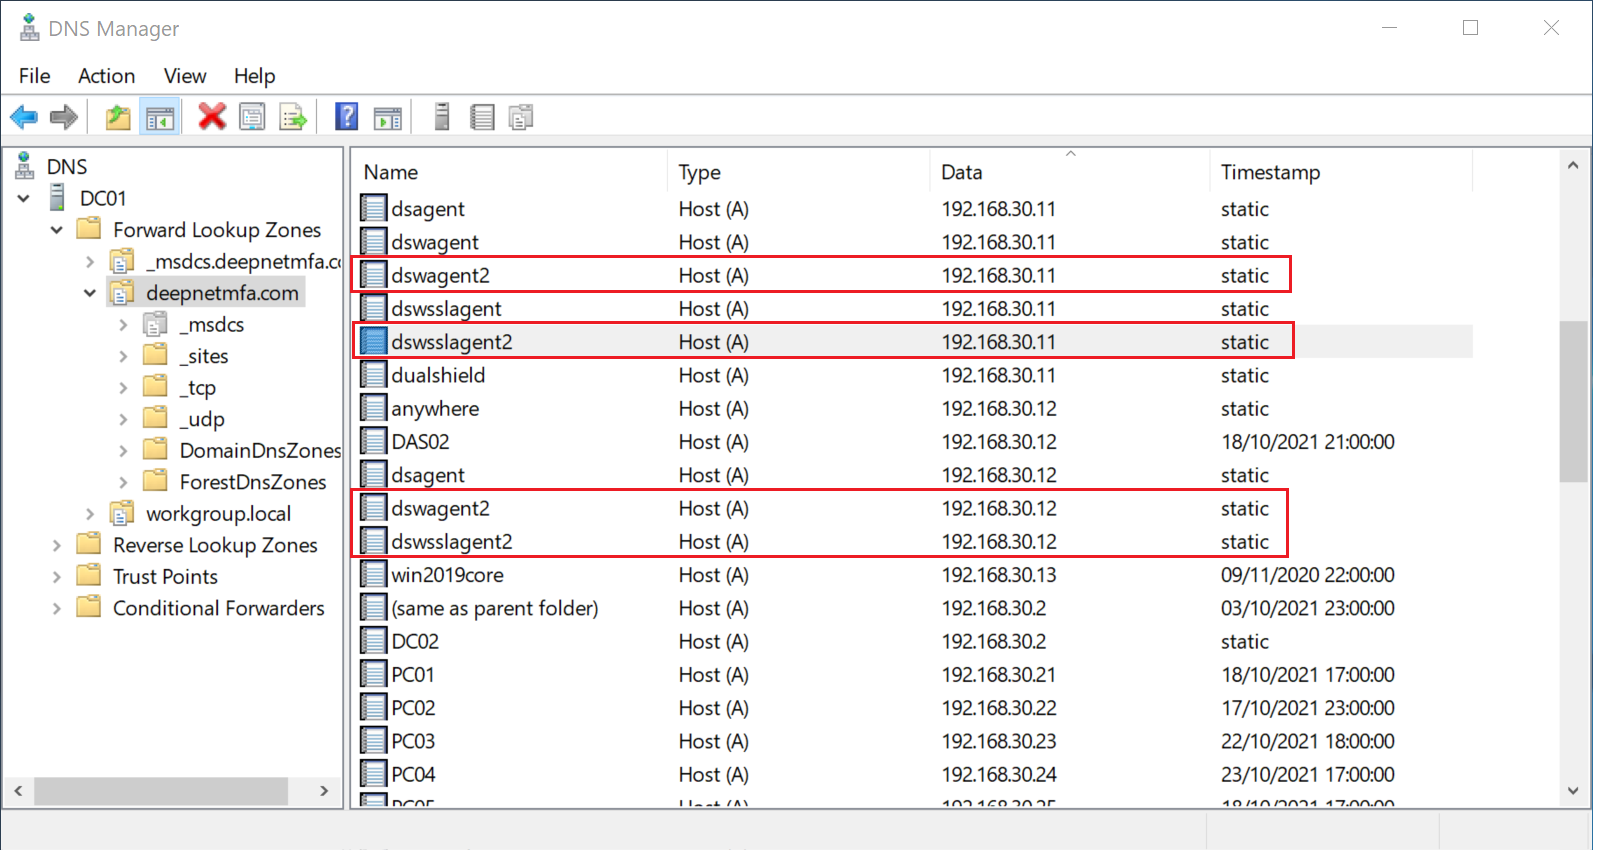
If you have multiple logon agents installed, then you must add multiple entries of these two hostnames in your DNS server.
Install Logon Client
- Welcome
- License Agreement
- Installing Path
- Install Credential Provider
- Installing
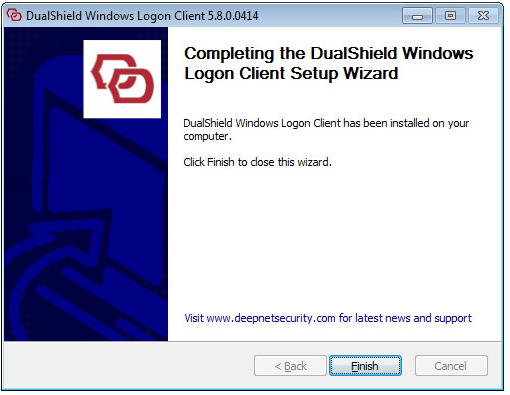
- Finish
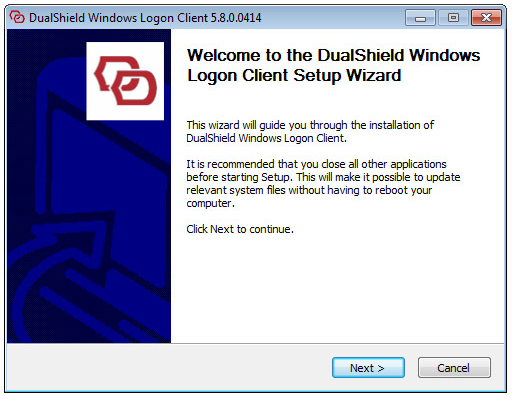
Step 1: Welcome
Step 2: License Agreement
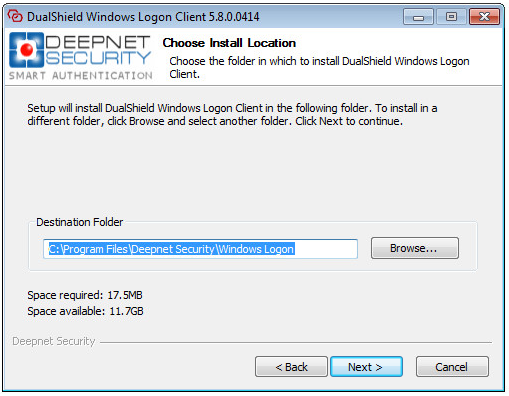
Step 3: Choose Install Location
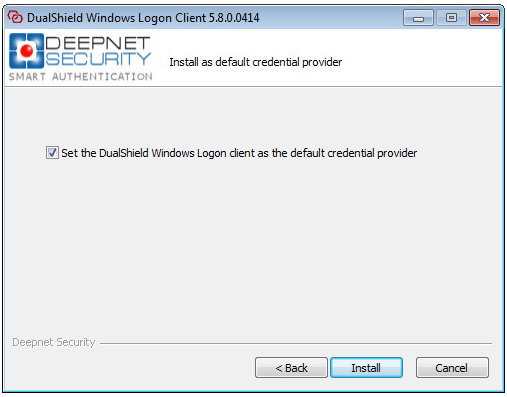
Step 4: Set the default credential provider
Step 5: Installing

Step 6: Installation Completed