This tutorial shows how to configure a cluster with two DualShield servers. This cluster is load-balanced by Citrix Netscaler load balancer.
Create Real Servers
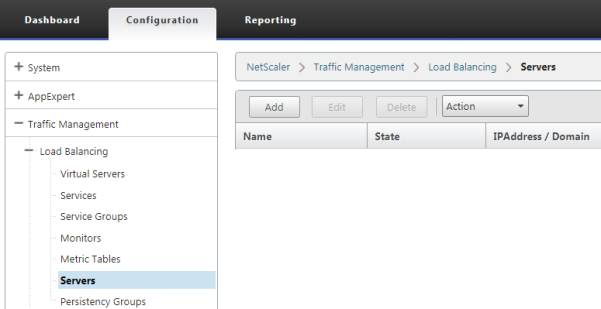
Click "Add" button on the toolbar to add a DualShield server:
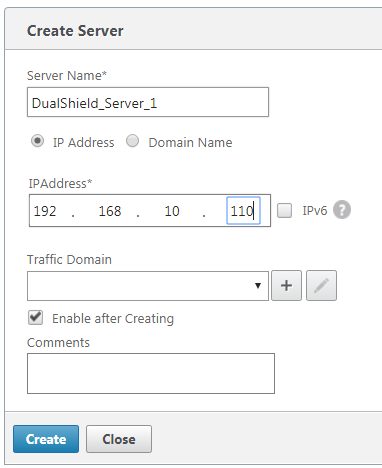
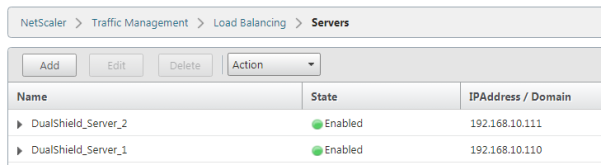
Repeat the step above to add all DualShueld servers:
Create Service Groups
A DualShield server hosts a number of services. Each services works on a specific port. Below is a list of DualShield services and their port numbers:
| Service Name | Port | Short Name |
|---|---|---|
| Administration | 8070 | |
| Authentication | 8071 | |
| Provision | 8072 | DPS |
| Management Console | 8073 | DMC |
| SSO Service | 8074 | SSO |
| SSO Management | 8075 | |
| Self-Service Console | 8076 | DSS |
We will create a service in the load balancer for each of the above DualShield service
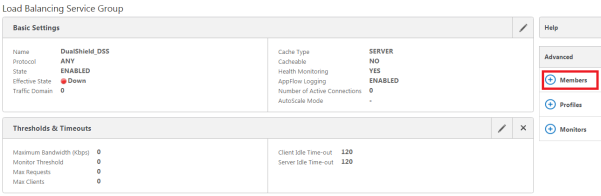
Navigate to "Load Balancing > Service Groups", click "Add".
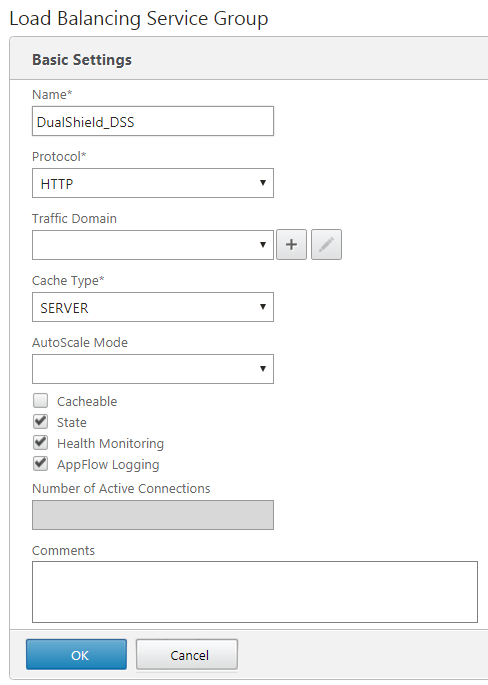
As an example, will will create a service for DSS. Enter the name and select "HTTP" as the protocol.
Click "OK", then select "Advanced > Members"
We are going to add real servers.
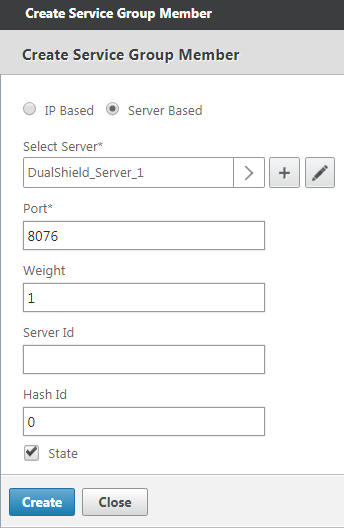
Select a real server, i.e. DualShield-Server_1, enter the port number that the service works on, i.e. 8076 for DSS (DualShield Self-Service Console)
Click "Create" to create the service group.
Repeat the same step above to add all real servers, i.e. DualShield_Server_2.
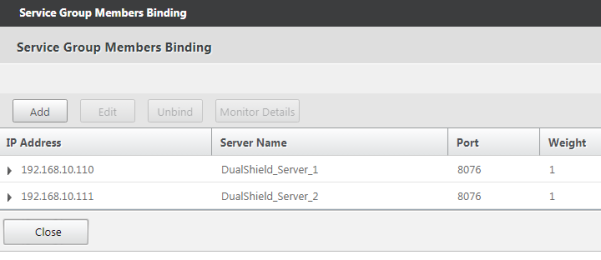
Now, we have create a service group called "DualShield_DSS" for the DualShield Self-Service Console. This group includes 2 real servers: "DualShield-Server_1" and "DualShield-Server_2"
Repeat the same steps above to create service groups for other DualShield services, such as: SSO, DMC, DPS, etc

Create Virtual Servers
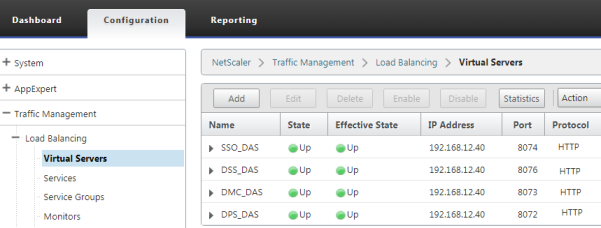
Now that we have created all service groups, we will create load balancing virtual servers.
Navigate to "Load Balancing > Virtual Serves", click "Add".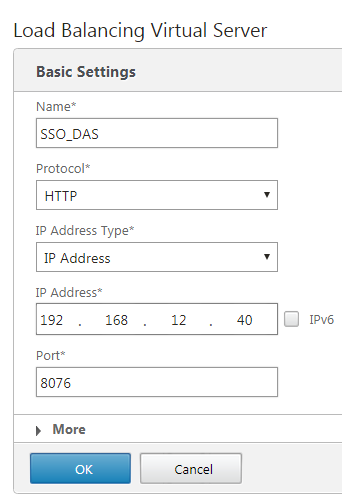
Again, we're using DSS as an example.
Enter "Name", "IP Address" and "Port" for the virtual server.
Click "OK" to save it.
Now, we need to bind the newly created virtual server to a service group. In this example, we'll bind this virtual server to the DSS service group:
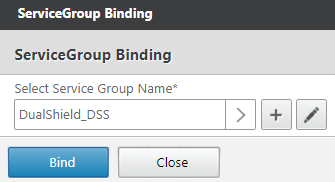
Click "Bind", and "Done".
Now, a virtual server has been successfully create for the DulShield Self-Serviice (DSS) console service.
Repeat the same steps to create virtual servers for other DualShield services, e.g. DMC, DPS, SSO etc.
Create Persistency Group
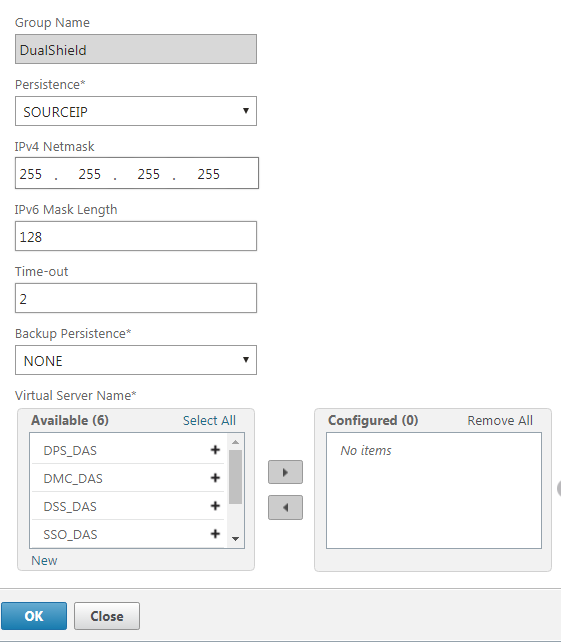
The last item we need to create is a Persistency Group.
Navigate to "Load Balancing > Persistency Group", click "Add".
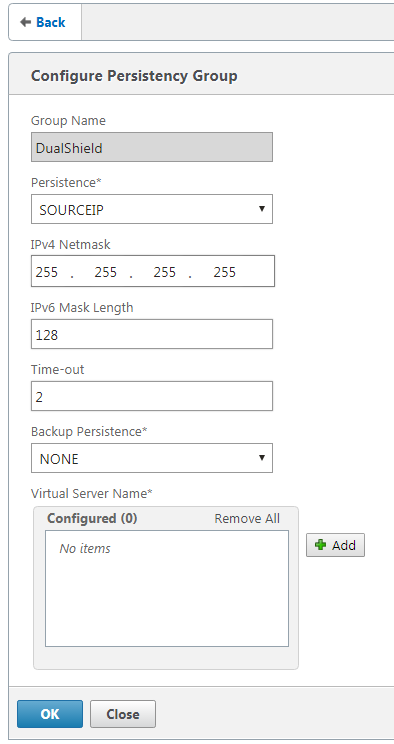
Enter "Name", and add all the virtual servers we have created.
That's done.