Creating a Helpdesk Role
A Help desk operator is an administrator, typically with restricted access to the management console.
For example, listed below is a list of permissions that are typically assigned to help desk operators;
- Issue Emergency Code
- Reset Passwords
- Lock/Unlock. Enable/Disable user accounts
- Create and View reports
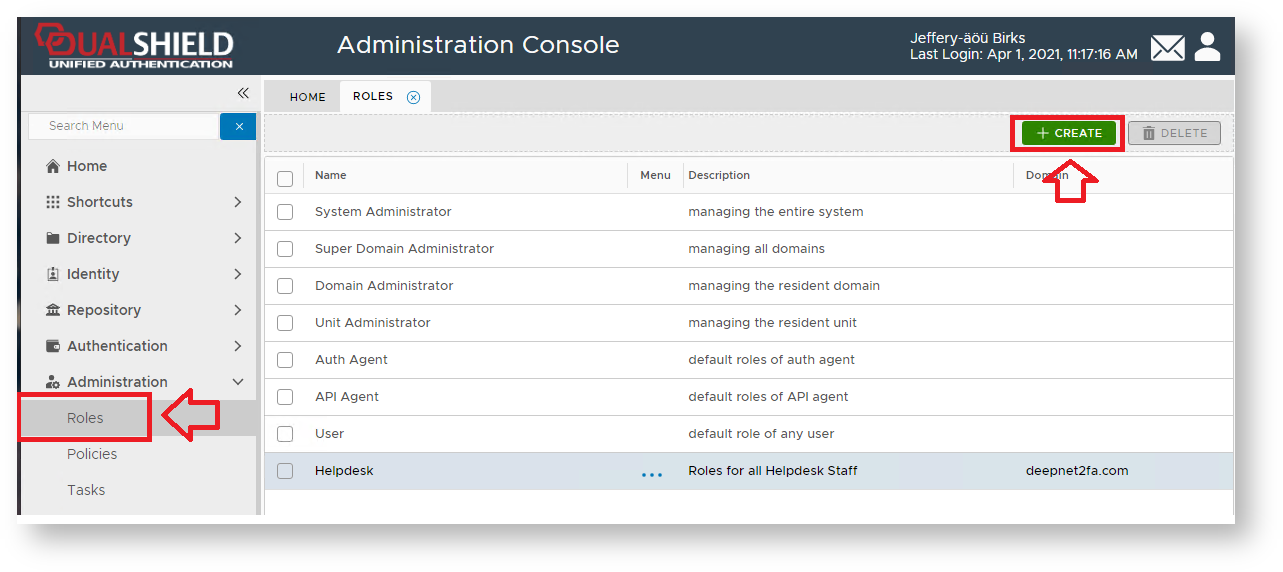
To create a Help Desk role, navigate to "Administration | Roles" in the main menu, then click "+ Create";
A new window will now open titled "Role – New";
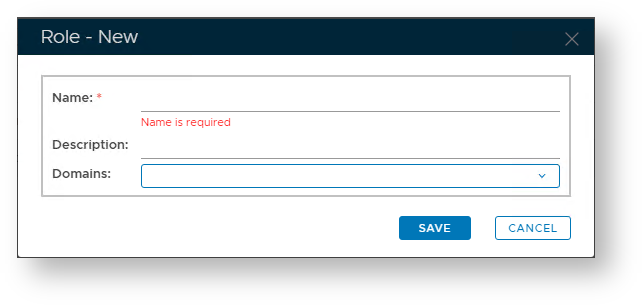
The "Domain" field is the so-called Managing Domain. If a role has managing domains, then the role can only be managed by administrative users in the managing domains who have the right to manage roles. If a role does not have managing domains, then the role can be managed by all administrative users who have the right to manage roles.
Click "Save" to save the new role, and you will be ready to add permissions to this newly created role.
Creating a permissions for the newly created role
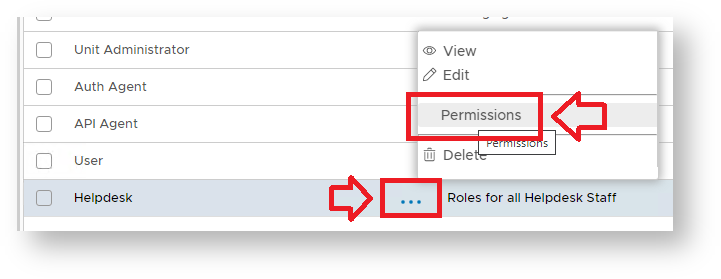
To create a new permissions, left click on the context menu of the role for which the permits are to be edited, then select "Permissions";
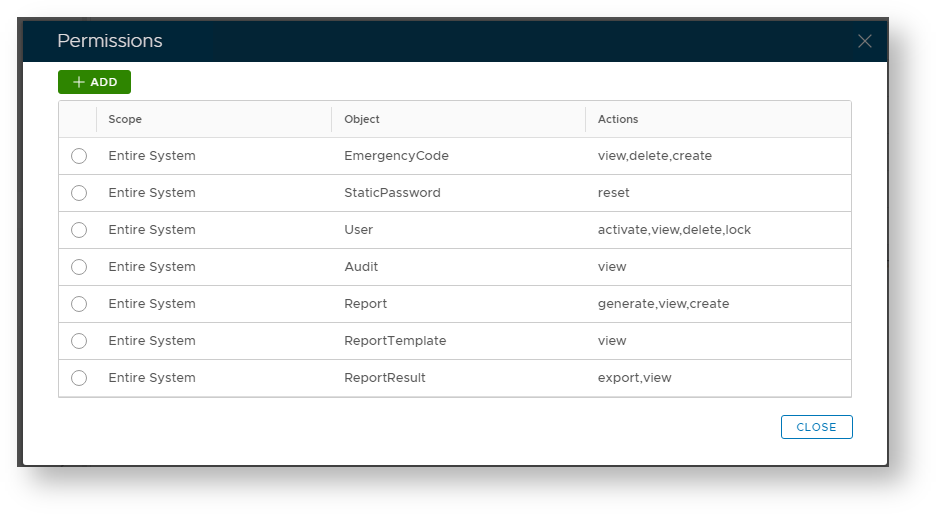
A new window will now open titled "Permissions" that can be used to add and edit role permissions;

To create a new permit for the role, then click on the "+ ADD" button, and a new window will now open titled "Permit – New";

The scope of an administrative role determines in what scope administrator may manage objects.
The role's scope can be selected by clicking on the magnifying glass icon ![]()
Specify which objects that may be managed by users with this administrative role.
Role objects can be selected by clicking on the magnifying glass icon ![]()
Select which actions may be performed from the following list.
Role actions can be selected by clicking on the dropdown icon ![]()
You then need to set the scope, object and actions parameters for this role;
The scope of an administrative role determines in what scope administrator may manage objects.
The role's scope can be selected by clicking on the magnifying glass icon
 , then select the domain, or OU that the scope applies to.
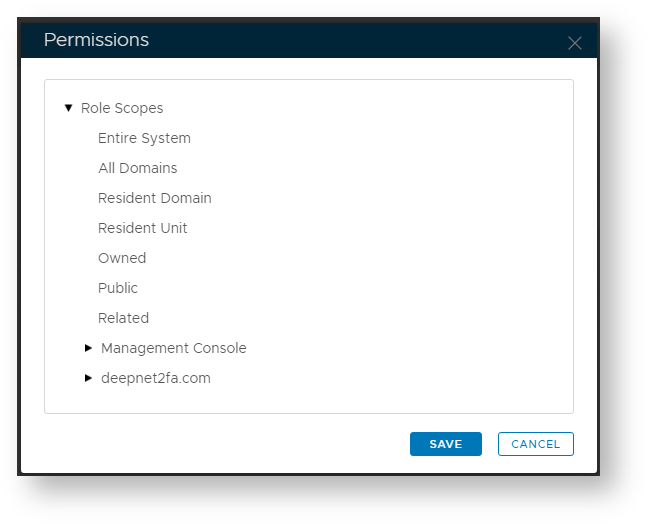
Specify which objects that may be managed by users with this administrative role.
Role objects can be selected by clicking on the magnifying glass icon

Select which actions may be performed from the following list.
Role actions can be selected by clicking on the dropdown icon

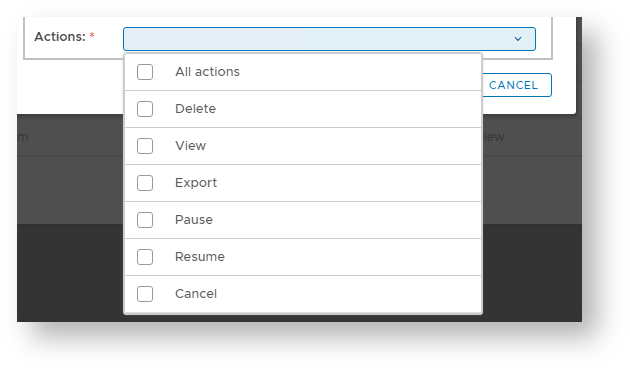
Actions that are assigned to the administrative role determine what actions an administrator can take on objects (such as users, user groups, security domain, units, and various policies).The following common privileges are available for all objects;
- All Actions
Grants an administrator permission to perform any administrative action on the object. - Create
Grants an administrator permission to create/add an object. - Delete
Grants an administrator permission to delete an object. - Edit
Grants an administrator permission to view and edit an object, but not the ability to create or delete. - View
Grants an administrator permission to view an object, but not the ability to add, edit, or delete.
- All Actions
Repeat the same process to create all other permits for the role;
Finally, you will need to assign the role to either a user or user group.
Assigning the Helpdesk Role to Users
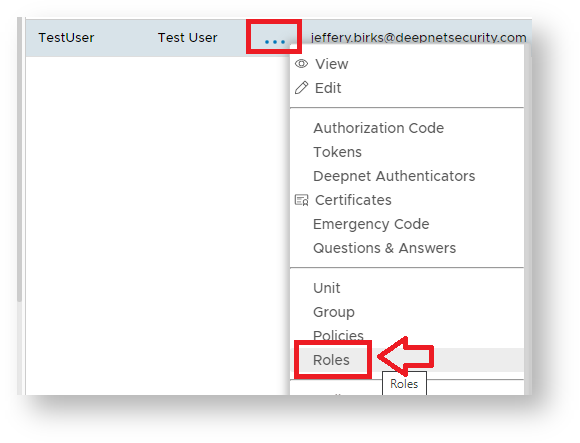
The helpdesk role can be applied to users by navigating to "Directory | Users", left clicking on the context menu of a user and selecting "Roles";
A new window will now open titled "Roles" that will allow the system administrator to assign Roles to the selected User
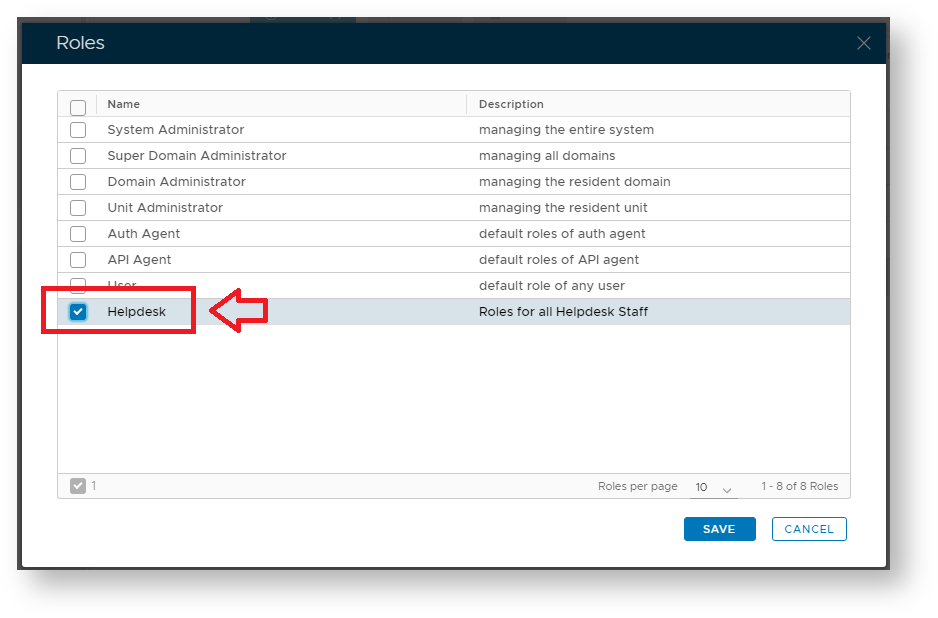
Check the box for the newly created Helpdesk role then click "Save".
Assigning the Helpdesk Role to Groups
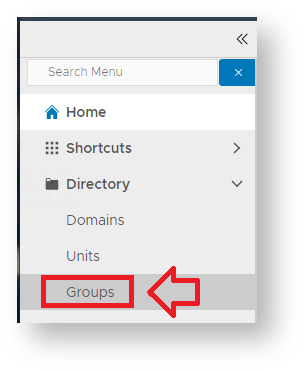
The helpdesk role can be applied to groups by navigating to "Directory | Groups";
Next left click on the context menu of a group that will have roles assigned, then select "Roles";
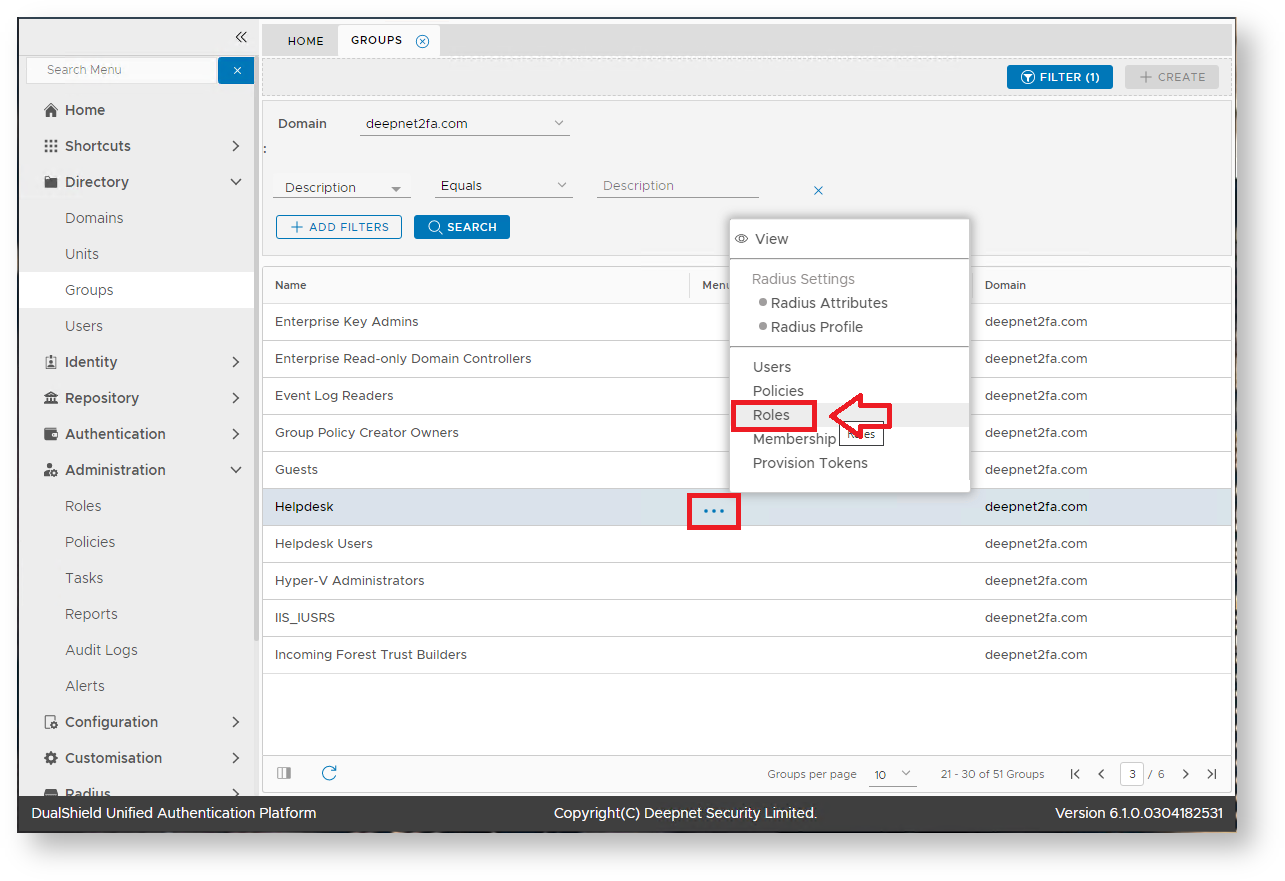
A new window will now open titled "Roles" that will allow the system administrator to assign Roles to the selected Group;
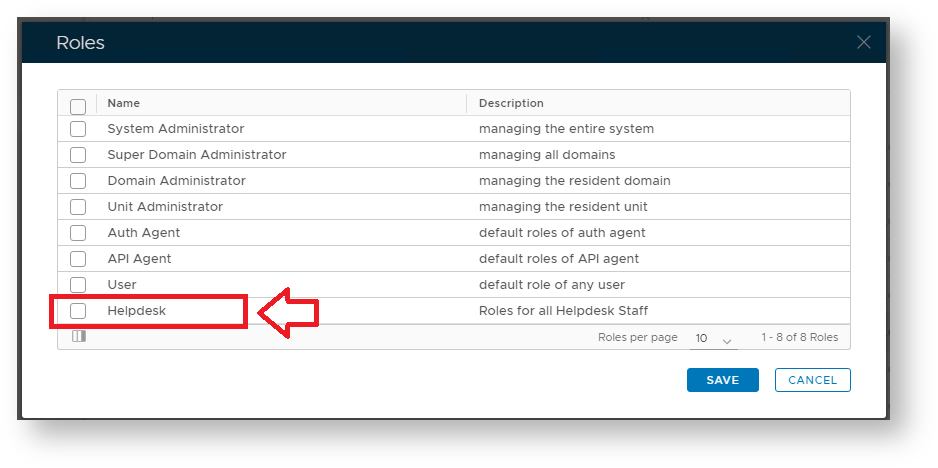
Check the box for the newly created Helpdesk role then click "Save".