Introduction
If there is a request to move DualShield Replication cluster to a new set of servers the best approach would be to Clone just one dualshield/mysql server in the cluster of the current environment and then restore to the new environment and from that create a new replication cluster.
However, this may not be 100% straightforward as there are a couple of factors to consider, such as the size of the audit log table , eg

And the amount and total size of the existing binary log files from the current replication cluster.
Ideally, you should have a few..

..however, if you have a large amount, dating back a long time, together with a large audit log table, cloning will take too long, or may even fail.
Prepare for Clone
Please do the following to ensure a more efficient and quicker way of moving Duslashield from an existing replication cluster...
Whether you are administrating Dualshield or end user are authentication through DualShield MFA, Audit logs will be created.

These log records are stored in the log table in the dualshield database, The more logs the bigger the size of the table
The easiest way to check the size of your audit log table is to go to C:\Program Files\Deepnet DualShield\mysql\data\dualshield and search for the log.idb file
In the screenshot posted above 3Gb is acceptable and should not hamper the cloning, but if you have 10, 20, or 30 Gbs or more it is advisable to cut this down.
If you are not concerned with keeping the audit logs, then the fastest approach is to stop DualShield service, log into your Mysql console via command prompt (refer to Login to MySql console) or MySQL Workbench, and drop the log table...
mysql> drop table dualshield.log;
Please note that for DualShield v5 you also need check the size of the log_field.idb and drop this table first.
If you are not confident with MySQL queries you can use the Truncate audit trail task in the admin console to do the same thing.
If you would prefer to keep some of the records you can set the parameters of the days you want to keep and run the Purge old audit trail records task,
If you wish to backup whilst purging then you can run the Export/Purge old audit trail records task.
Export and Purge old audit trail records
Please note that Purging is a longer process than truncating, and export/purge will take even longer.
Once you have completed the trucate or purge tasks it is recommended to then optimize the table size to ensure the file size of the table reduces
mysql> optimize table dualshield.log;
Do the same for the table log_Field if required (for DualShield v5)
Binary log files (often referred to as binlogs) in MySQL are a record of all changes made to the database. They are essential for replication, backups, and recovery purposes. Binlogs track events such as:
- Data modifications (e.g.,
INSERT,UPDATE,DELETEstatements) - Table and database schema changes (e.g.,
CREATE,ALTERstatements)
MySQL uses binlogs to propagate changes from a master database to one or more slave databases in a replication setup. The slaves read and apply the binlogs from the master to stay synchronized.
Over time the the amount of bin log files increase and therefore so does the size of the file they are stored in. This will take up hard drive space plus, this will significantly slow the process if you are cloning the system as the more bin log files there are, the more that have to be copied during the cloning process.
Therefore there is some house keeping that needs to be done to ensure the older bin log files get deleted.
- expire_logs_days
- You can control how long binary logs are kept by setting the expire_logs_days parameter in the MySQL configuration file
- To do this go to C:\Program Files\Deepnet DualShield\mysql
- Edit the das.ini file in elevated Notepad or Notepad++
- Add an entry under [mysqld] for example expire_logs_days = 30

- This will ensure that logs over 30 days old will be deleted. You can set a different amount of days, but we recommend at least 30 to ensure no loss of data.
- Remeber to Save the das.ini file
- Restart the MySQL(Dual) service
![]()
- Log into MySQL Console in command prompt (refer to Login to MySql console)
- Use the following query... show binary logs;

- Use the following query... PURGE BINARY LOGS BEFORE NOW() - INTERVAL 30 DAY;

- Logs over 30 days old will be deleted right away. You can set a different amount of days, but we recommend at least 30 to ensure no loss of data.
- Use the following query... show binary logs;

- You can see that the number of bin log files has been greatly reduced. *
- *Please note the screenshots were taken from a test server with a low amount of bin log files to start with so in this example it was reduced to 7 days, but most likely you will see more bin log files if reduced to 30 days as recommended.
Begin the Initial Clone
Please do the following to move a DualShield Server from the current VM to a new one.
Prerequisites:
- The new machine should have similar specifications as the existing machine, in terms of CPU, memory and disk space.
The same Windows OS System Type in this case means one Windows server 64-bit to another Windows Server 64-bit - e.g. Windows 2012 R2 64-bit OS to Windows 2022 64-bit OS.
You can find your System type under Windows System Properties.
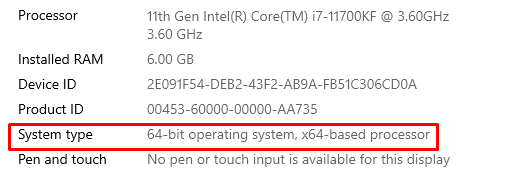
- The machine hardware does not have to be identical, however, make sure both machines have the same OS architecture, e.g. x86 or x64, and the new machine has sufficient memory for running the Java virtual machine.
Steps
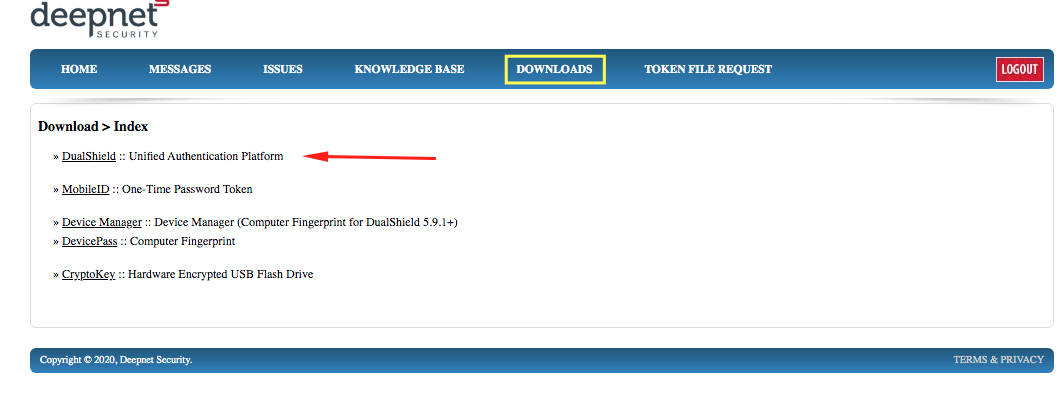
- Download the clone tool from our support web page, to the machine, your current DualShield server is hosted on.
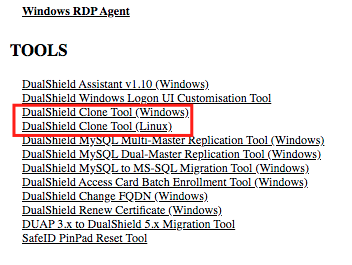
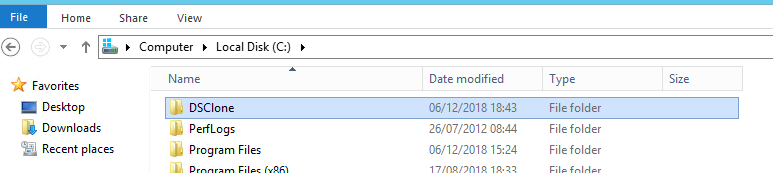
2. Extract the file to a temp folder (e.g. C:\DSClone) where it is readable and writable;
3. Open the windows console in admin mode. Change directory to the clone pack directory on the local drive. In my example it will be in C:\DSClone\dsclone\clonepack.
4. Run "dsclone backup";
![]()
5. The DSClone tool will now start compressing all the configuration from your existing DAS setup, and if you are using the MySQL database that is shipped with the product, it will also compress and take a snapshot copy of that.
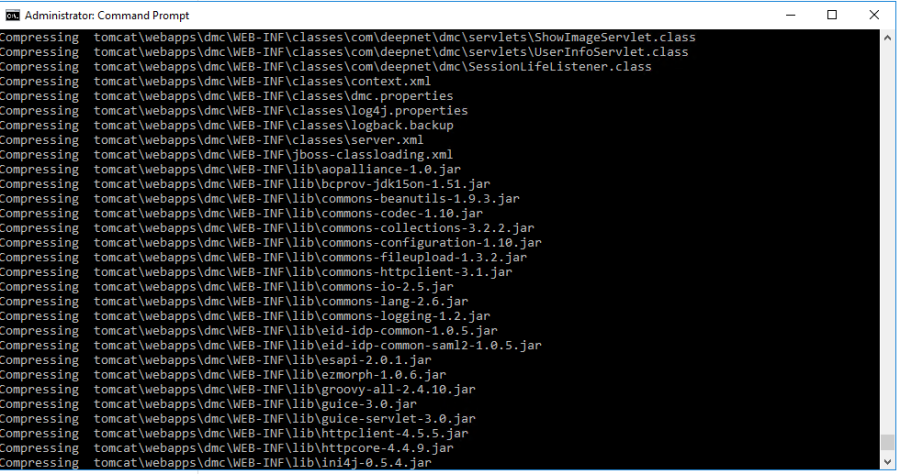
6. The process will create a bucket file, within the clonepack folder. This will house all the compressed snapshot of the existing setup. Wait it to finish. as this can take several minutes.
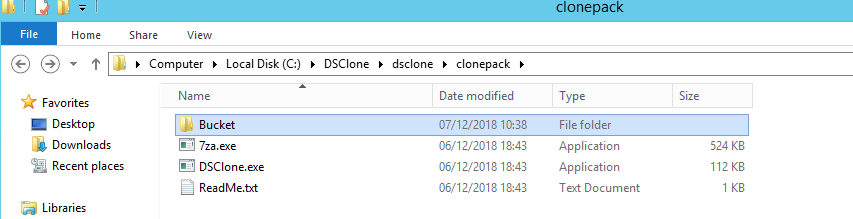
7. Copy the whole folder (c:\DSClone) to the same location new machine;
8. On the new machine open the windows console in admin mode. Change directory to the clone pack directory on the local drive. In my example it will be in C:\DSClone\dsclone\clonepack.
9.Run "dsclone deploy" and follow the instructions on the screen.

10. You will be asked to make sure there is no Dualshield server already installed on this machine:
![]()
Type Y.
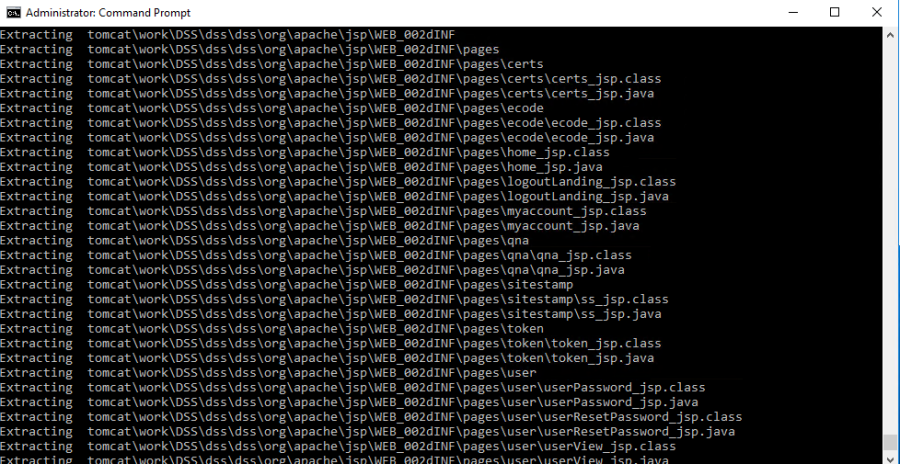
11. The clone tool will now begin extracting the contents of the Bucket that resides in the clonepack directory that was copied over from the primary machine. Again, this will take a few minutes.
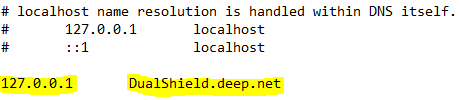
12. On completion you will be asked if it can overwrite the Windows host file.
![]()
Type Yes. It will insert an entry into the host file so that the FQDN of the DualShield server will point to the local IP address, i.e. 127.0.0.1
13. If the DualShield server is using an external MS-SQL server that is running on the same machine, then you will have to install the MS-SQL server on the new machine as well, and migrate (i.e. backup then restore) the DualShield database. You might also have to update the IP address of the SQL database server in the DualShield's server.xml file which is located in the "C:\Program Files\Deepnet DualShield\tomcat\conf" folder.
Open server.xml in a text editor, search for the pattern of text below:
url="jdbc:sqlserver://xxx.xxx.xxx.xxx:3306/...."
in which xxx.xxx.xxx.xxx is the IP address of the SQL server. Update it if neccessary.
Restart the DualShield service if you made changes.
14. If there was no error in the previous steps, then the DualShield server should have been successfully moved to the new machine. You should be able to login into the Management Console. However, you will now need to update server's IP address in settings of all of DualShield agents. Typlically, there are 3 types of agents that you might have been using, namely DualShield Radius server, DualShield Windows Logon Agent and DualShield IIS Agent. You need to check the settings of all instances of those agents and update the IP address in them if neccessary.
15. Some customers might also have installed some DualShield agents on the DualShield server machine. If that's the case for you, then you will have to also install those agents on the new server machine as well. If the Windows Logon agent is involved, then you will have to update the following DNS host entries in your DNS server:
- dswagent
- dswsslagent
* We also provide Linux version of dsclone, it is basically shell script, you can get the instructions by reading the script itself. The instruction is included the package includes as a text file.
Prepare to Create a New Replication Cluster
Before you begin the process the master and slave configurations from the former cluster must be removed,
1) Stop the DualShied Server service on the new machine,

2) Open a command prompt and change directory to C:\Program Files\Deepnet DualShield\mysql\bin
Log into MySQL console , and stop the slave service:
mysql -u root -p

(Enter your password at prompt)

mysql> stop slave;
3) Reset master and slave on both servers. This will clear the replication configuration and status information from the previous cluster.
mysql> reset master;
mysql> reset slave;
4) Stop the MySQL(Dual) Service
![]()
5) Launch Notepad in Admin mode and open the das.ini file in C:\Program Files\Deepnet DualShield\mysql
6) Delete all existing replication server configuration details from the das.ini file.

7) Download DualShield Assistant from here: DualShield Assistant v2.5
8) Install DualShield Assistant on Source and Target machines (In other words the new machine running DualShield and the other machines In your new environment you wish DualShield Server to be deployed to)
Create New Replication Cluster using DualShield Assistant
1) Follow Cloning DualShield to clone DualShield and MySQL server and deploy to another new hosting server
2) Once the clone is complete follow Setting up Replication to setup replication between the two servers.
3) If you wish to add additional servers please follow steps 1 and 2 again and repeat until you have replication set up on all the servers you need.