To connect DualShield to Active Directory via LDAP over SSL (LDAPS), you must tell your DualShield server to trust your AD server. In other words, you must import the CA certificate that was used to sign the server certificate of your AD server into the keystore of your DualShield server as a trusted root certificate.
Configure Active Directory Authentication with LDAP over SSL
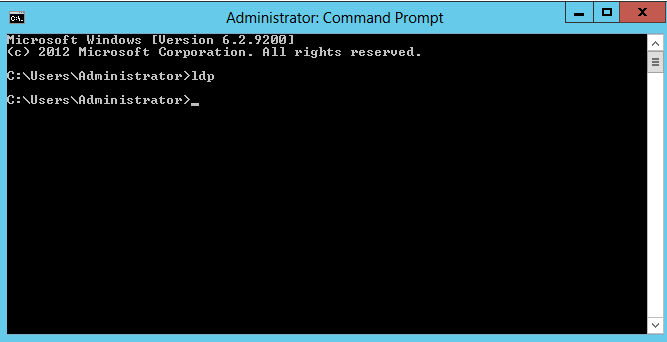
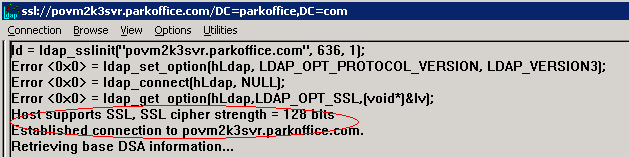
First of all, make sure that your AD server is fully configured to accept SSL connection. To verify that your AD server is enabled with LDAPS connection, you can run a Microsoft support tool LDP.EXE on your AD server. Open command prompt and type ldp and press return:
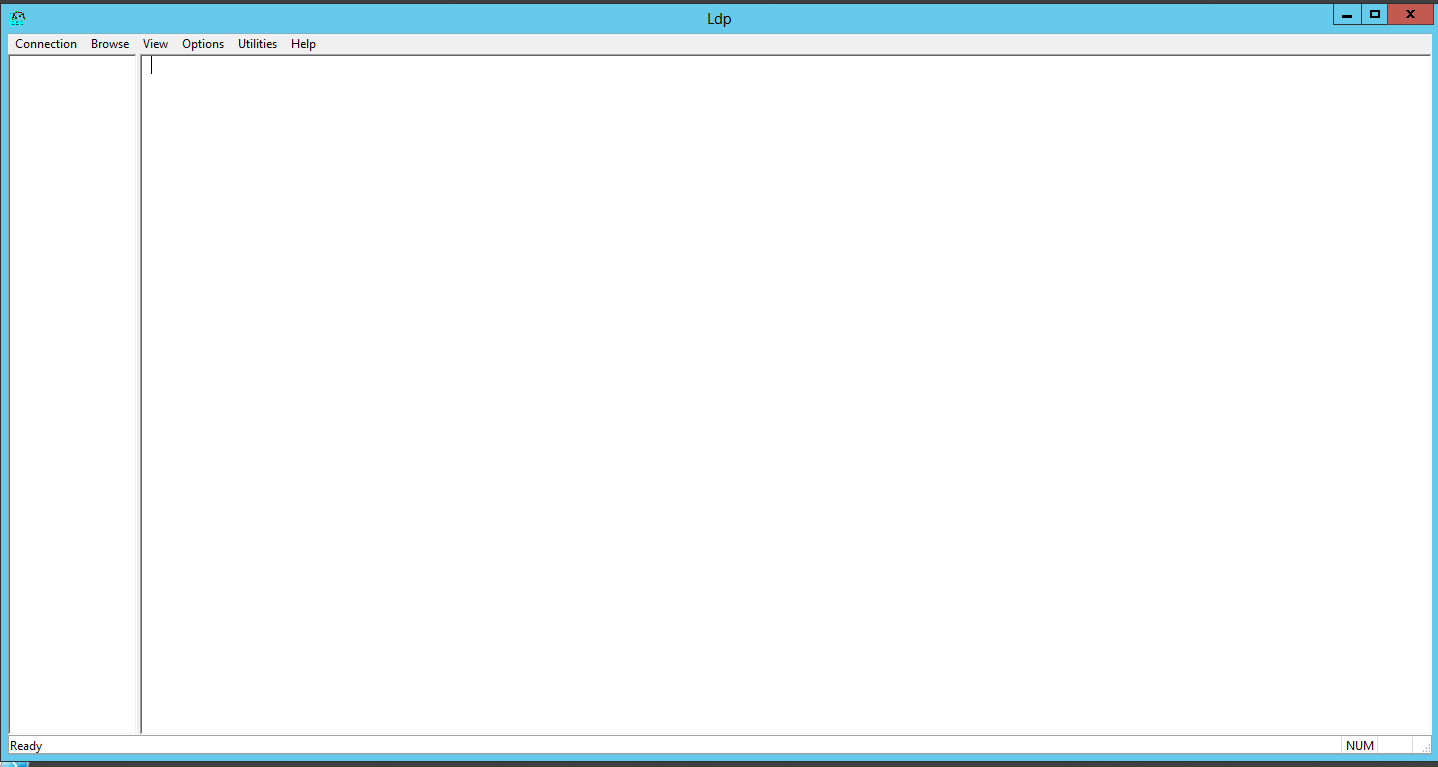
The LDP window will popup:
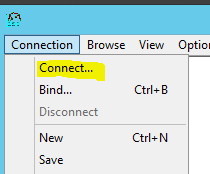
Connection→Connect:
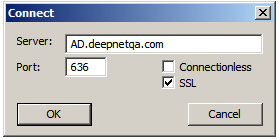
Enter the server name, and connection port as "636".
You should see the following output:
If your AD server is not yet configured to accept SSL connection, then you must first enable the SSL connection. The article below has detailed instructions:
- LDAP over SSL (LDAPS) Certificate
- How to enable LDAP over SSL with a third-party certification authority
If your DualShield server is version 5.7 or earlier, then you must import the CA certificate of your AD server by following the instruction below. Otherwise, you can skip the step below and proceed to Modifying the Identity Source on DualShield
Export CA Certificate from the AD Server
Once your AD server is configured to accept LDAPS connection, you need to export the CA certificate from your AD server.
The CA used to sign the LDAPS certificate is not necessary to be the one of your Certification Authority, so the safe way to locate the CA is to follow the steps below.
First, you need to find the SSL certificate of the AD server. There are 2 ways:
- Open Local Computer Certificate Console on your DC,
- Locate the LDAPS certificate, which should include the Server Authentication (1.3.6.1.5.5.7.3.1) object identifier.
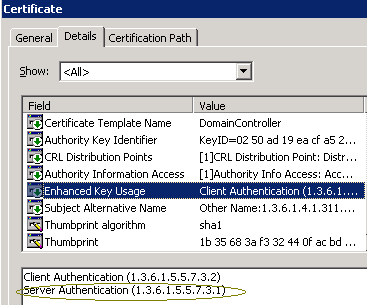
Normally it has "DomainController" as its Certificate Template Name.
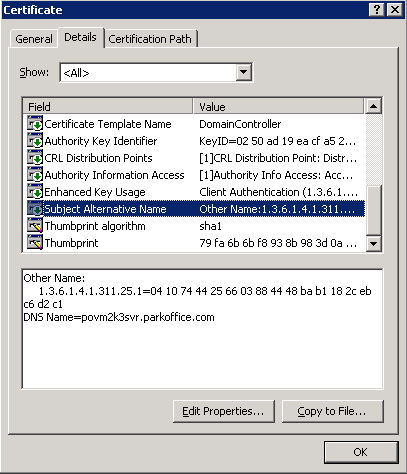
The Active Directory fully qualified domain name of the domain controller (for example, povm2k3svr.parkoffice.com) must appear in one of the following places:
- The Common Name (CN) in the Subject field.
- DNS entry in the Subject Alternative Name extension.

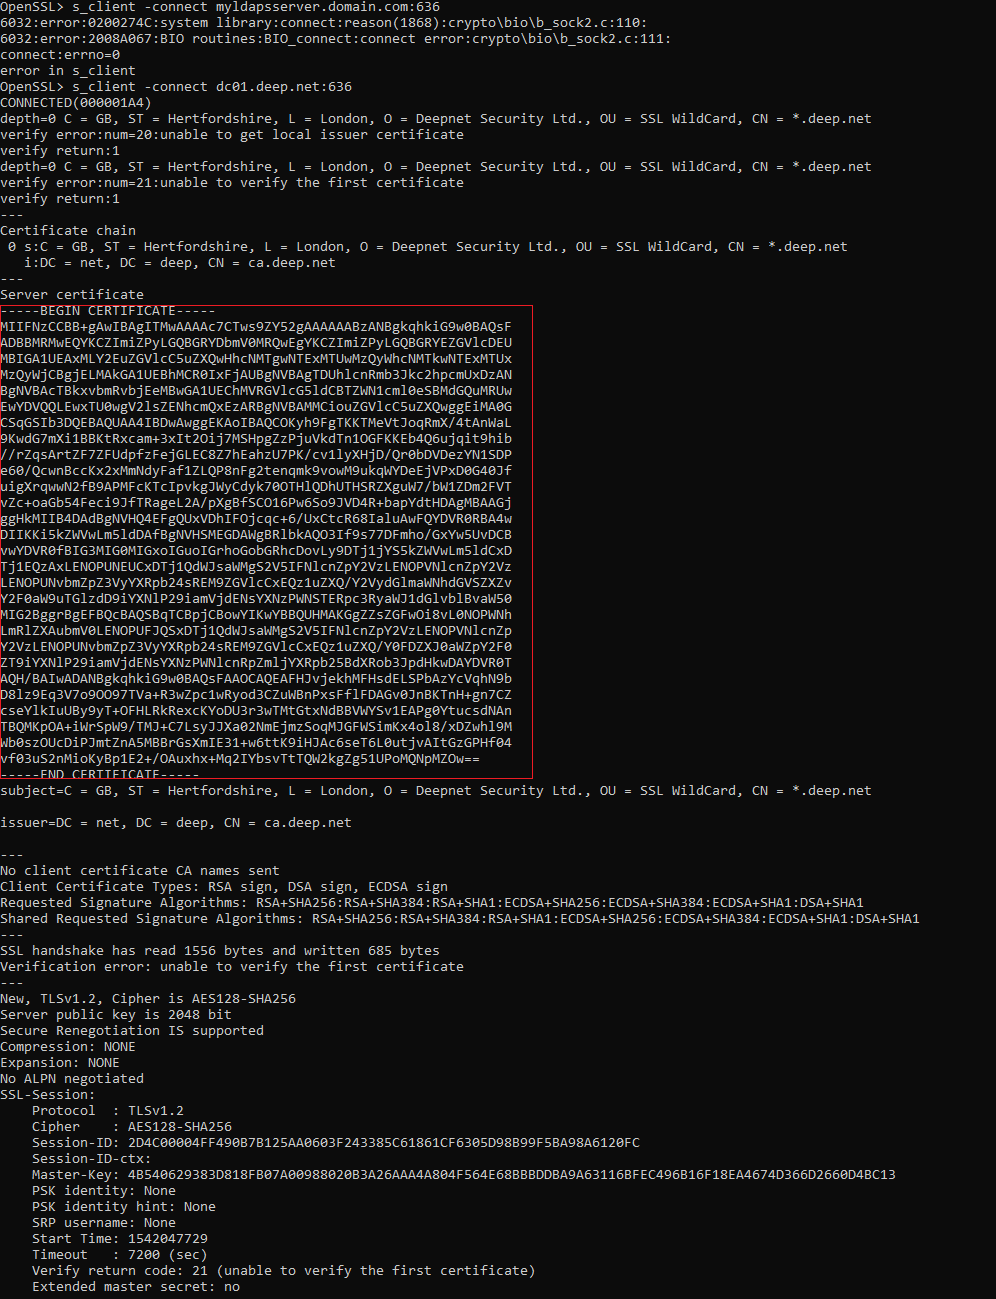
Download openssl from https://slproweb.com/products/Win32OpenSSL.html and install it.
Run the following command.
openssl s_client -connect myldapsserver.domain.com:636
Part of the output of this file will be the Base-64 encoded .cer file that was presented for LDAPS. Just cut and paste into notepad beginning at "--Begin Certificate--" through "---End Certificate---" and save as a .cer Double-click on the certificate file and you will now be viewing the certificate presented for LDAPS.
Once you have found the SSL certificate of the AD server, double click the certificate, go to the tab "Cetification Path"
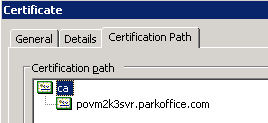
In our example, the CA to sign the LDAPS certificate is the highlighted one "ca".
To export the CA certificate:
- Select the CA certificate, click View Certificate.
The Certificate dialog box appears.
- Select the CA certificate, click View Certificate.
- Select the Details tab.
- Click Copy to file.
The Certificate Export Wizard appears. - Click Next.
The Export File Format page appears. - Select the Base-64 encoded X.509 (CER) file format.
The File to Export page appears. - To save the certificate file to the default location, in the File Name text box, type a name for the certificate. To select a different location to save the file, click Browse. Select the location and type a file name for the certificate.
- Click Next.
The Completing the Certificate Export Wizard page appears. - Review the certificate information. Click Finish.
- Click Copy to file.
Import CA Certificate into DualShield
Next, you need to import the CA certificate into your DualShield's keystore. DualShield's keystore is a JAVA keystore and there is a tool included in the DualShield that can be used to import certificates. Follow the steps below:
- navigate to "tools" folder in your DualShield directory, e.g. C:\Program Files\Deepnet DualShield\tools
- unzip "portecle.zip"
- navigate to the Portecle folder, e.g. C:\Program Files\Deepnet DualShield\tools\portecle-1.7\portecle-1.7
- open Windows CMD console
- execute "portecle.jar", e.g. ..\..\..\jre\bin\java -jar portecle.jar
you should now see the Portecle's user interface:
- Select "File | Open CA Certs Keystore"
- Enter the default password: "changeit"
- Select "Tools | Import Trusted Certificate" and import your CA certificate
Please note that if you can double click the file portecle.jar to run this utility, then it is very likely that you have another JRE installed on this machine that is NOT the one used in DualShield. In that case, please choose the menu "Open Keystore File..." instead, then locate the file "cacerts" under DualShield installation folder.

Alternatively, you can import a root or intermediate CA certificate to an existing Java keystore with following command
C:\Program Files\Deepnet DualShield\jre\bin\keytool -import -trustcacerts -alias root -file yourca.crt -keystore C:\Program Files\Deepnet DualShield\jre\lib\security\cacerts
Once you have successfully import your AD's CA certificate into your DualShield's keystore, restart the DualShield server.
Modify the Identity Source on DualShield
In the DualShield Admin Console, navigate to Identity > Identity Sources

Select "Edit" from the context menu of the identity source that you wish to modify, e.g. la.deepnetid.com

Select the "2 - Connection" tab

In the Directory URL box, change "ldap://" to "ldaps://"

Click the "FINISH" button to save the change.