To connect to an Active Directory, follow the steps below:

then, click the "Create" button. This will bring up the "Identity Source Registration" wizard:

In the "Name" box, enter a name that describes the AD
In the "Type" box, select "LDAP"
In the "Provider" box, select "Active Directory"

Click the NEXT button to continue

In the "Directory URL" box, enter "ldap://" or "ldaps://" followed by the IP address or host name of the AD server
In the "Access User" box, enter the username of the AD service account that is to be used by DualShield to connect to the AD
In the "Access User Password" box, enter the password of the access user
If you have provided the correct data above, then the "Base DN" will be automatically filled in.
- Authentication: Verifies that a user is who they claim to be
- Integrity: Ensures that the data received is the same as the data sent
- Confidentiality: Encrypts data
This can be added as an authentication method in DualShield version 7.1.0 onwards.
To achieve this, please start to go through the same steps in Connect to Active Directory
However, when you get to the Identity Source Connection Configuration change the Authentication Method to GSS-API
Also the Access user needs to be specified as UPN with the domain specified all in upper case
e.g.

There are several further steps that will allow you to customize the connection to your Active Directory. However, in most cases you do not need to customize it. If for some reasons you do need to customise it or optimize it, you can come back later and make the changes. For now, you can to click the FINISH button to complete the wizard.

Related Articles

Click the "Create" button. This will bring up the "New Domain" dialog window:

In the "Identity Source" box, select the identity source that contains the domain to be created.
Make sure that the "DNS Name" and "NetBIOS Name" are set correctly


Click the "Save" button to finish
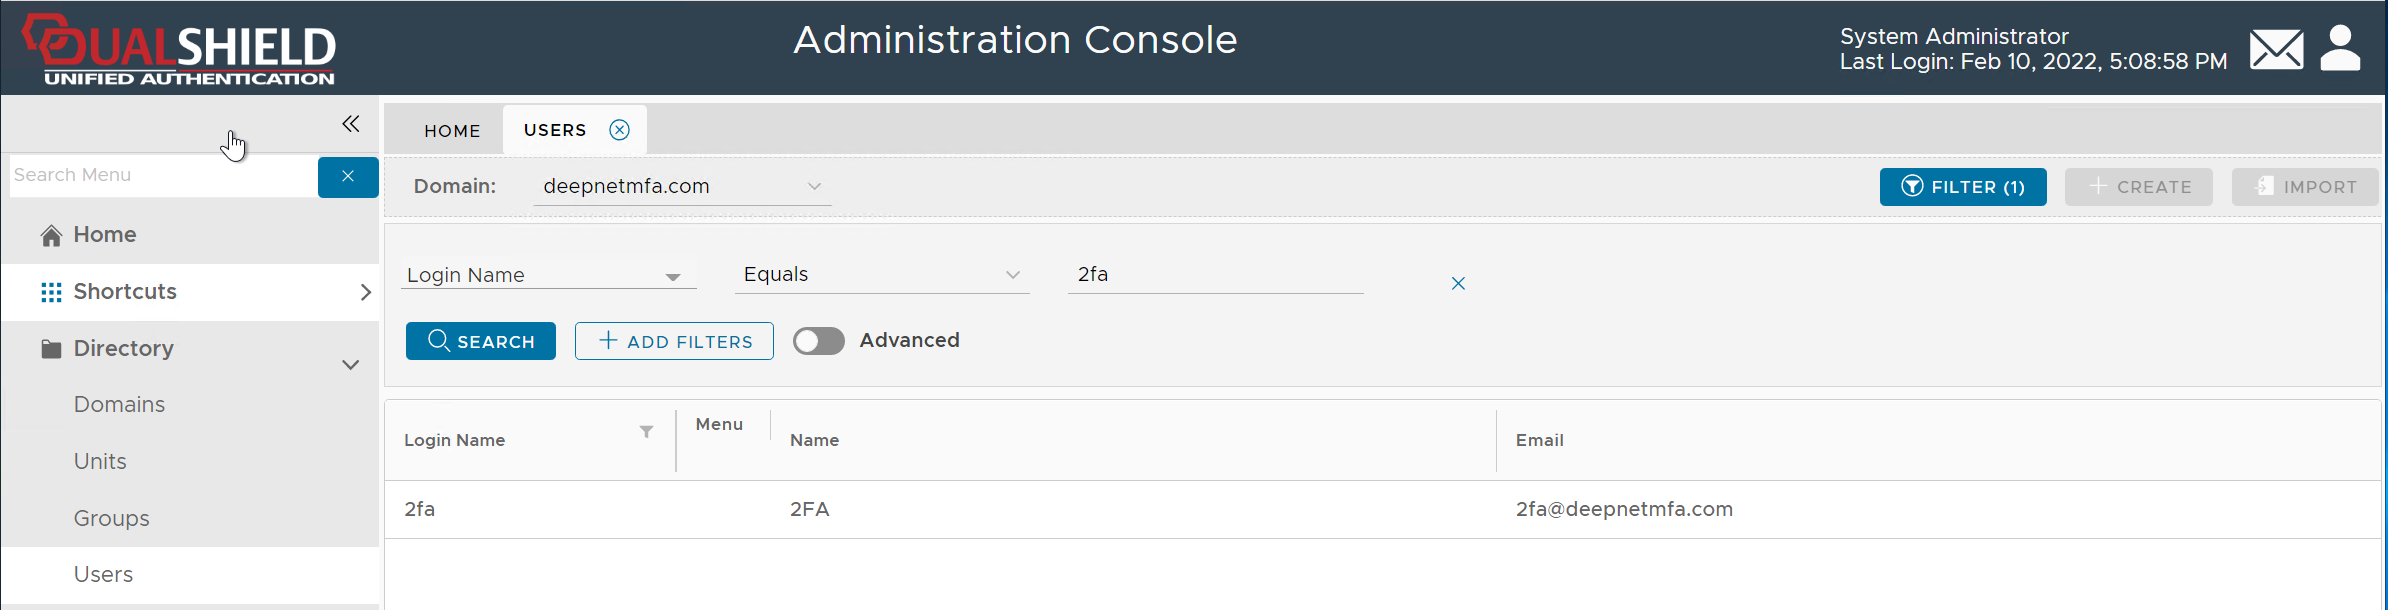
In the Domain list, select the domain that you want to work on, e.g. DeepnetMFA.com
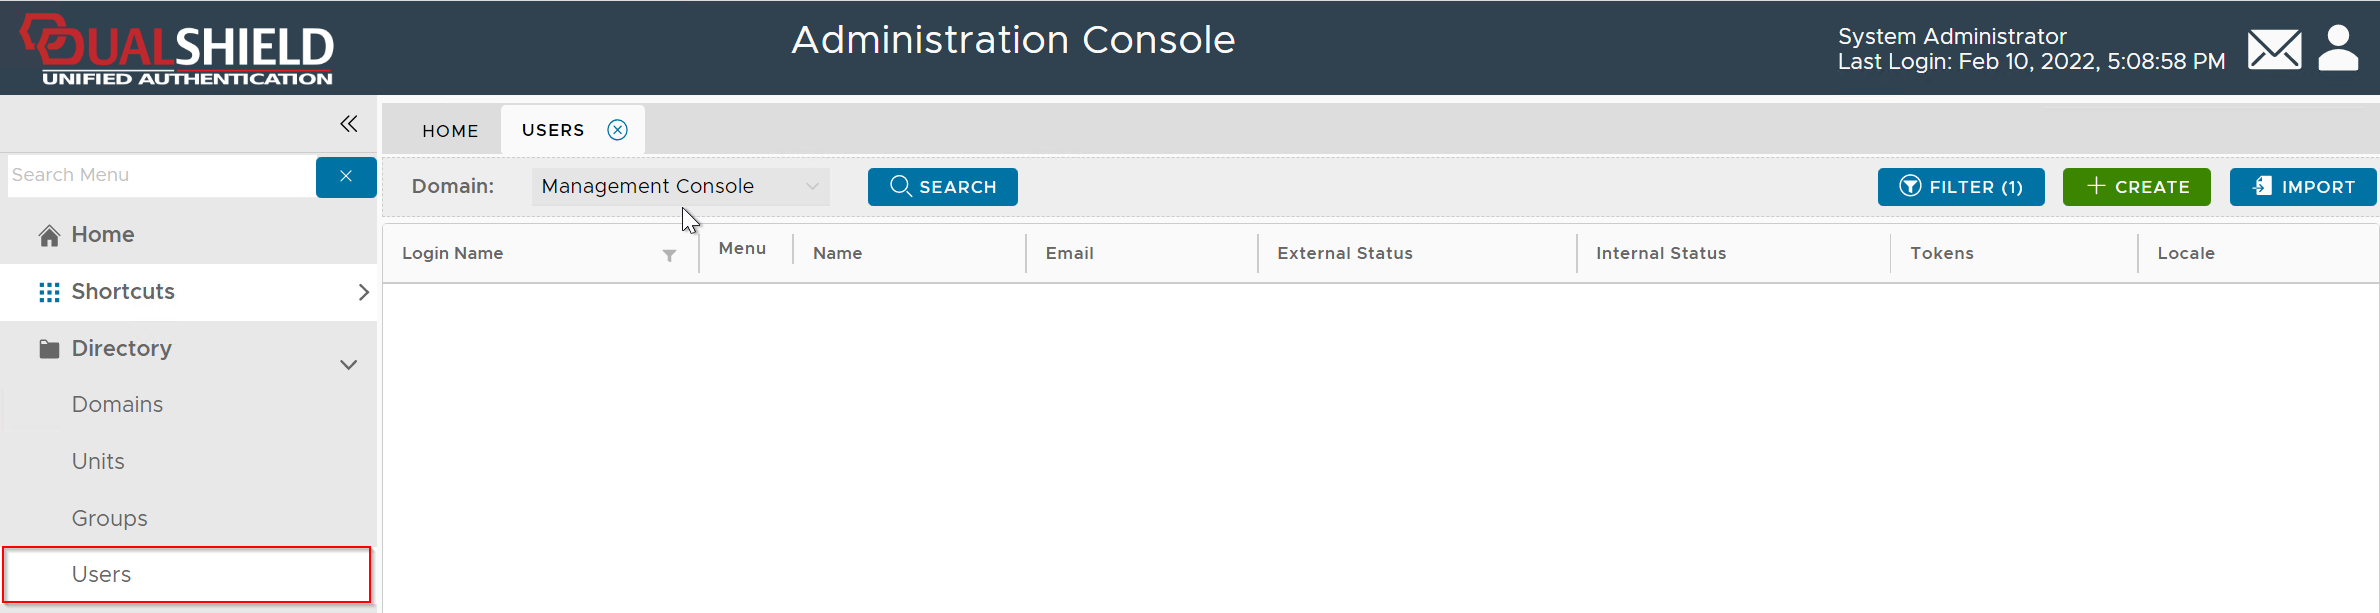
If you click the "Search" button, it will list all users in the entire directory up to the query limit.
To narrow down your search, click the "Filter" button
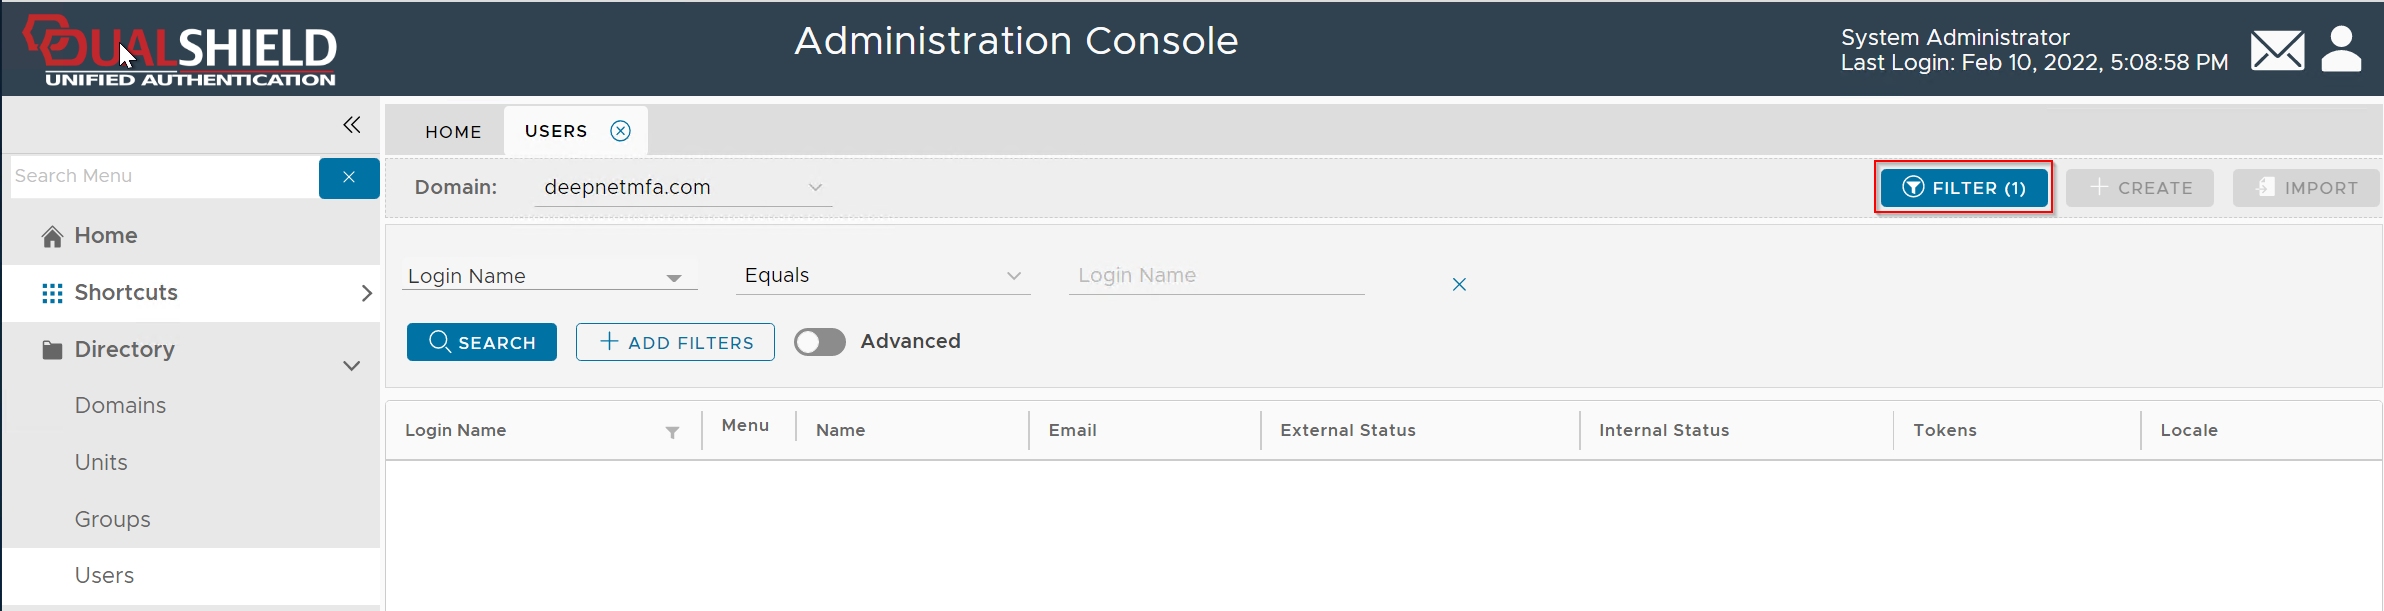
Enter the user's login name, e.g. 2FA, then click the "Search" button (You can change the search filter or add more filters)