Introduction
Intrusions Alerts can be configured such that when a specific number of attempts to log in to a user account have failed (within a specified amount of time), then notifications can be sent informing of the suspicious login activity.
If the alert "Intrusion Alert" is enabled, then the alert will be triggered if the conditions details in the alert parameter "Conditions" are met, and are normally triggered when a user locking event occurs during the authentication process.
Once the alert is triggered, notification of the detected event may be sent to specified users and groups.
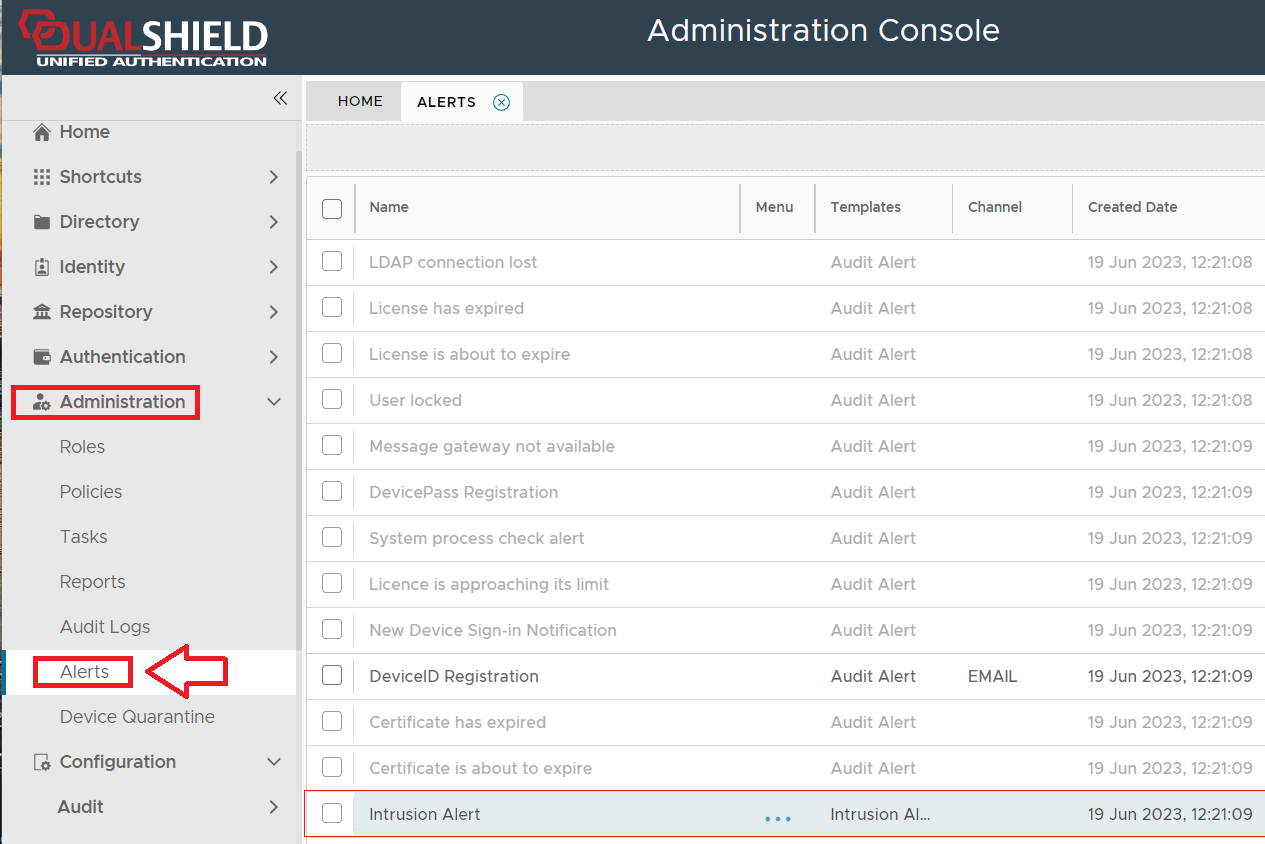
The alert can be found by navigating to "Administration | Alerts", then scrolling down to the alert "Intrusion Alert";
Editing the Alert
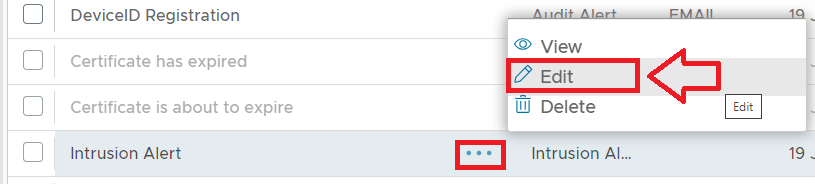
The alert can be edited by left clicking on the context menu of the alert and selecting "Edit";
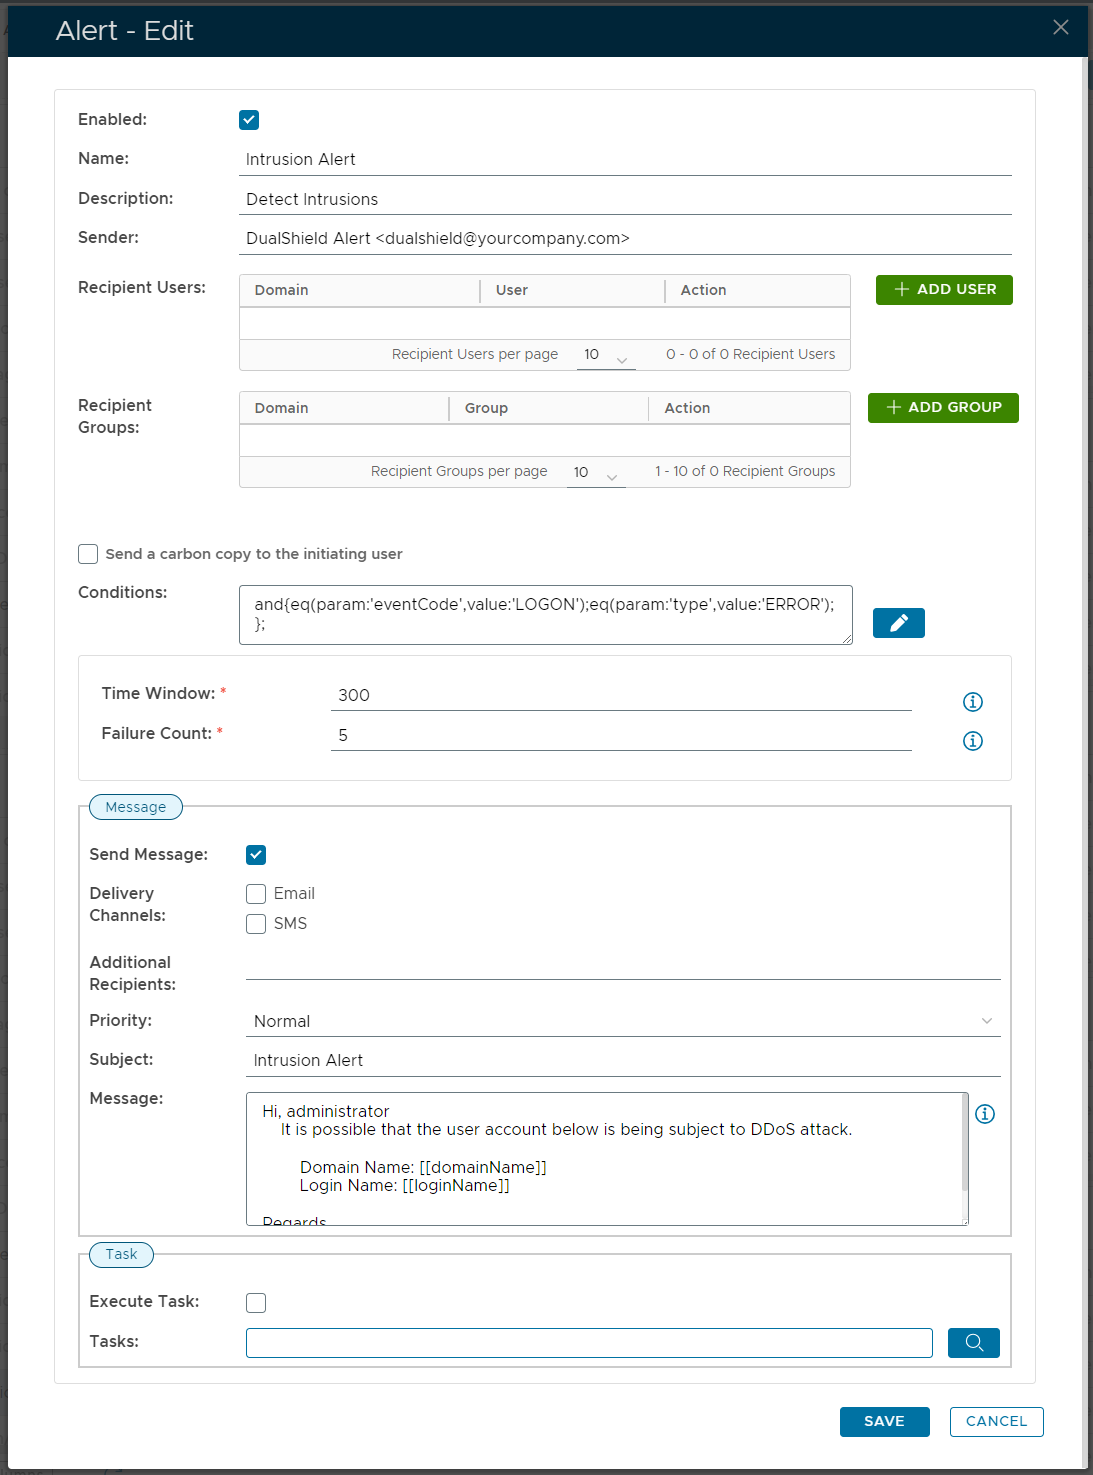
A new window will now open titled "Alert - Edit";
We can use the condition builder (via the pencil icon "![]() ") to specify what conditions determine if a carbon copy is sent.
") to specify what conditions determine if a carbon copy is sent.
The alert is disabled by default, but can be enabled by ticking the checkbox "Enabled";
Specifying Alert Recipients
When the alert is triggered you have the option to send a message to specified recipients using the "Recipient Users" and "Recipient Groups" parameters.
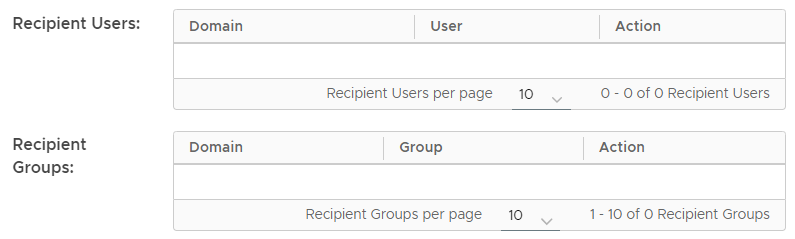
- You can specify who the alert notifications are sent to by supplying either Recipient Users, Recipient Groups, or both.
The buttons
 and
and  can be used to add users or groups t the list of recipients for the alert notifications;
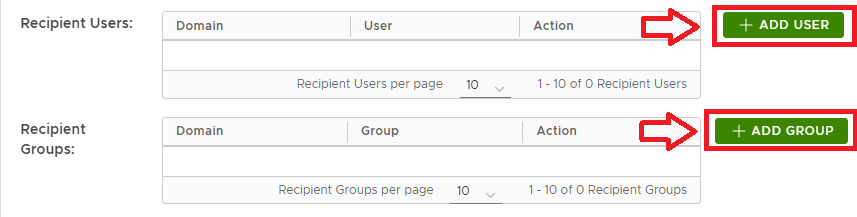
After clicking on
 a window titled "Add User" will open;
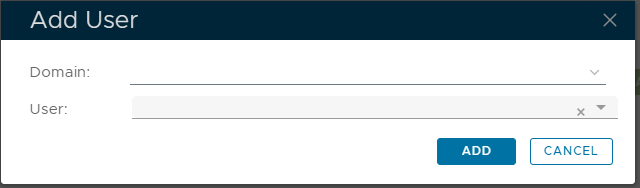
At the "Domain" prompt specify the domain of the user, then at the "User" prompt type in the users' name then click
 , and the specified user will be added to the list of recipients that the notification will be sent to;
The same process can be used with groups to send the notification to all members of the selected group (or groups).
You might want to tick "Send a carbon copy to the initiating user" if you want the user to be notified as well.
Finally, click "Save" to save this new alert
Using the "Condition Builder" tool to determine when the alert is triggered
The Intrusion Alert" alert is triggered whenever an intrusion is detected, but you might not always want notifications to be sent to your specified users every time this event occurs.
The "Conditions" parameter is to provide a mechanism by which additional restrictions can be checked prior to send the alert notification.
To edit the conditions that determine when the alert is trigged click on the pencil icon (![]() ) causing a window titled "Condition Builder" to open;
) causing a window titled "Condition Builder" to open;

- It is possible to add additional conditions that will need to be satisfied before the alert is triggered by using the condition builder tool (the tool is accessed by clicking on the
 icon).
After the icon is pressed a new window titled "Condition Builder" will open;

When the condition builder is first opened it will display the condition that must be met before the alert is triggered.
The example above is the condition required to trigger the "LDAP connection lost" alert, but all alerts will have their own trigger conditions, and these conditions can be edited, and expanded upon, using the condition builder.
Conditions are added to this list using the
 button, and it is possible to use the logic operators ("and" and "or") to specify if all the conditions are required, or if some are optional.
When all the required conditions have been added we submit the conditions using the
 button, and once applied the condition builder will close, and the "Conditions" parameter will be updated;
Sending Notifications
Provided the alert is enabled, the send message is selected, and one or both delivery channels have been enabled, then when a alert is triggered, message notifications will be sent to the selected users (or groups of users)
The default message sent for this alert is as follows;
Message
Hi, administrator,
It is possible that the user account below is being subject to DDoS attack.
Domain Name: [[domainName]]
Login Name: [[loginName]]
Regards,
DualShield
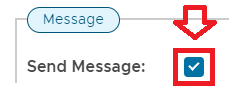
- When the alert is triggered, notifications can be sent to the specified user via email or SMS.
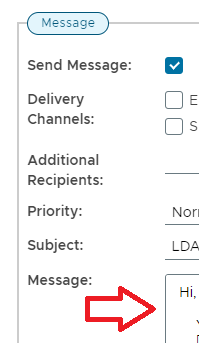
In order to send notifications you will first need to tick the "Send Message" box;
Once messages are enabled you will need to specify which (or both) of the available delivery channels can be used to send the notifications;

After selecting the delivery channel you can the add additional recipients, specify the message priority and subject, and possibly customise the message sent.
The default message includes wildcards ((separated by "[[" and "]]", and additional wildcards may be used from the following list;
- [[loginName]] : User's login name
- [[domainName]] : Domain's name
- [[applicationName]] : The name of the application
- [[tokenSerial]] : Token's name
- [[agentName]] : Agent's name
- [[serverName]] : The name of the DualShield server
- [[clientIp]] : The IP address of the requesting client
- [[logDate]] : The time when this event happened
- [[eventCode]] : The code of the event
Adding task execution to the alert
After the alert is triggered you have the additional option to cause one of the existing tasks to be run.
To add task execution to the alert you need to first tick the checkbox prompted "Execute Task", then select what task (or tasks) are to be executed using the![]() icon;
icon;

Time Window and Failure Counts
At the prompts "Time Window:" and "Failure Count:" you will supply parameters that determine how many instances of the required conditions must occur with the specified number of seconds before an alert notification will be sent;

In the example above if 5 logon failures occur within 1000 seconds (just over 1/4 hour) then an alert will be sent to the administrator.
The message that is sent to the administrator is determined by the text supplied against the prompt "Message:" (see received example message below);
