This tutorial guides you through the process of building a sample application using the REST API. The goals for the tutorial are to gain competence and familiarity with the process of developing a DualShield application.
Building a DualShield API application is actually quite simple. There are only 3 basic steps:
Register an API Agent
To DualShield, your application is an API agent. Therefore, the very first step is to register your application as an API Agent in the DualShield authentication server.
To register an agent, you must first create the following objects in DualShield:
To register an agent, you must first create the following objects in DualShield:
- A domain
- A realm
- A logon procedure
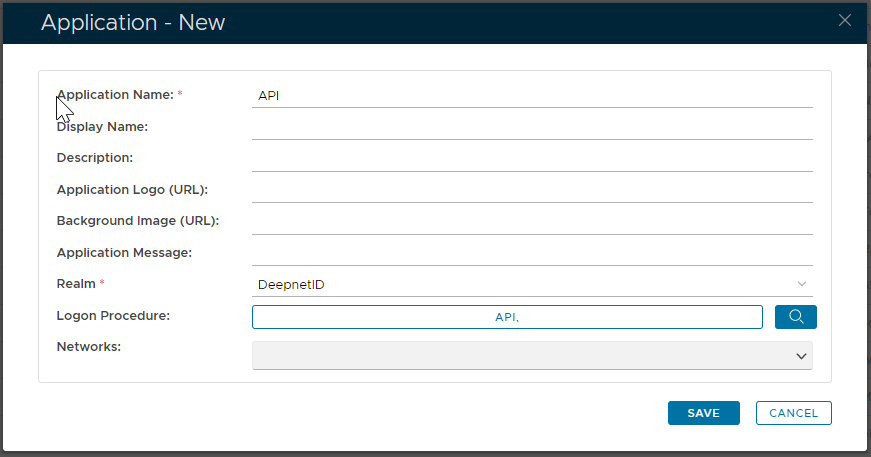
- An application
The type of the logon procedure should be set as "Web SSO"
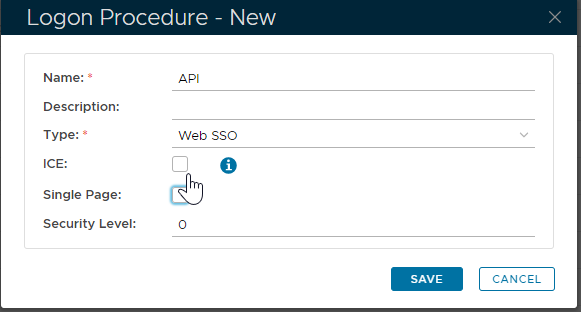
The logon procedure does not have to contain any logon steps.
To register an API agent, select "Authentication | Agents" in the main menu, then click the "Registration" button in the toolbar. 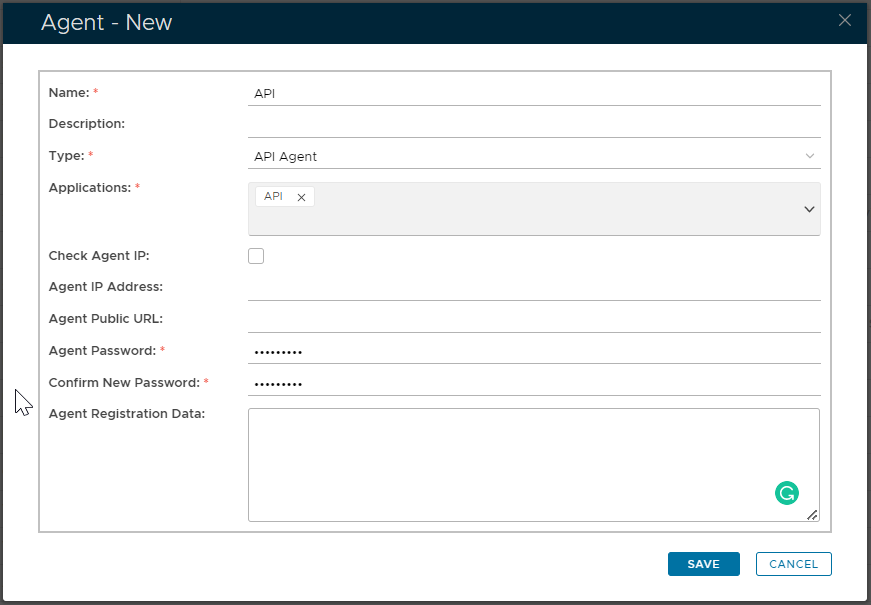
| Field | Value |
|---|---|
| Type | The type of the agent must be set to "API Agent". |
| Application | Select the application that you have created for the agent. |
| Check Agent IP | You can enable the "Check Agent IP" option for extra security. If this option is selected then you must provide the IP address of the machine where your application is running. |
| Agent Password | The communication protocol between the agent, i.e. your application and the DualShield is always HTTPS, therefore DualShield will create an SSL certificate for the agent. This is the password to be used to secure the agent SSL certificate. |
| Agent Registration Data | The Agent Registration Data is not required. |