Deepnet SafeID OTP hardware token is one of OATH-compliant tokens officially supported by Azure MFA on-premises server and Azure MFA cloud service. It is being widely used by Office 365 and Azure AD customers.
Prepare Token Upload File
Hardware tokens must be uploaded to Azure MFA service in a comma-separated values (CSV) file. Deepnet SafeID or MobileID tokens are supplied with a CSV file that includes serial number, secret key, time interval, manufacturer, and model as the example below shows.
serial number,secret key,time interval,manufacturer,model
10001001,a1b2c3d43267854532,60,Deepnet Security,SafeID
10001002,d4c3b2a12765398724,60,Deepnet Security,SafeID
*Please note that the above seed file is only an example. If you have not received the seed file of your tokens, please contact your reseller or Deepnet Security.
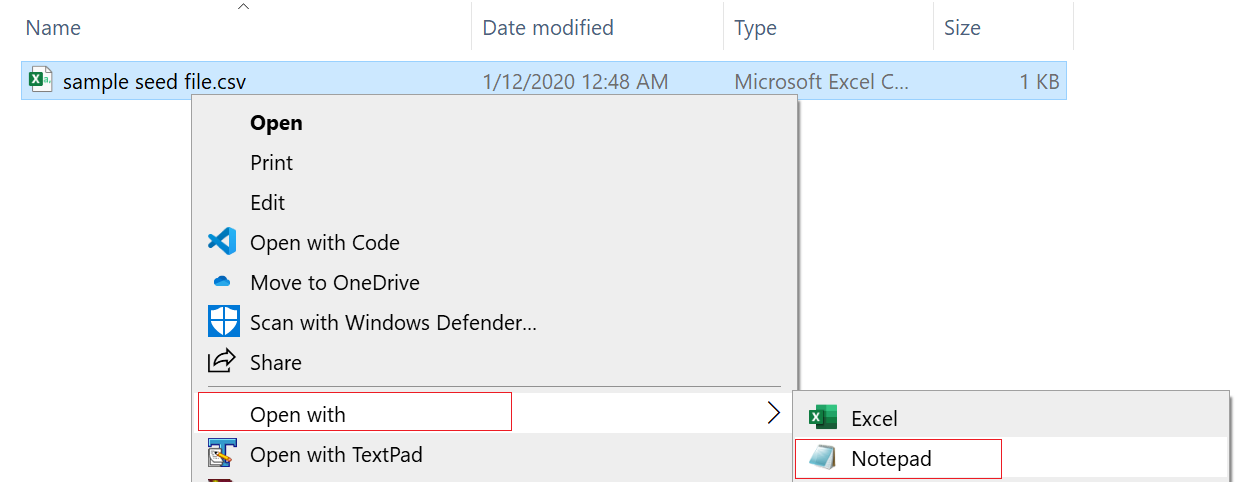
Azure MFA requires one extra information to be added into the CSV file: the user principal name (UPN) of each token. Therefore, you MUST edit the CSV file in the text editor and add an UPN to each of the tokens, as the example below shows.

Add 'upn' to the header row, so that the header reads:
upn,serial number,secret key,timeinterval,manufacturer,model
then, add users' UPNs in every row, e.g.
user001@contoso.com,1234567,1234567890abcdef,60,Deepnet Security,SafeID

The revised content looks like below:
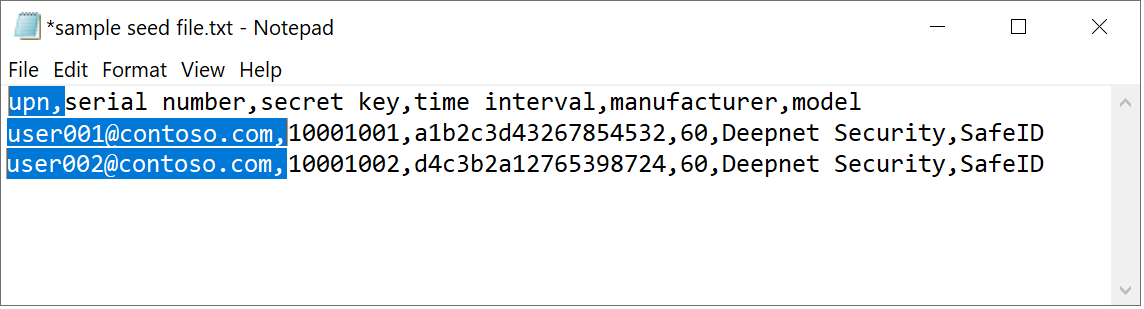
Save the file on completion.
Upload Tokens
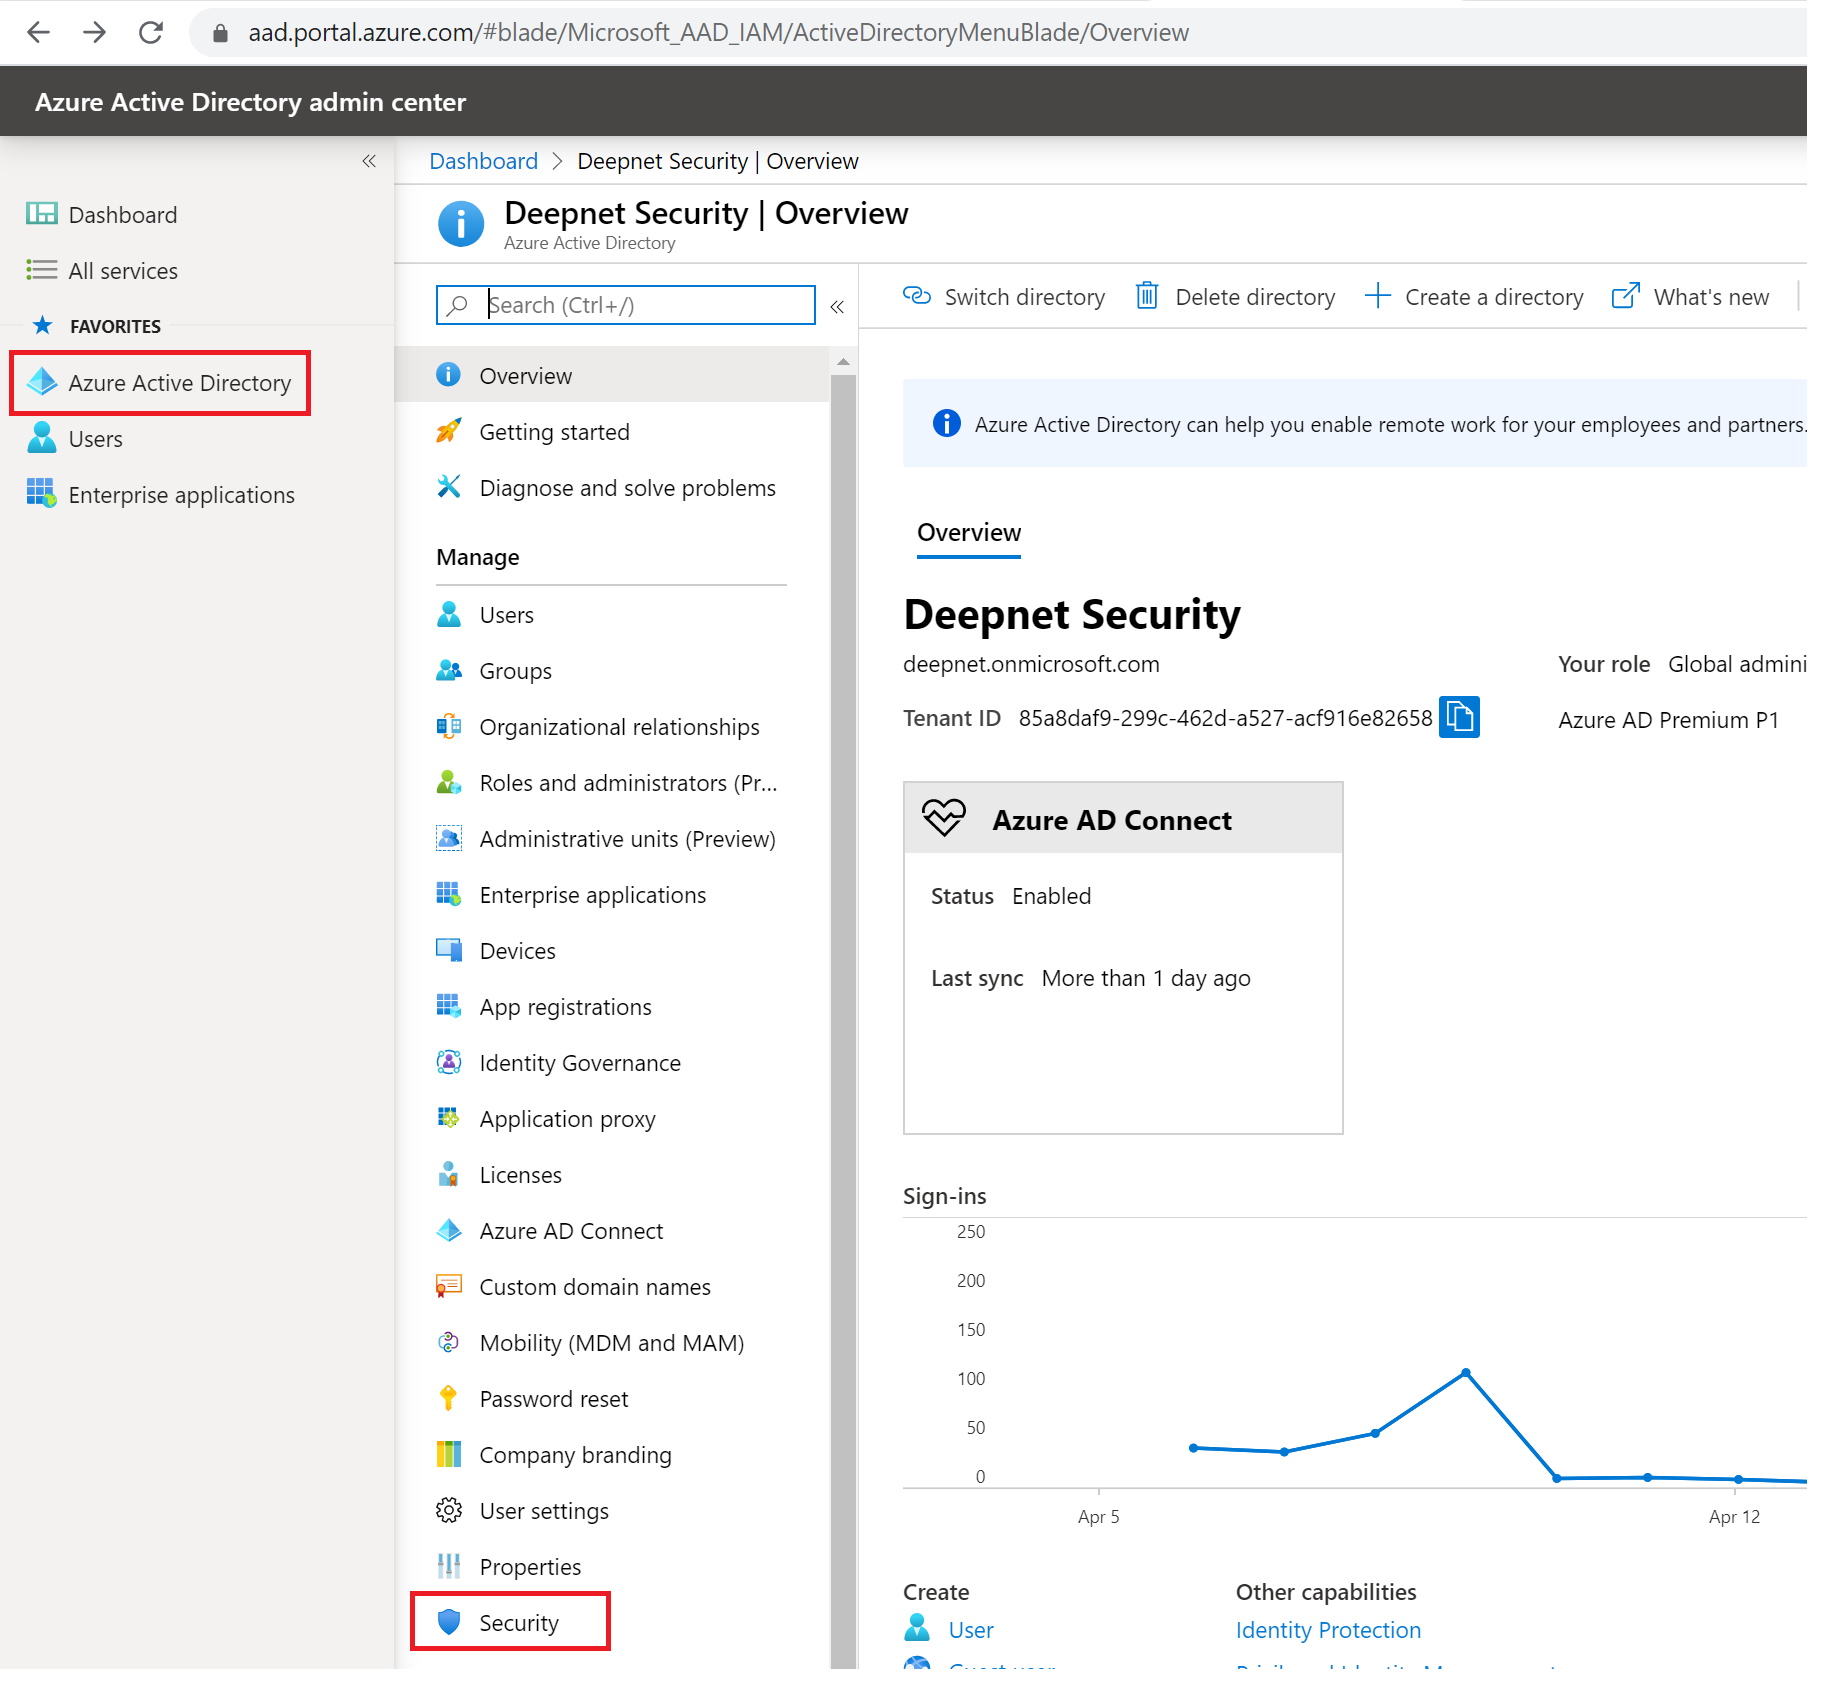
Now, sign in to the Azure portal and navigate to Azure Active Directory, then to Security and to MFA.
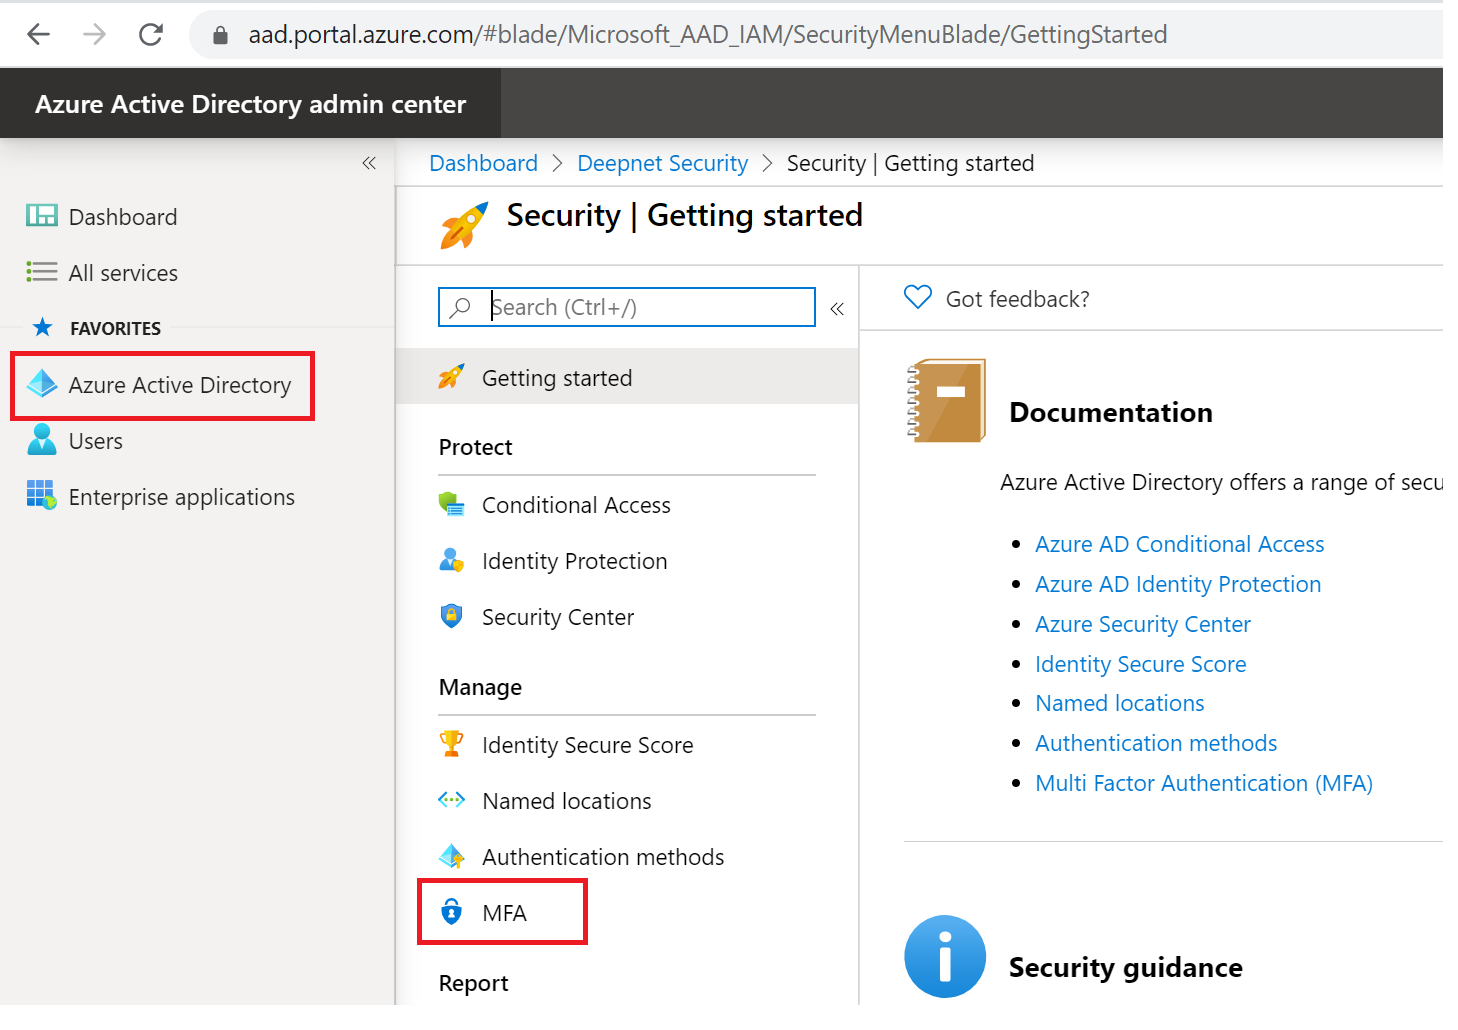
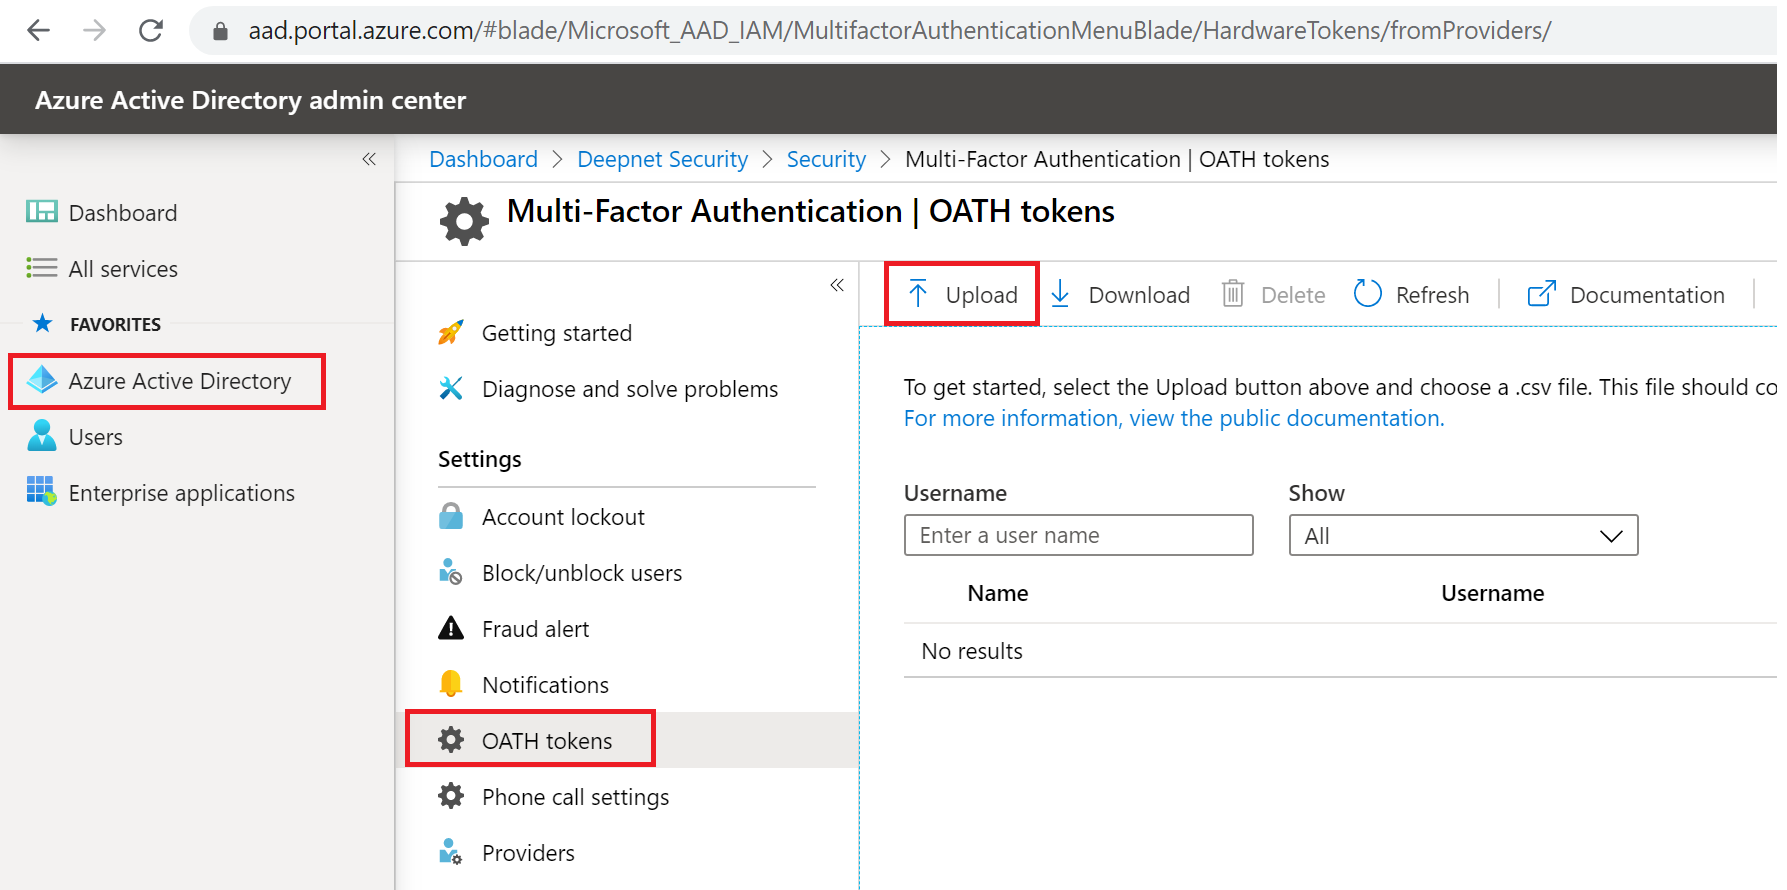
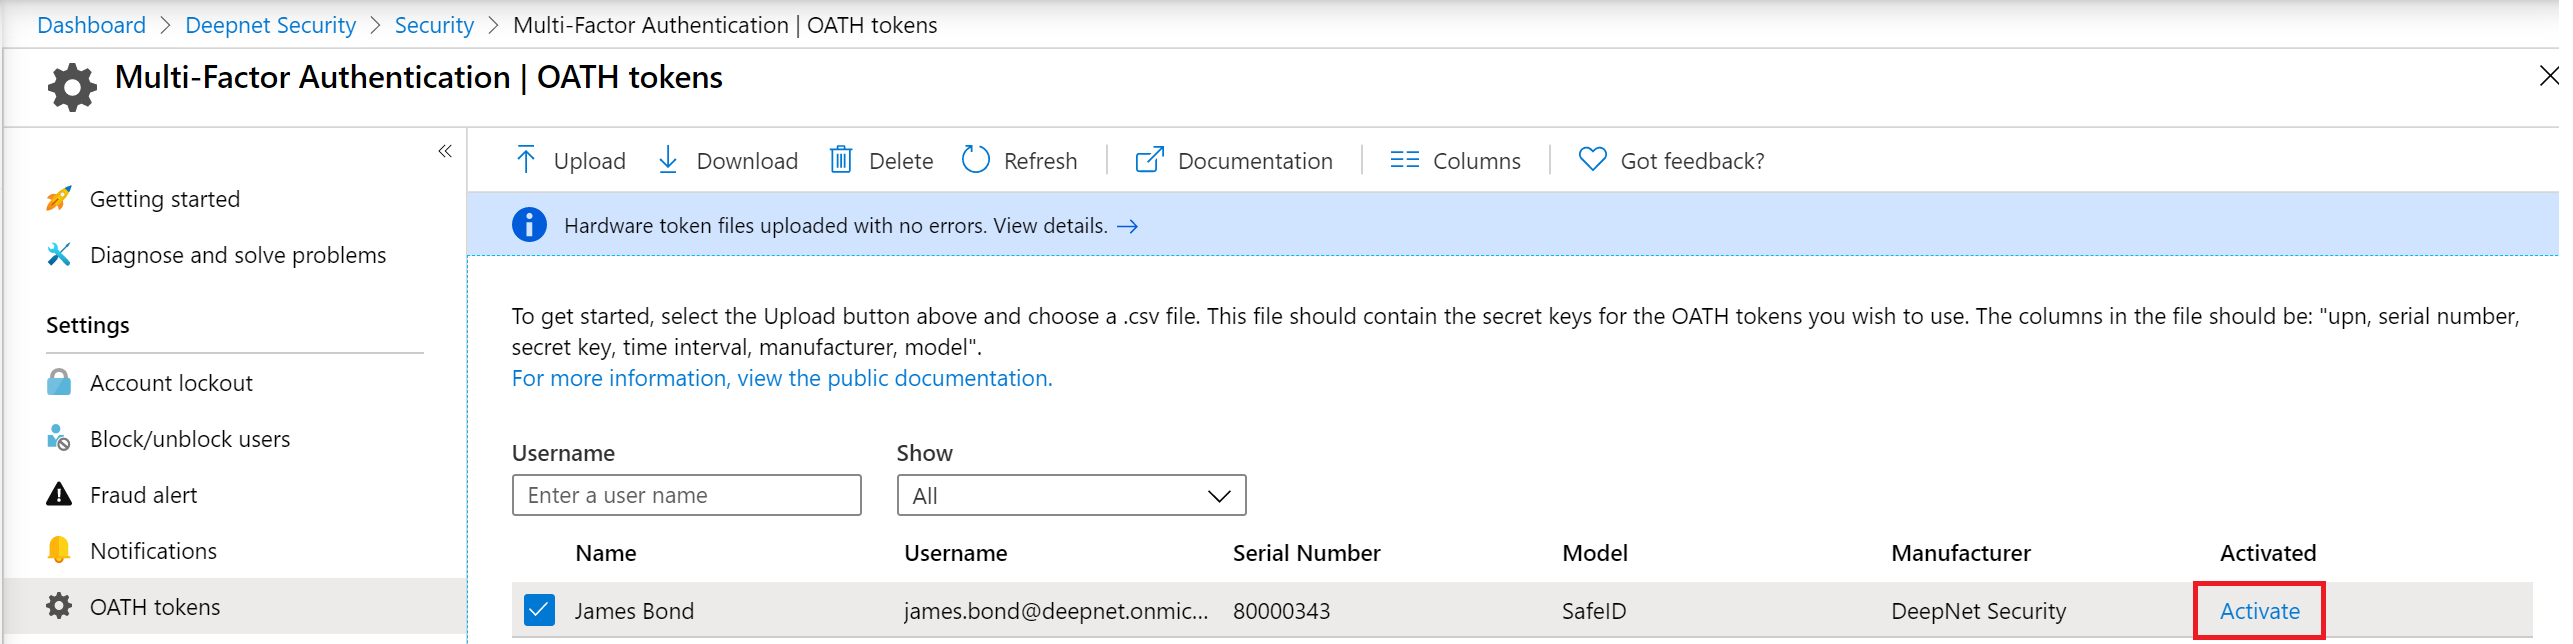
Select OATH tokens and click the “Upload” button.
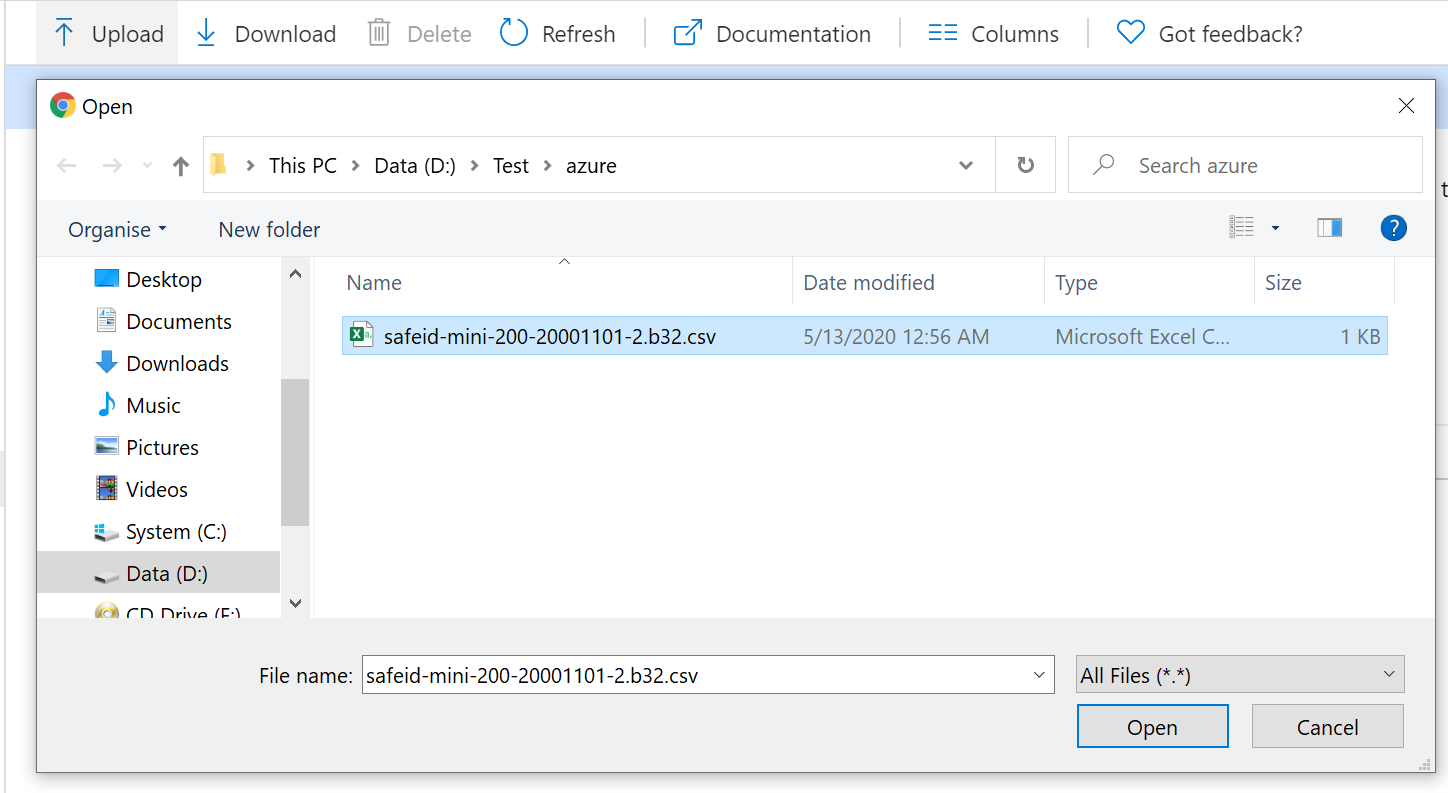
Select the CSV file to be uploaded, then click the Open button.
Depending on the size of the CSV file, it may take a few minutes to process.
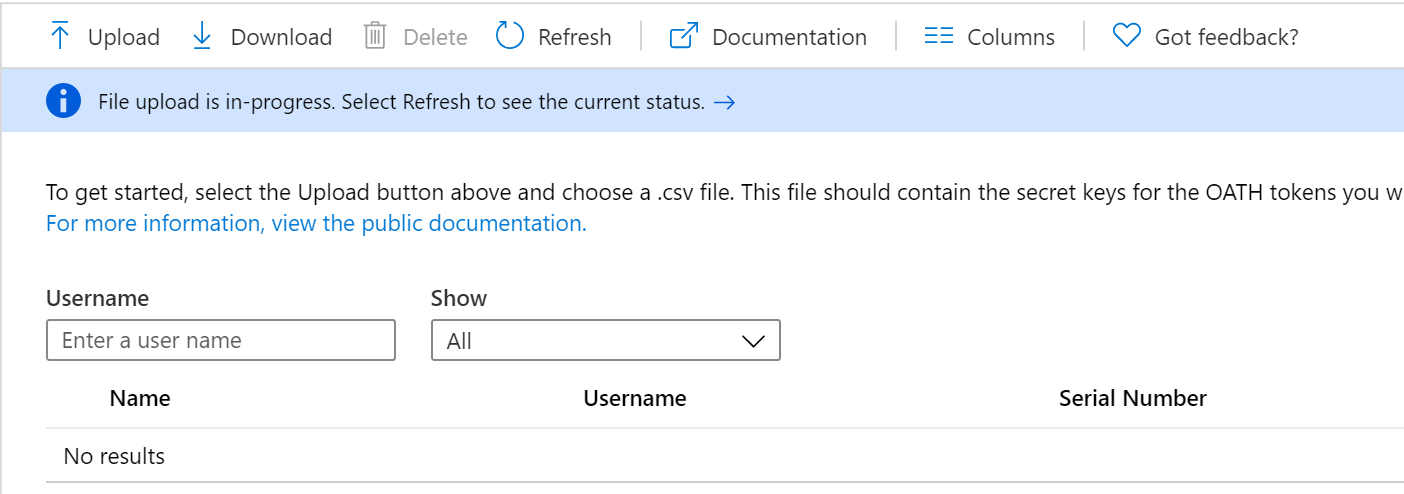
Click the Refresh button to get the current status. If there are any errors in the file, you will have the option to download a CSV file listing any errors for you to resolve.
Once the uploading process has been completed, the list of tokens will be displayed.
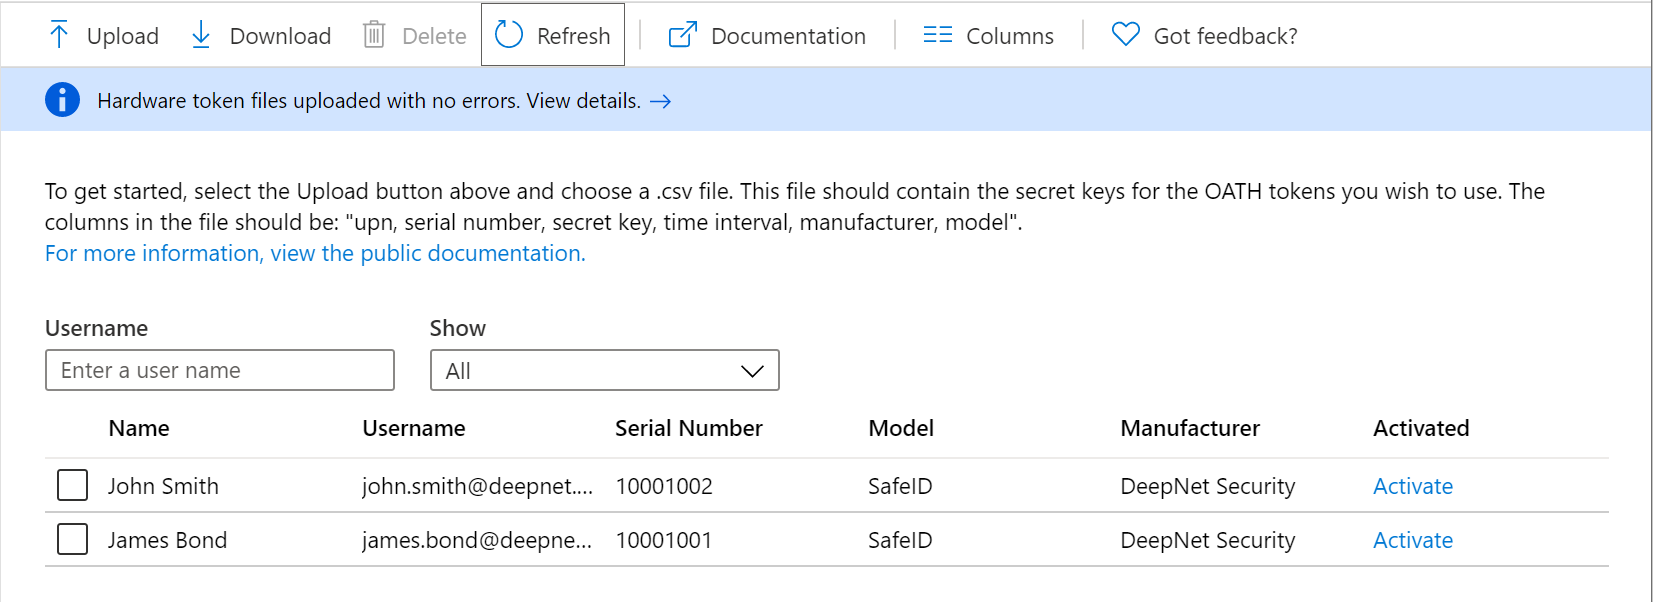
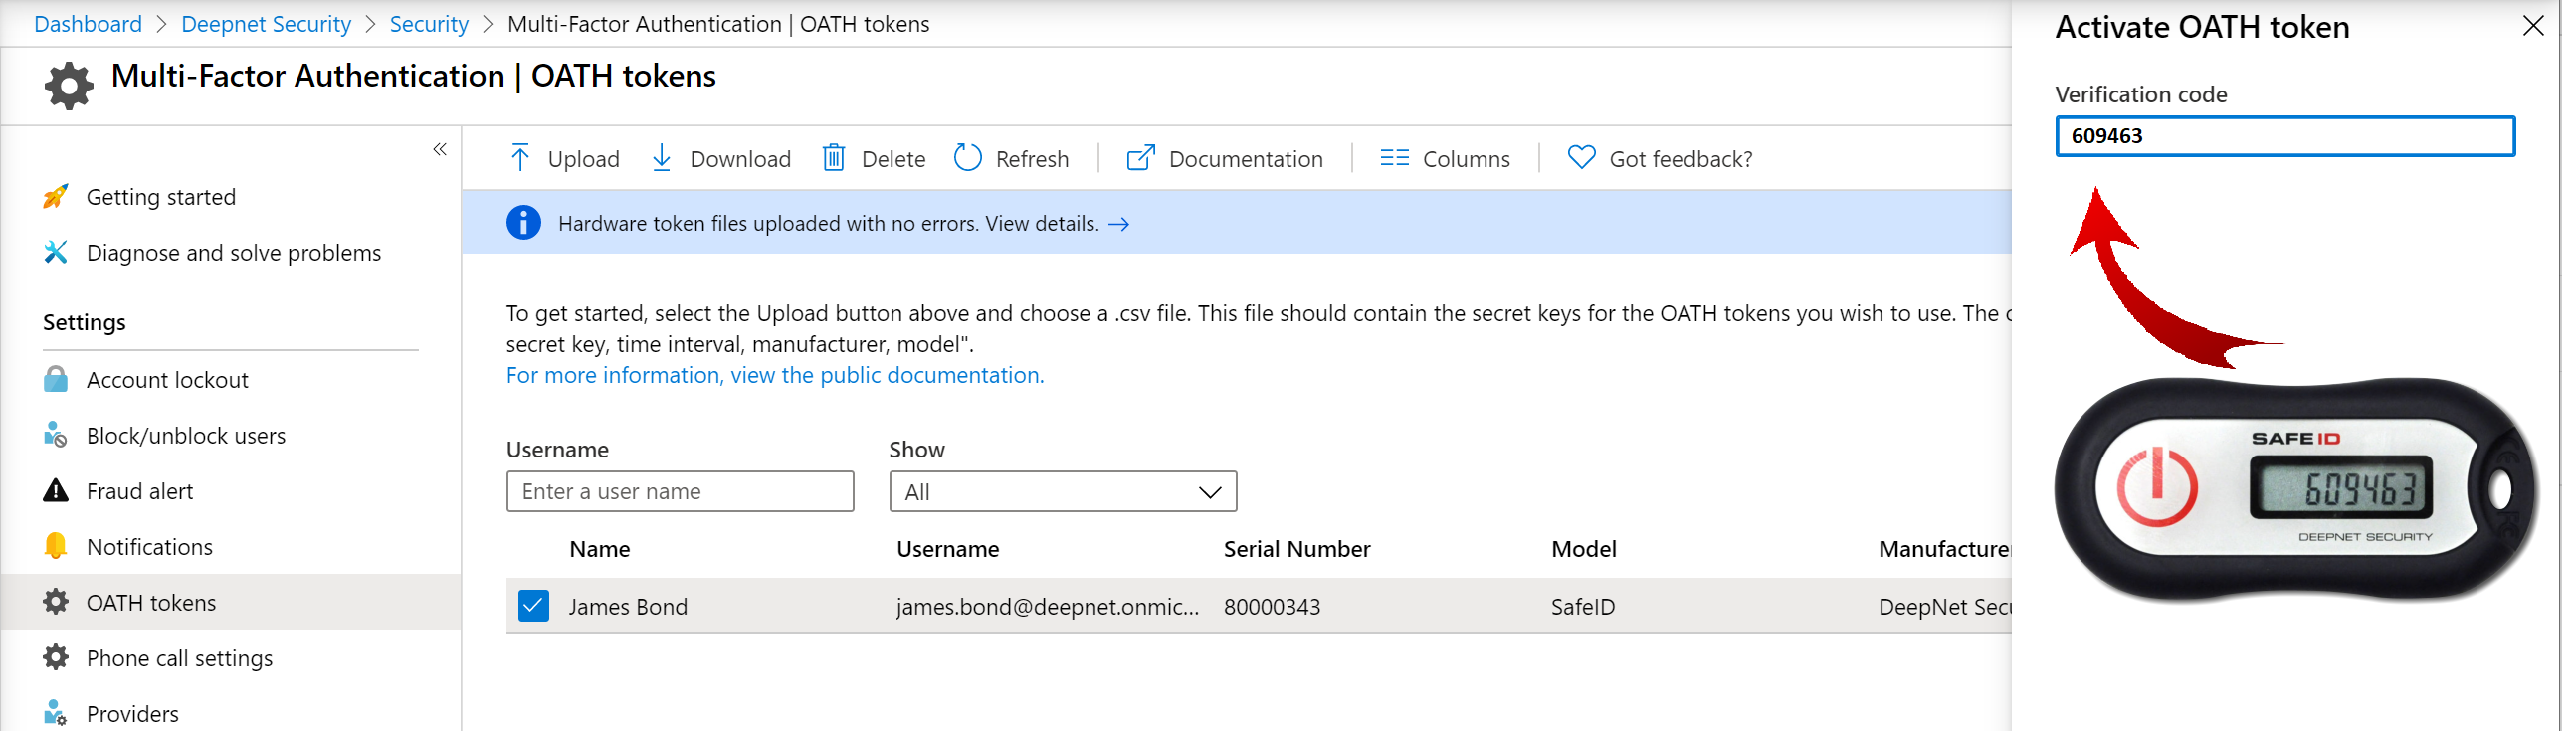
Activate Tokens
The administrator can activate each token by clicking Activate on the token to be activated and entering the passcode displayed on the token to verify
Related Articles
How to use SafeID Hardware OTP Token in Office 365 MFA login
How to set OTP token as the default sign-in method for Office 365 MFA login
Importing Tokens from a File (Batch Import)
- From the Multi-Factor Authentication Server window, click the OATH Tokens icon.
- Click the Import button.
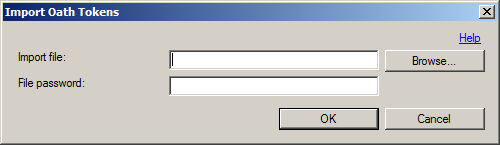
- In the Import OATH Tokens dialog, click the Browse button.
- The Open dialog will appear (this is the standard Windows Open dialog box).
- Locate the file that you want to import.
- Highlight the file and click the Open button.
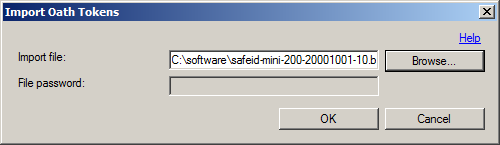
- Click the OK button.
- If no errors are encountered, you will receive a message stating that the import was successful with an option to view the Import Log.
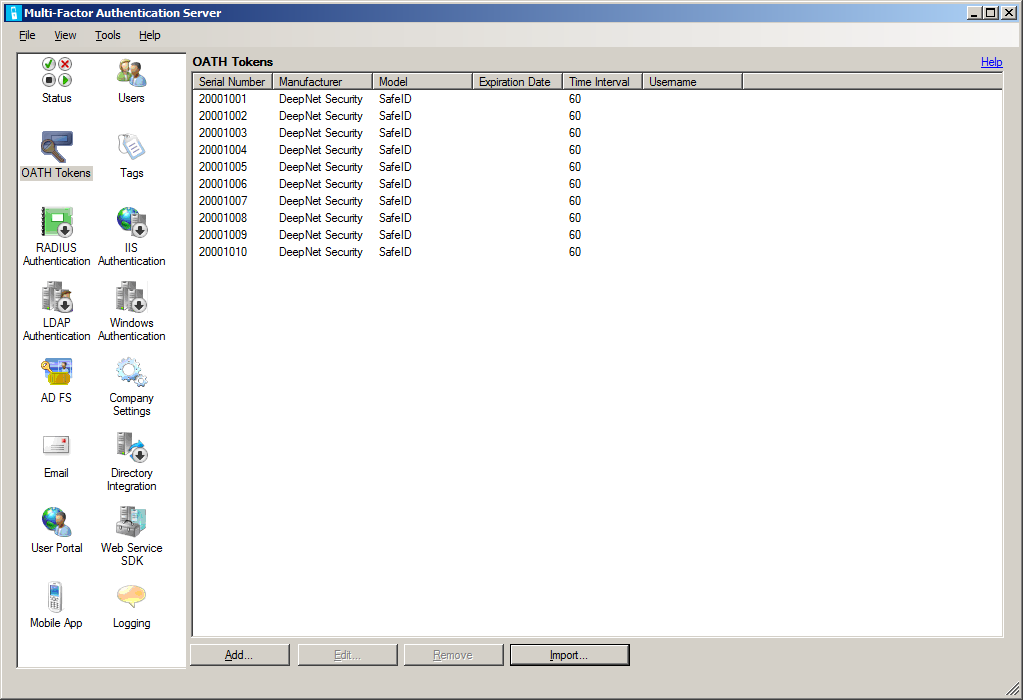
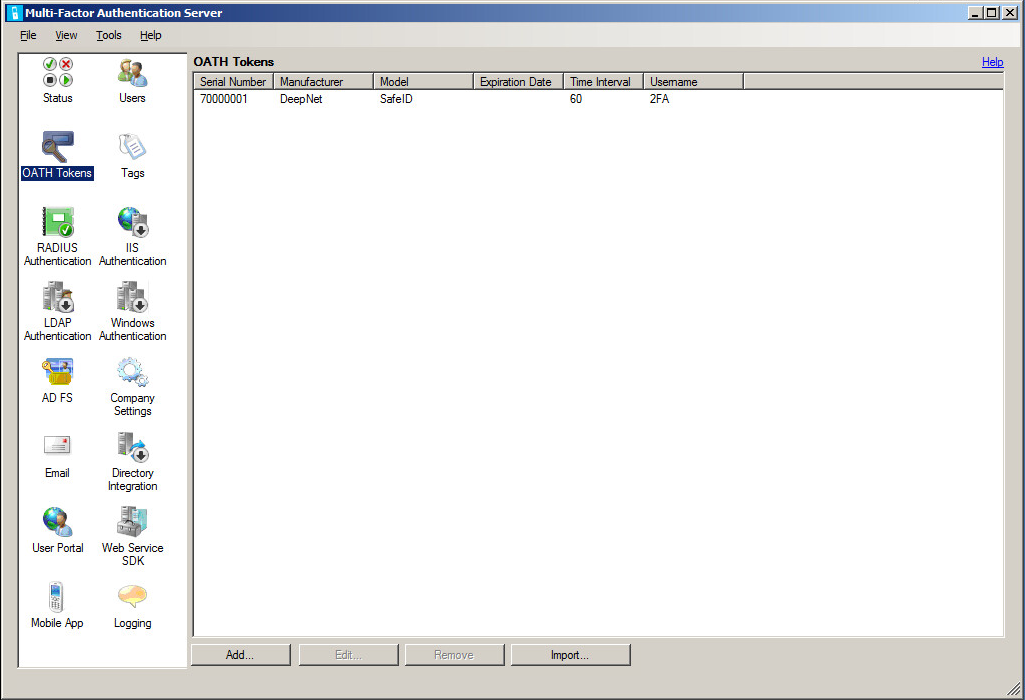
All newly imported token will now be listed in the OATH Tokens list:
Adding Tokens Manually (Single Entry)
To add an OATH token:
From the Multi-Factor Authentication Server window, click the OATH Tokens icon.
In the OATH Tokens section, click the Add button.
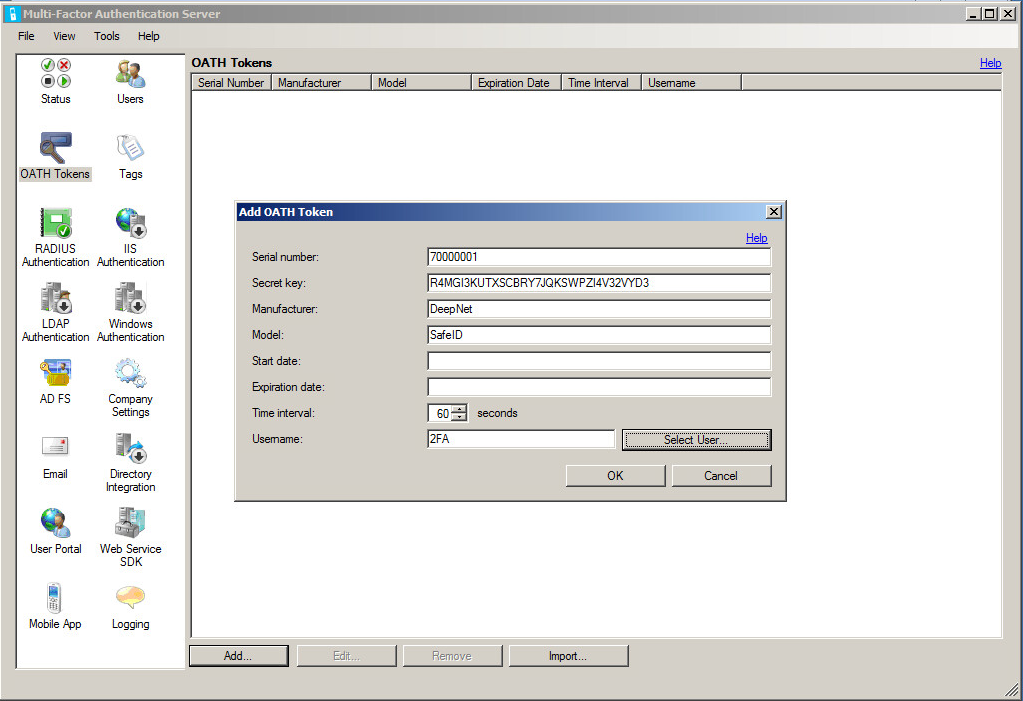
In the Add OATH Token dialog, enter the OATH token details.
OATH Tokens detail
Feature
Description
Serial number
Enter the serial number that uniquely identifies the OATH token assigned to the token by the manufacturer. The serial number is generally printed on the back of a token.
Secret key
Enter the OATH token's secret key. This key allows the Multi-Factor Authentication Server to generate the same time-based series of OATH codes as the third-party OATH token in order to validate an OATH code entered by the user associated with the token. The key must be in base-32 format.
Manufacturer
Enter the manufacturer of the OATH token, e.g. "DeepNet"
Model
Enter the OATH token's model number, e.g. "SafeID"
Start date
Enter the start date of the OATH token from which it is effective.
Time interval
Enter the time interval in seconds of the OATH token. The token will display a new OATH code for each time interval. For DeepNet SafeID tokens, the time interval MUST be set to 60 seconds.
Username
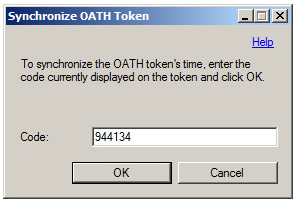
Specify a valid username or click the Select User button to display the Select User dialog. When a valid username is specified and the OK button is clicked, the Synchronize OATH Token dialog will prompt for the current OATH code to synchronize the OATH token.
Click the Select User button to assign the token to a user
Click the OK button.
You will be prompted to synchronize the token
If the token is successfully imported, it will list in the OATH Tokens list:
Deepnet also supplies a USB key, Deepnet SafePass, and a software token, Deepnet MobileID, that are also supported by Azure MFA.